How to Draw a Flying Bird
In this lesson, I want to show you how to draw a flying bird. This instruction is very simple and consists of only a few steps.
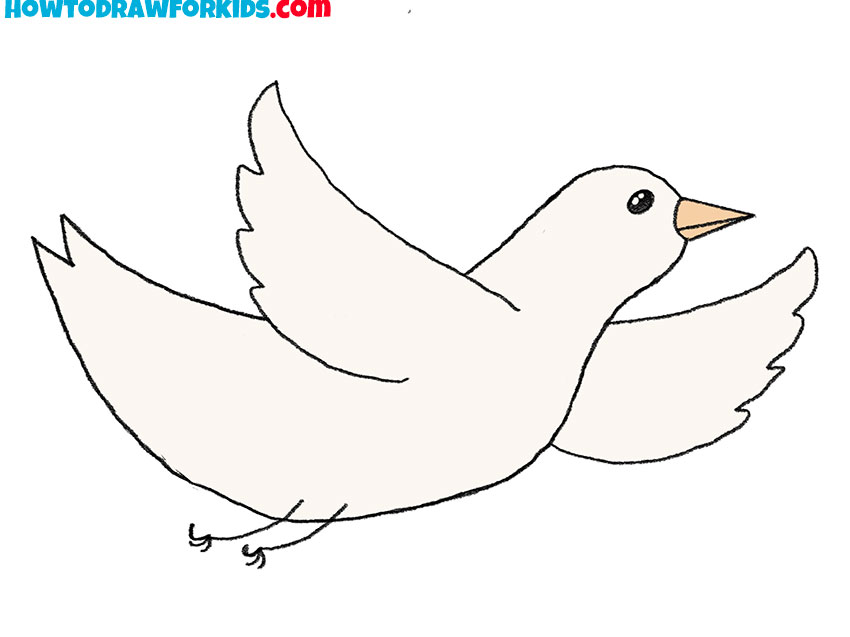
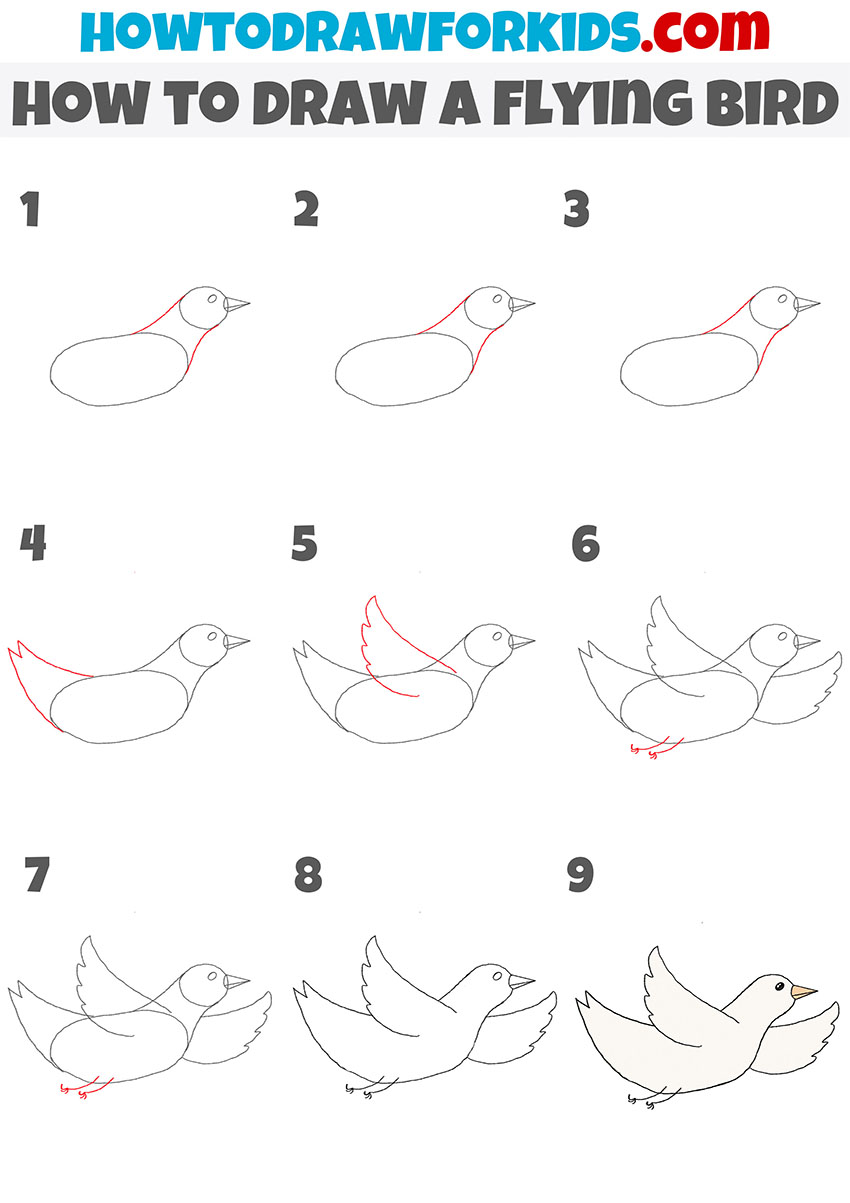
I bring to your attention a new useful instruction, which shows in detail how to draw a flying bird. If you have already drawn birds, then easily complete this creative task.
But if you are drawing a bird for the first time, you will still get a good result, because the instructions are very simple and contain small tips at each step.
Pay attention to the position of the wings and try to depict it correctly. When you master this lesson, you will be able to draw any other flying bird.
Materials
- Pencil
- Paper
- Eraser
- Coloring supplies
Time needed: 30 minutes
How to Draw a Flying Bird
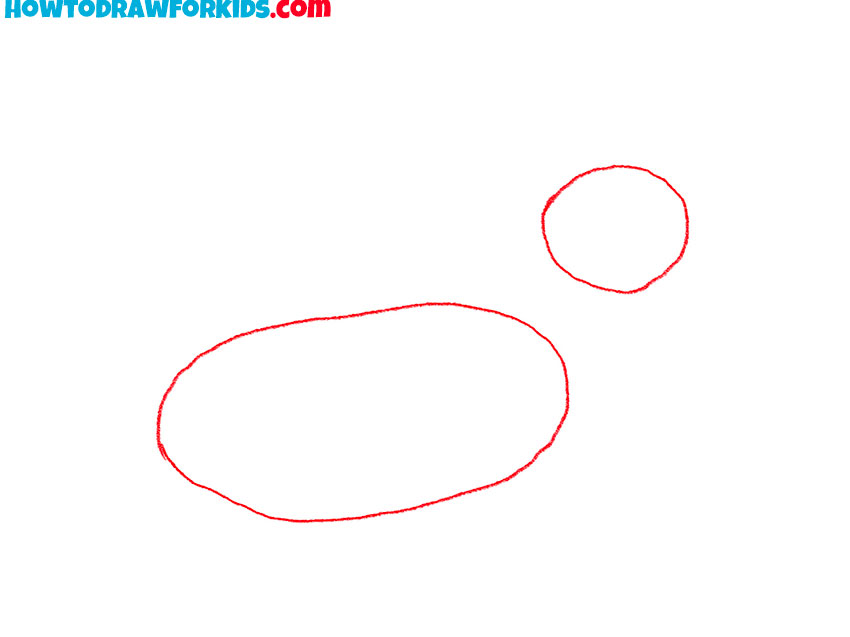
- Draw the head and torso.
Depict a circle to draw the head, and add an oval to draw the torso.
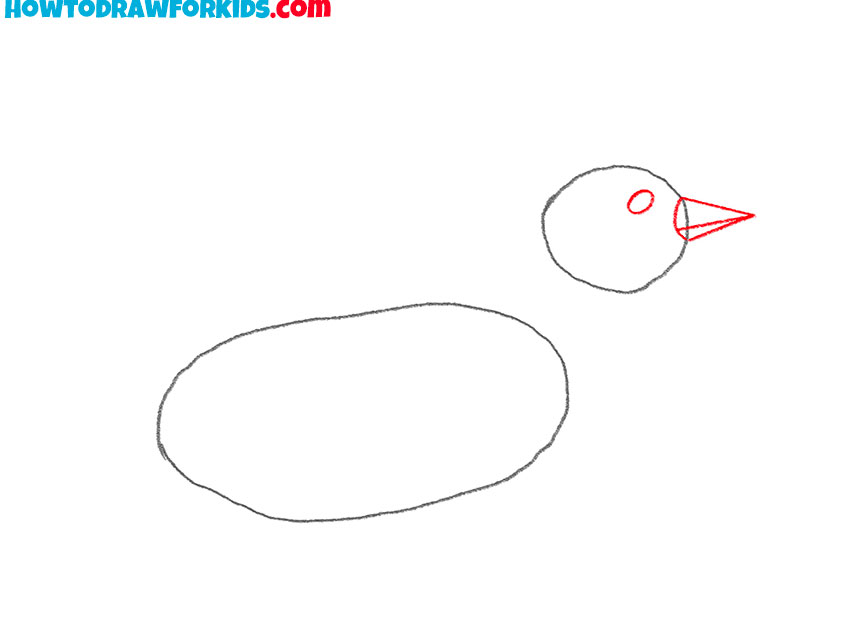
- Add the eye and the beak.
Draw the eye in the form of an oval, and with the help of straight lines depict the pointed beak.
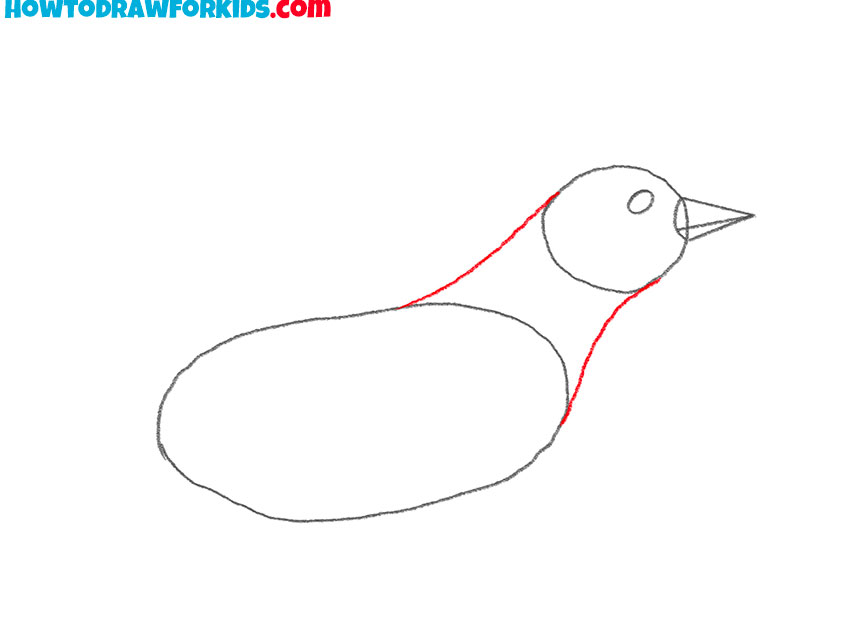
- Sketch out the neck.
Depict two smooth lines to connect the head and torso.
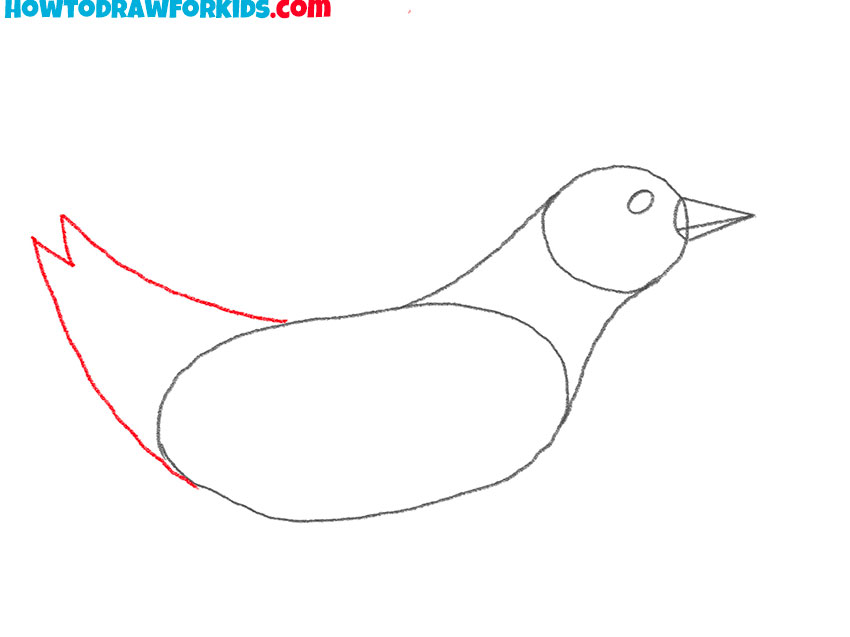
- Depict the tail.
On the left side of the body, draw smooth lines to depict the tail.
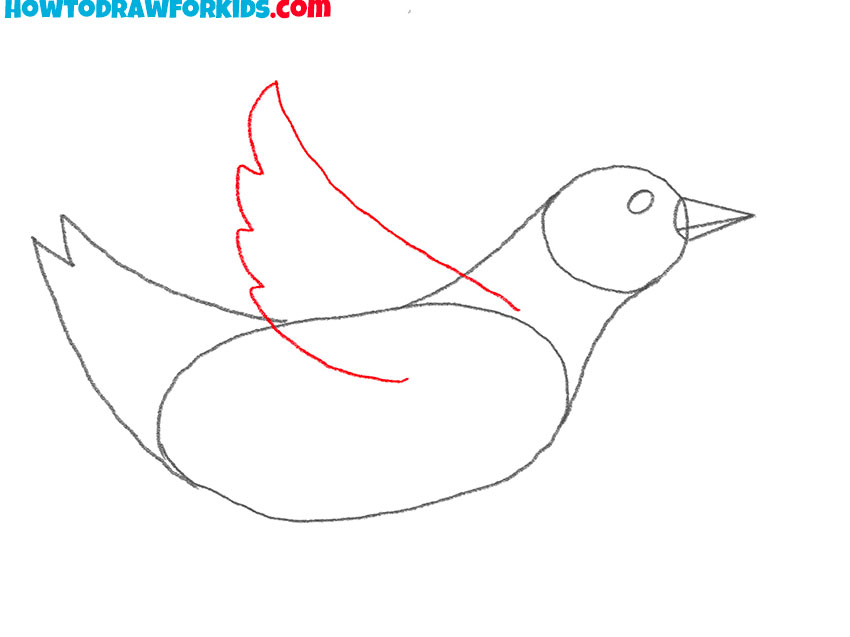
- Add the one wing.
With smooth lines, depict one wing that is raised up. Add the outer outline of the wing.
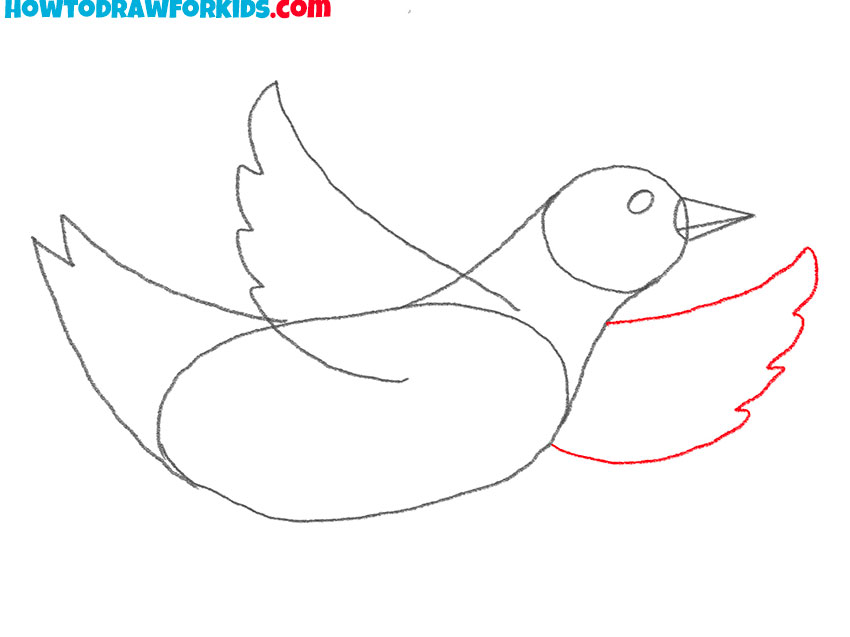
- Draw the second wing.
On the right side, sketch out the second wing of the same shape.
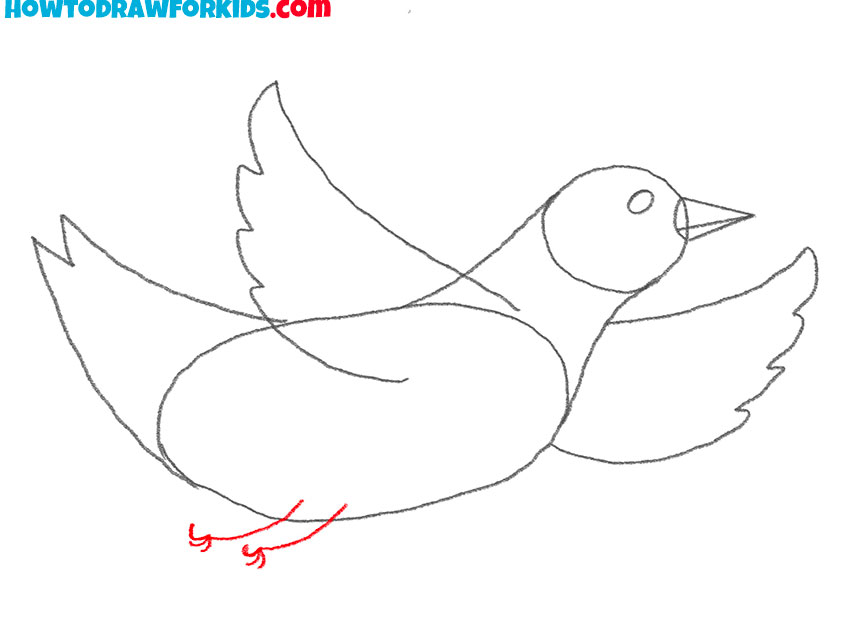
- Sketch out the paws.
At the bottom of the torso, depict two thin paws and the add fingers.
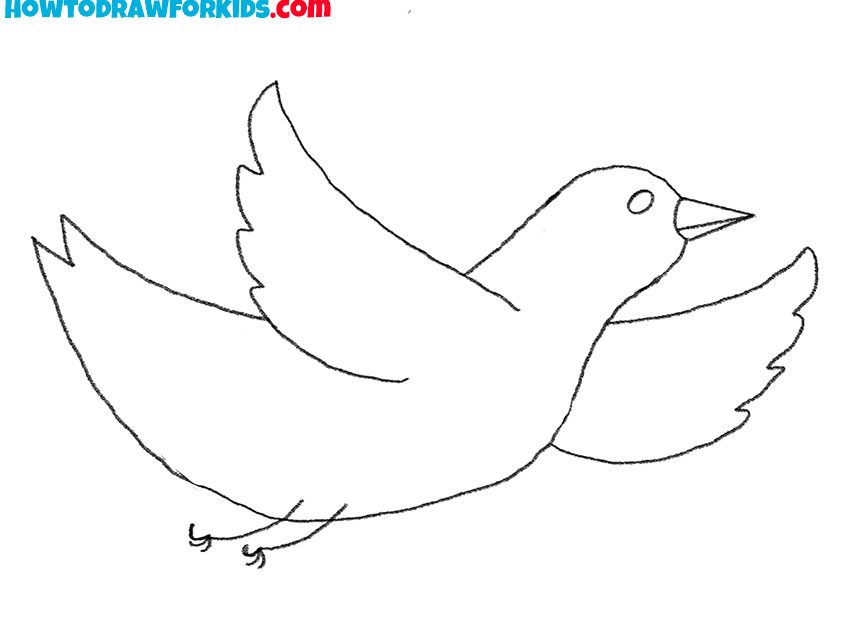
- Correct inaccuracies.
Remove all extra lines in your drawing.
- Color the flying bird.
Choose any colors you like.

For your convenience, I have previously created a short version of the lesson in PDF format. Download the file and draw at any convenient time.

I like everything you make like flying bird