How to Draw a King Cobra
Here you will learn how to draw a king cobra, giving one of the world’s most dangerous snakes a cute and friendly look.


In this tutorial I will show you how to draw a king cobra. It is the largest venomous snake. The king cobra is large and can be very dangerous to encounter.
This snake lives in tropical forests and hides in caves, burrows and climbs trees. Sometimes the snake can live near agricultural land. The king cobra feeds on small animals and even other venomous snakes.
Here the cobra is presented in a simple way, just like in the snake drawing tutorial. The cobra raised its head and puffed out the side muscles, which look like an open hood. In this position, the cobra is preparing to attack.
Consistently follow all the drawing steps, be careful and patient and then you will get an excellent result. I think you will be interested in drawing a king cobra.
Materials
- Pencil
- Paper
- Eraser
- Coloring supplies
Time needed: 25 minutes
How to draw a king cobra step by step
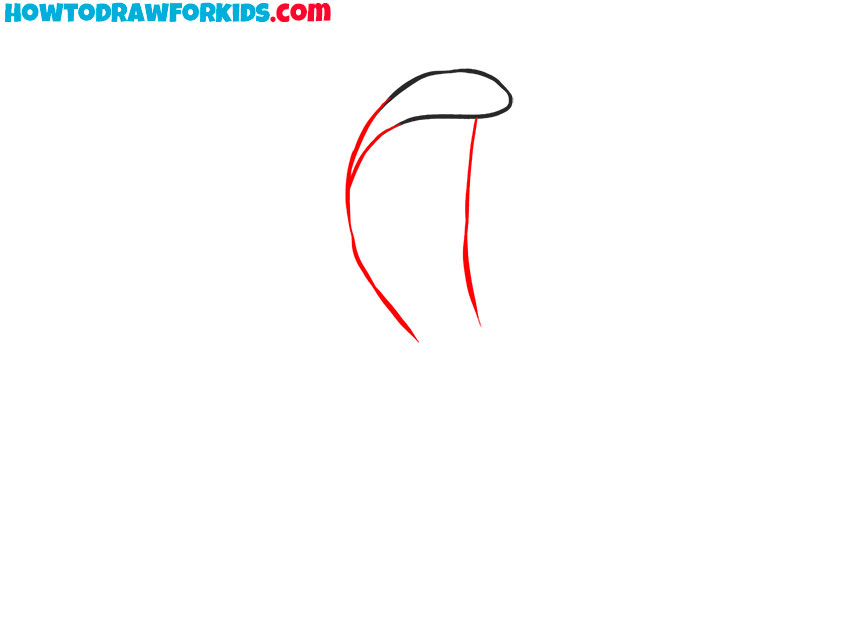
- Sketch the snake’s small head shape.
The king cobra drawing starts at the top so the body can flow from a fixed point. Draw a small, flattened oval for the head of the snake. Male these lines light and close together.

- Sketch the cobra’s raised hood shape.
From the back of the head, draw the tall outer edge of the hood with smooth curves that widen near the center of the shape.
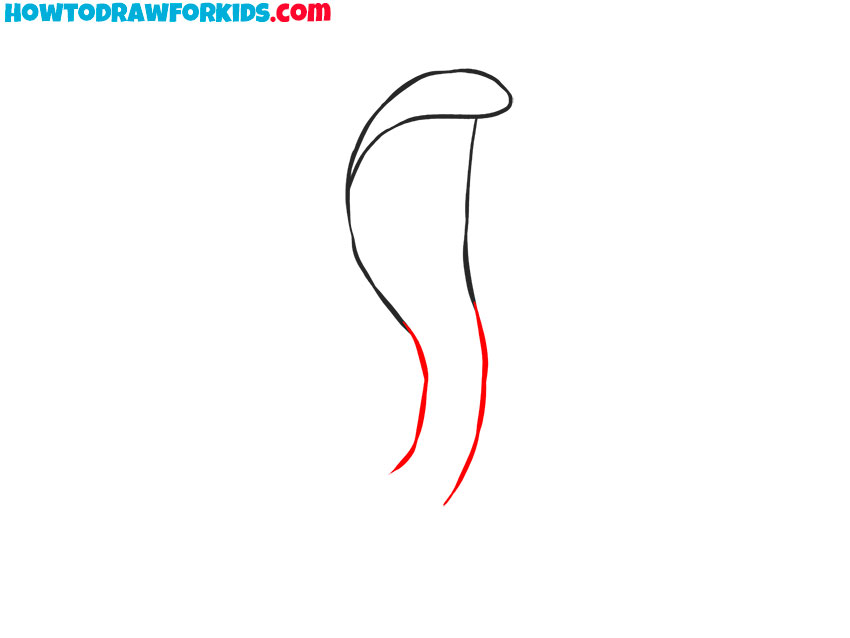
- Outline the continuing body.
Continue the contour of the hood down using a couple of smooth lines, to illustrate the top part of the snake’s body. Try to make the distance between these lines even.
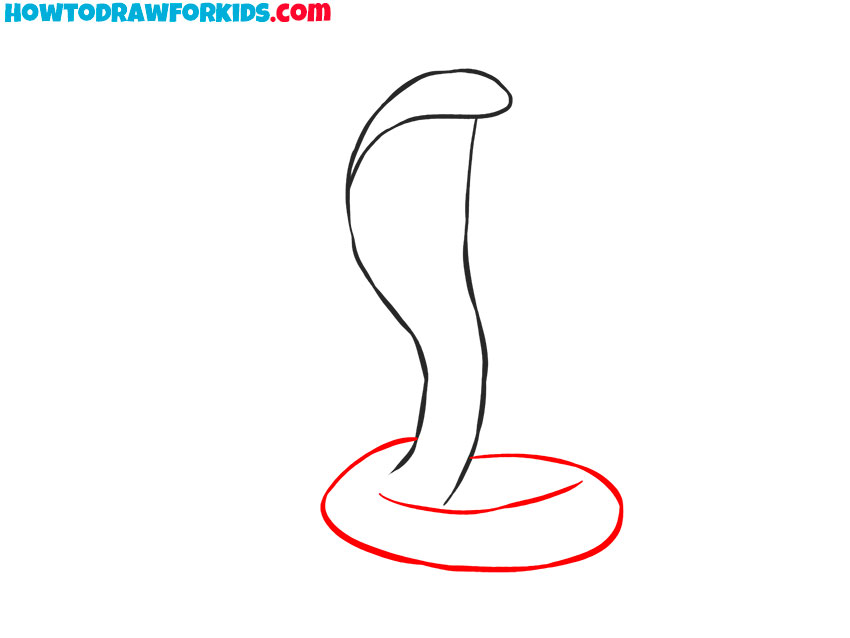
- Sketch the snake’s coiled body section.
Continue the body lines and sketch a wide horizontal oval to create a resting coil. You can make the near edge slightly thicker and the far edge slimmer to convey perspective. Inside the oval, sketch a short curved gap where the body passes through.
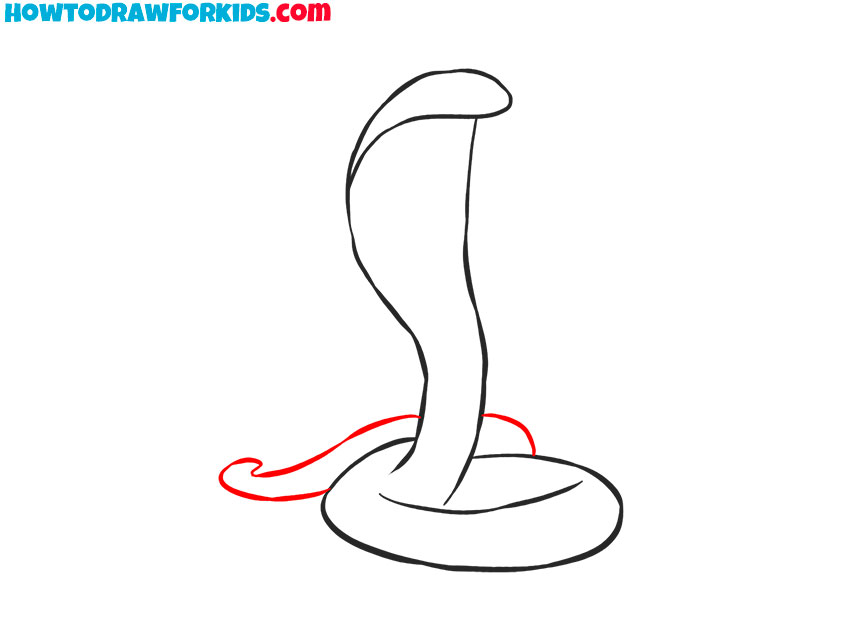
- Draw the curved tail of the king cobra.
From the back of the coil, draw a narrow ribbon to indicate the tail of the snake. Taper it as it extends so the tip looks fine and flexible.
- Mark the long outlines of the neck.
Inside the raised neck, draw two long, parallel curves that start under the head and travel down the throat, to make the king cobra look more detailed. Keep them closer together.

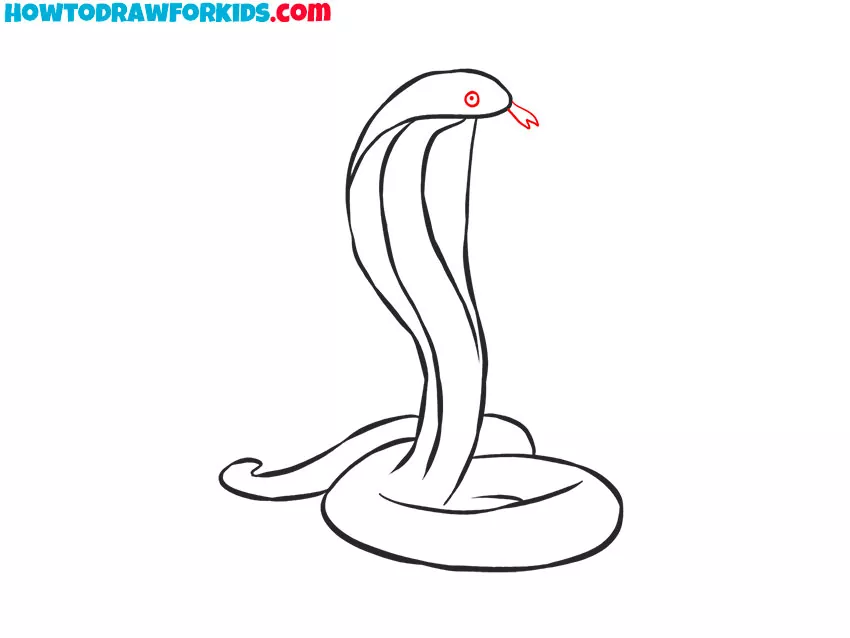
- Draw the eyes and mouth of the king cobra.
On the head of the snake, draw a round eye near the front and a tiny pupil inside. After that, draw the recognizable snake tongue, sticking out from the mouth.
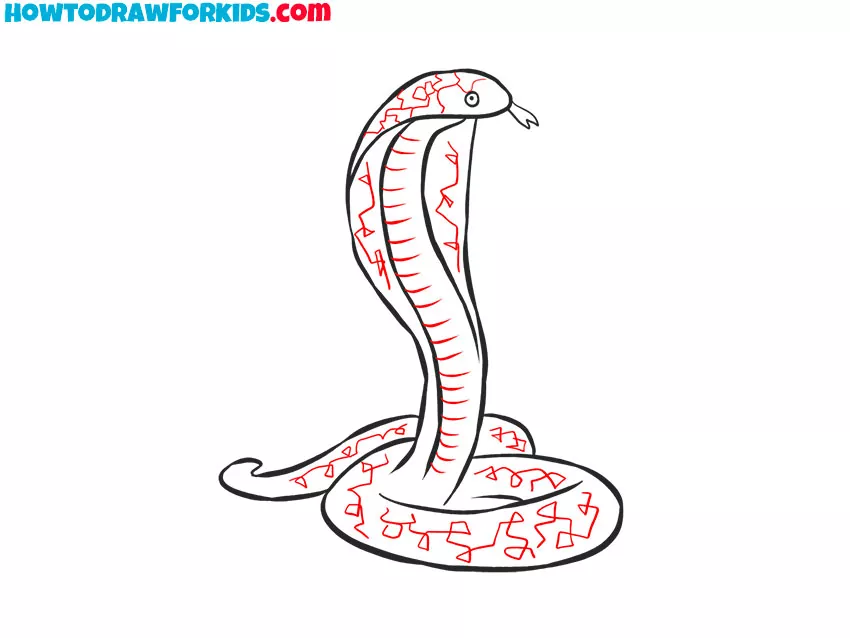
- Add body marks to the cobra.
Erase any leftover construction strokes and trace your king cobra drawing using dark lines. With a clean base, illustrate markings. Draw short horizontal dashes down the belly track to represent segmented scutes. On the hood and outer body, add scattered irregular blotches.
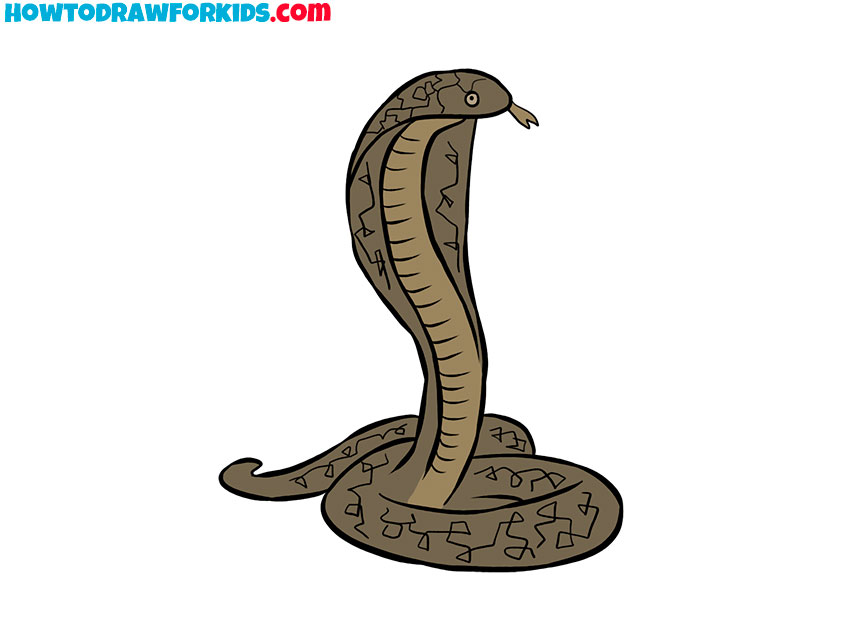
- Add shades of brown and tan to the snake.
Fill the body with a dark olive or brown, leaving the belly track a lighter tan. Tint the eye a muted amber with a small black pupil. Color the tongue brown, olive, or red.
For your convenience, I have prepared a simplified PDF version of this guide. Download this file to be able to return to the lesson at any convenient time.
The king cobra is easy if you don’t try to have an open mouth.