How to Draw a Knot
Do you want to learn how to draw a knot in nine steps quickly and easily? So this lesson is for you! Start this guide and get useful skills!
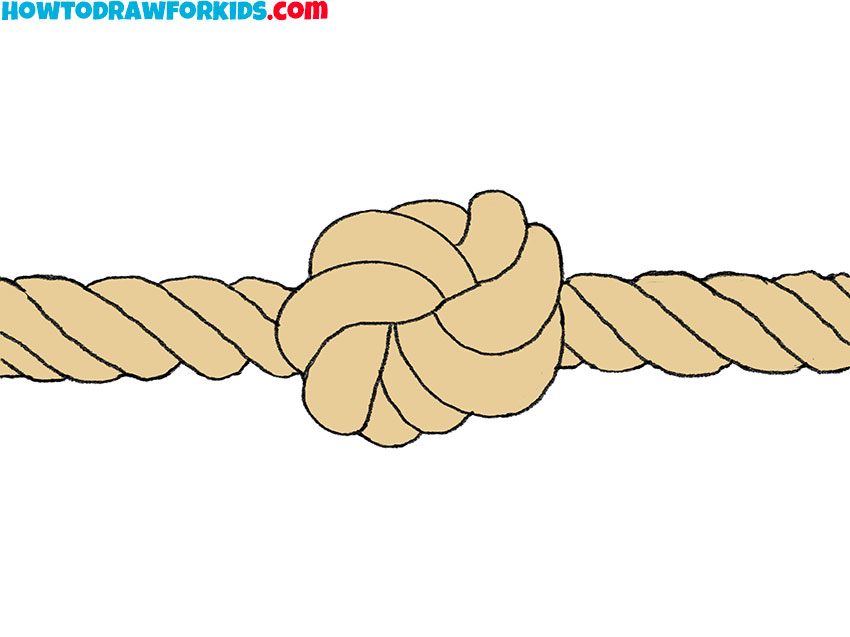
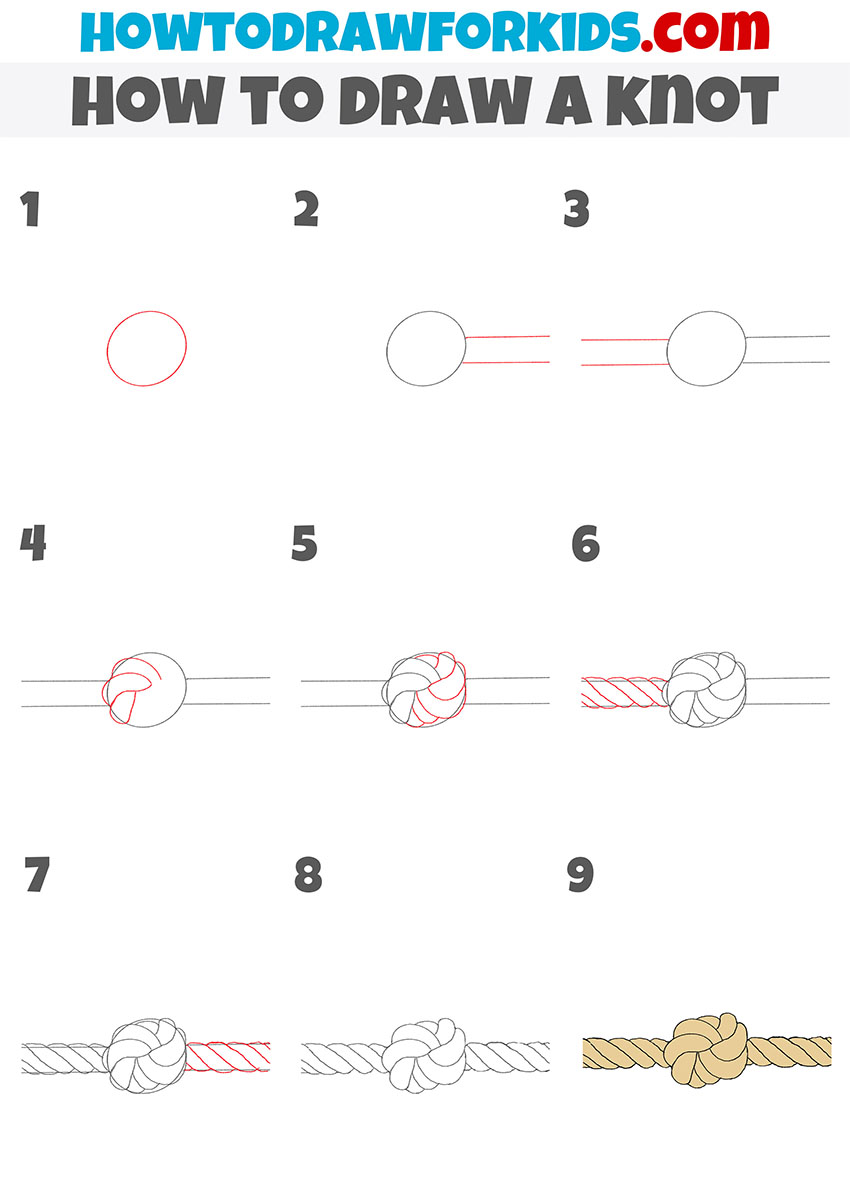
In this lesson, I will tell you and show you in detail how to draw a knot. At first glance, it seems that it is very difficult, but in fact, you can easily cope with this task with the help of this step-by-step guide.
In order to draw a knot, you must carefully follow all the drawing steps and use the hints.
This lesson is specially created for beginner artists and children. So let’s get started with this interesting tutorial. I am sure you will have great results.
Materials
- Pencil
- Paper
- Eraser
- Coloring supplies
Time needed: 30 minutes
How to Draw a Knot
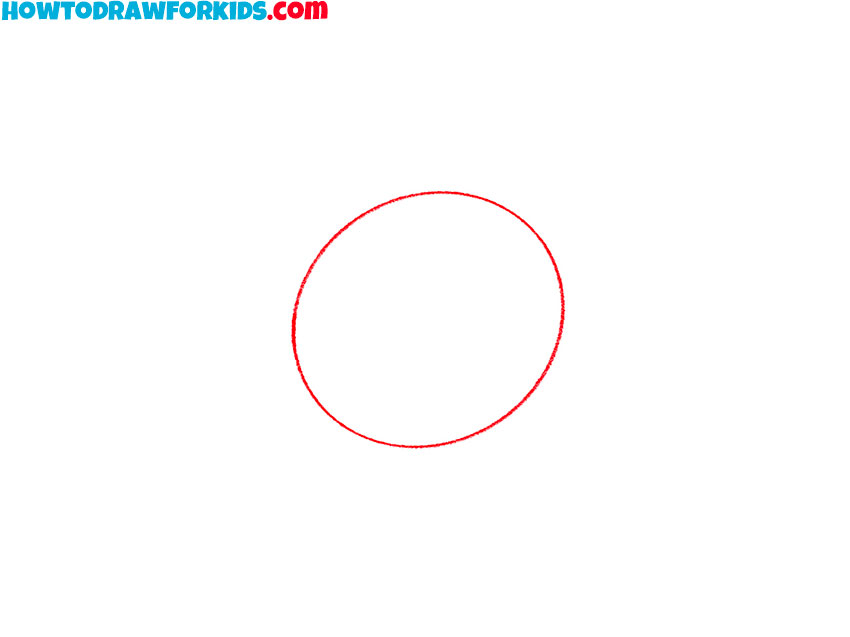
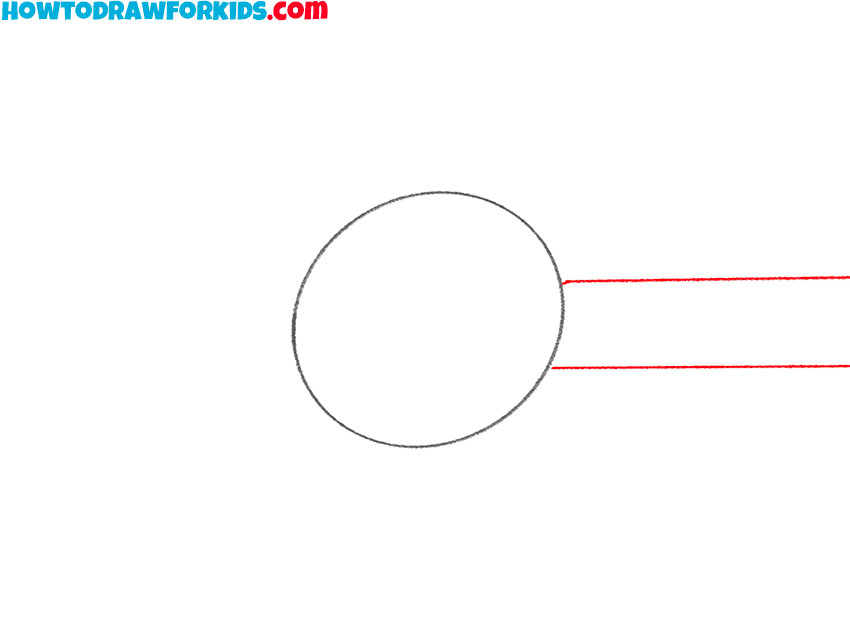
- Draw the outline of the knote.
To do this, you need to depict a circle.
- Depict the end of the rope on one side.
Draw two horizontal lines from the circle to the right.
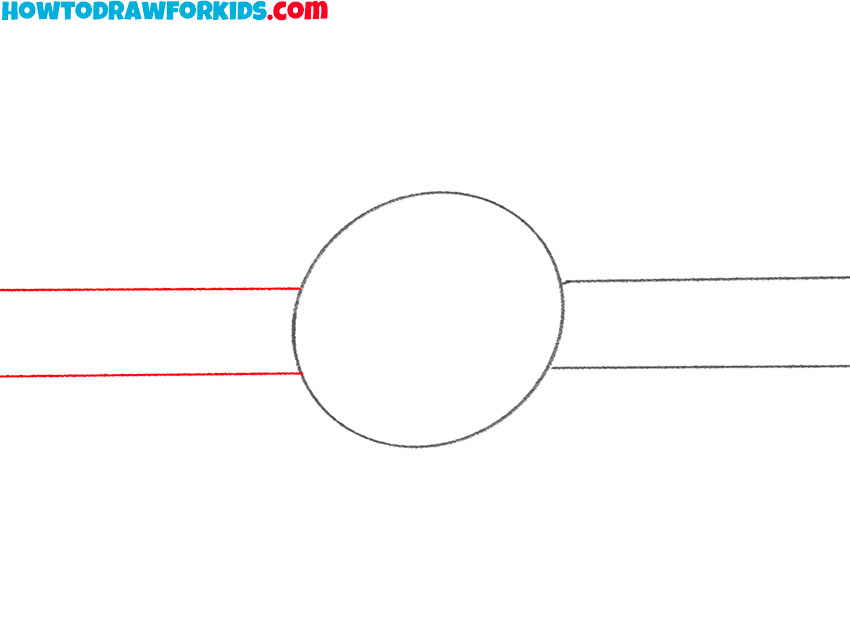
- Add the end of the rope on the other side.
Repeat the previous step and draw the same horizontal lines on the other side.
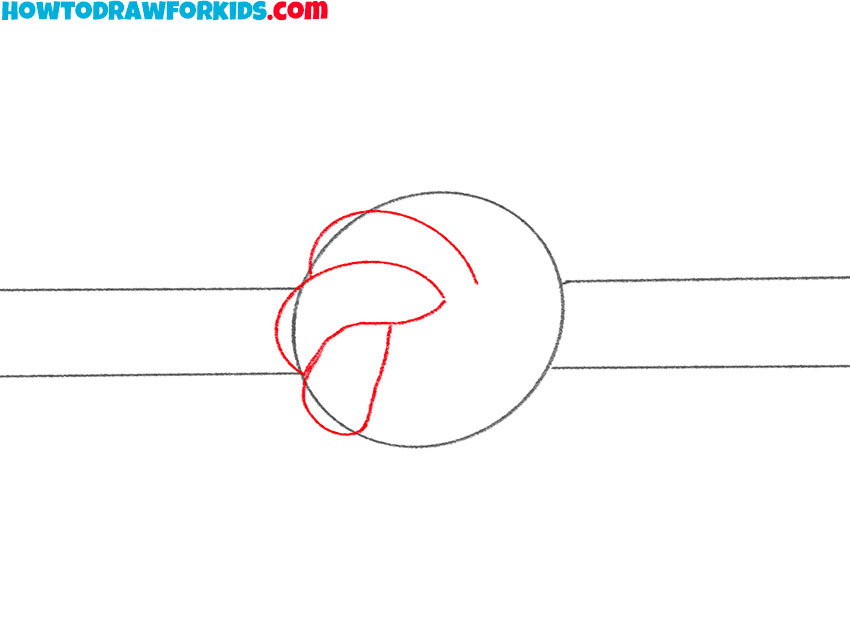
- Draw the rope weave on one side.
With the help of smooth rounded lines draw three elements.
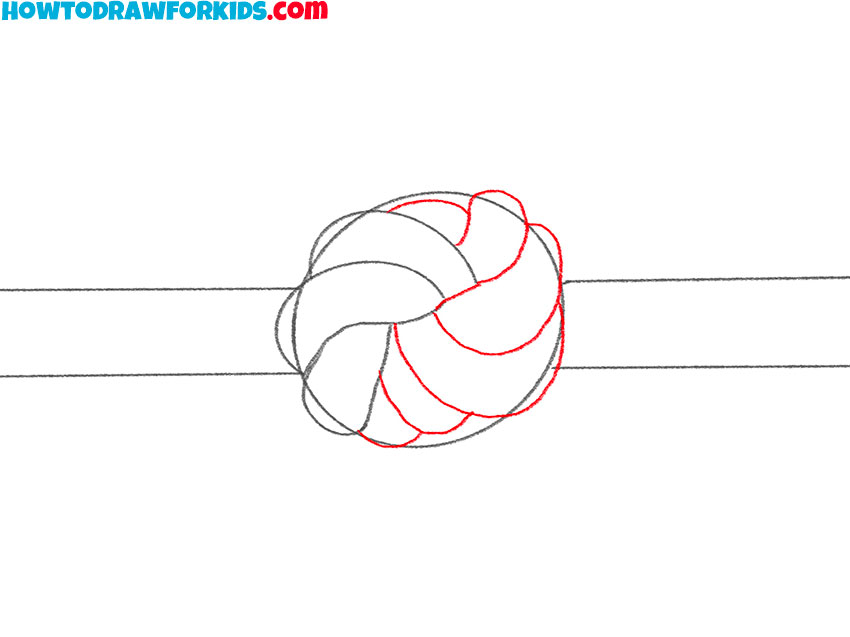
- Add the rope weave on the other side.
On the right side, depict the weave of the rope using rounded lines that are in series.
- Detail one end of the rope.
On the left side, add the weave of the rope using wavy lines that are located one after the other.
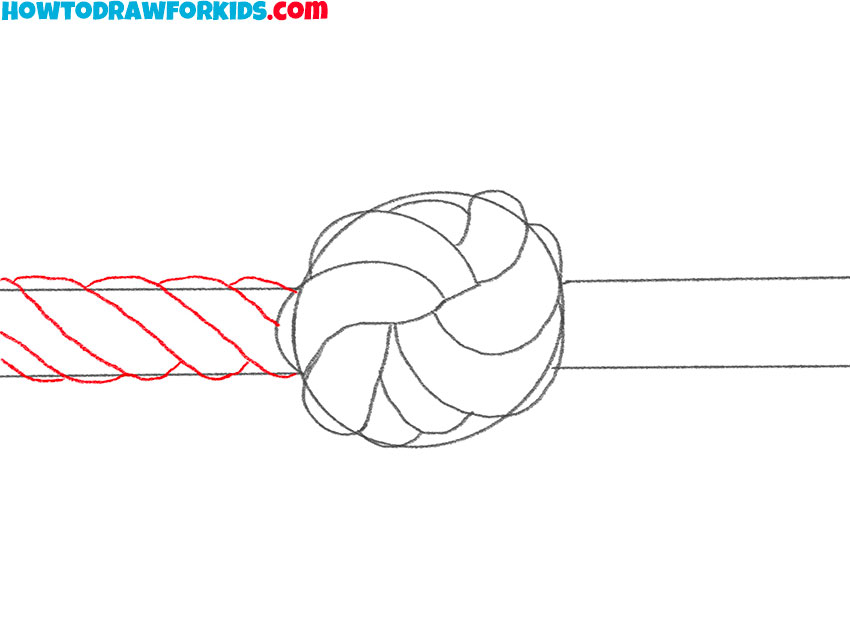
- Detail the second end of the rope.
Repeat the previous step and depict the weave of the rope on the right side.
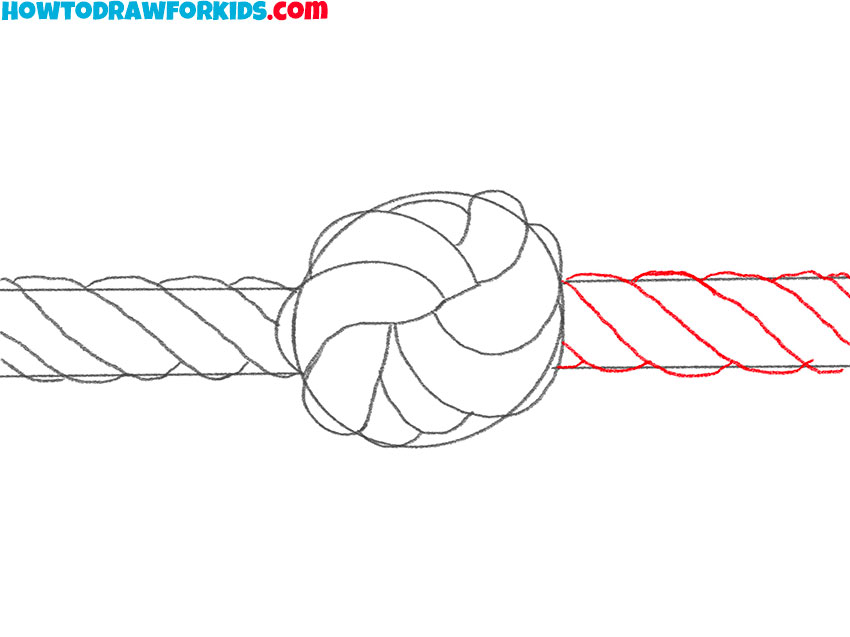
- Correct inaccuracies.
At this stage, remove all extra lines.
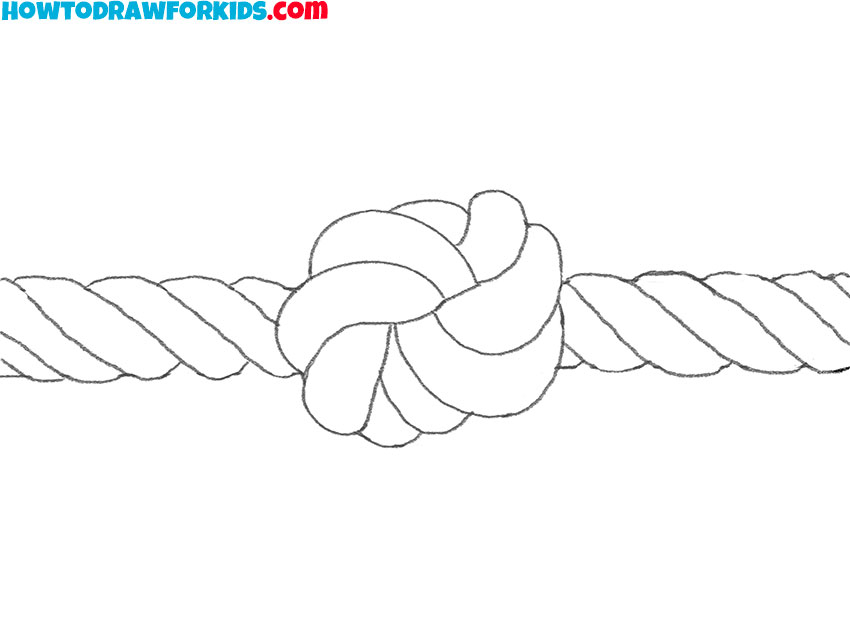
- Color the knot.
For coloring, use a light brown.

Fine! The knot drawing is ready! I hope that this lesson was useful for you, and you once again trained your creative abilities.
I remind you that you can download a short version of the lesson in PDF format. Download the file to complete the lesson at any time convenient for you.

