How to Draw Fluffy Hair
The lesson on how to draw fluffy hair for kids is ready. This instruction is very simple and contains only eight very easy steps.
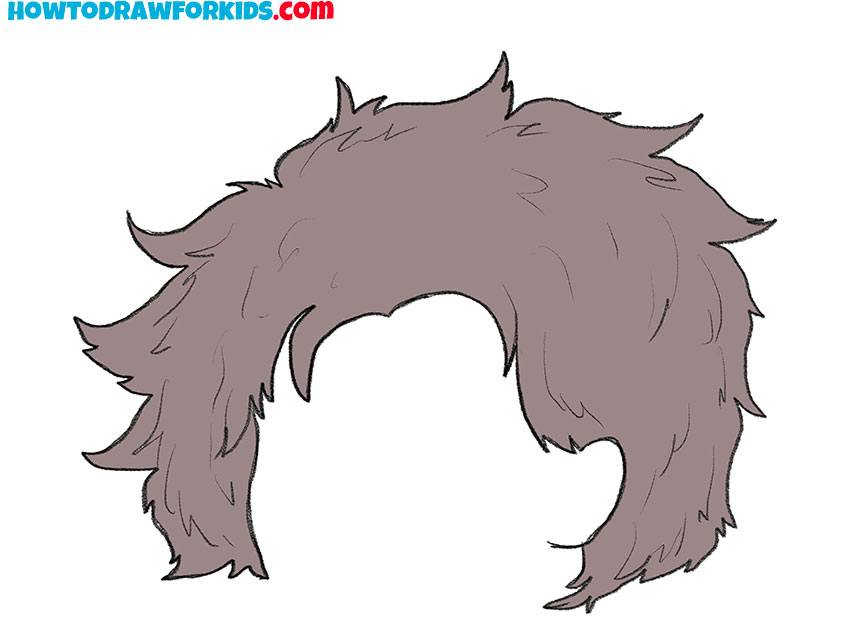
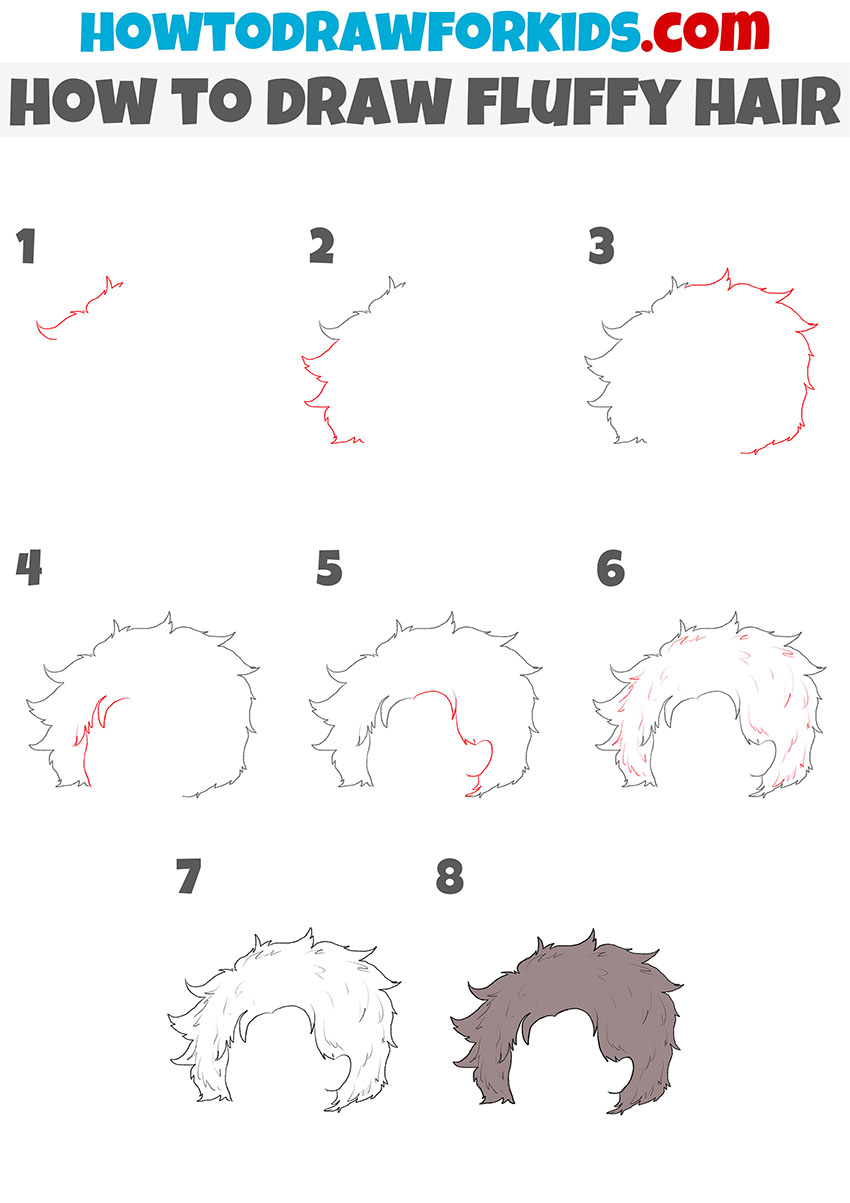
In this lesson, you will gain useful skills and learn how to draw fluffy hair. This lesson consists of eight simple steps that any aspiring artist can easily repeat.
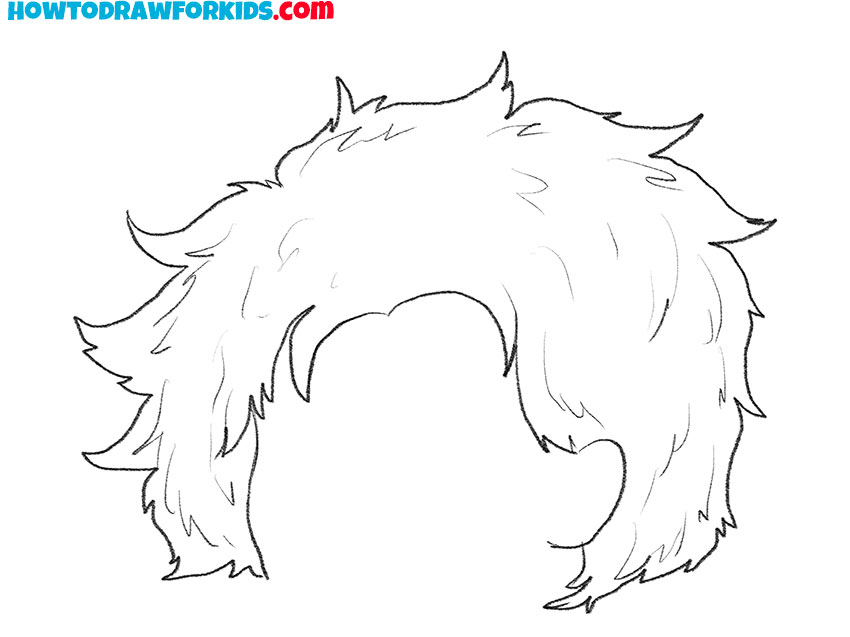
The hairstyle of the characters can be very different. This lesson shows in detail how you can draw fluffy hair. In the figure, you can see that individual strands of hair stick out in different directions.
Very thick hair or hair that flutters in the wind in bad weather can have this shape. Carefully follow all the drawing steps and remember the sequence, this will come in handy in the future when you draw fictional characters or draw portraits of real people.
You shouldn’t have any problems while following this tutorial, because arbitrary lines are allowed here. You can slightly change the shape of individual strands, and this will not affect the quality of the picture as a whole.
Fluffy Hair Drawing Tutorial
Materials
- Pencil
- Paper
- Eraser
- Coloring supplies
Time needed: 25 minutes
How to Draw Fluffy Hair
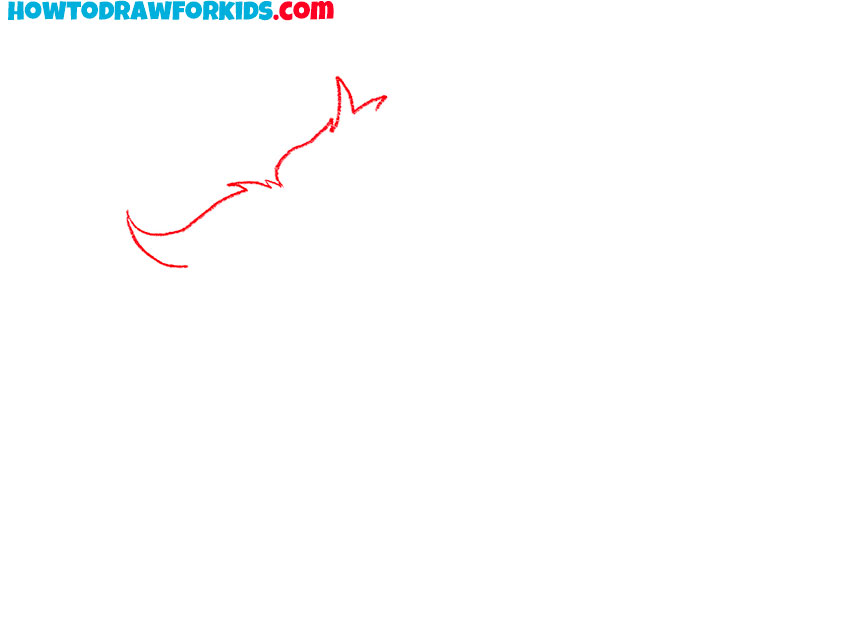
- Start drawing the top outline.
Draw several curved lines of different sizes that are connected together.
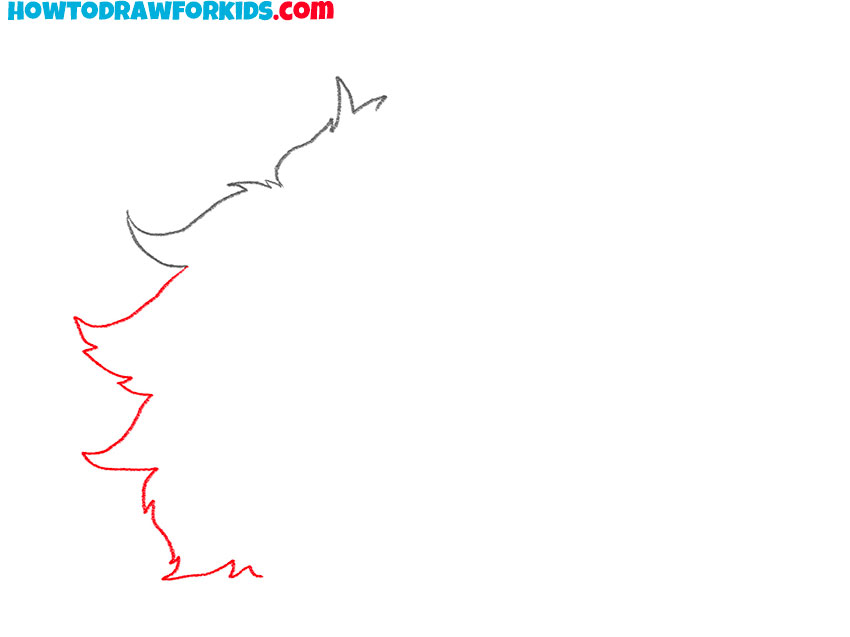
- Depict the outline of the hair on the left.
Add a few more lines to make a single outline.
- Draw the outer outline of the hair on the right side.
On the right, draw the outline of the hair using jagged, curved lines.
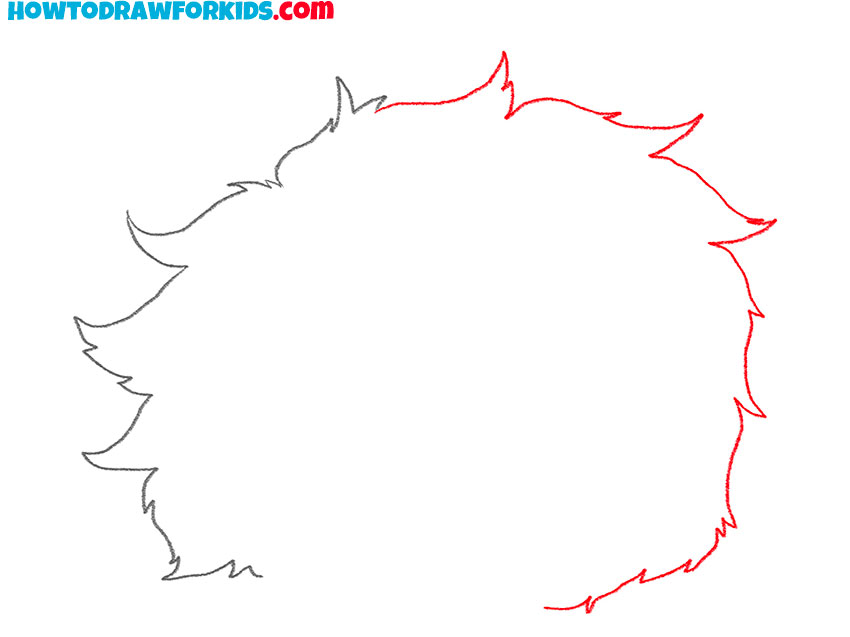
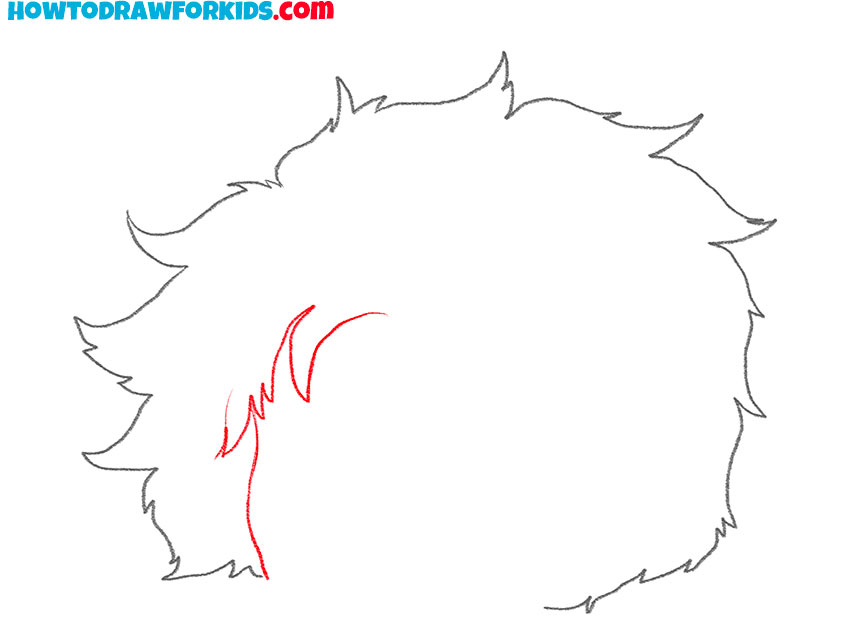
- Sketch out the inner outline on the left side.
Draw some spiky strands from the side of the face.
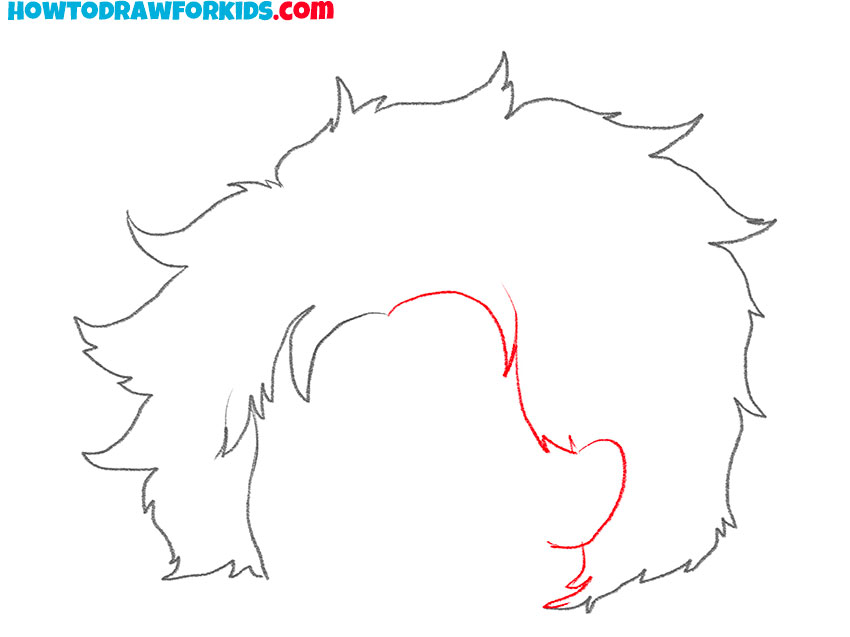
- Depict the inner outline of the hair on the right.
Repeat the previous step and with the help of short curved lines draw some freeform strands.
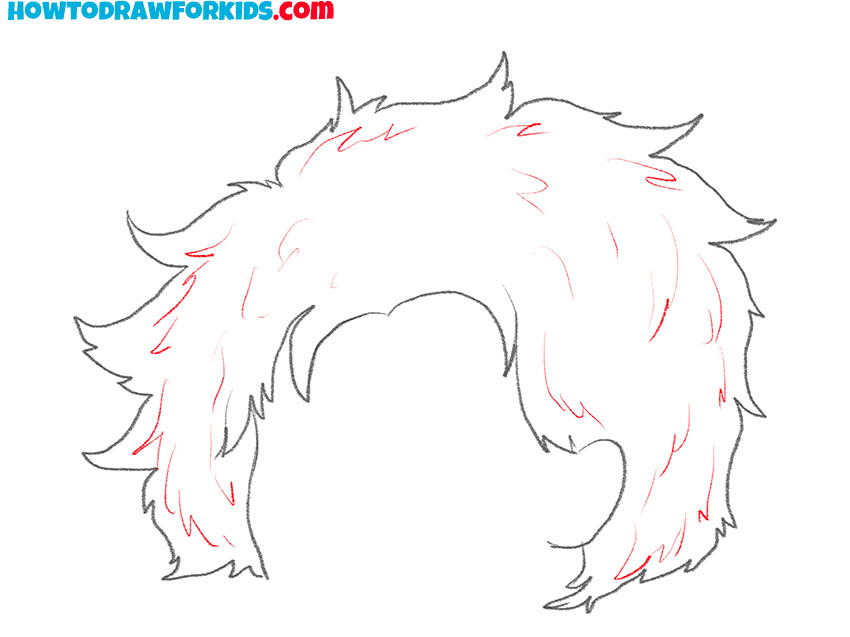
- Detail the hair.
Draw short, thin strokes across the entire surface of the hair to highlight individual strands.
- Add details.
Circle the entire outer outline.
- Color the drawing.
Use dark gray or any color of your choice.
You can now download a PDF of the short version of this tutorial that I have prepared for you. Save this file for yourself and use it as needed.