How to Draw a Lake
Today you will learn how to draw a lake quickly and easily. This guide consists of nine simple steps with helpful hints.
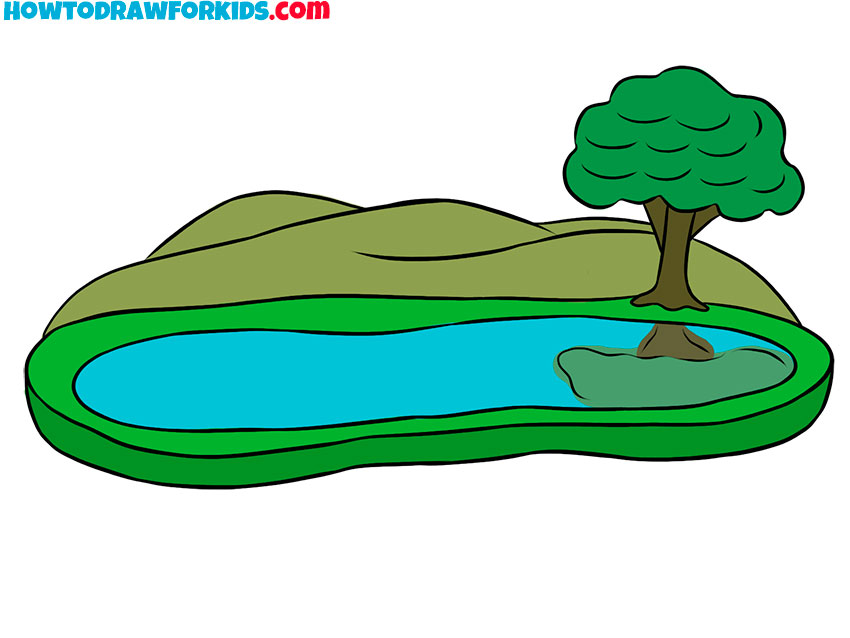
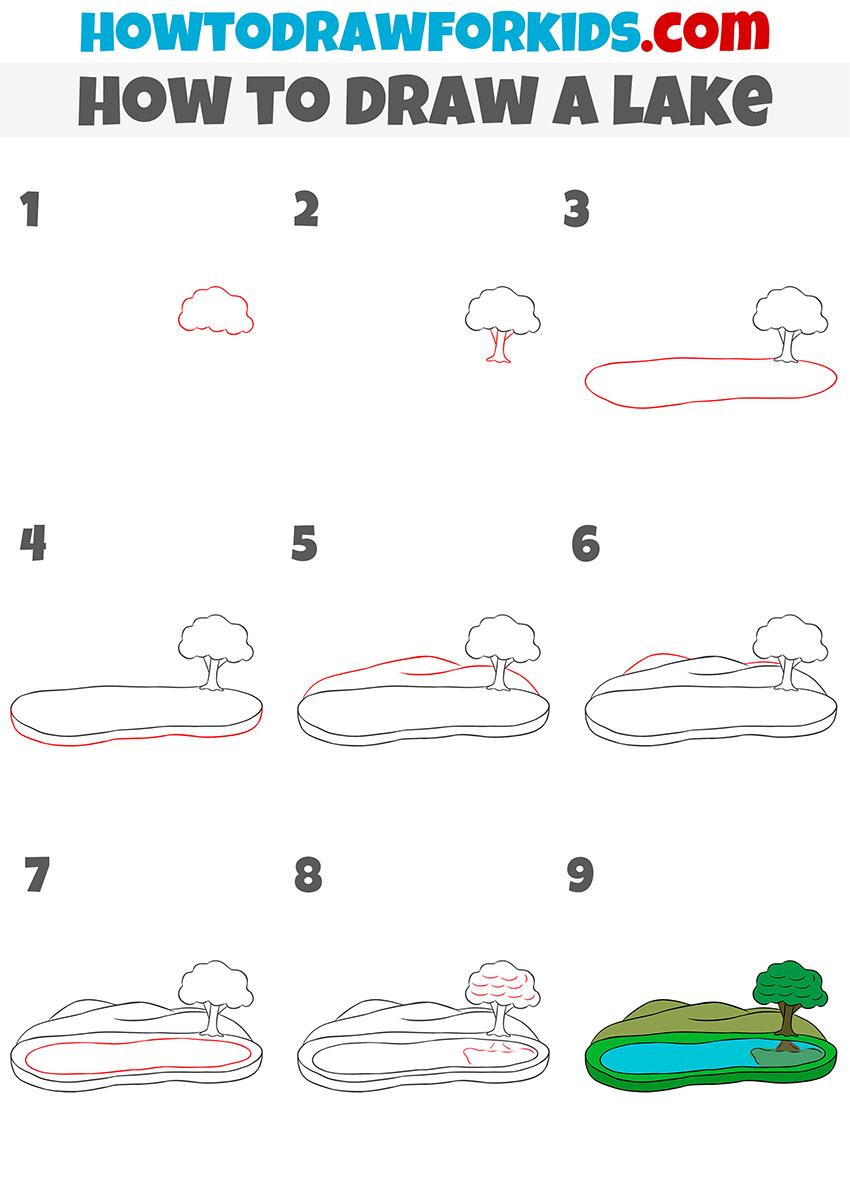
In this lesson, you will learn how to draw a lake. In the future, you will definitely need the useful skills that you will receive in this lesson.
Continuing the theme of natural objects, I will show you how to draw a lake. This lesson is designed for children and beginners, so the simplest elements are used here, which you can easily repeat.
In the picture you see a small lake on the shore of which a tree grows, there are hills in the background. This corner of wildlife looks very beautiful. In this tutorial, arbitrary lines are allowed, for example, you can slightly change the shape of a hill, a lake, or the shape of a crown on a tree.
Memorize the sequence of steps and use your creative imagination. You can use all the acquired skills in your next works when you want to draw a landscape.
Materials
- Pencil
- Paper
- Eraser
- Coloring supplies
Time needed: 30 minutes
How to Draw a Lake
- Draw the crown of the tree.
With the help of a wavy line depict the crown of the tree.

- Depict the tree trunk.
Below the crown, draw the branches and trunk.

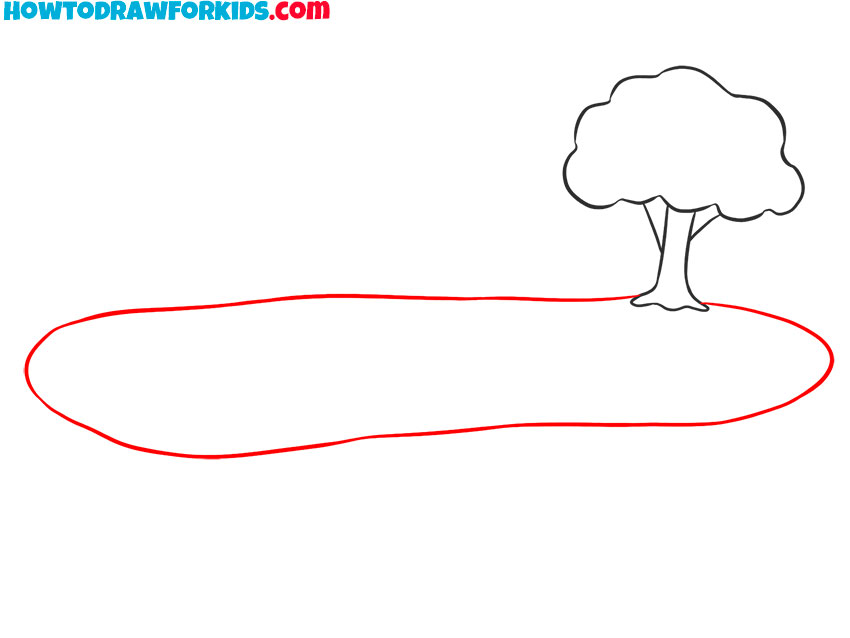
- Add the outline of the lake.
Draw an oval shape with a smooth line.
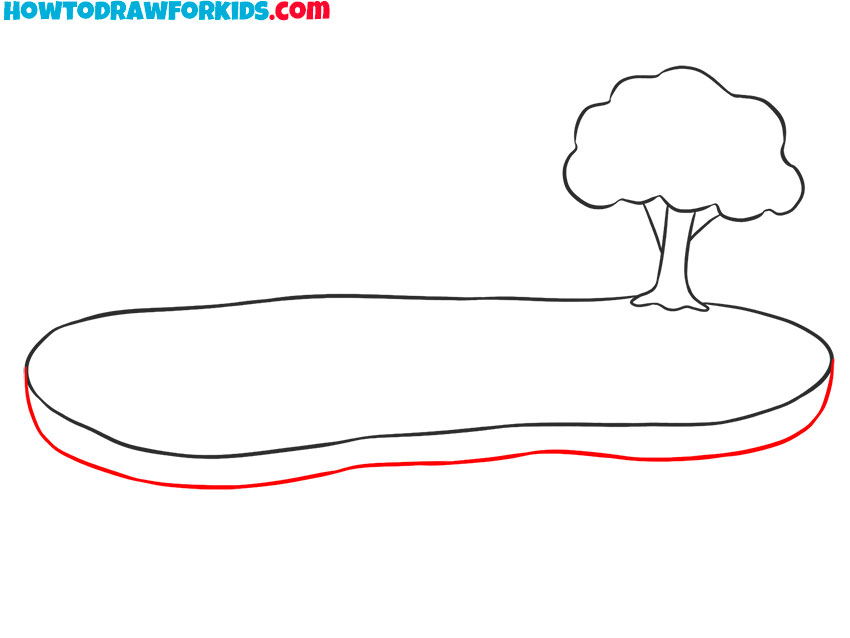
- Sketch out the coast.
Add another smooth line along the outline of the lake.
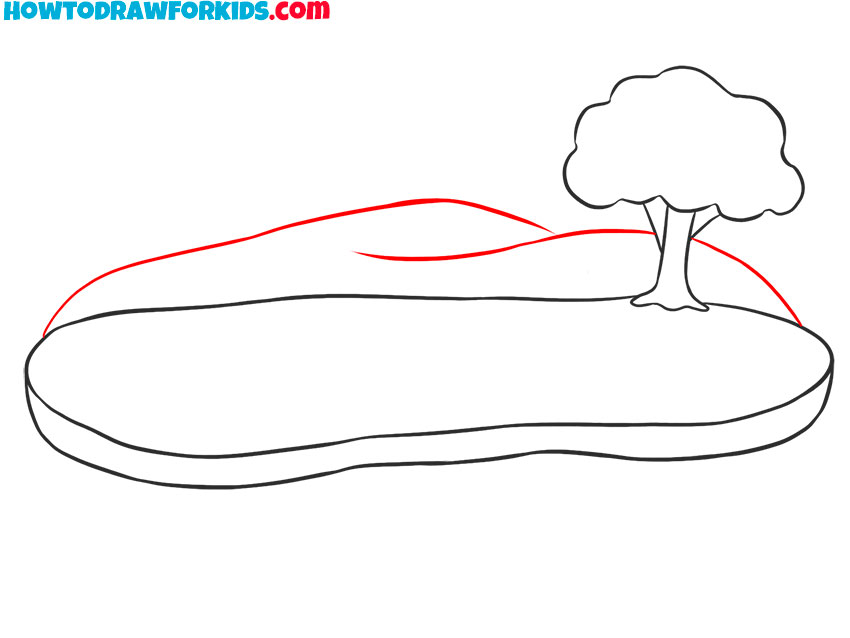
- Depict the hills.
Draw two smooth lines in the background.
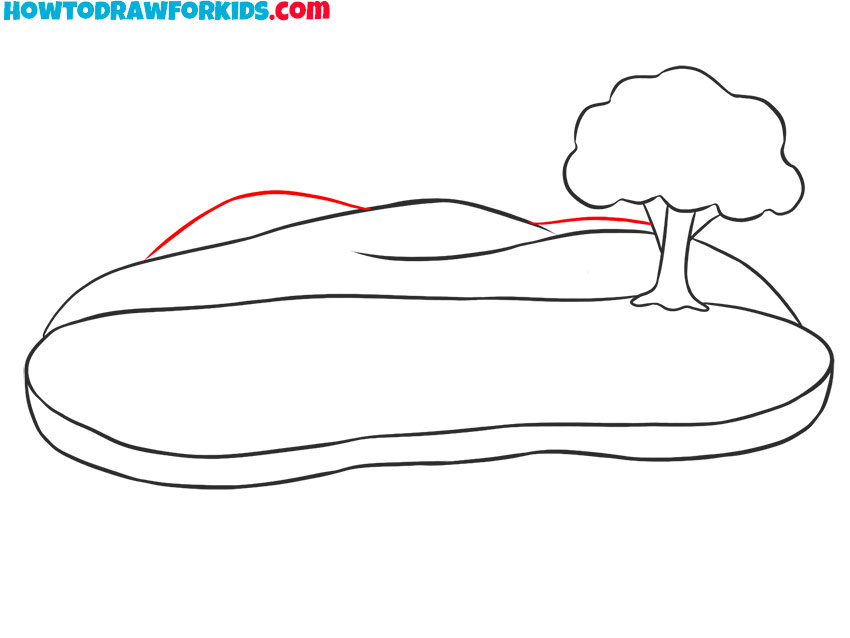
- Add more hills.
Sketch out small smooth lines to add relief.
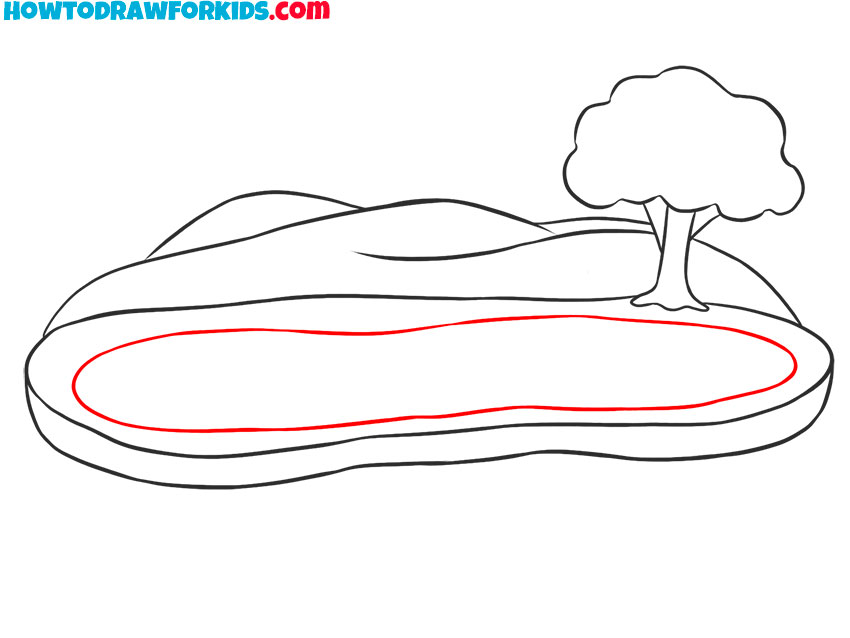
- Draw the surface of the water.
At this stage, draw an oval shape.
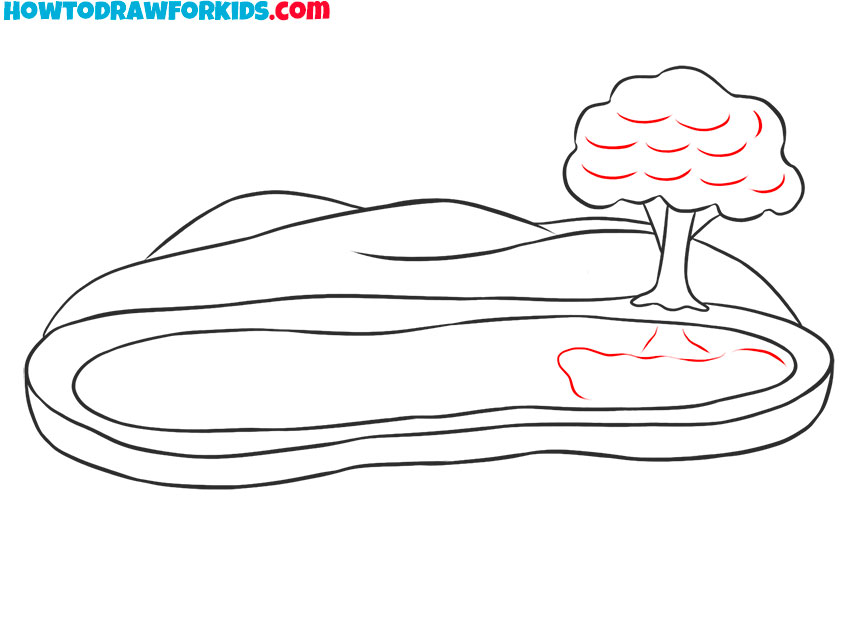
- Add details.
Detail the crown of the tree and add a reflection on the surface of the water.
- Color the lake.
Choose blue and green for the drawing.

As usual, I prepared a PDF file with a short version of the lesson in advance. Download the file so that you can return to this lesson at any time, even when there is no Internet access.

