How to Draw a Lipstick
Use this step-by-step guide on how to draw a lipstick to sketch one of the most popular cosmetic items with simple lines and basic shapes.

How to Draw a Lipstick: Introduction
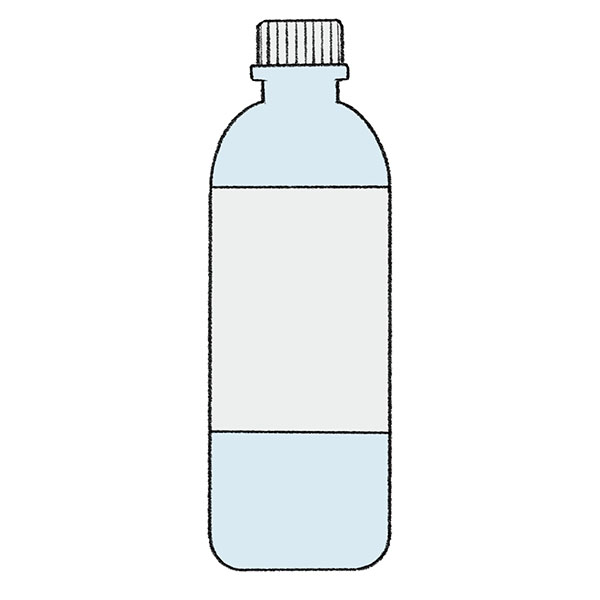
Lipstick shapes rely heavily on proportion and simplicity. In this version, the design is built around three connected sections: the base, the middle casing, and the top bullet. The whole form is symmetrical, so keeping both sides equal from the start.
The outline of a lipstick may seem simple at first glance, but it requires control over shape spacing and alignment. The body of the lipstick is built from stacked rectangles, so keeping the vertical axis consistent is important throughout.
The trickiest part is the top section of the lipstick. The rounded top is drawn as a tilted ellipse, and it needs to feel natural and authentic. If it’s off, the tip will look distorted or disconnected from the cylinder below. Pay attention to how the curve meets the vertical sides.
One of the key things to get right is the width difference between the casing and the lipstick bullet. The bullet sits inside the casing, so it should be slightly narrower. If you want to experiment further, try creating variations by adjusting the length of the lipstick, adding small brand elements, or changing the finish – matte or glossy
Lipstick Drawing Tutorial
Materials
- Pencil
- Paper
- Eraser
- Coloring supplies
Time needed: 30 minutes
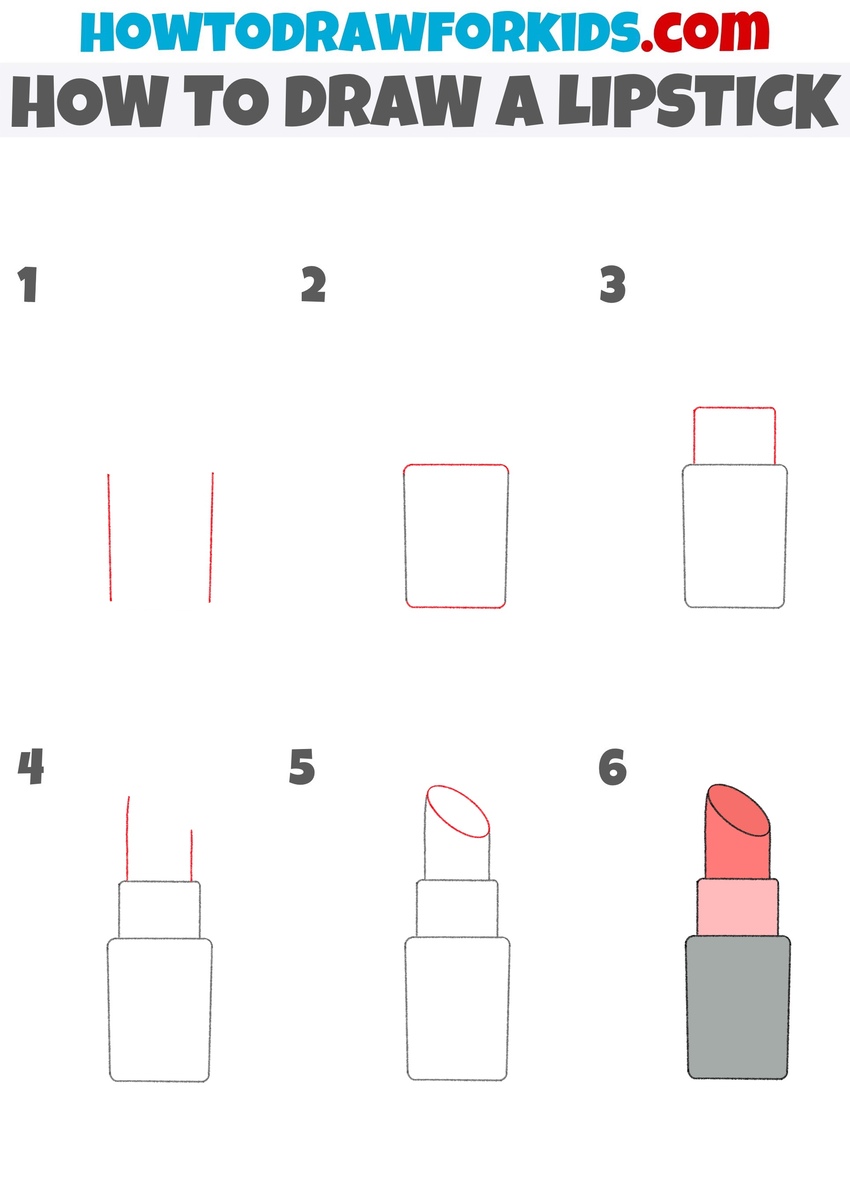
How to Draw a Lipstick
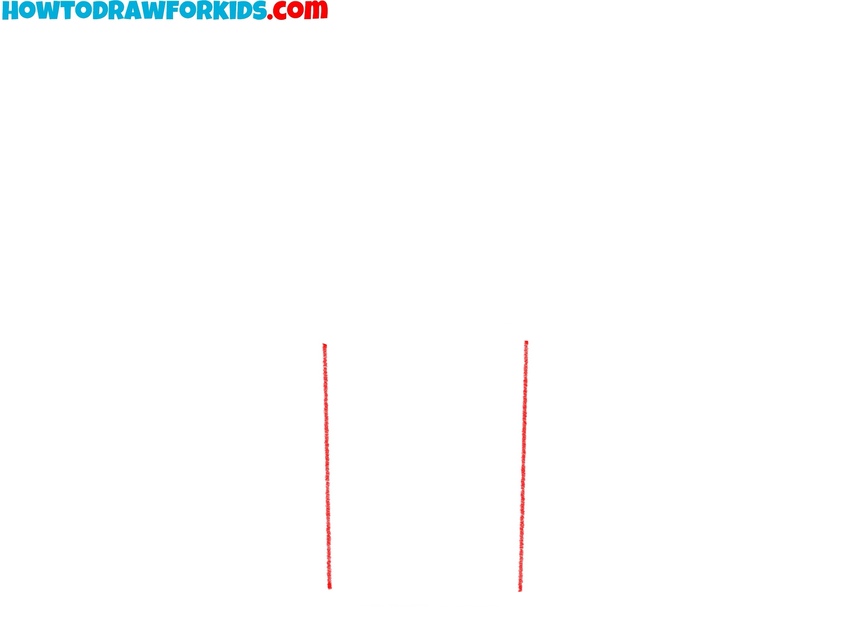
- Draw the side lines of the lipstick base.
Sketch two vertical lines that are slightly tapered outward as they rise. These lines will serve as the side edges of the lipstick’s lower section, which is the container or base. The lines should be close to the center and equal in length. Leave enough room above these lines for the lipstick top part.
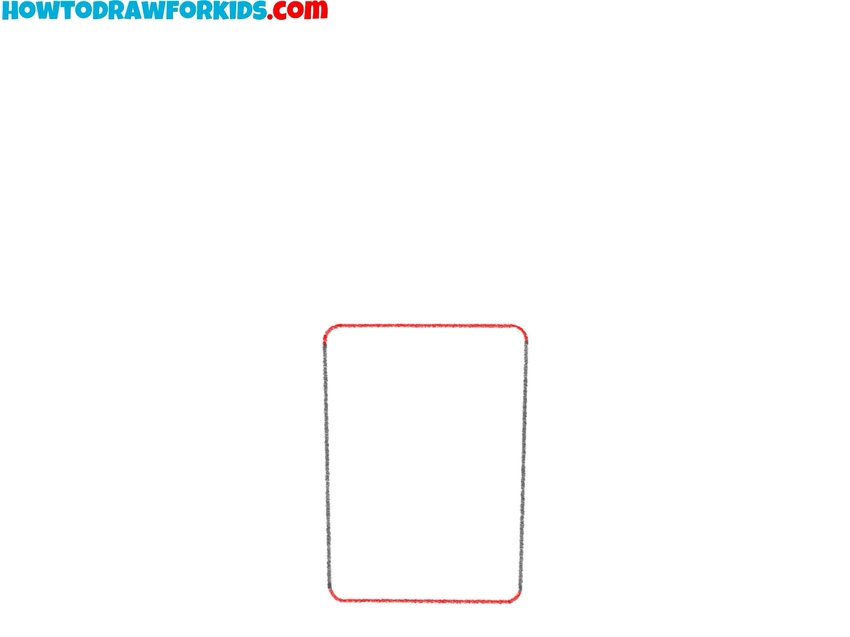
- Complete the lipstick base.
Now connect the top and bottom ends of the vertical lines with smooth horizontal lines to complete the rectangular base. Slightly round the corners for a polished, manufactured appearance. Make sure the top and bottom lines are parallel and that the shape is symmetrical.
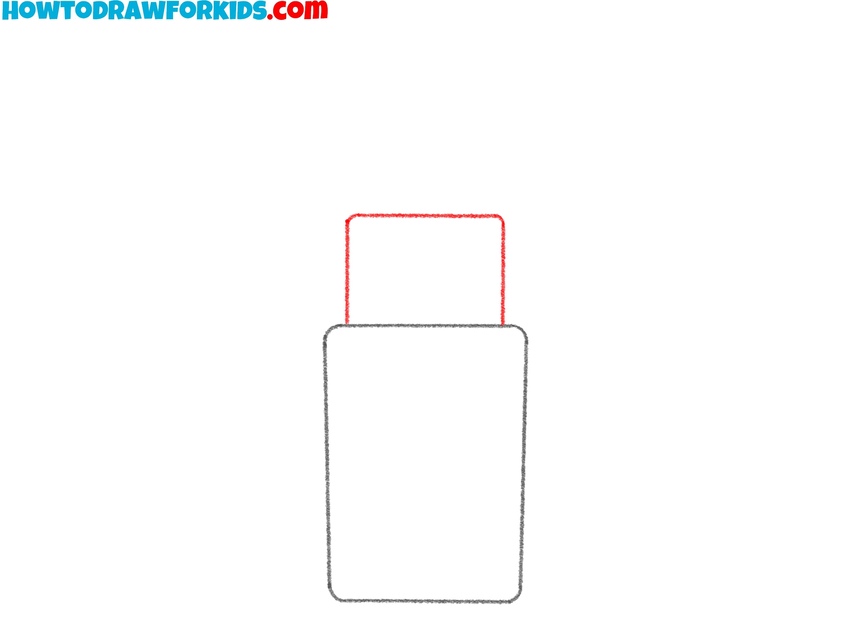
- Add the middle holder section.
Above the rectangle you’ve drawn, add a smaller rectangular shape to represent the part of the lipstick holder that elevates the product when twisted. Make this new shape centered above the base and slightly narrower in width. This block should be about half the height of the base below it.
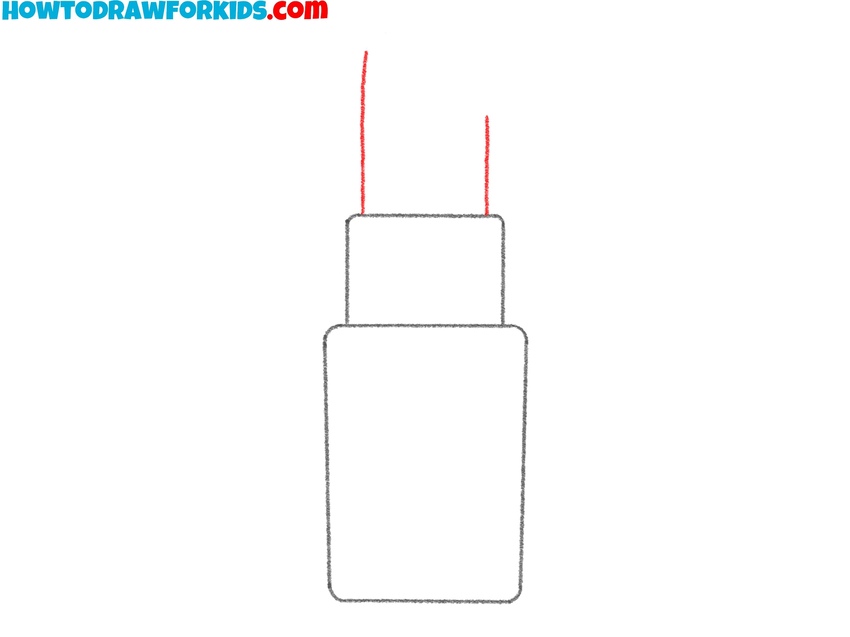
- Draw the sides of the lipstick stick.
From the top of the middle section, draw two vertical lines extending upward. These lines will form the sides of the visible lipstick itself – the colored product that protrudes from the holder. The height and width of the lipstick stick should be slightly less than that of the base to maintain good proportions.
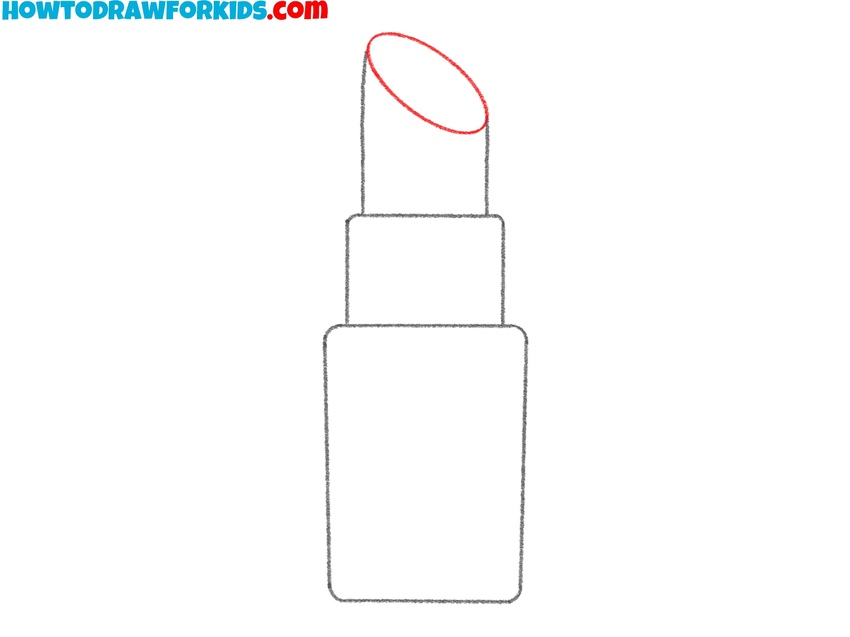
- Create the oval-shaped top.
Complete the top of the lipstick stick by drawing a diagonal oval or slanted curve across the top opening. This angled ellipse represents the sloped surface of the lipstick – one of its most recognizable features. The top edge should lean to one side, forming the typical cut used for application.
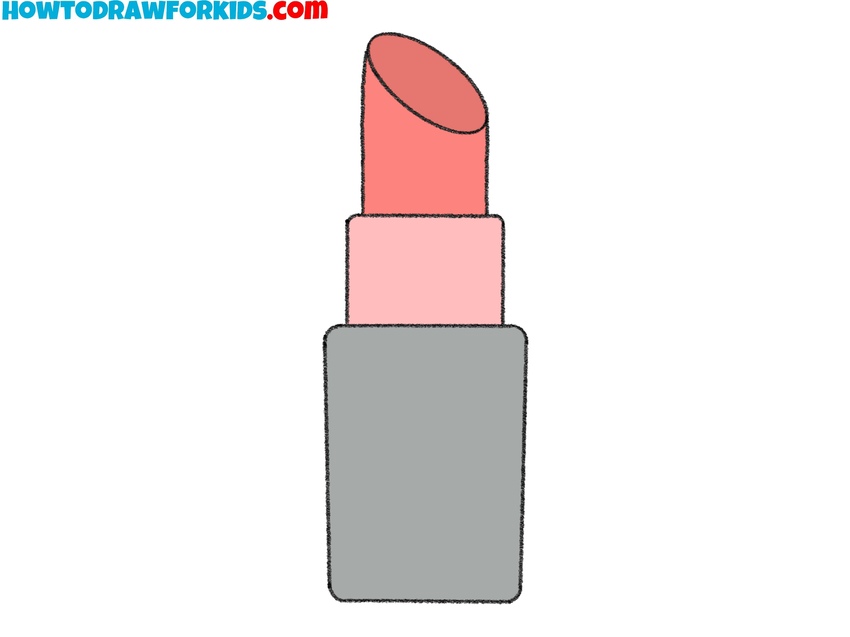
- Add color to each part.
To complete your drawing of a lipstick by adding color to each section. Paint the lipstick stick in a red or pink color at the top, a lighter shade for the middle holder, and a darker tone – such as gray, black, or a deep maroon – for the base. You can add a highlight or shadow with a slightly darker tone.
Advanced Lipstick Drawing Techniques
Once you’ve mastered this basic lipstick drawing, there are several ways to create variations or learn more advanced techniques.
One simple variation is changing the angle of the lipstick tip – try to draw a lipstick flat, rounded, or even used and uneven to represent different stages of use.
You can also draw a lipstick with a shorter stick or fully retract it into the holder, leaving only the top container visible. Another easy change is altering the proportions of each section to make a slimmer or bulkier lipstick tube.
For a more advanced version, try adding perspective by tilting the lipstick slightly to one side. This introduces foreshortening and can help you practice drawing cylinders and ellipses at angles.
You can also experiment with transparency by drawing the cap separately or showing the lipstick through a clear plastic tube.
If you’re working digitally or with markers, add simple highlights and shadows to each section to give the object volume. Reflective surfaces on the base can be illustrated with clean white highlights, while soft shading can help distinguish the lipstick material from the holder.
Conclusion
This lipstick drawing tutorial demonstrated really simplified basic shapes. The final form is minimal, but immediately recognizable as a standard lipstick tube.
As I’ve said before, after finishing this version, you can draw a lipstick and try modifying the sketch by adjusting the tip angle, changing the height of the stick, or drawing the lipstick fully closed.
For more objects in a similar style, try my tutorial on how to draw a rose. Or boost your drawing skills and draw a girl face using a really simple technique.