How to Draw a Lock
In this drawing lesson I want to show you how to draw a lock step by step. This guide includes seven steps.

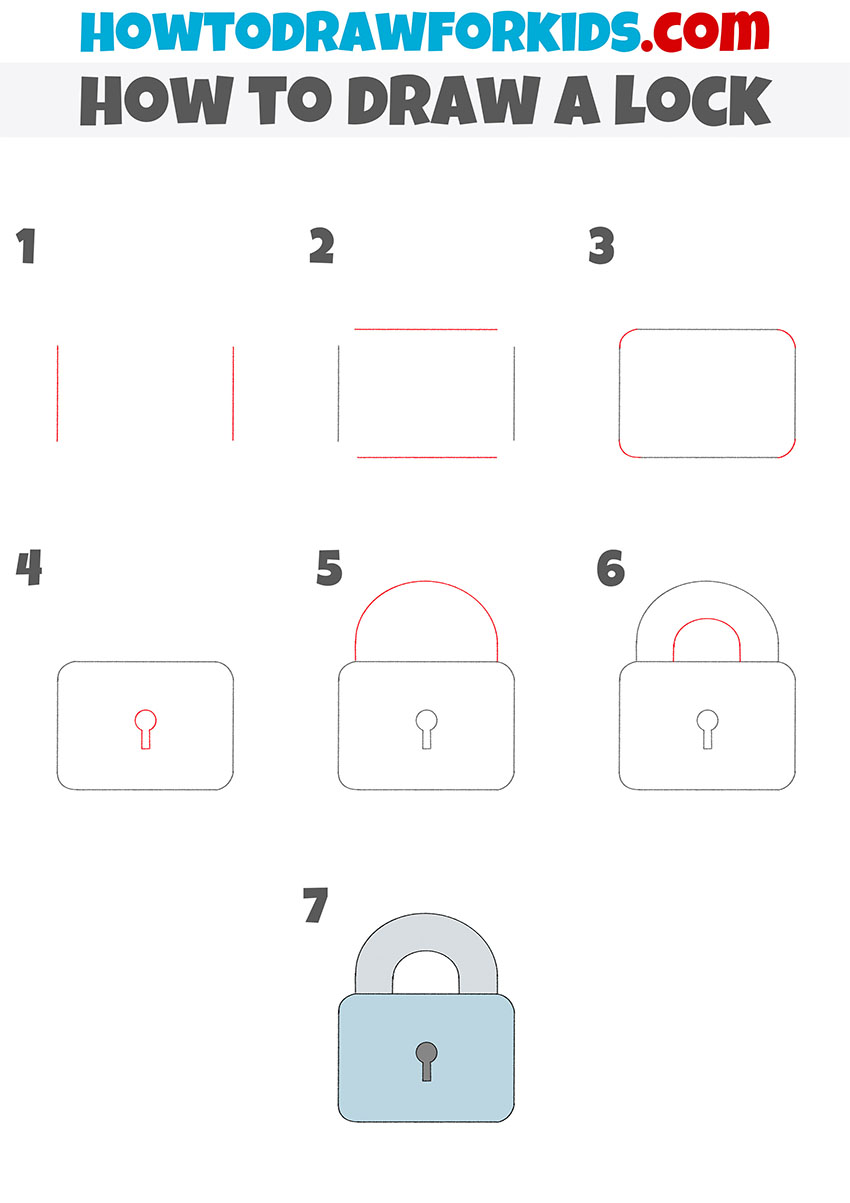
If you want to develop your artistic abilities, then be sure to follow the new lesson on how to draw a lock. This object has a simple shape, and you shouldn’t have any trouble following the tutorial.
The figure shows a conventional door lock, which has a main body and a shackle at the top. There is a keyhole in the middle of the case. This locking mechanism was invented a long time ago and is still used on the farm.
With the help of a clear and accessible instruction, you can easily draw all the lock elements and get a good result. You only need to be attentive and accurate at every stage of drawing.
Materials
- Pencil
- Paper
- Eraser
- Coloring supplies
Time needed: 30 minutes
How to Draw a Lock
- Draw the sides of the lock.
Determine the width of the lock and draw two straight vertical lines.

- Depict the top and bottom of the lock.
Draw straight horizontal lines at the top and bottom of the picture.

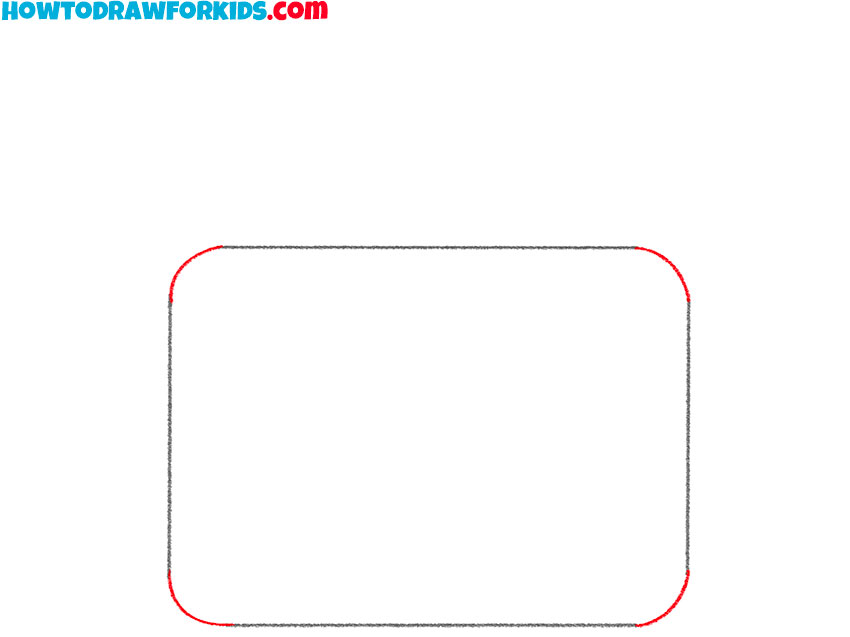
- Add the rest of the outlines.
Depict smooth connecting lines along the corners of the case.
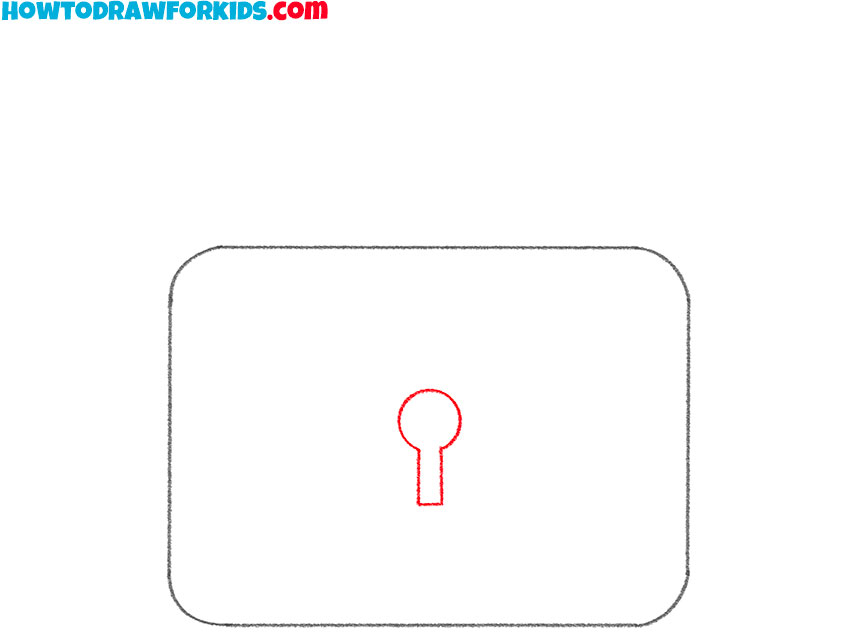
- Sketch out the hole for the key.
Draw the hole whose top is a circle and the bottom is a rectangle.
- Draw the outer outline of the shank.
At the top of the picture, carefully draw a semicircular line.
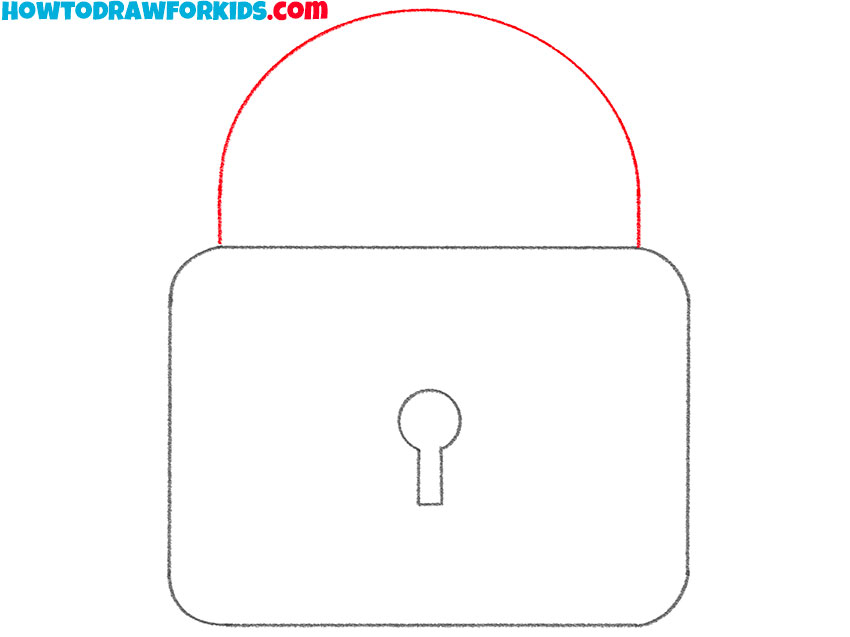
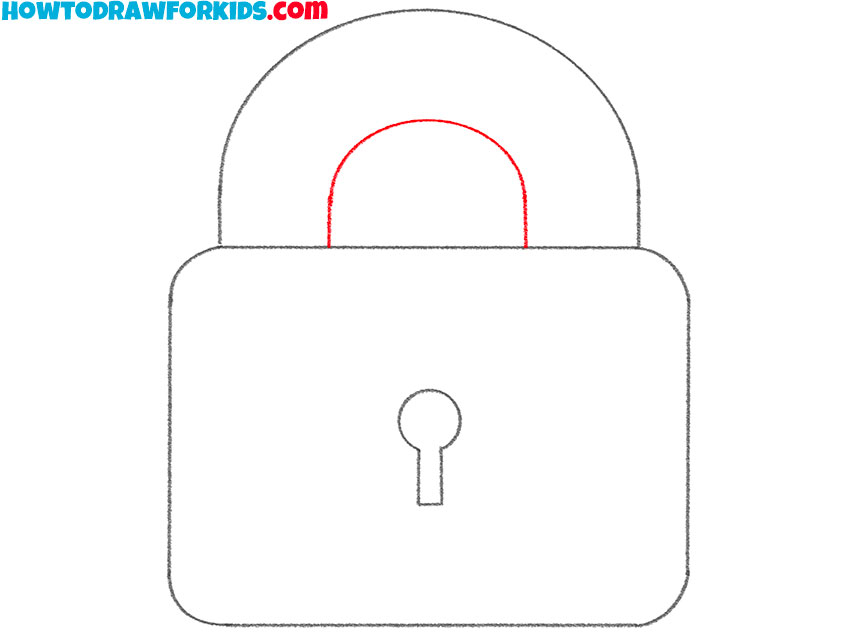
- Depict the inner outline of the shank.
Draw another semicircular line of a smaller size to indicate the thickness of the bow.
- Color the drawing.
You will need blue and different shades of gray.

The next lesson has come to an end, and now you know how to draw a lock step by step. If you liked this tutorial, then leave a small review in the comments. I will be glad to receive feedback from you. Don’t forget to download the PDF file, which contains a brief instruction and additional training materials necessary for the effective implementation of the lesson.


