How to Draw a Mockingbird
This is another useful drawing lesson dedicated to the drawing of birds, and with it, you will learn how to draw a mockingbird step by step.
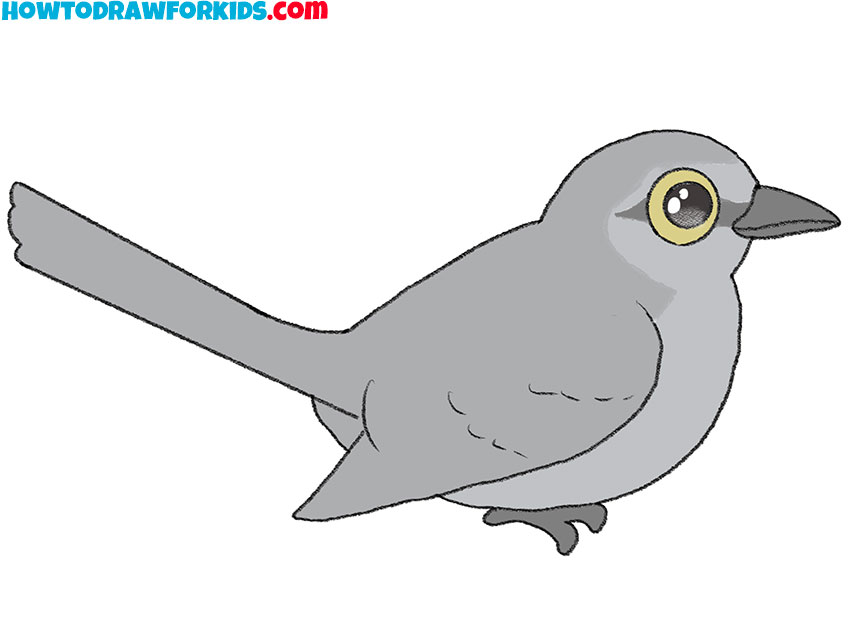
I have prepared for you a very useful drawing lesson in which I will show you how to draw a mockingbird step by step. This tutorial is great for beginners and kids as it doesn’t contain any hard to draw elements.
The Mockingbird is a small bird that has brown or gray plumage. Mockingbirds are able to repeat any sounds, which makes this bird so interesting and unusual. The Mockingbird has a broad beak and a straight tail.
After you learn how to draw a mockingbird with the help of this lesson, you can complement various drawings with this image. If you want to get started with this simple tutorial, get your art supplies ready and get to work.
Materials
- Pencil
- Paper
- Eraser
- Coloring supplies
Time needed: 30 minutes
How to Draw a Mockingbird
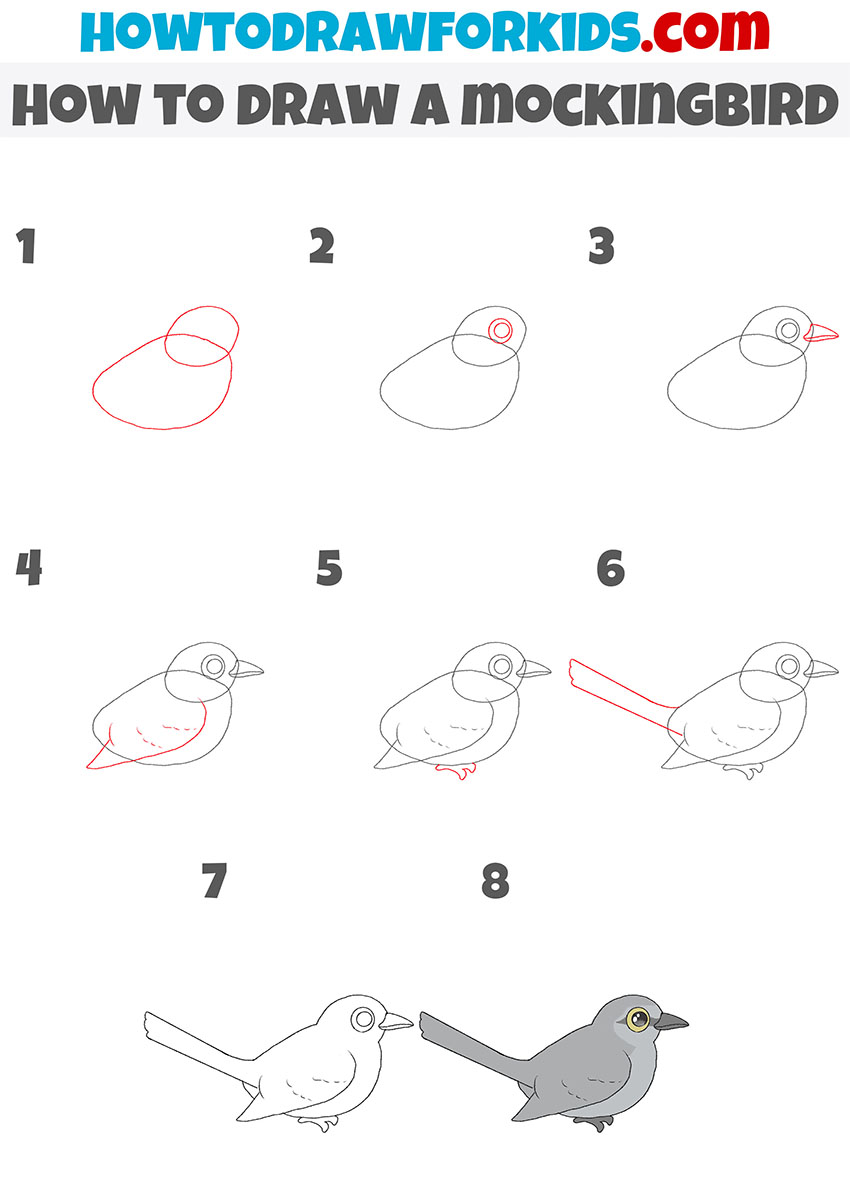
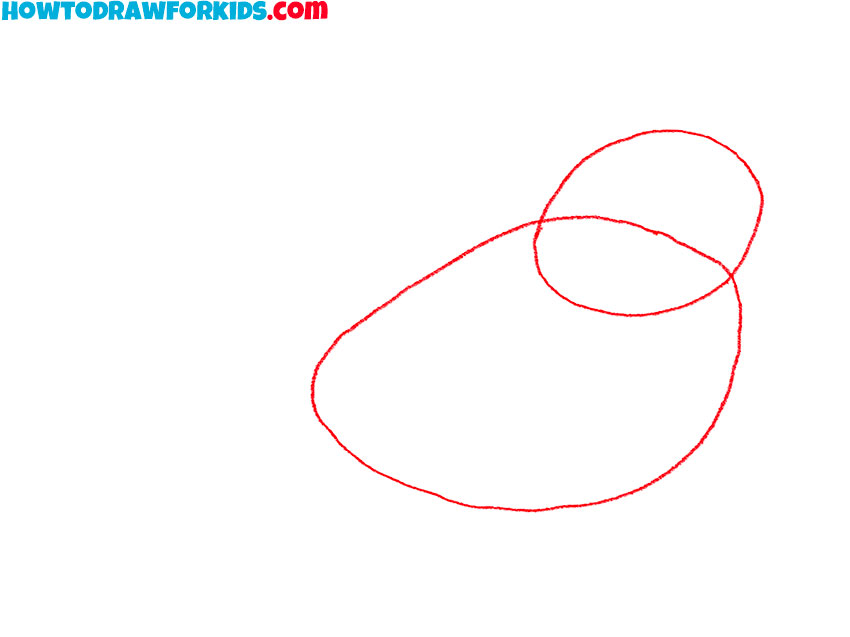
- Draw the outlines of the head and torso.
Depict the head as an oval shape and add the torso as a deformed oval.
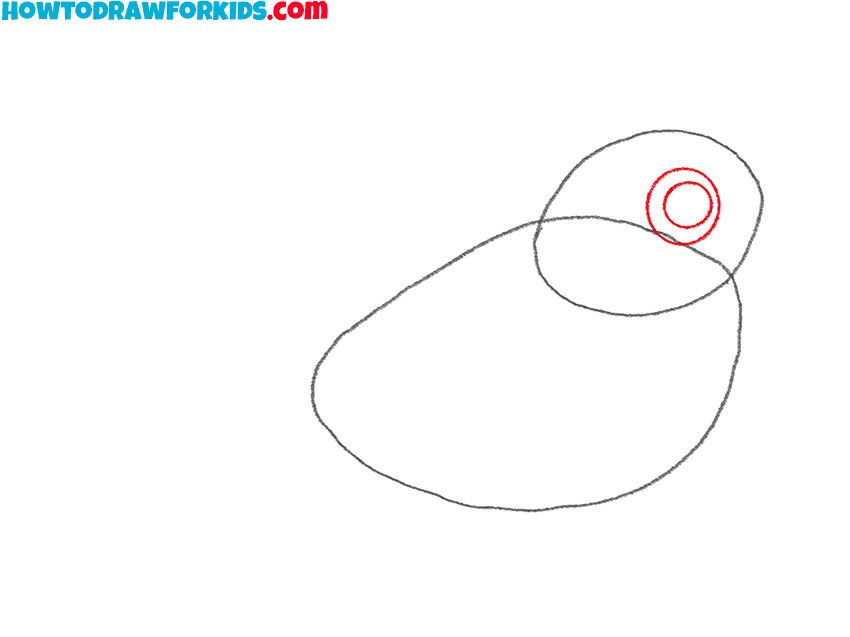
- Add the eye of the mockingbird.
At the top of the head, draw two circles of different sizes, place one inside the other.
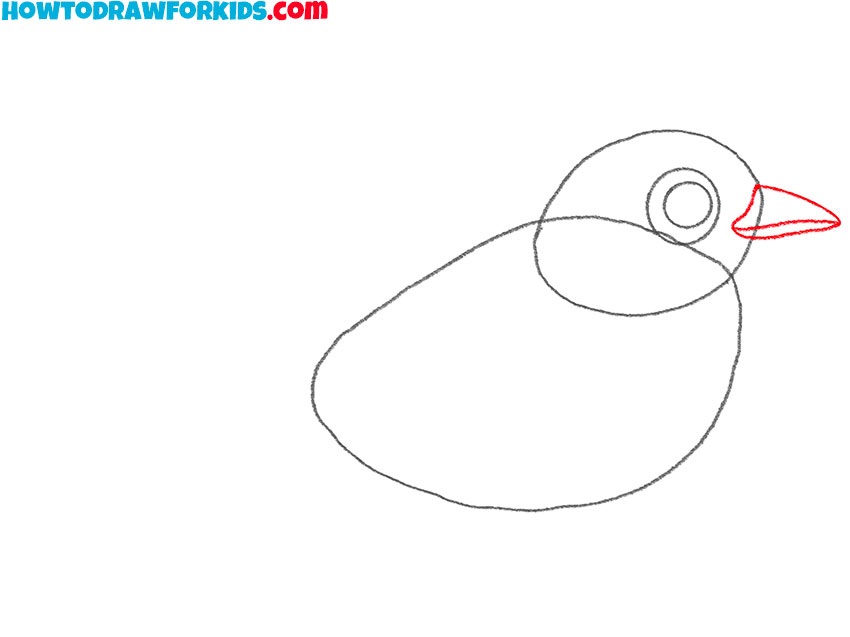
- Sketch out the mockingbird’s beak.
On the right side of the mockingbird’s head, draw the long pointed beak using curved lines.
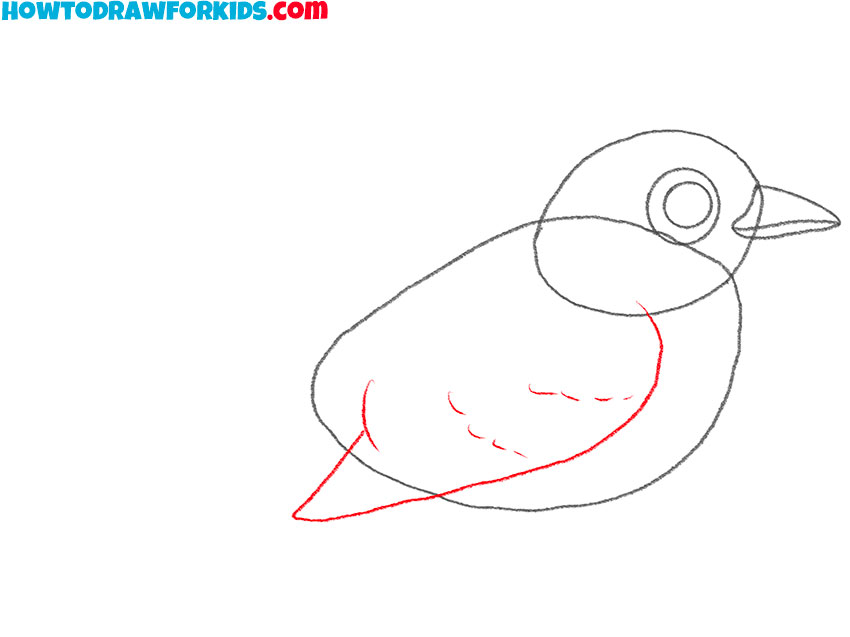
- Depict the wing of the mockingbird.
On the side of the torso of the mockingbird, draw long and short curved lines, as well as an arc.
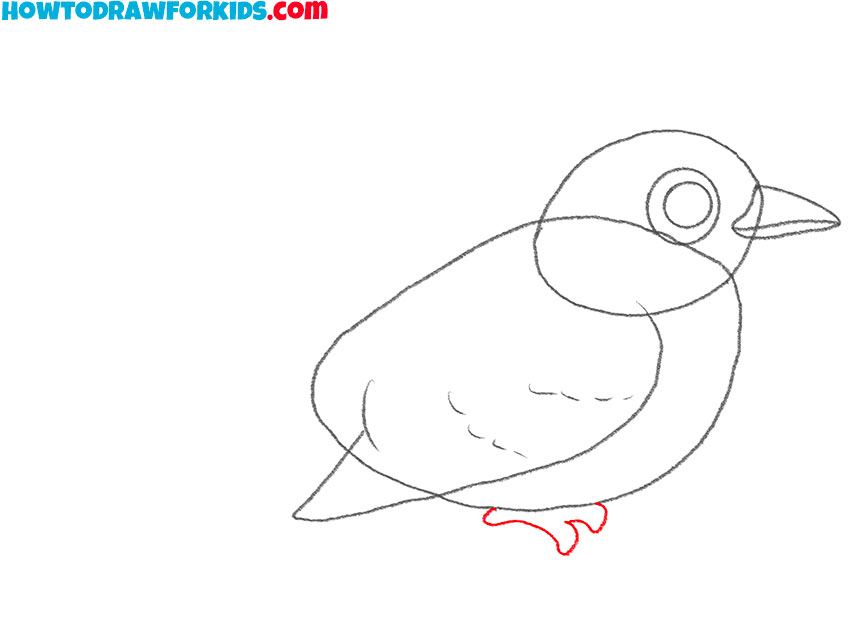
- Add the outline of the mockingbird’s leg.
Sketch out the leg of the bird using curved lines as shown.
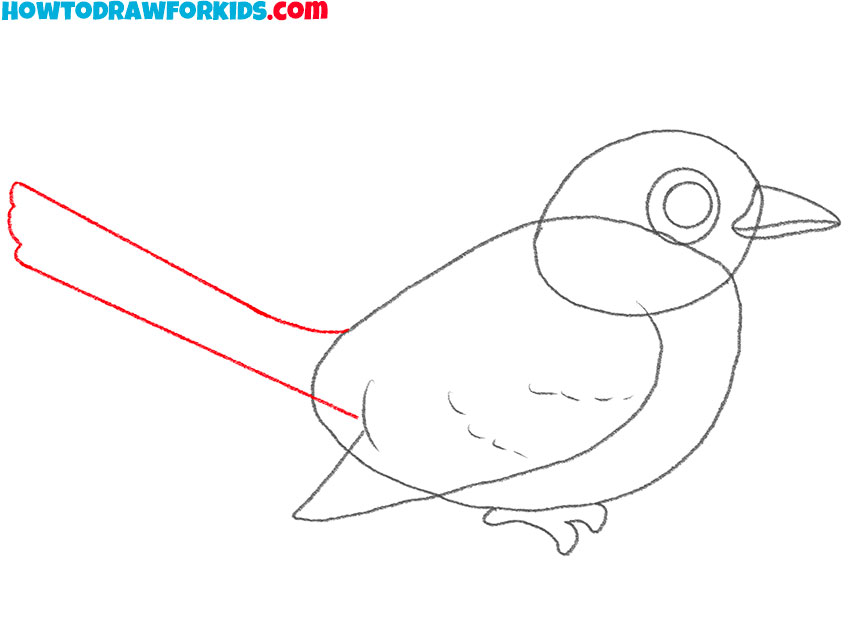
- Draw the tail of the mockingbird.
Now you should depict the long tail raised up, using straight and rounded lines.
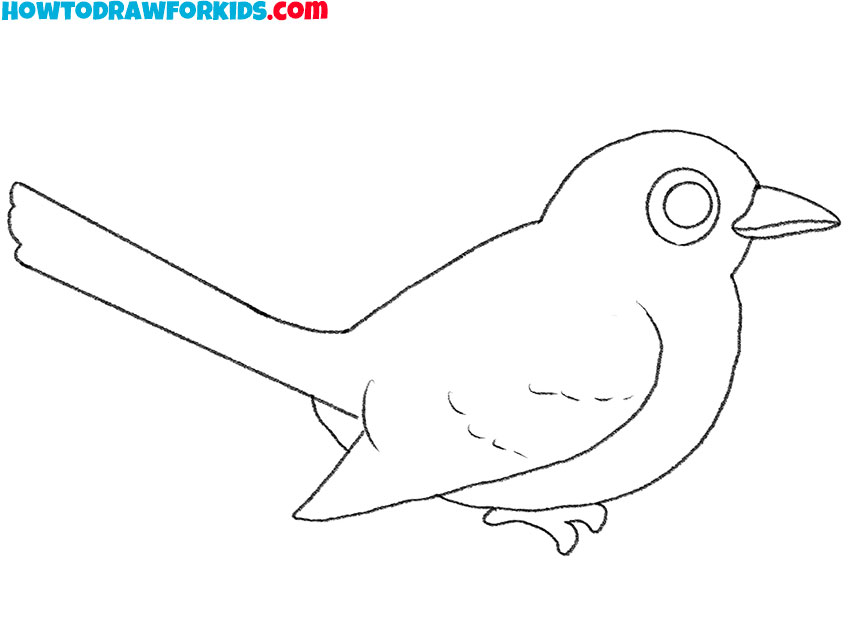
- Correct inaccuracies.
Use the eraser to remove unnecessary guidelines and prepare the drawing for coloring.
- Color the drawing.
To color the mockingbird, use different shades of gray, as well as green and black.

Follow us on social media if you haven’t already and stay tuned for our updates. For your convenience, I have prepared a PDF file that contains all the useful information from this lesson.


