How to Draw a Pearl
If you want to learn how to draw a pearl, you will really like this lesson. This instruction is very simple and consists of six easy steps.
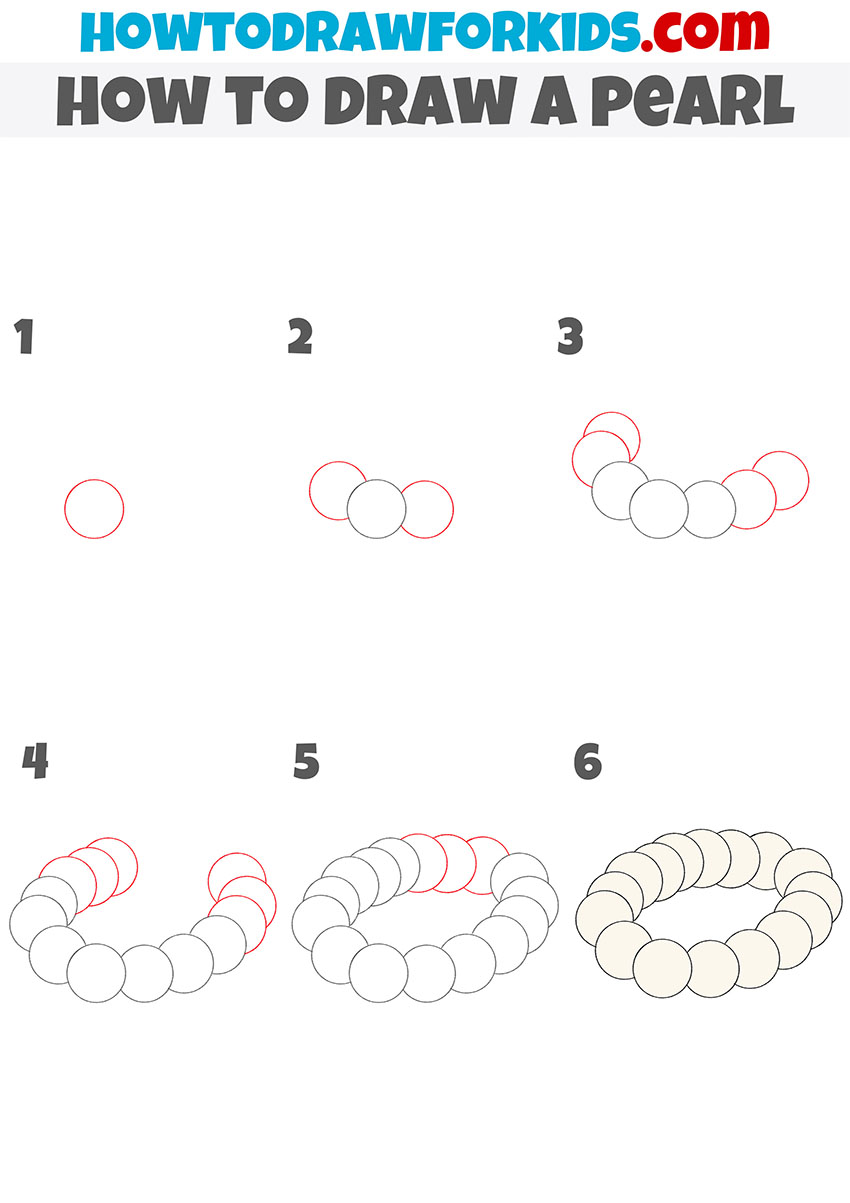
I have prepared a new exciting lesson for you in which you will learn how to draw a pearl. The lesson includes only six simple steps that even beginners can easily handle.
If you often visit the pages of my site, you already know that the simplest shapes are presented here and the drawing instructions contain several understandable and accessible steps.
Pearls are river and sea, while sea pearls are valued much more. This is a unique creation of nature, used as a luxurious decoration. Beads, bracelets, and pendants are made of pearls, and earrings and rings are decorated.
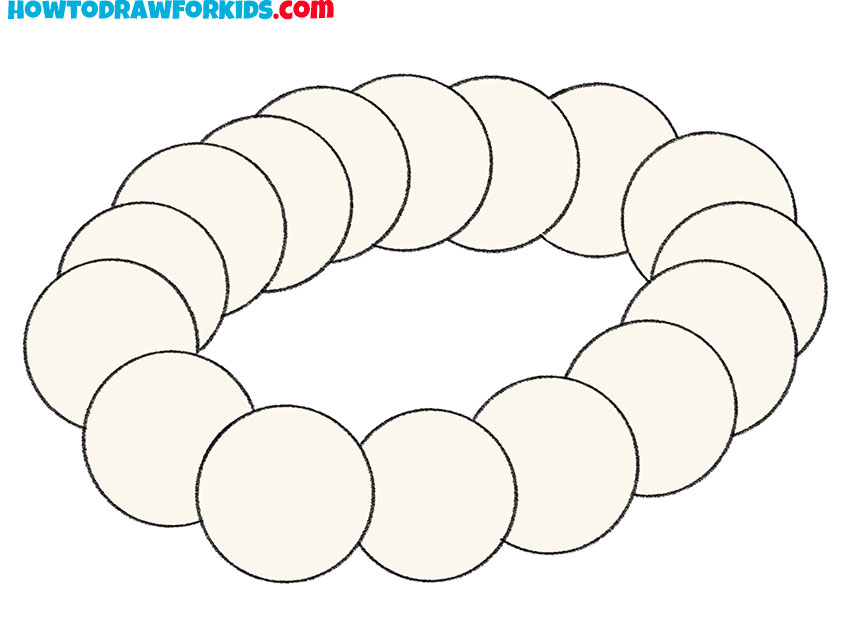
In the picture, you see a small pearl bracelet. In order to draw such an object, you will need the ability to make even circles. Each step involves the same actions, where you will consistently draw pearls.
Materials
- Pencil
- Paper
- Eraser
- Coloring supplies
Time needed: 20 minutes
How to Draw a Pearl
- Draw the first pearl.
Determine the size of your drawing and draw an even circle.

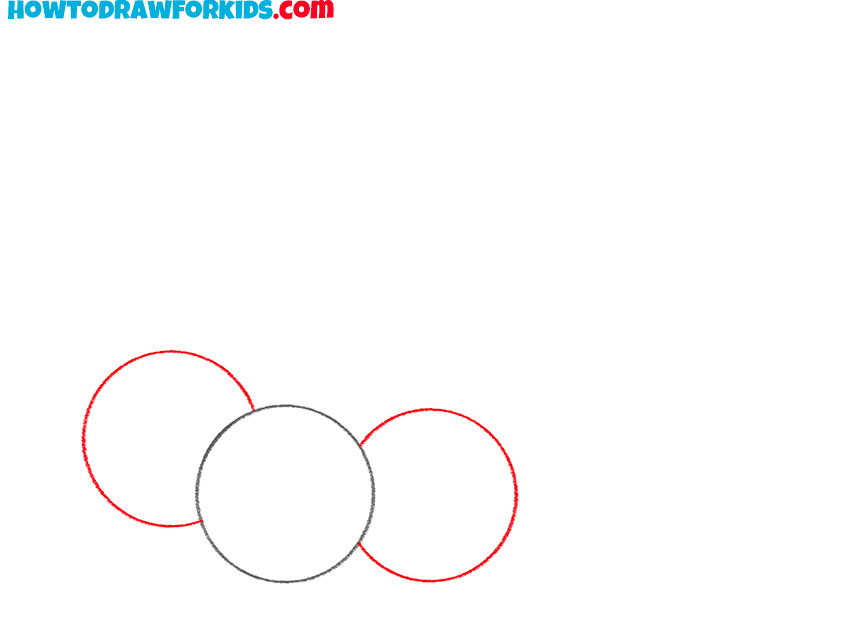
- Depict pearls on the sides.
On each side, add even circles.
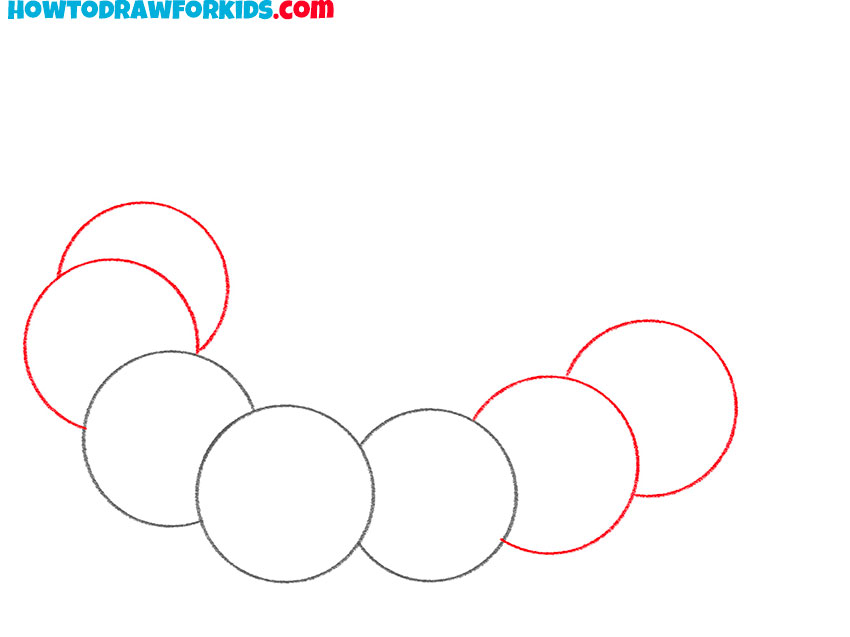
- Add the next few pearls.
Sketch out some curved lines on each side.
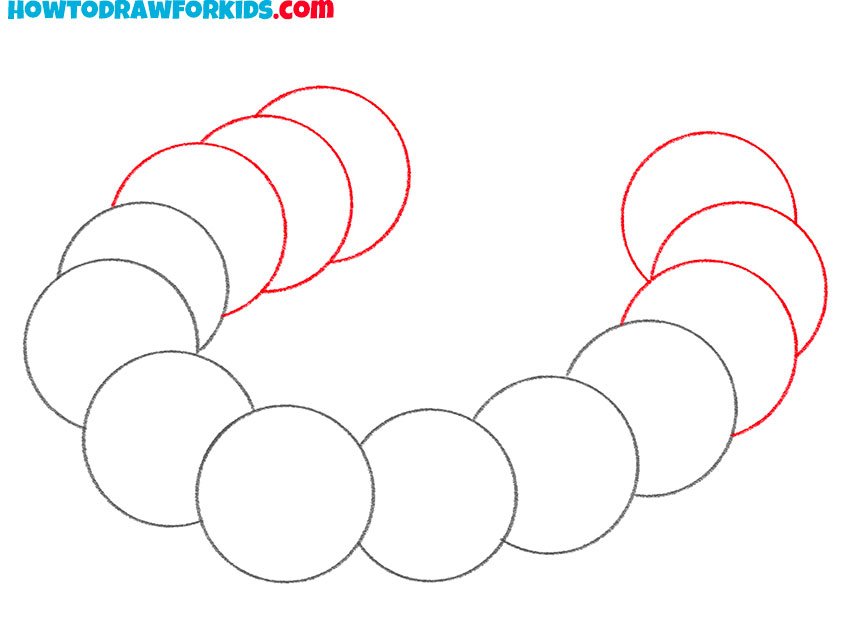
- Sketch out the pearls.
Sequentially depict several rounded lines.
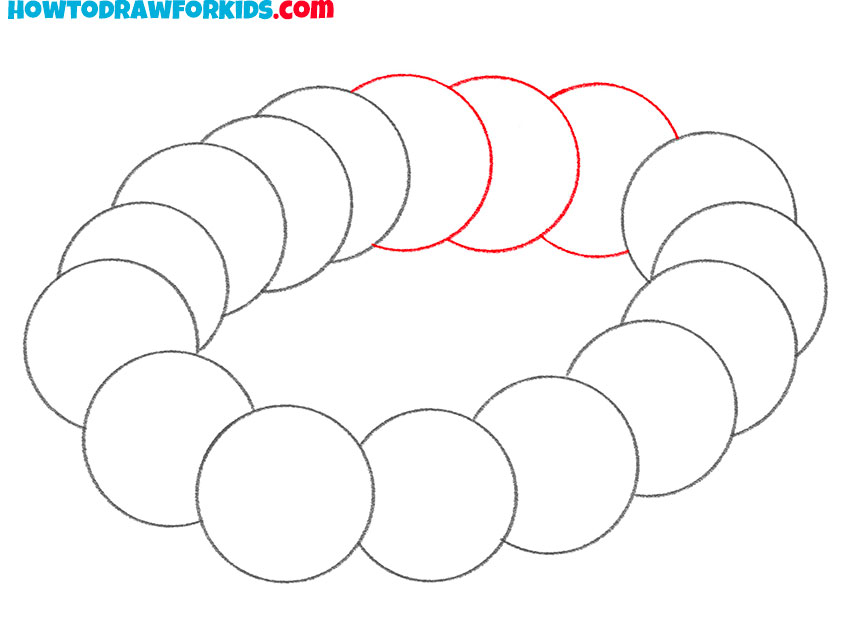
- Draw the rest of the pearls.
Depict a few rounded lines to draw the last pearls in the bracelet.
- Color the pearl.
Choose the lightest shade of pink.

It was a simple lesson in which you learned how to draw a pearl. If you liked this lesson, then you can leave your feedback in the comments. You can also suggest your ideas for the next lessons.
At the end of the lesson, there is a link for you to download a short version of the guide. This will help you to return to the lesson and complete it at any convenient time.

