How to Draw a Daffodil
Follow this tutorial on how to draw a daffodil and sketch a simple but accurate spring flower using a few very simple lines.

How to Draw a Daffodil: Introduction
The daffodil is a recognizable spring flower with six pointed petals and a trumpet-like center. It’s often one of the first flowers to bloom after winter and is associated with spring. In this tutorial on how to draw a daffodil, we’ll use a simple structure and illustrate the flower’s main features in a simple way.
When drawing a daffodil, it’s better to begin with the central cup, also known as the corona. This part has a slightly ruffled edge and sits in the middle of the entire flower. Finalize this part before moving on to the petals around it. The petals can have small variations in angle to keep the result from looking too mechanical.
Drawing the petals may seem repetitive, but slight changes in shape or curve will make your flower sketch look more natural. You can alternate the angles and let some petals overlap slightly. The outer petals are relatively large and pointed. The leaves should be long and blade-like.
This daffodil drawing can be colored in standard yellow tones, or you can change it for a different look. The drawing can be left as a single flower or placed into a larger composition. You could draw several daffodils of different sizes or add environmental details like a small patch of grass or a curved horizon line.
Daffodil Drawing Tutorial
Materials
- Pencil
- Paper
- Eraser
- Coloring supplies
Time needed: 35 minutes
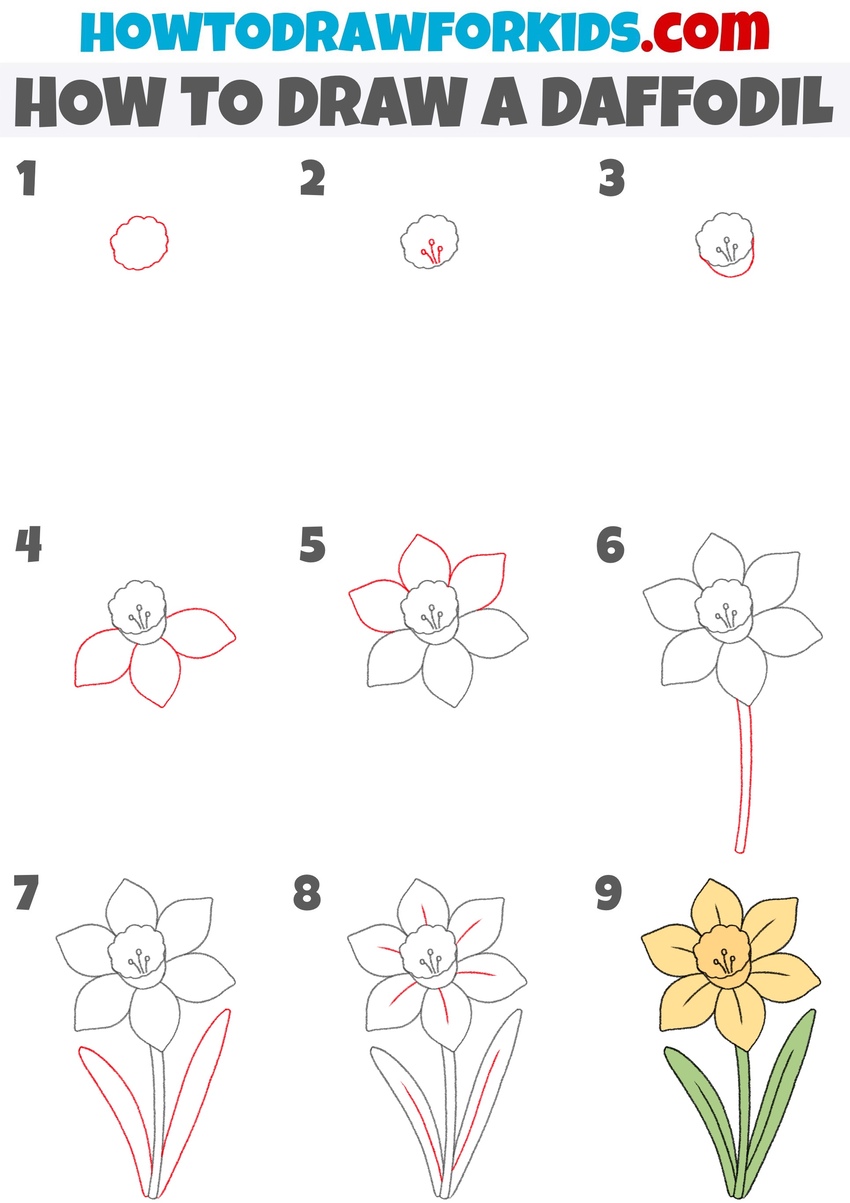
How to Draw a Daffodil
- Begin drawing the daffodil’s center.
To draw a daffodil, sketch the ruffled central part of the flower, known as the corona or trumpet. This is the most distinctive feature of a daffodil and sits at the center of the bloom. Draw a small, round, and slightly uneven wavy shape near the top center of your page.

- Add the stamens inside.
Add three simple lines rising upward from the middle of the corona. Each one should curve outward and end with a small rounded shape – these are the anthers at the tips of the stamens. While daffodils can have more stamens in reality, using three creates clarity for a simplified drawing. Keep the lines light and clean.

- Close the bottom of the trumpet.
To complete the corona, add the base where it connects to the petals. Draw a gentle U-shaped curve across the lower part of the ruffled corona, as if you’re forming the bottom edge of a cup. This curved base helps the trumpet look three-dimensional. It also prepares the drawing for the next step.

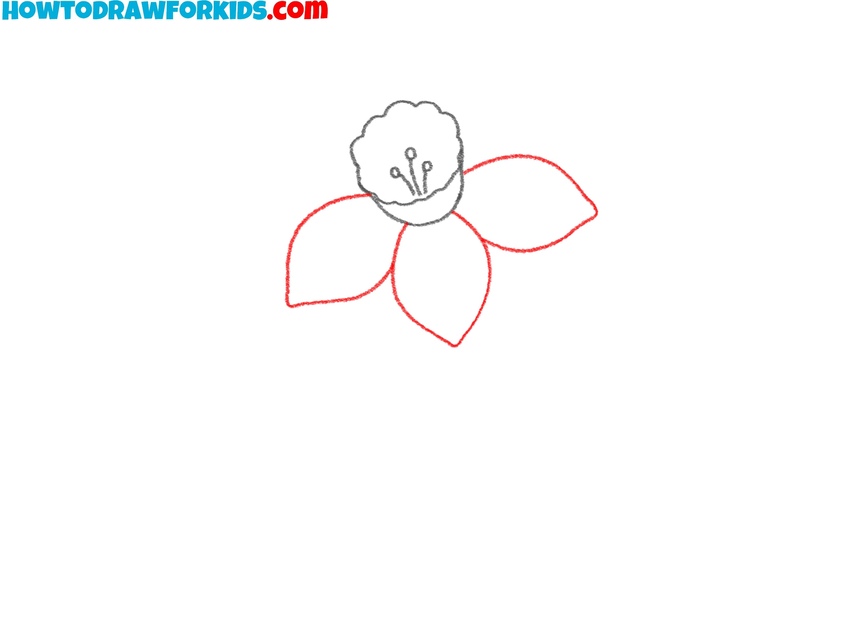
- Draw the first three daffodil petals.
Begin drawing the outer structure of the daffodil by adding the first three petals. These should be placed around the central trumpet, each one shaped like a pointed oval. Daffodil petals typically have a smooth surface and taper to soft tips, so avoid sharp or jagged lines.
- Add the remaining petals.
Now draw the second part of petals to complete the flower. Add three more pointed petals in the open spaces. Each one should be about the same size and shape as the first petals. Together, the six petals form a complete daffodil flower with a radial structure.

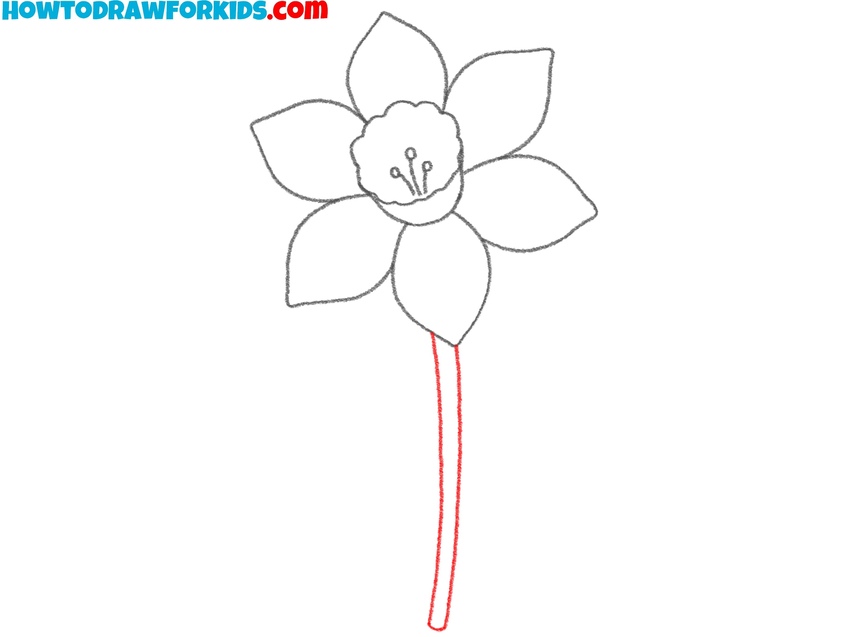
- Draw the daffodil stem.
Add two long, gently curved lines extending downward from the base of the flower to create the stem. The stem should be fairly thin and straight, though a slight curve gives it a more natural and graceful appearance. Keep the thickness consistent from top to bottom – daffodil stems are typically slender and cylindrical.
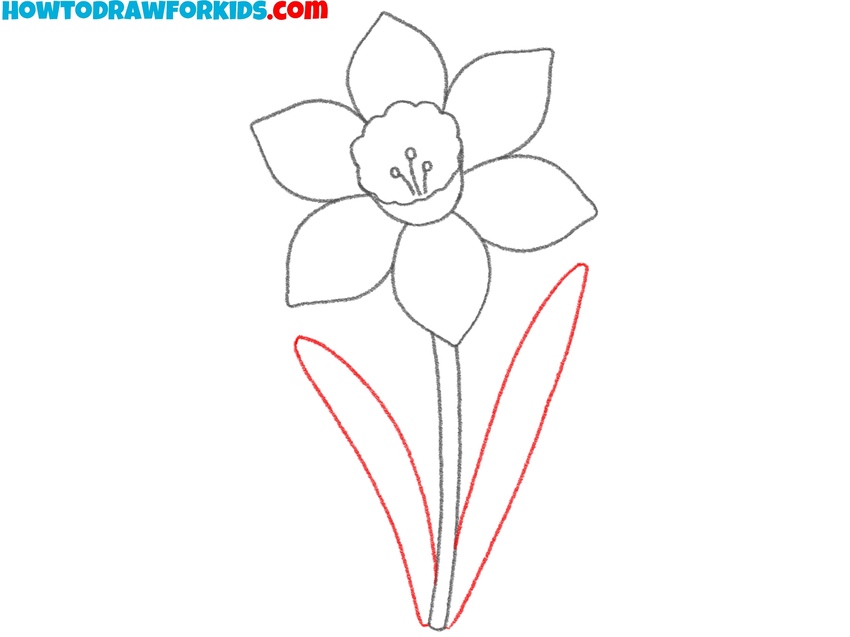
- Frame the stem with leaves.
Now sketch two long, pointed leaves growing from the base of the stem using long and smooth lines. Daffodil leaves are thin and blade-like. These leaves also add dimension to the lower half of the drawing. You can adjust the length slightly for variation, but both leaves should feel proportional and elegant.
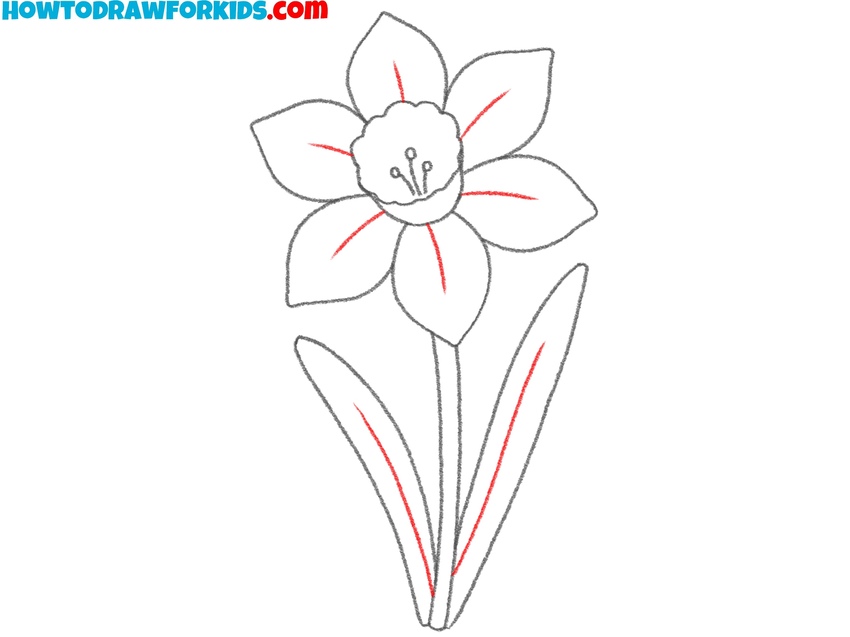
- Sketch veins on the petals and leaves.
To complete the daffodil drawing, add a few light interior lines to the petals and leaves. Draw a single soft curve down the center of each petal to illustrate a fold or vein. For the leaves, add a central line that follows the curve of each blade to create the main vein structure found in real daffodil leaves.
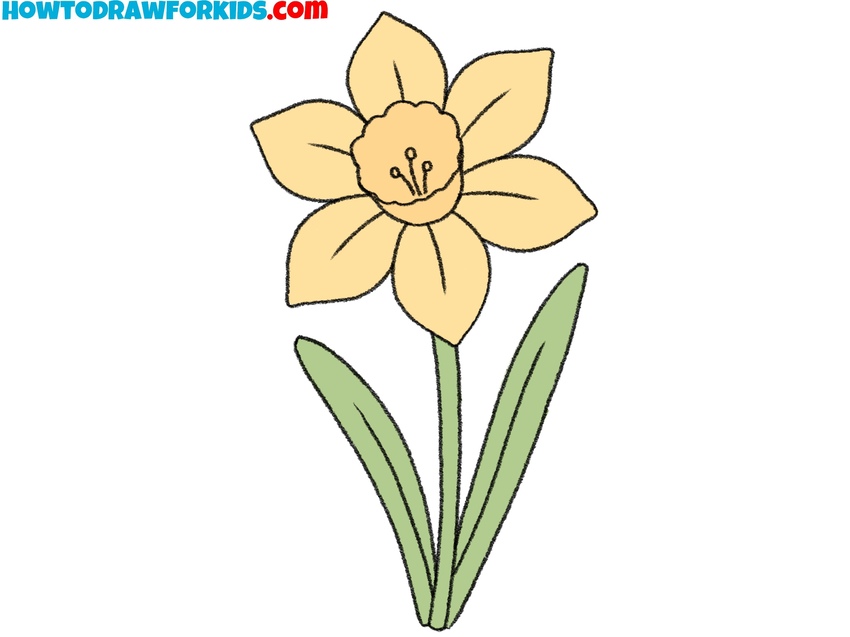
- Add yellow and green tones to the flower.
To color your drawing of a daffodil, use bright yellow or golden shade for both the petals and the trumpet – this is the most common daffodil color. You can make the trumpet slightly darker or more orange to help it stand out. Color the stem a medium green, and use a lighter or slightly cooler green for the leaves.
Conclusion
If you enjoyed this tutorial on how to draw a daffodil, feel free to leave a comment and share what part of the drawing you liked most. Also, write what flower drawing tutorial you want to see next. You’re also welcome to share the finished result with your friends or classmates and even try drawing a bouquet using the same steps. Daffodils are perfect for spring-themed artwork, nature studies, or simple botanical practice.
To continue building your flower collection, try my tulip drawing tutorial or a sunflower drawing tutorial. Both make great companion pieces and follow the same step-by-step structure.
Make sure to follow me on Pinterest to keep up with printable worksheets and new drawing guides, or subscribe to the YouTube channel if you prefer learning through video. Tutorials are updated regularly, so there’s always something new to draw and improve on.