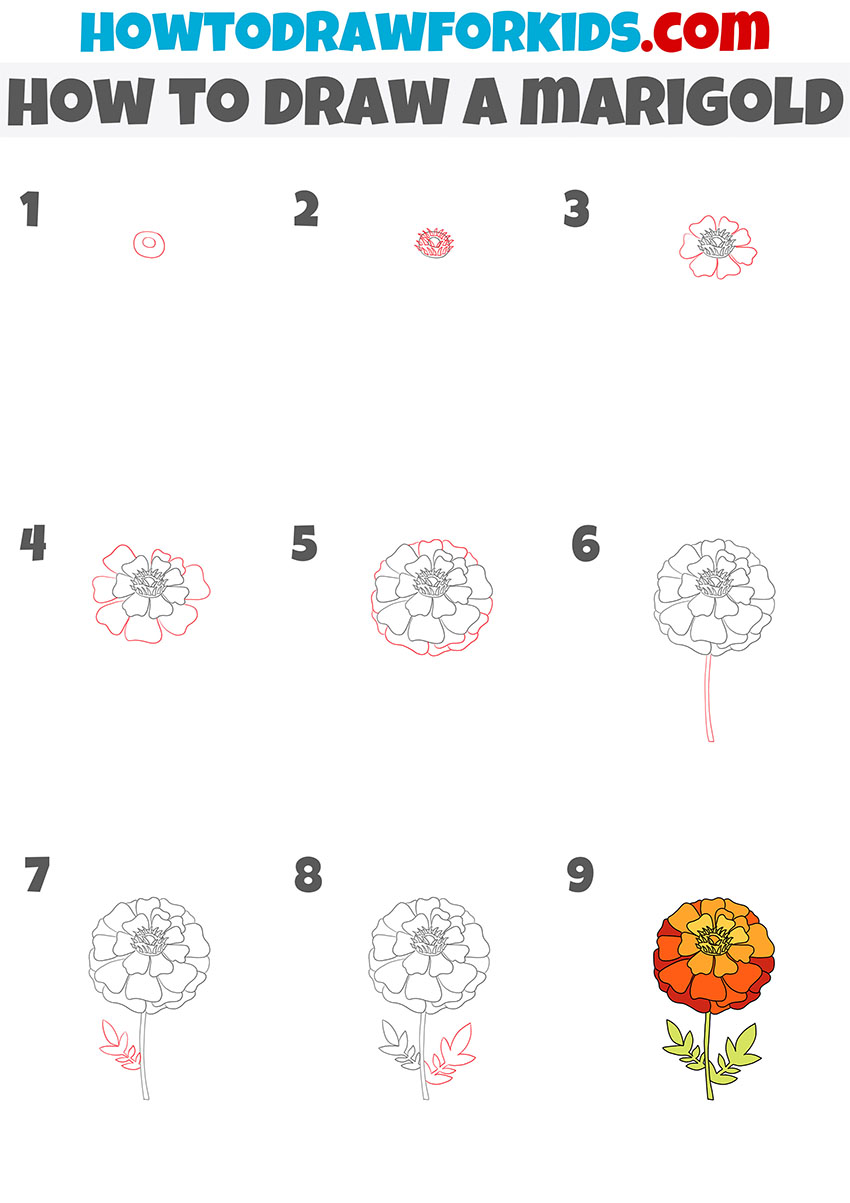
How to Draw a Marigold
In this drawing lesson I will tell you how to draw a marigold step by step. This instruction will be simple and clear for you.
I am glad to bring to your attention a very interesting drawing lesson in which I will tell and show you how to draw a marigold step by step. With this lesson you will learn how to draw a beautiful flower.
Marigold are wonderful flowers that each of you must have seen. Among them there are both annual and perennial plants. Marigolds have straight stems and ribbed shoots. The colors of the flowers are varied, there are brown, red, orange, yellow and variegated, as well as white and greenish marigolds.
After you learn how to draw a marigold with the help of this instruction, you can easily draw it against the background of any natural landscape, trees, other flowers, and also draw a bouquet of flowers in a vase.
Materials
- Pencil
- Paper
- Eraser
- Coloring supplies
Time needed: 30 minutes
How to Draw a Marigold
- Start drawing the core of the flower.
Draw two oval-shaped figures of different sizes, placing one of them inside the other.

- Finish drawing the core of the marigold.
On the drawn oval shapes, add a lot of pointed shapes using curved lines.

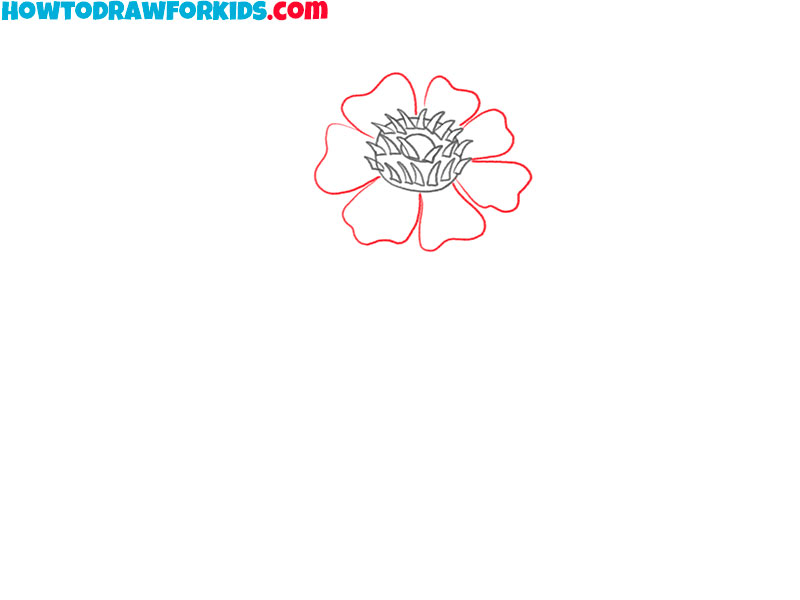
- Start drawing the petals of the flower.
Around the center of the flower, add some differently shaped petals using curved lines.
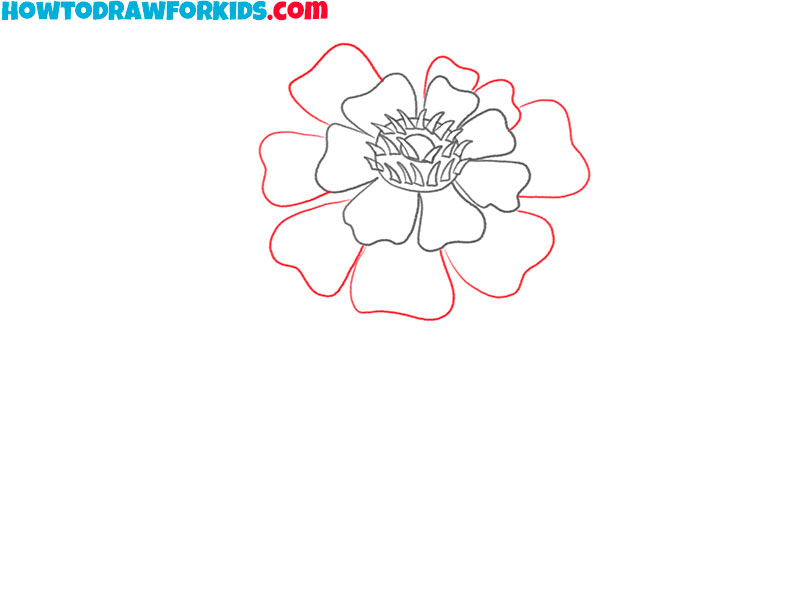
- Add some more petals.
To complete this step, you will need to add the larger petals than previously drawn.
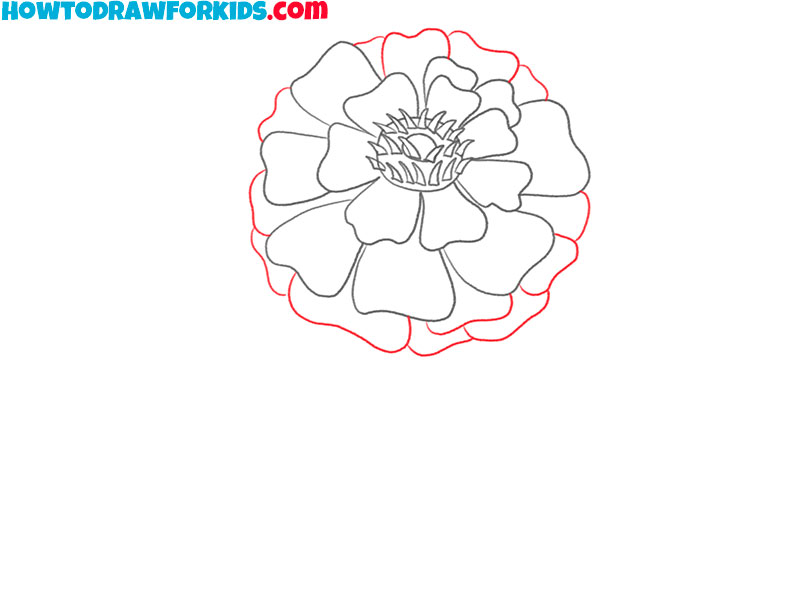
- Draw another row of petals.
To make the flower look voluminous, add a few more petals around the previously drawn ones.
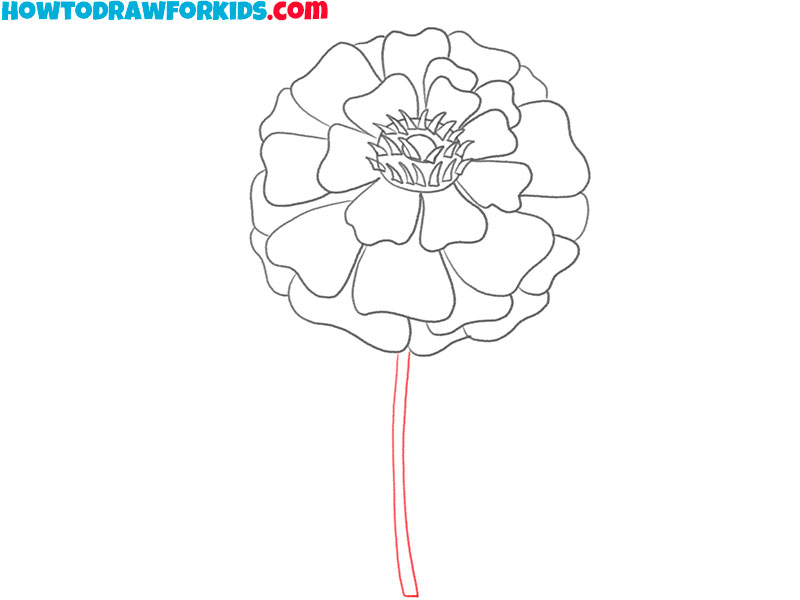
- Depict the marigold stem.
Below the drawn marigold, add the stem using two slightly curved and one short, straight lines.
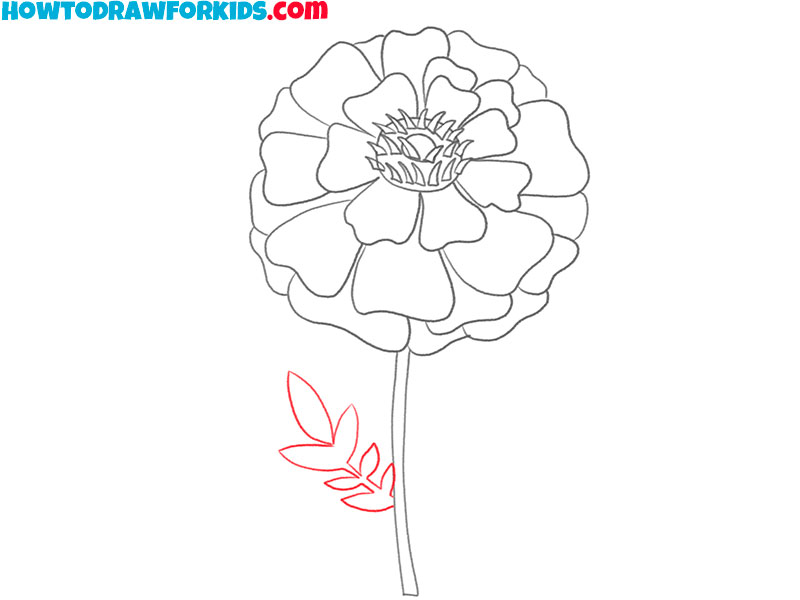
- Add the marigold leaves.
On the left side of the drawn flower stem, add leaves using curved lines of varying lengths.
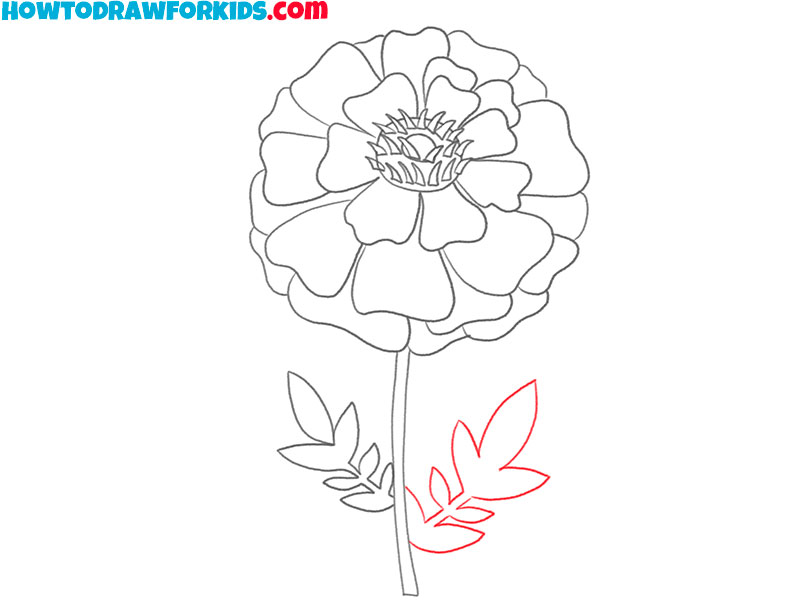
- Depict the flower leaves on the other side.
Now add some more leaves on the right side of the marigold stem as shown.
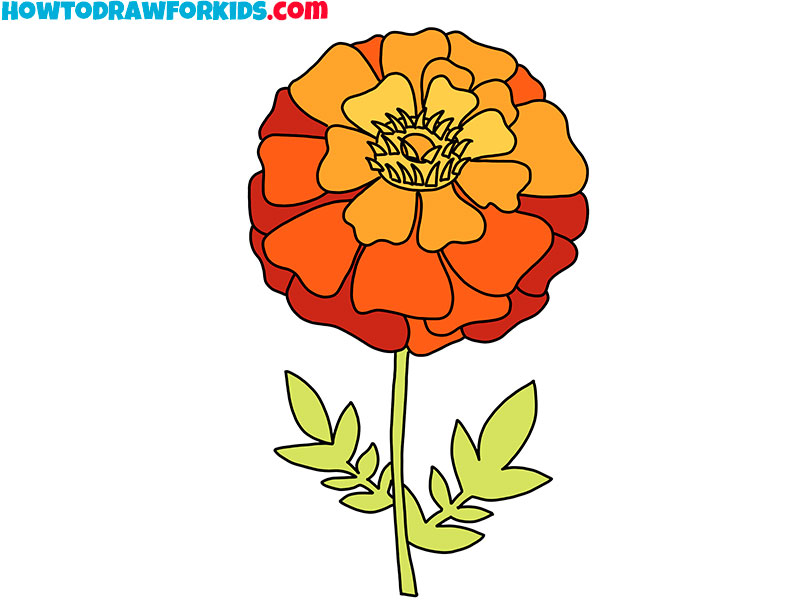
- Color the drawing.
To color this drawing, use green, yellow, various shades of orange, and red.
Marigolds are ready! I hope that you enjoyed drawing this flower, and now you are admiring the result of your work. Share your impressions in the comments and write what other plants you want to learn how to draw. I will take into account all your wishes when compiling new exciting lessons. Now you can download a PDF file for free, which contains a brief instruction and additional useful content.


V.v.good