How to Draw a Pine Cone
I will teach you how to draw a pine cone quickly and easily in just nine steps. Start this guide and get useful drawing skills!
I suggest you complete another interesting and useful lesson in which you will learn how to draw a pine cone. You will quickly cope with this task because the lesson is intended for beginner artists.
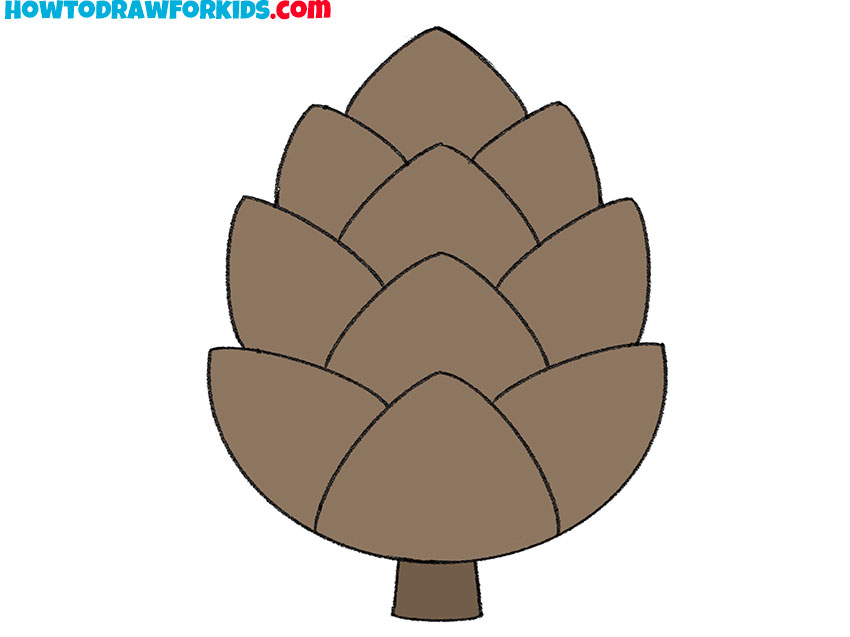
Now I will show you in detail how to draw a pine cone. This is a great drawing object with which you can exercise your creativity.
The pine cone has a rounded shape and consists of several elements. You can see that the pine cone has rounded scales that are arranged in several rows.
During this lesson, try to keep symmetry and make sure that the side scales in each row are the same.
If you are patient and consistent, you will quickly achieve excellent results.
Materials
- Pencil
- Paper
- Eraser
- Coloring supplies
Time needed: 20 minutes
How to Draw a Pine Cone
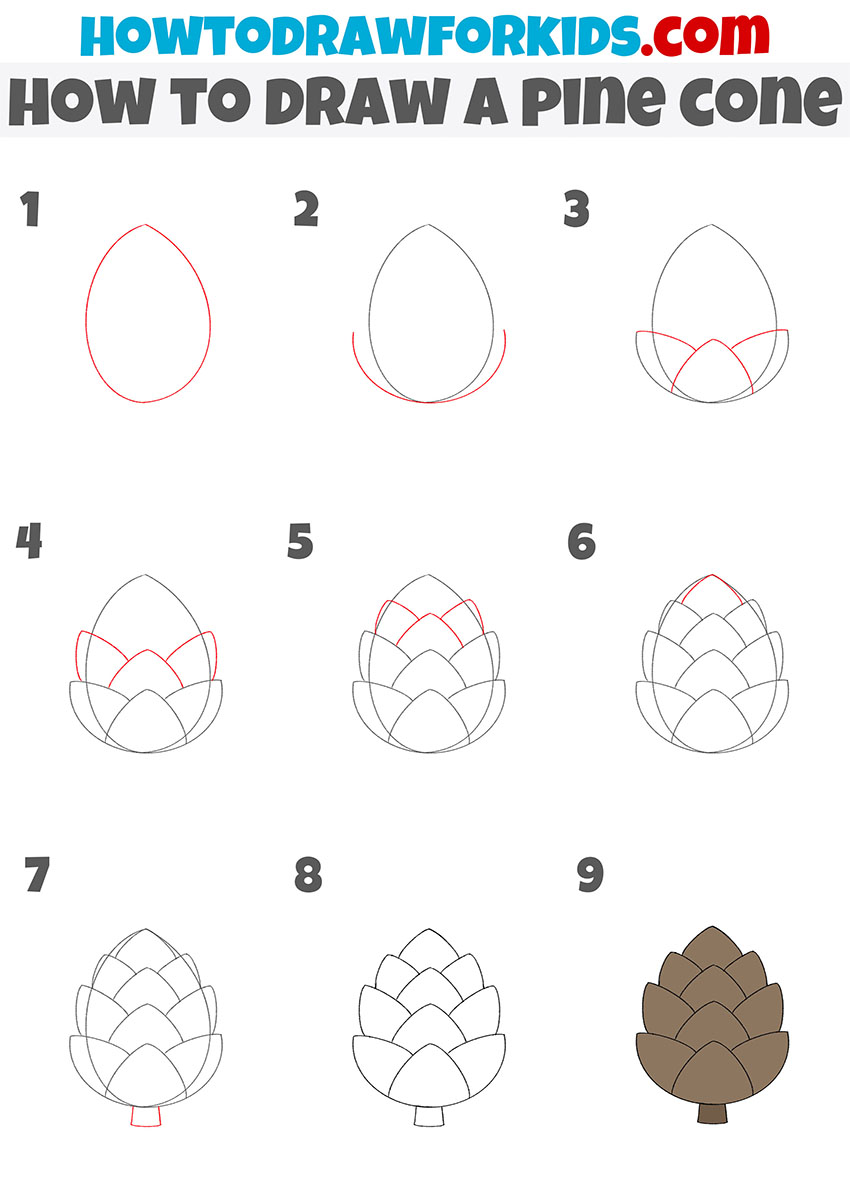
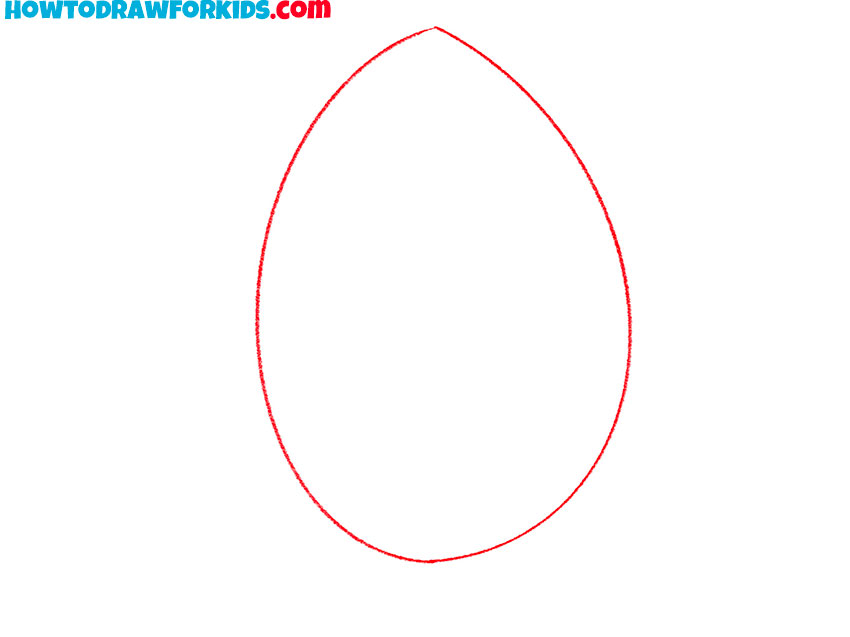
- Draw the outline of the pine cone.
Determine the size of the pine cone and draw an oval shape.
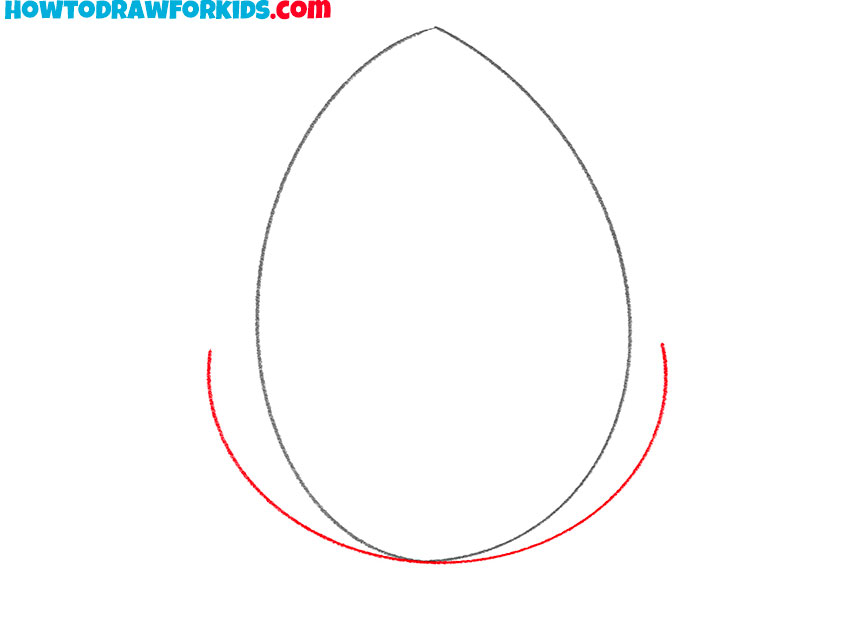
- Add the bottom outline of the pine cone.
At the very bottom, depict a smooth rounded line.
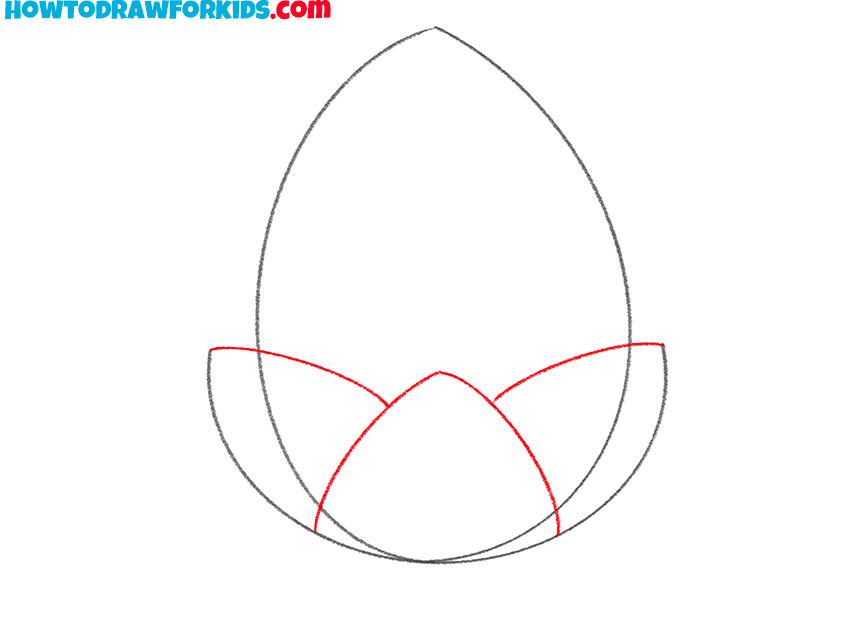
- Depict the bottom row of the scales.
Using smooth lines draw the central scale and add two identical scales on the sides.
- Sketch out the middle row of the scales.
Depict one scale in the middle and two scales on the sides.

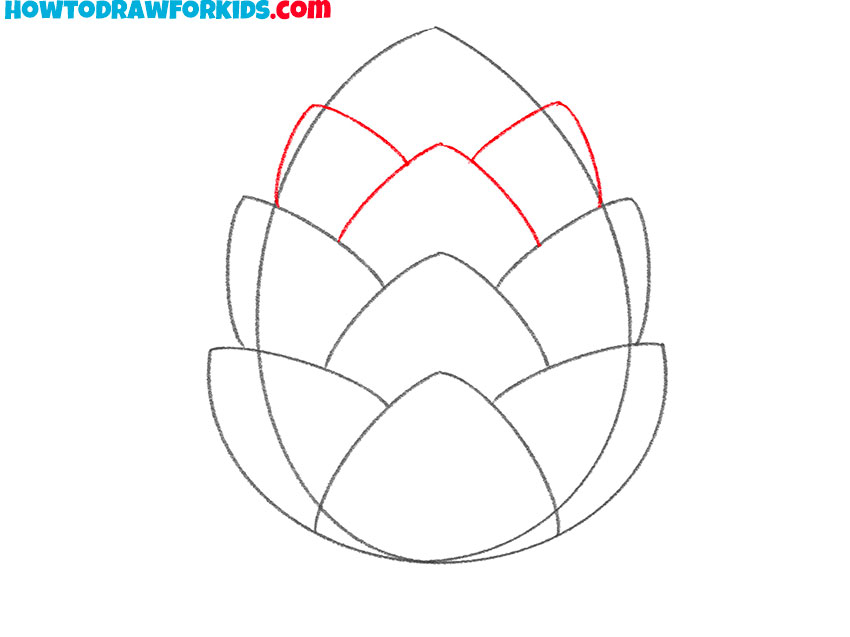
- Add the top row of scales.
Repeat the previous step and add another row of the scales, but reduce the size of the scales.
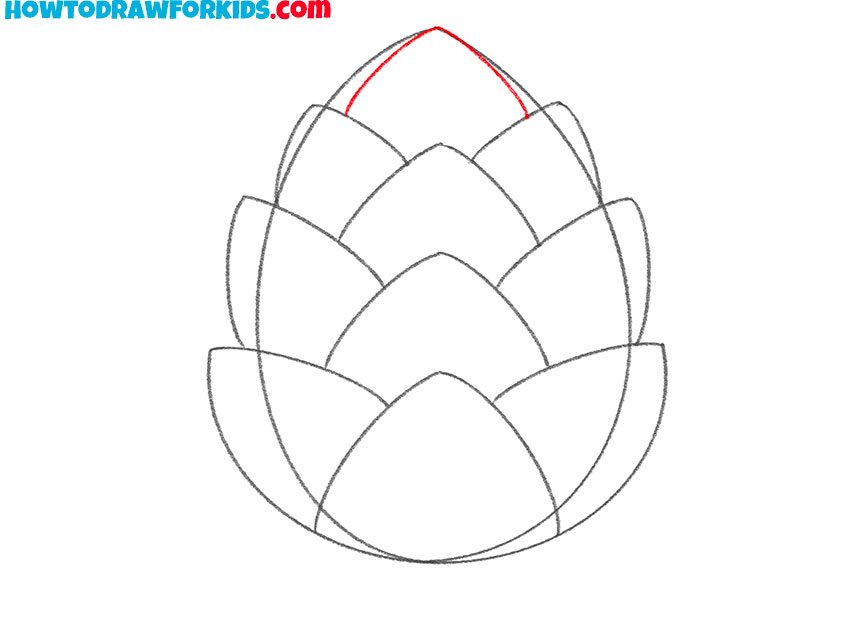
- Draw the top of the pine cone.
Using a smooth line add the rest of the pine cone.
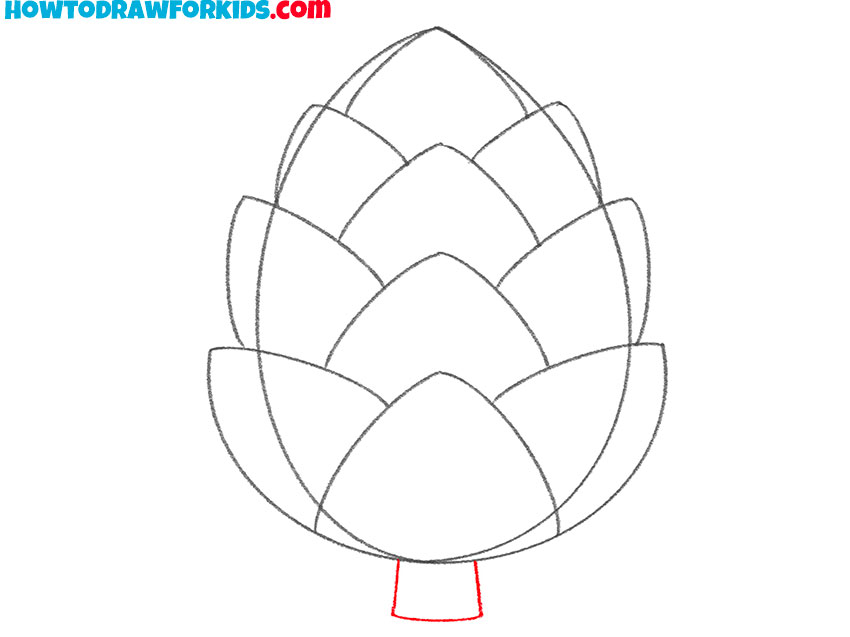
- Sketch out the short stem.
Depict the stem at the bottom with a few short lines.
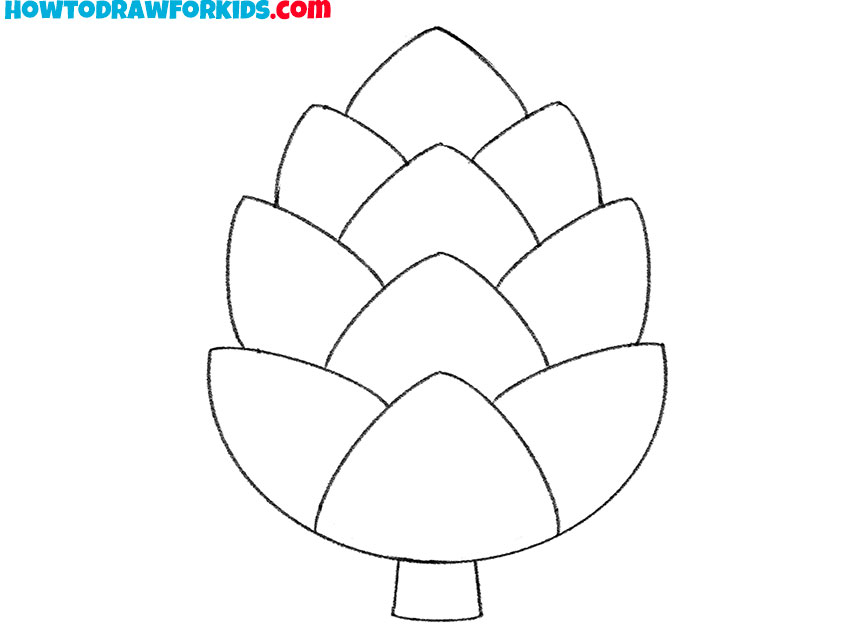
- Correct inaccuracies.
Carefully remove all unnecessary lines in the drawing.
- Color the pine cone.
You will need brown.
The pine cone is ready! I hope that you did good work at each stage and now be proud of yourself. If you liked this tutorial, I’ll be glad to get a little feedback from you.
At the end of the lesson, I suggest you download the PDF file that I have prepared for your convenience. The file contains brief instructions and additional useful content. This will help you return to the lesson again and complete it at any convenient time.