How to Draw a Refrigerator
Here is an accessible instruction, thanks to which you will learn how to draw a refrigerator step by step.
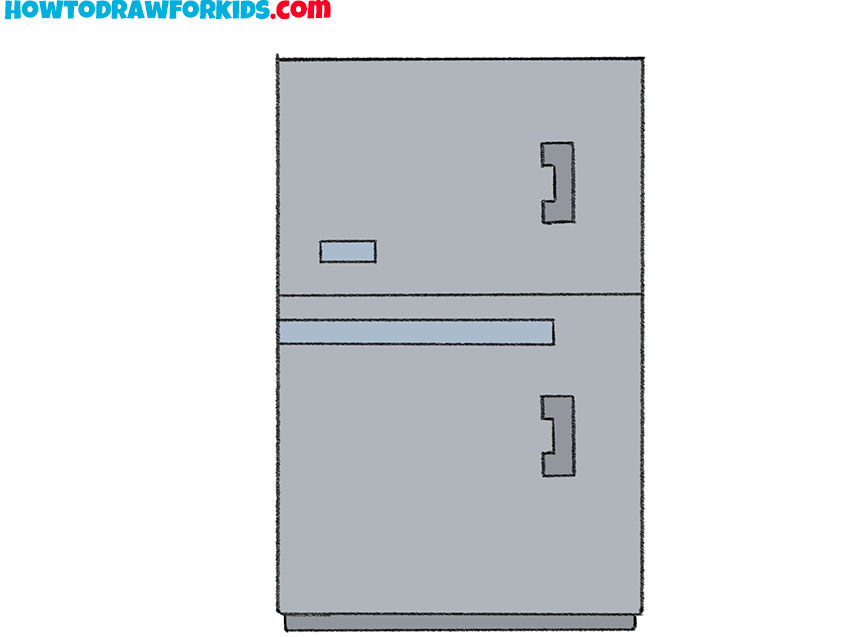
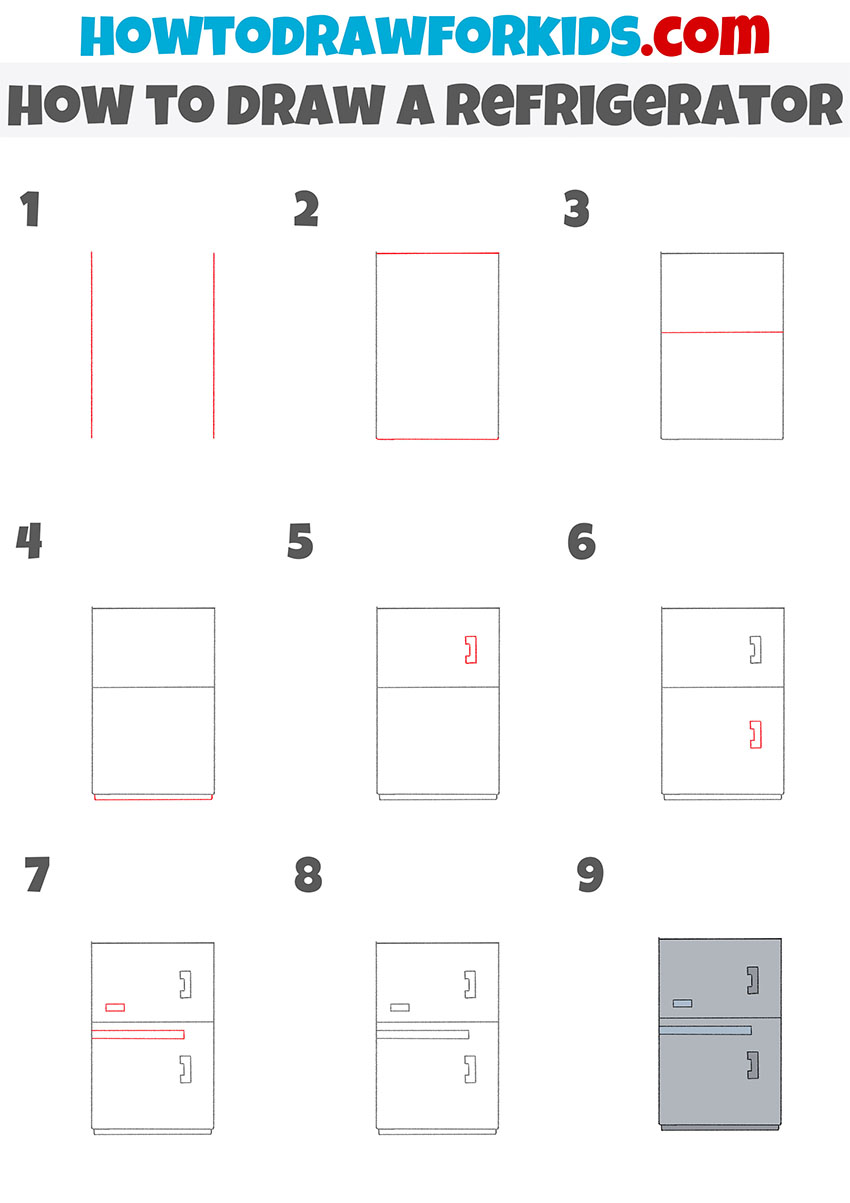
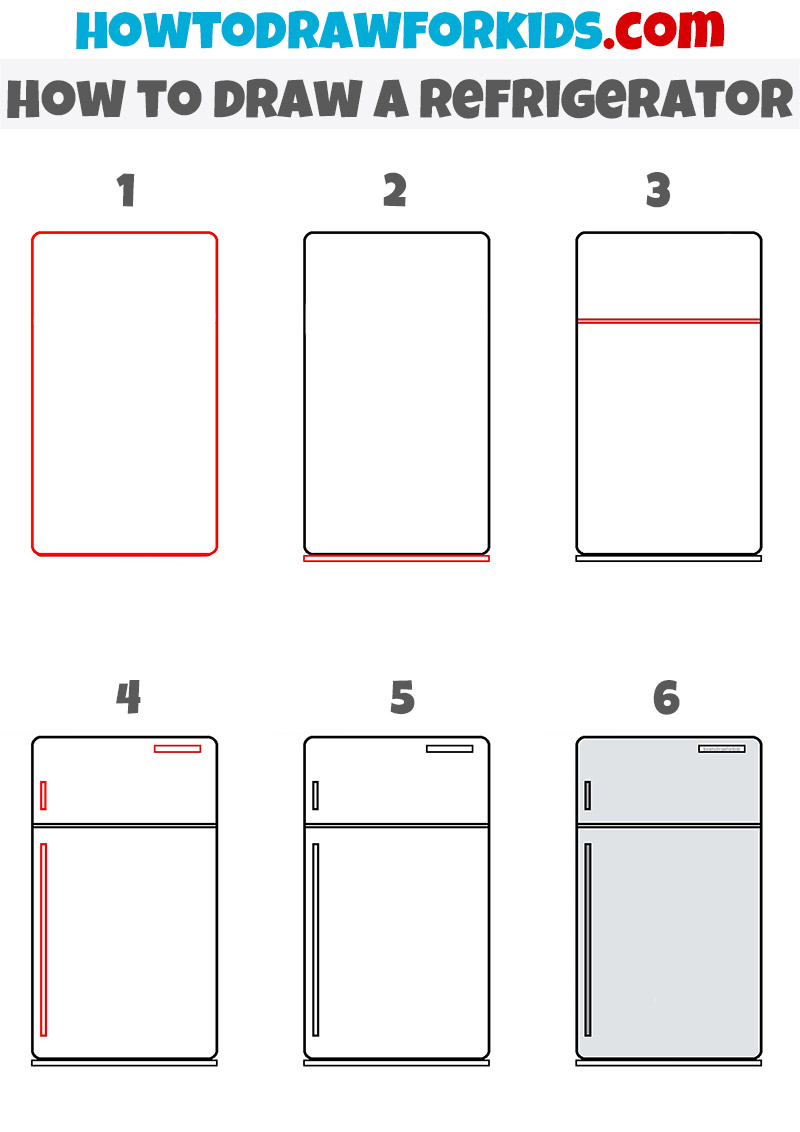
In this lesson, you will learn how to draw a refrigerator quickly and easily. This lesson is designed specifically for children and beginners, so simple lines and a minimum of elements are used here.
The refrigerator is an indispensable device in our everyday lives and now every home has a refrigerator for storing food. Also, refrigerators are used at public catering establishments and in shops.
This figure shows a conventional household refrigerator, which consists of two chambers. One chamber is used for freezing vegetables, fruits, fish, and meat, and any other food and ready meals can be stored in the other chamber. To complete this lesson, you will need your ability to make even, straight lines.
Refrigerator Drawing Tutorial
Materials
- Pencil
- Paper
- Eraser
- Coloring supplies
Time needed: 20 minutes
How to Draw a Refrigerator
- Draw the sides.
Depict two straight vertical lines.

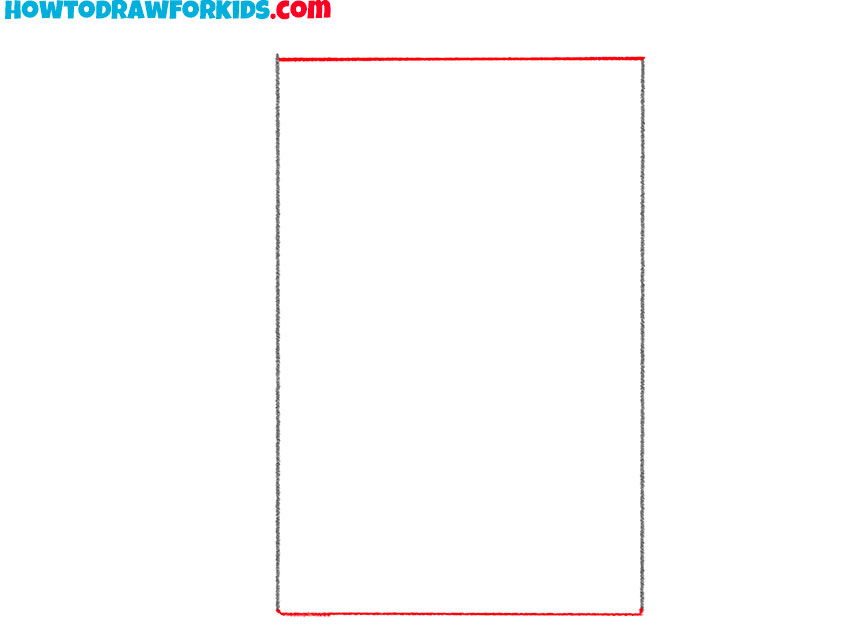
- Add the top and bottom outline.
Draw horizontal lines at the bottom and top to make an even rectangle.
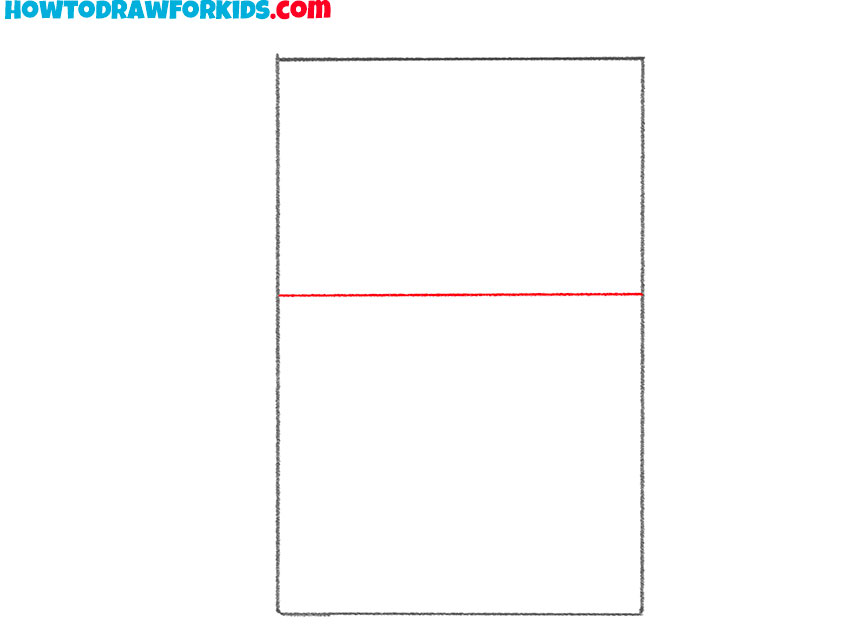
- Divide the refrigerator into two parts.
Depict a straight horizontal line above the middle of the refrigerator.
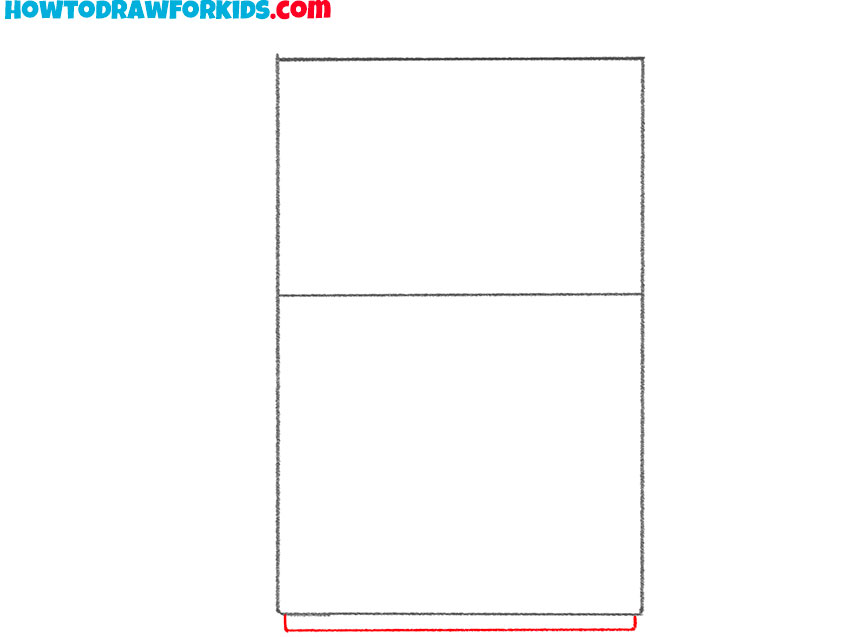
- Sketch out the bottom part.
Add two short vertical lines at the bottom and connect them with a horizontal line.
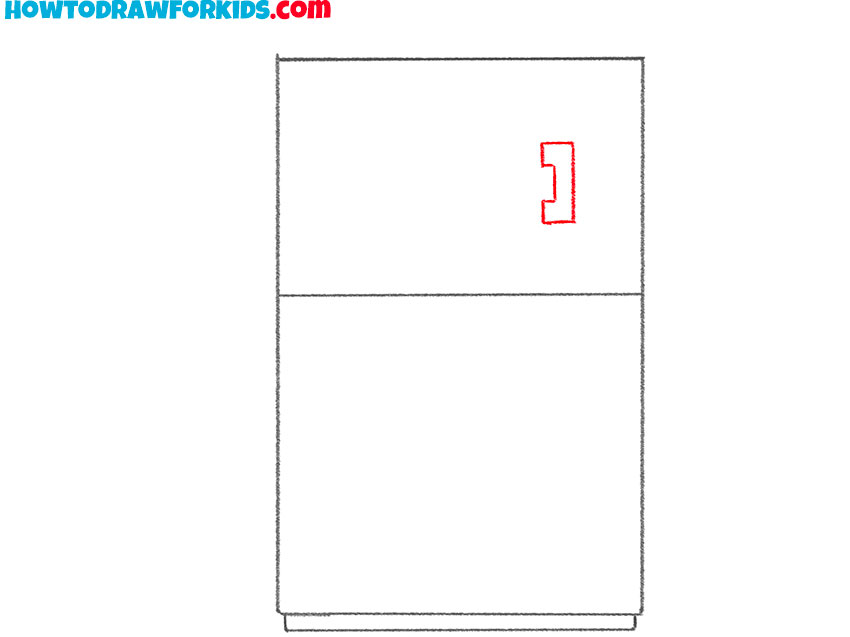
- Draw the handle on the top chamber.
With the help of several straight lines depict the handle of the same shape as in the example.
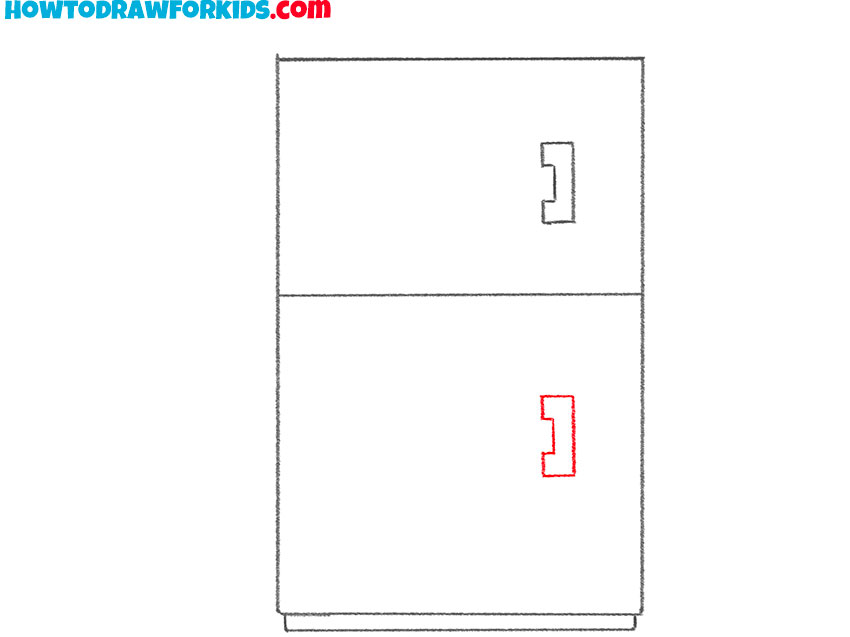
- Add the handle to the bottom chamber.
Repeat the previous step and draw the same handle on the bottom of the refrigerator.
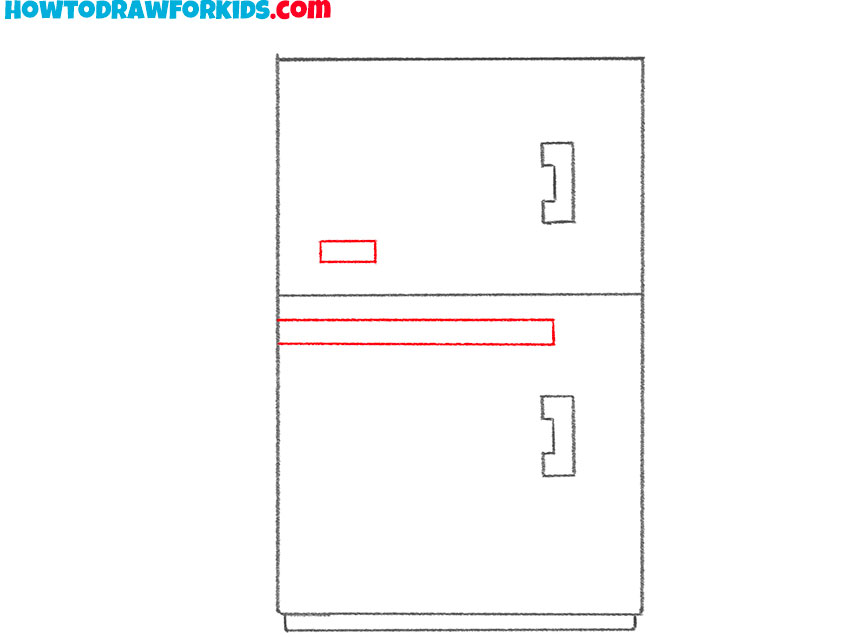
- Add the rest of the elements.
Using straight lines draw the rest of the structural elements that are rectangular in shape.
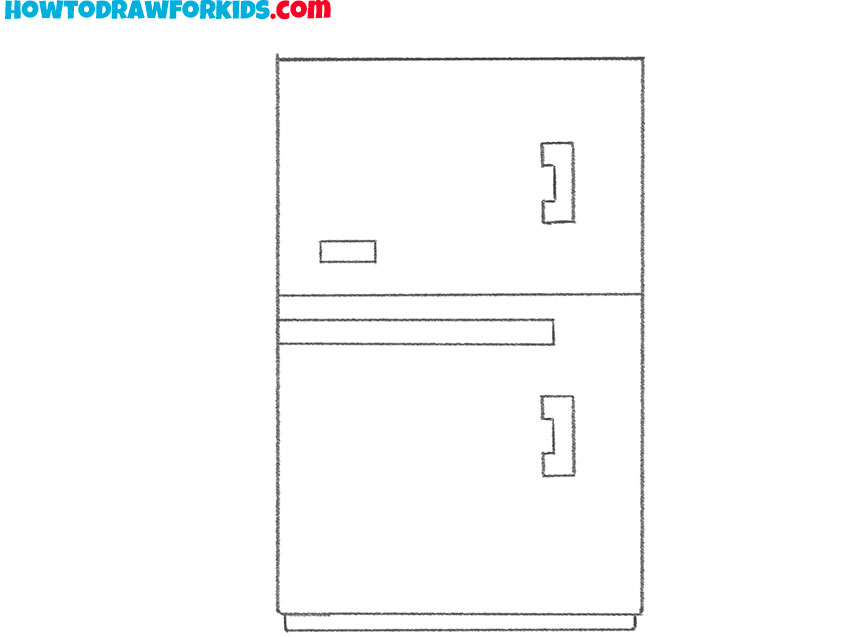
- Check your drawing.
Compare your drawing with my example and correct inaccuracies if necessary.
- Color the refrigerator.
You will need different shades of gray or any other color.
Refrigerator ready! I hope that this lesson was useful for you and you got a pleasant experience. If you want to share your opinion about the lesson, you can write about it in the comments.
Finally, I suggest you download a simplified version of the walkthrough in PDF format so that you can repeat this lesson at any time.
Simple Refrigerator Drawing Tutorial
Now let’s try to draw another refrigerator, but in a slightly different way.
The refrigerator design in this example has slightly more rounded corners, making it look more like refrigerators from the 50s.