How to Draw a Wolf
In this tutorial I’ll guide you through multiple really simple step-by-step techniques on how to draw a wolf in a simplified style.
How to Draw a Wolf: Basic Information
This wolf drawing lesson will be simple and easy to follow, and by the end, you’ll have a stylish and cute illustration of this forest dweller.
We will begin by drawing a wolf with a basic lesson, followed by additional techniques to reinforce the skills learned. Each lesson will approach drawing a wolf from a different perspective and in different style, helping you develop new abilities.
Additionally, throughout the lesson, I will provide useful tips to boost your confidence when drawing not only this specific wolf but also other similar animals, like dogs and foxes.
By carefully following all the instructions, walking through both the basic and additional lessons, and practicing the extra exercises, you’ll be able to draw a wolf like a true artist.
Wolf Drawing Tutorial
Materials
- Pencil
- Paper
- Eraser
- Coloring supplies
Time needed: 40 minutes
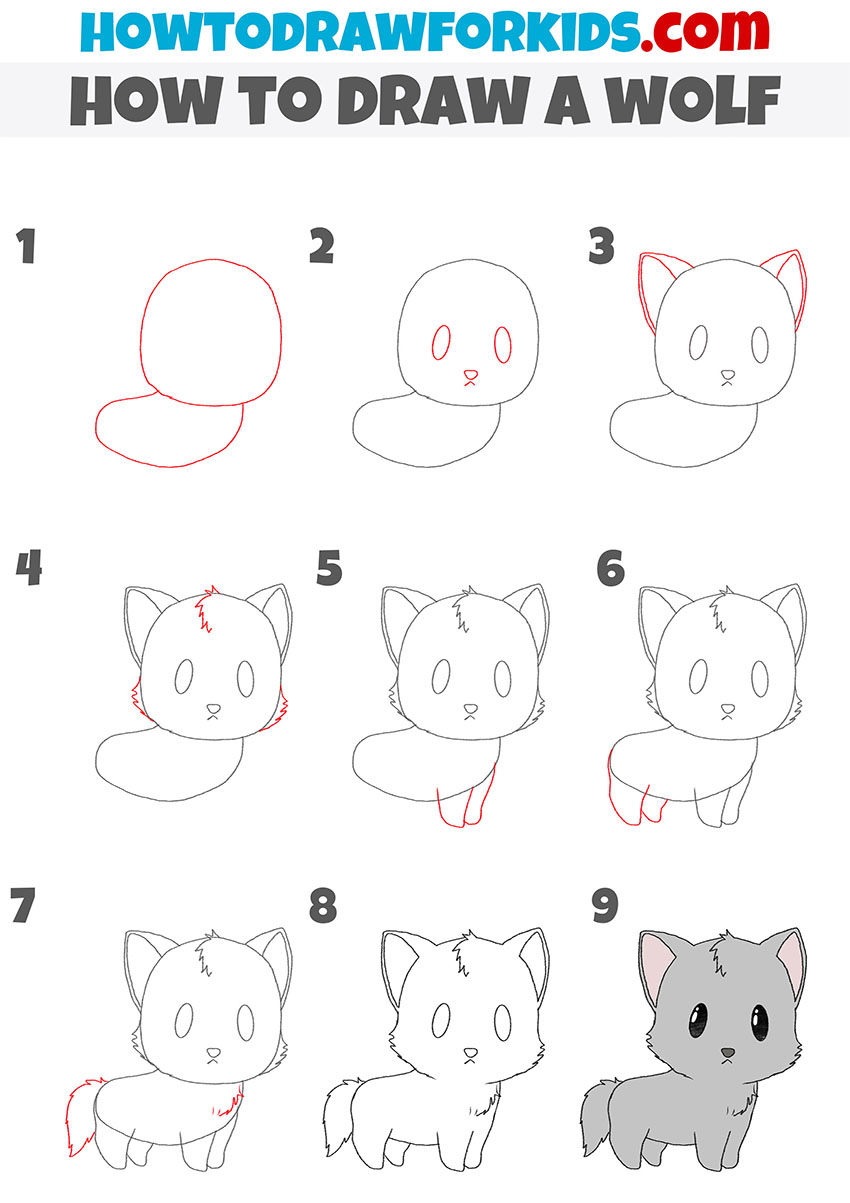
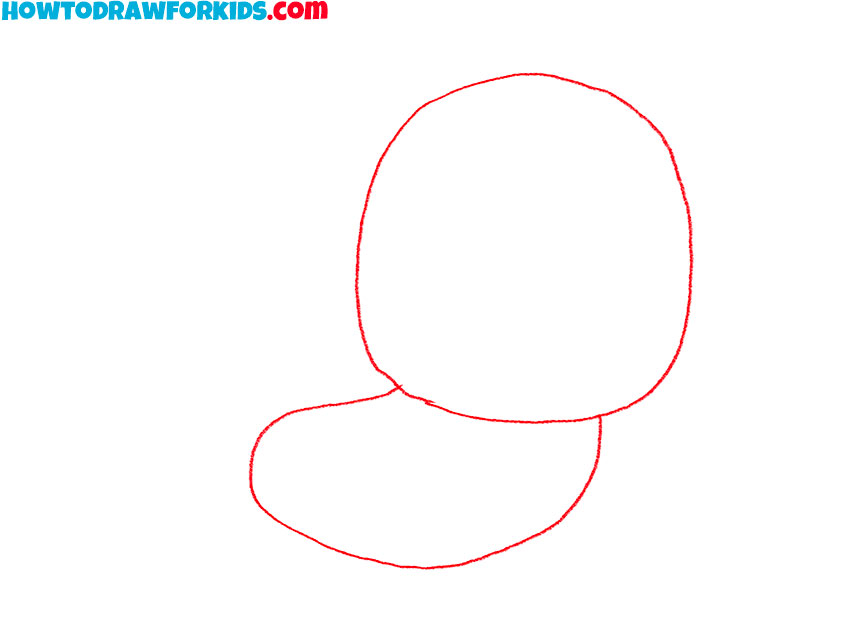
How to Draw a Wolf
- Sketch the outlines of the head and body.
Start with an oval shape for the head, keeping the edges smooth and rounded. Below the head, draw a larger, slightly elongated oval that will serve as the wolf’s body. This shape should connect smoothly with the head, indicating where the neck would be.
- Add the facial features.
Draw two small, oval-shaped eyes in the upper part of the head, evenly spaced apart. Below the eyes, sketch a small triangle for the nose, making sure it is centered. Under the nose, add a short, straight line to represent the mouth.

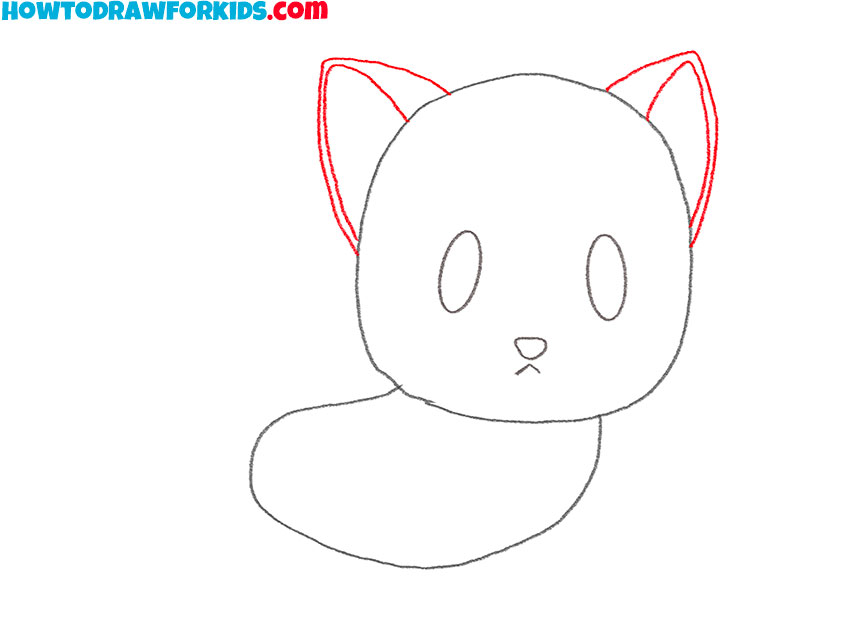
- Sketch the wolf ears.
On the top of the head, draw two large, triangular shapes for the ears. These should be placed symmetrically on either side of the head. The ears should be slightly curved at the top and connect smoothly to the head at the bottom.
- Draw fur on the head.
Draw a few jagged lines along the top of the head, starting from the middle and extending towards the forehead. These lines should be irregular to mimic the natural flow of fur. Additionally, add some short, spiky lines at the base of each ear and around the sides of the face.

- Add the wolf’s front legs.
Draw two parallel, curved lines extending downward from the body’s front portion. These lines should be positioned close together, indicating the legs are close in perspective. At the bottom of each line, round out the shape to form the paws.

- Draw the hind legs.
Starting from the back of the body shape, draw a similar pair of parallel lines as you did for the front legs, but these should be slightly more angled to indicate the wolf’s rear position. The hind legs should be slightly thicker and more curved to reflect the natural muscle structure.

- Add the tail and fur on the wolf’s chest.
Draw a bushy tail extending from the back of the body. The tail should be fluffy, with a rounded tip, and positioned at a slight upward angle to give the wolf a lively appearance. Add some more jagged lines around the neck area.

- Refine the body and fur details.
Erase any unnecessary guidelines from the initial steps. Darken the necessary lines of your wolf drawing with a pen or darker pencil. Make any necessary adjustments to the legs. Also, you can refine the wolf’s body by adding more detailed fur lines along the back, belly, and tail.

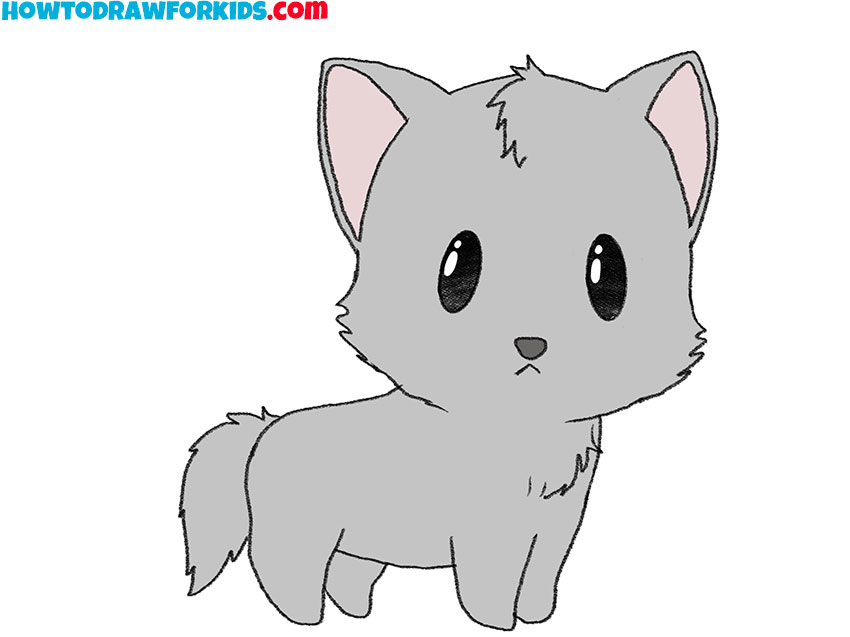
- Color the wolf.
You can use a light gray for the body and a darker gray for the fur details, with black for the nose and eyes. Don’t forget to add some highlights. Then, you can start shading areas like the ears, around the eyes, and under the belly to make your wolf drawing look more realistic.
Additional Content
To support your learning, a concise, downloadable PDF file has been provided. This file is available for free and allows you to continue practicing your drawing skills offline, bridging the gap between classroom instruction and independent study.
The PDF includes supplementary materials, offering curated exercises designed to enhance your technique after you’ve learned the basics. It aims to deepen your understanding and improve your skills through additional practice.
How to Draw a Wolf: Additional Techniques
Alongside the basic guide on how to draw a wolf, this tutorial includes several alternative drawing techniques. These are meant to diversify your practice, offering different approaches from depicting a wolf in a strong stance to drawing different expressions. Practicing these techniques will help you develop a broader skill set for drawing wolves.
Each technique focuses on improving specific aspects of your drawing, such as fur texture or eye detail. As you try these different styles, you’ll expand your drawing skills, improving both your ability to draw wolves and your general drawing skills.
By incorporating these alternative techniques into your practice, you should see progress in your drawings. What starts as a simple sketch can develop into a more detailed and accurate representation of a wolf, with improved precision as you gain more experience.
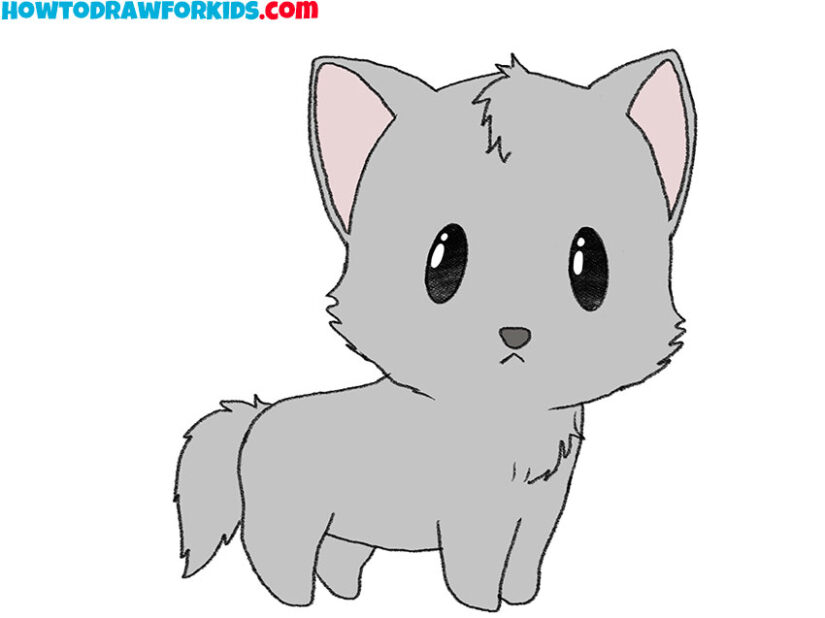
Simple Wolf Drawing Instruction
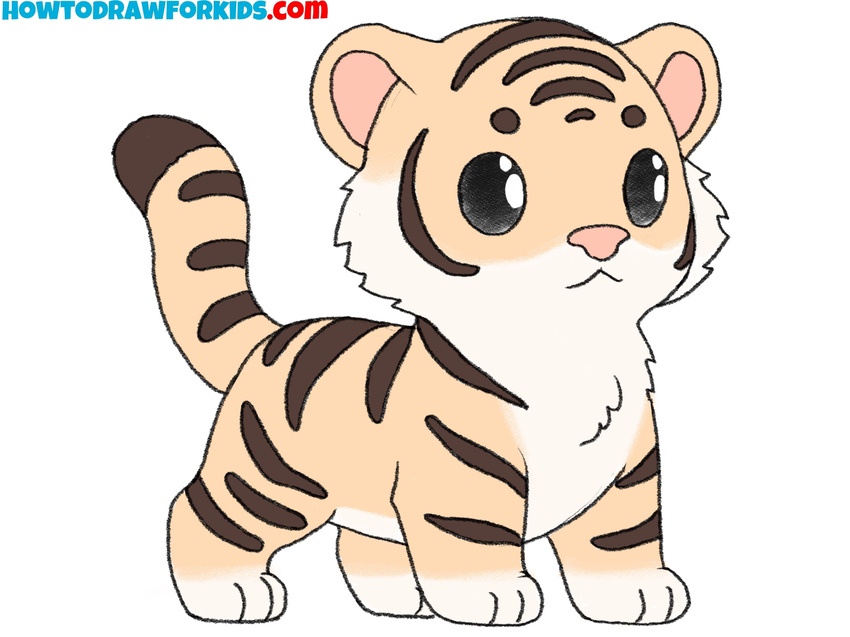
In this method, I guide you through drawing a cartoon-style wolf pup, an illustration that features a simple and sweet appearance. Starting with basic shapes, the tutorial gradually leads you to create a round-faced, wide-eyed pup.
The tutorial focuses on cute and cartoon characteristics, illustrating the oversized head and expressive eyes typical of this style. By the end of this tutorial, you will have completed a cute wolf pup drawing.
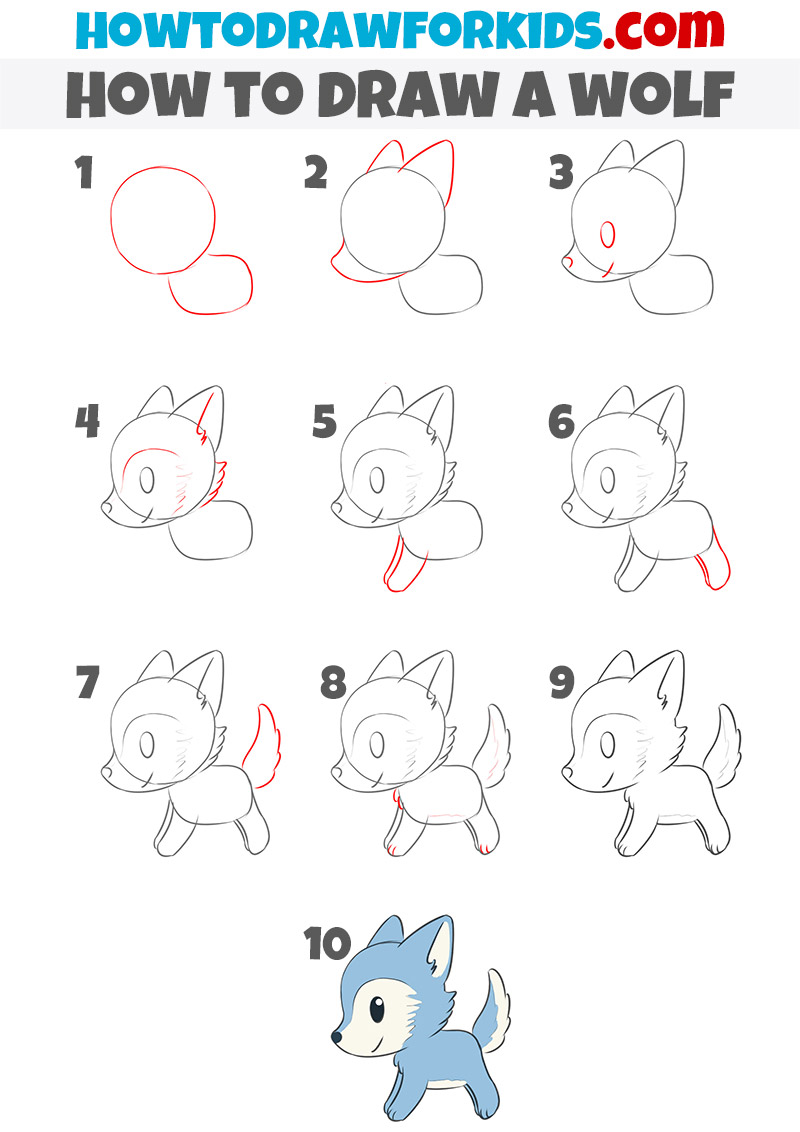
Start by drawing an oval for the head and a smaller one for the body, connecting them smoothly. Next, add two large, pointed ears on top of the head, followed by an outline of the snout. Draw a small oval for the eye and a line for the mouth. Add fur details on the cheek and outline the rest of the face.
Proceed to sketch the front legs, keeping them short and rounded. Add the back legs in a similar style. Draw the tail, making it bushy and curved upward. Refine the body shape and add final details to the legs and tail. Finally, outline the entire wolf and add color, using a light blue for the body and a lighter shade for the face and belly.
Realistic Wolf Drawing Instruction
This tutorial serves as an additional guide to complement the first tutorial, offering bit a more detailed and realistic approach to drawing a wolf. Unlike the first tutorial, which focuses on a simple, cartoon-style wolf with rounded features and cute appearance, this tutorial takes a step-by-step approach to create a more realistic wolf.
The main differences lie in the complexity of the drawing and the focus on illustrating realistic details. This tutorial is created for those looking to advance their skills by drawing a wolf that resembles its natural, wild form, with more attention to anatomy and realistic proportions.
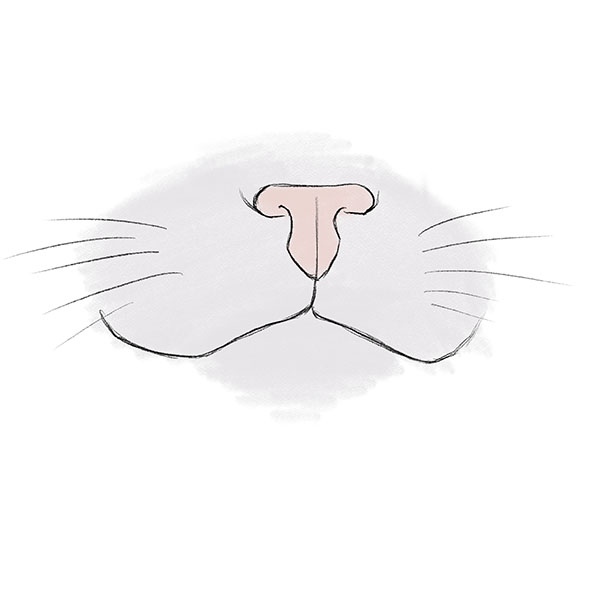
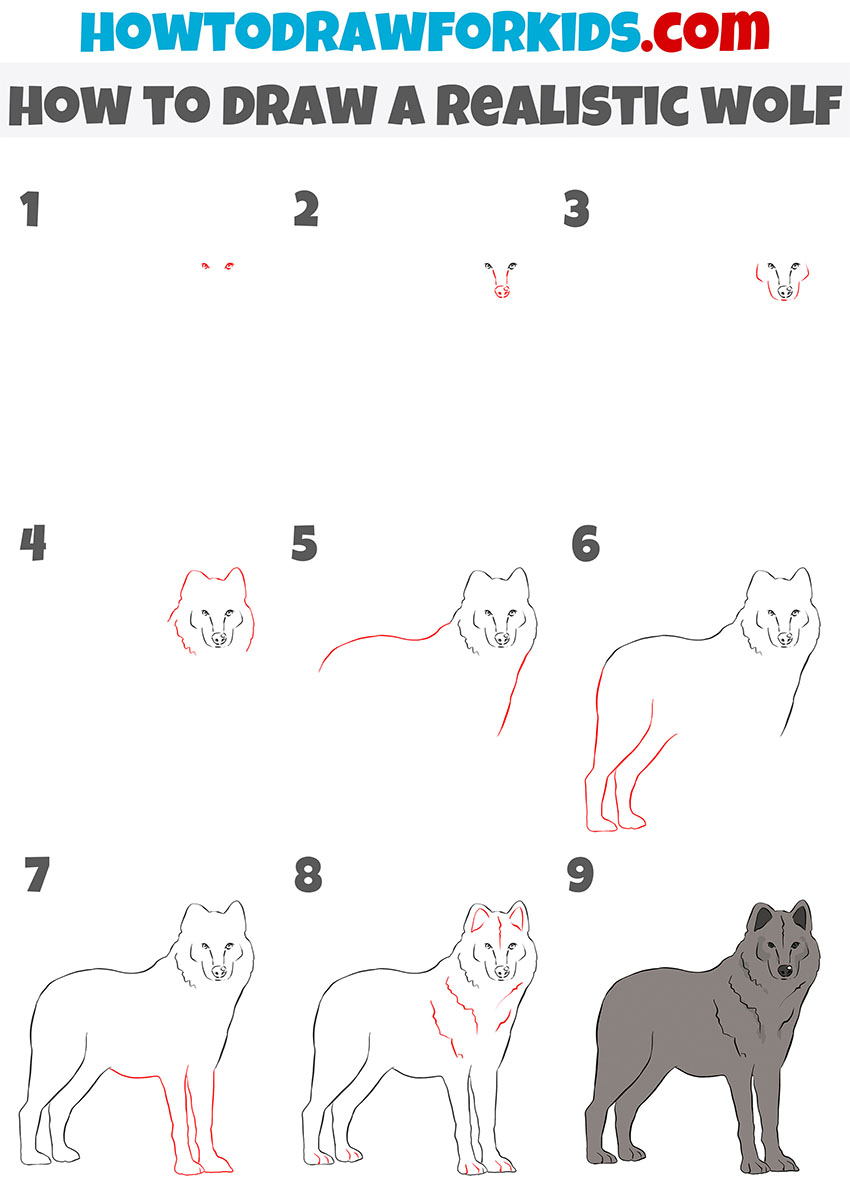
To start, sketch the wolf’s eyes, followed by the nose and the facial structure, focusing on illustrating the correct proportions and features. Add the ears and the detailed outline of the head, ensuring that the fur texture is indicated.
Next, draw the outline of the body, paying close attention to the shape and posture of the wolf. After that, sketch the legs, keeping the anatomy realistic. Once the body is complete, add details such as the fur texture around the neck and body. Finally, add shading to bring realism to the wolf drawing, resulting in a lifelike representation of a wolf.
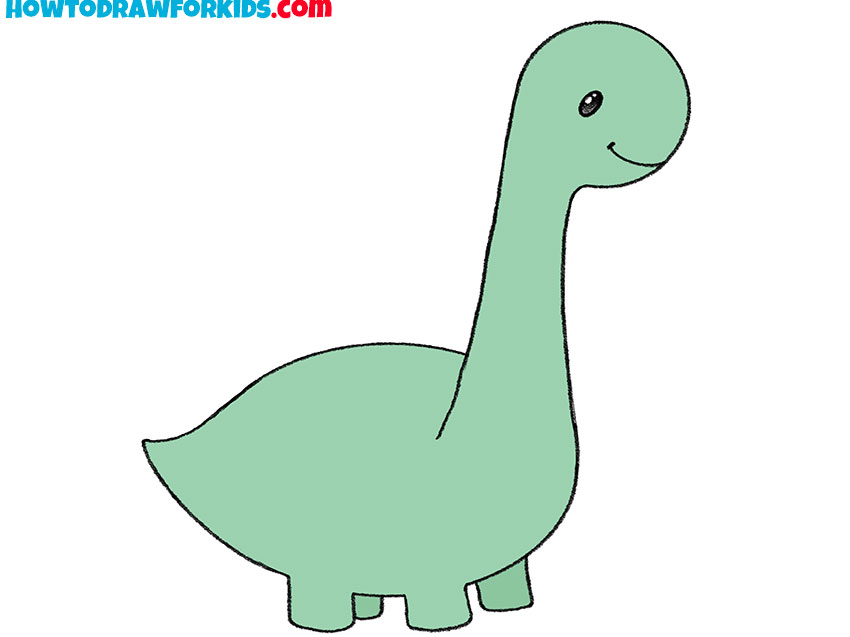
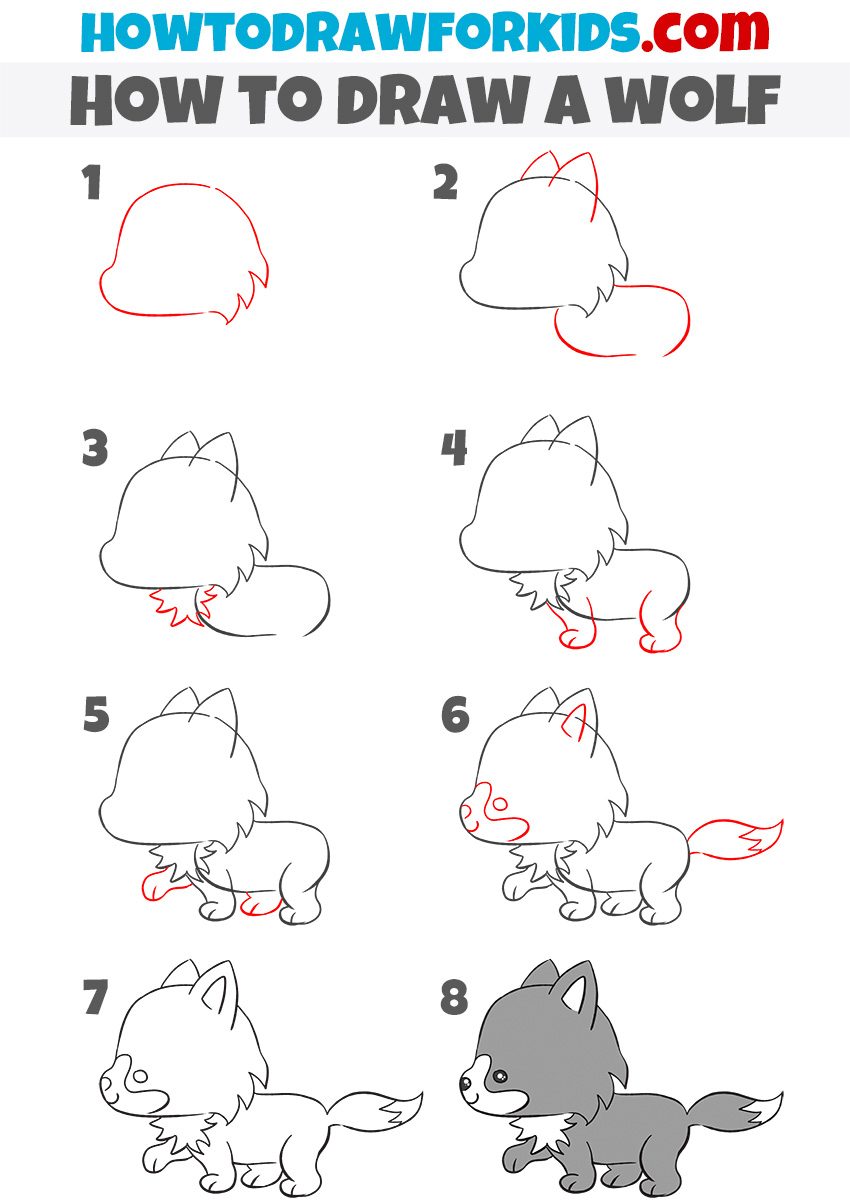
Drawing a Wolf from the Side
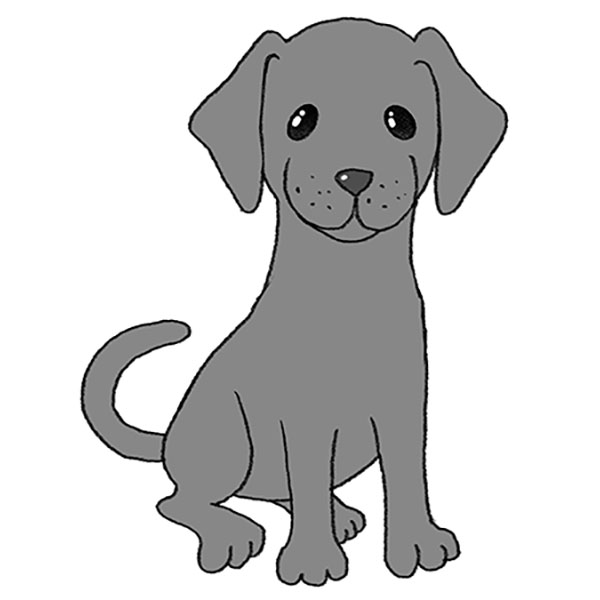
To draw a cute wolf with this method, start by sketching the head’s outline with a rounded shape that slightly narrows at the bottom and add a tuft of fur on the right side. Next, draw two pointed ears on top of the head and outline the body as an oval attached to the head’s lower right side.
Add another tuft of fur below the head where the body begins. Then, sketch the wolf’s front and back legs as short, rounded shapes extending from the body. Draw the tail by creating a curved shape that flares out and ends with a pointed tip.
Add the wolf’s facial features, including large circular eyes, a small nose, and a mouth. Finish by refining the tail, and adding more details like fur. Finally, color the wolf, giving it a gray body with lighter fur on its face and chest.
Conclusion
You’ve successfully completed the wolf drawing. If you’re interested in more lessons, visit my website where you can find tutorials on various subjects, such as drawing a lion or a zebra.
If you found this wolf drawing tutorial helpful, consider sharing it with others who might enjoy it too.
To stay informed about new tutorials and updates, follow my social media accounts. Feel free to leave a comment with your suggestions or requests for future lessons.