How to Draw a Rosebud
In one of the previous drawing lessons I talked about a rose, in this lesson on how to draw a rosebud we will concentrate on the very top part of the flower.
Earlier I showed you the process of drawing a whole rose, but here we will take a closer look at the bud.

Tabe of Contents
- Basic information
- Steps on how to draw a rosebud
- Additional content
- Additional Techniques for Drawing a Rosebud
- Open Rosebud
- Rose Petal
- Conclusion
Basic Information on How to Draw a Rosebud
I’m sure you’ll get a great drawing. Each step in this guide is detailed and visualized, and any aspiring artist can easily complete this tutorial.
In general terms, then first, you need to draw the bud, then the rest of the flower. When drawing rose petals, arbitrary lines are allowed, because each rose is unique and has its own arrangement of petals.
But to make the process easier for you, in this lesson I will show you not only how to draw a rosebud, but also how to depict it open and how to sketch individual petals.
Traditionally, the rose bud is depicted in red, but you can choose any other color, such as pink, yellow, or burgundy.
Materials
- Pencil
- Paper
- Eraser
- Coloring supplies
Steps on How to Draw a Rosebud
Time needed: 25 minutes
How to Draw a Rosebud
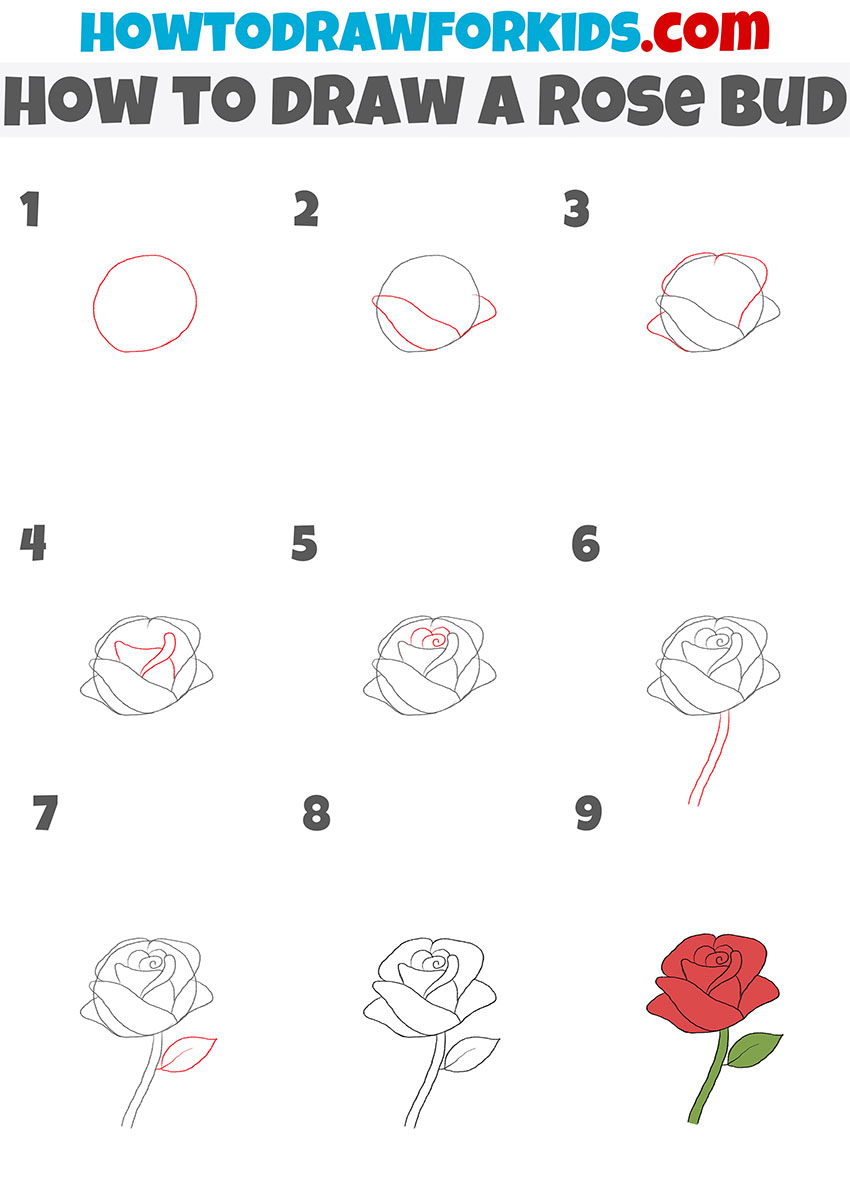
- Draw the outline of the rosebud.
Determine the size of the rose and draw a circle. This circle will serve as a guide for the future bud. Try to find the most correct shape and location of the figures on the paper.

- Add the first petals.
Depict the first side petal on the bottom and add one small petal on the side. The lines of these petals should be smooth and flow into each other.

- Continue drawing the outer petals.
Draw a few more smooth lines, as shown in the example. Notice how each new detail outlines the contour and creates a more believable image of the bud.

- Add petals inside the rosebud.
Draw a few smooth rounded lines to depict two large petals. The inner petals should visually appear noticeably smaller than the outer ones.
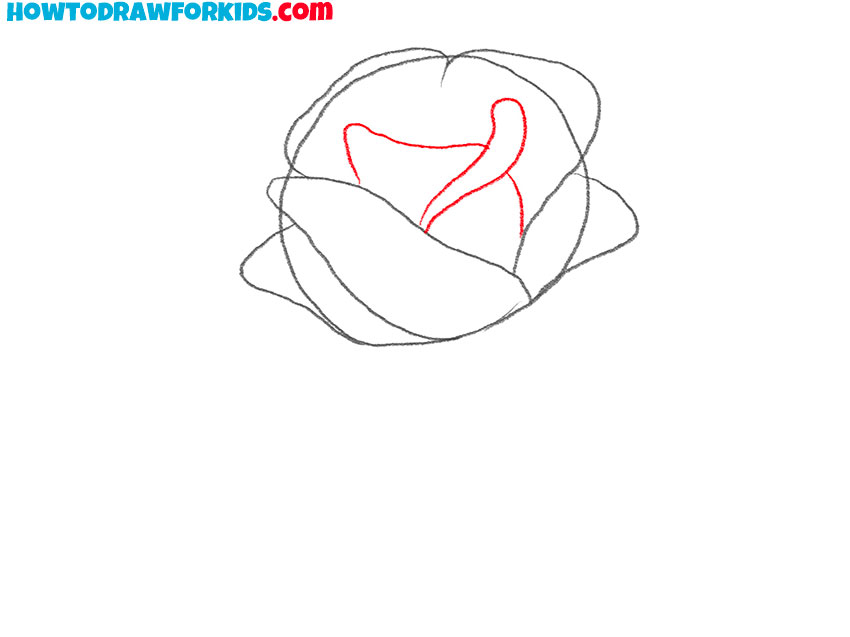
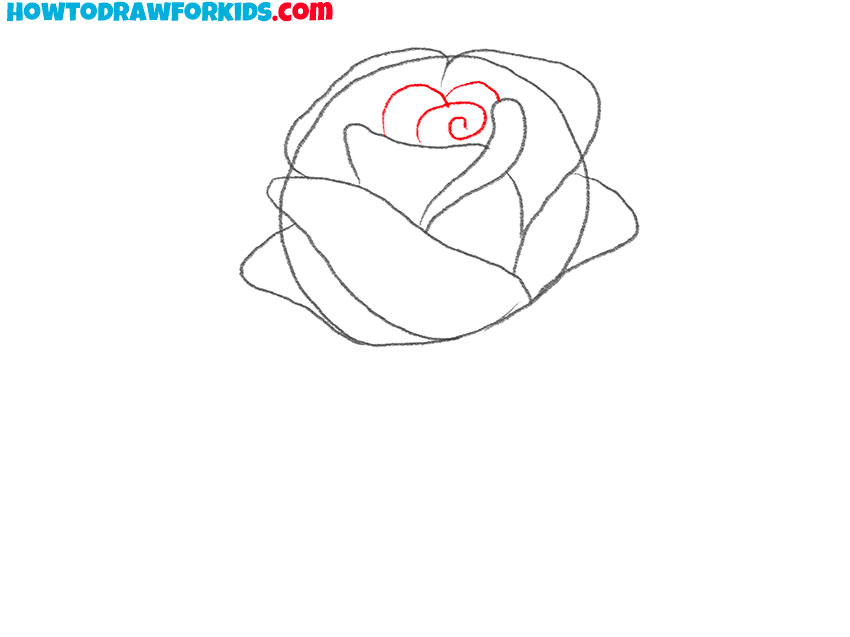
- Depict the middle of the bud.
Draw small curved lines in the middle of the rose bud. Draw a spiral line in the center. Since these are the innermost petals, they should visually appear smaller than all the others.
- Sketch out the stem.
From the bottom of the rose bud, draw two smooth lines. These two lines must be parallel. You can add the thorns at this stage.

- Draw the leaf.
Depict the small leaf on the stem. First of all, draw the center line. Then draw two smooth lines that will converge at the tip and create a recognizable image of a leaf.

- Correct inaccuracies.
Now make some final touches by clearing the rosebud drawing of any excess lines. This is the time to get into the details, for example you can add veins on the leaf.

- Color the rosebud.
Color the stem and leaves green. For the bud, use red or any other color. Additional shadows and highlights will make your rosebud drawing even more convincing.
Additional Content
The rose bud is ready! I hope that you have a beautiful flower, and you are proud of yourself. Download the PDF file I have prepared especially for your convenience. Save the file and you can return to this lesson at any convenient time.
Additional Techniques for Drawing a Rosebud
You can draw the same objects in different ways, and in order to be a professional in the field of art, you need to be able to draw not only the object itself, but also its details.
To help you practice, I am providing two more tutorials below, in the first of which you will learn how to sketch a rosebud using a different method, and in the second I will show you the steps to draw a petal of this beautiful flower.
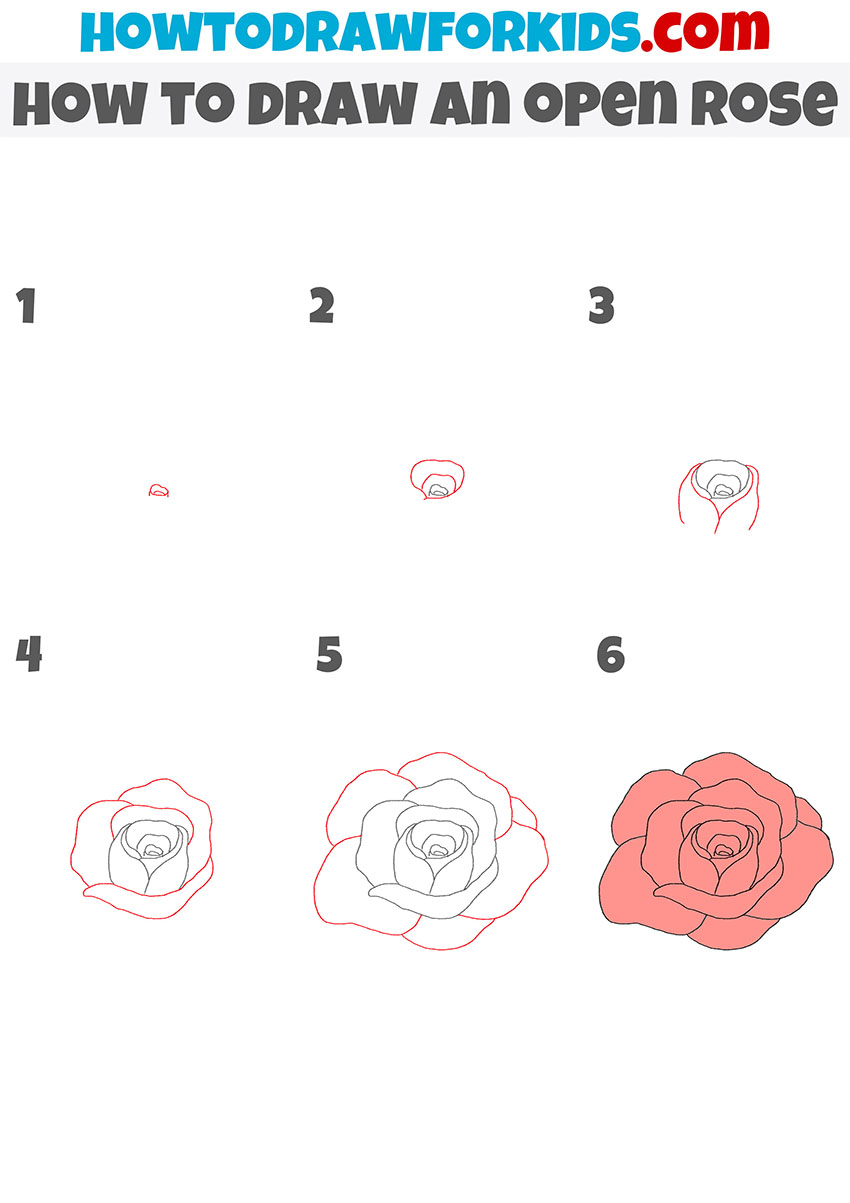
Open Rosebud Drawing Tutorial
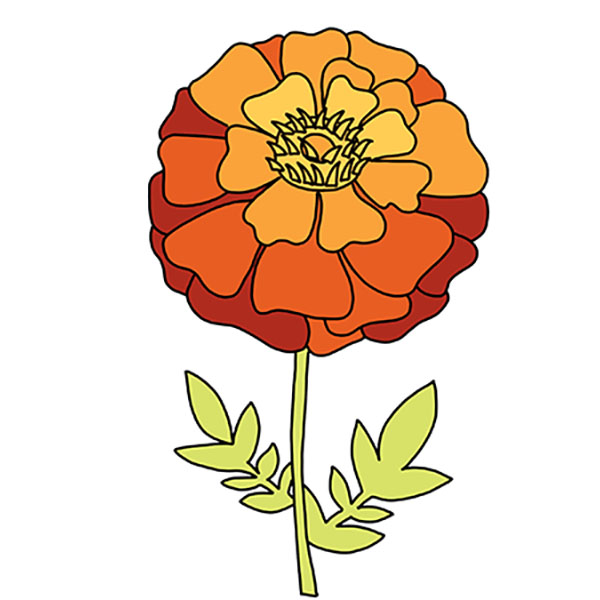
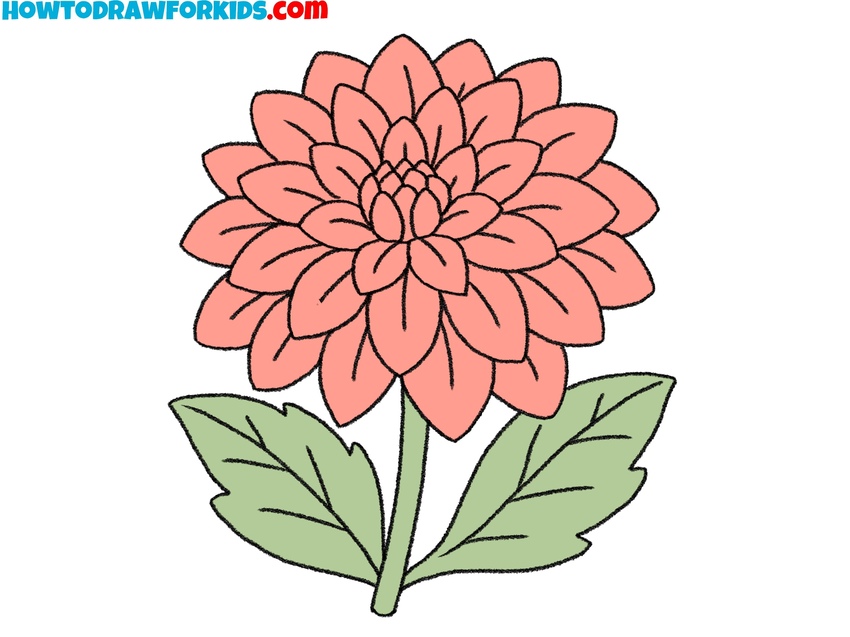
Drawing such simple objects as a rose should not take too much time and effort, but there is no limit to perfection. And to delve deeper into this topic, try drawing an open bud.
Here I show a fundamentally different drawing scheme. Unlike the previous method, here you do not start with the outer petals, gradually moving towards the inner ones, but vice versa.
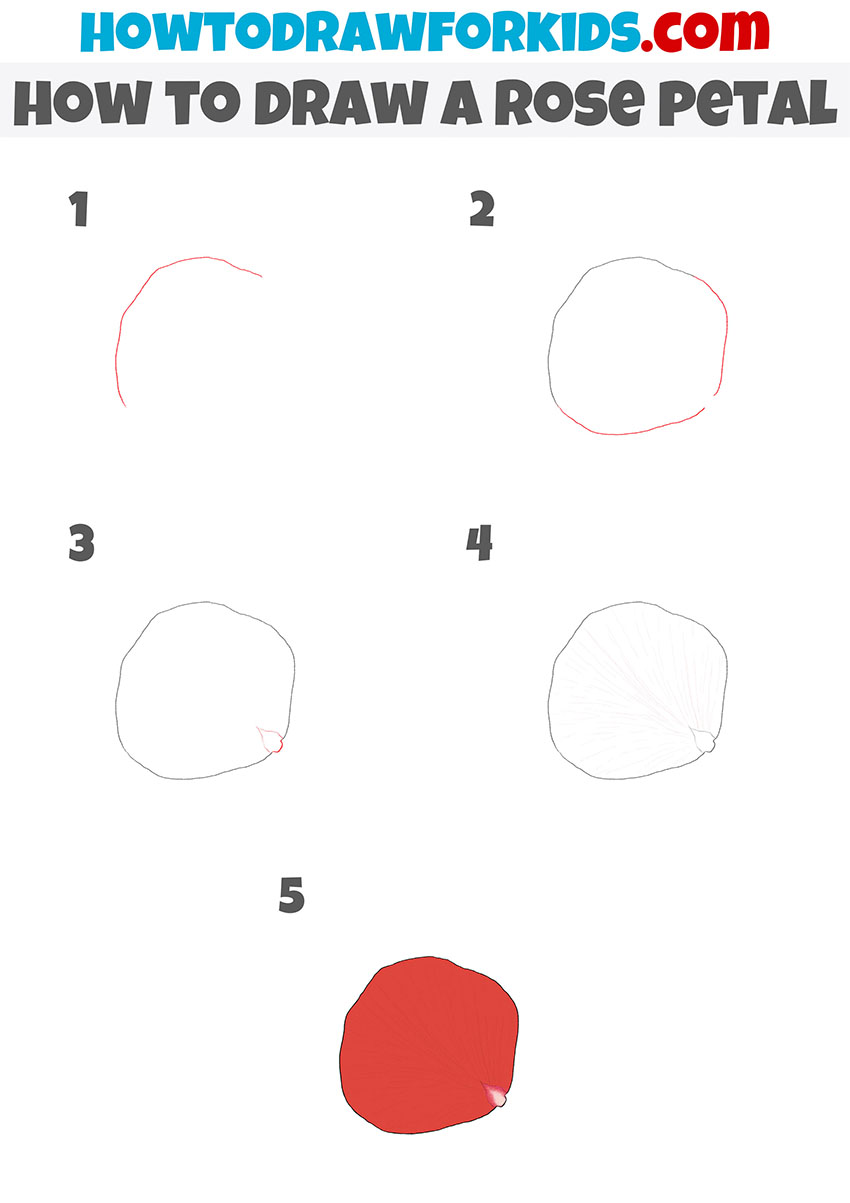
Rose Petal Drawing Tutorial
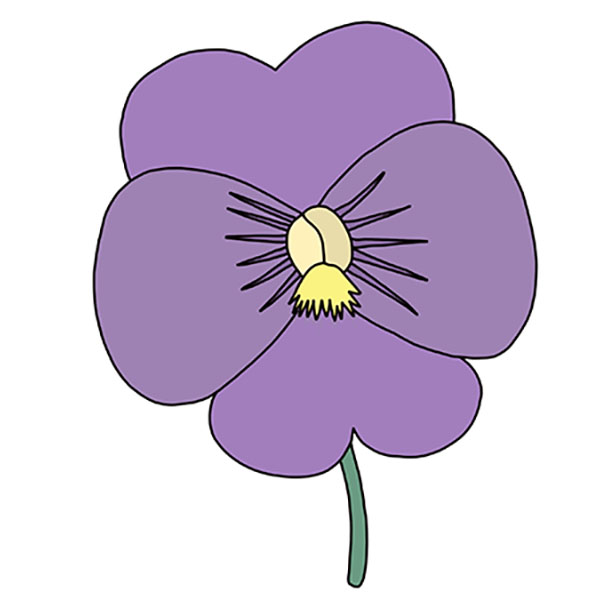
Rose petals have different sizes and rounded shapes. The figure shows a large petal, which is usually located along the edge of the bud. The rose petal does not have a perfectly even shape. In order to depict the outline of the petal, you can use arbitrary lines.
Please note that there is a slight bulge on one side. This is the place where the petal is attached to the bud. You can use any color to color the petal. It will be very beautiful if you take two different shades and depict a smooth transition from one color to another.
Conclusion
So, what did we understand from this lesson on drawing a rosebud?
To draw this beautiful flower, you need to start with basic outlines, then draw details in the form of petals either from the edges to the center or vice versa, from the center to the edges.
It is also very important to remember the liveliness of the lines. Nature rarely creates straight lines as if drawn with a ruler, and when drawing nature’s creations, you should also avoid too straight lines.