How to Draw a Saw
In this tutorial, I will explain how to draw a saw using a few straight lines, a couple of rounded geometric shapes, and simple forms.


How to Draw a Saw: Introduction
In this lesson, I decided to return to the topic of tools that are used in construction and in everyday life. Now I will show you how to draw a saw.
As you can see, this picture shows a conventional saw, which consists of a few simple elements. The saw has a regular shape and consists of a handle and a working blade. In this tutorial, I’ll demonstrate how to illustrate these parts and arrange them in correct way.
This tutorial will take very little time. Here you will need the ability to draw straight lines, and you will practice doing this again. Therefore, this lesson will not only be interesting but also useful for you, since it will teach you to create straight linear and very small repeating details, such as the tooth of the saw.
At the very end of the tutorial, you will see another saw drawing tutorial, but in more simplified style. This additional guide will give you new skills for creating similar building tools. So, follow all the drawing steps sequentially and use my tips.
Saw Drawing Tutorial
Materials
- Pencil
- Paper
- Eraser
- Coloring supplies
Time needed: 35 minutes
How to Draw a Saw
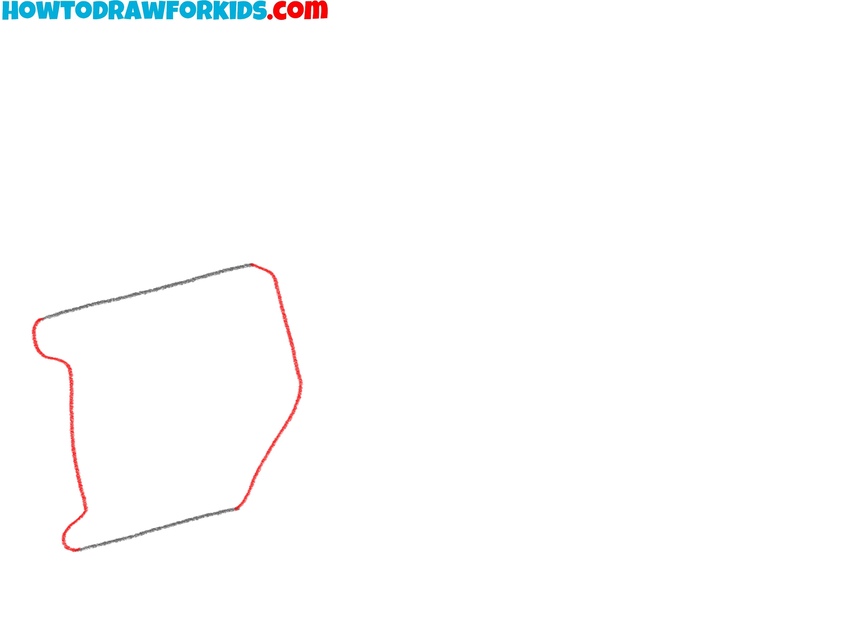
- Sketch the top and bottom edges of the saw handle.
To draw a saw, sketch two short, diagonal lines at the right side of the paper. You can use a ruler to ensure the lines are perfectly straight. These lines will form the top and bottom edges of the saw handle. Make the top line slightly longer than the bottom line.

- Add the back and front edges of the handle.
Connect the top and bottom lines with two vertical lines to form the back and front edges of the handle. These lines should slightly angle to create a realistic appearance. Ensure the handle looks rectangular but with a slight curve at the corners to give it a smooth, natural feel.
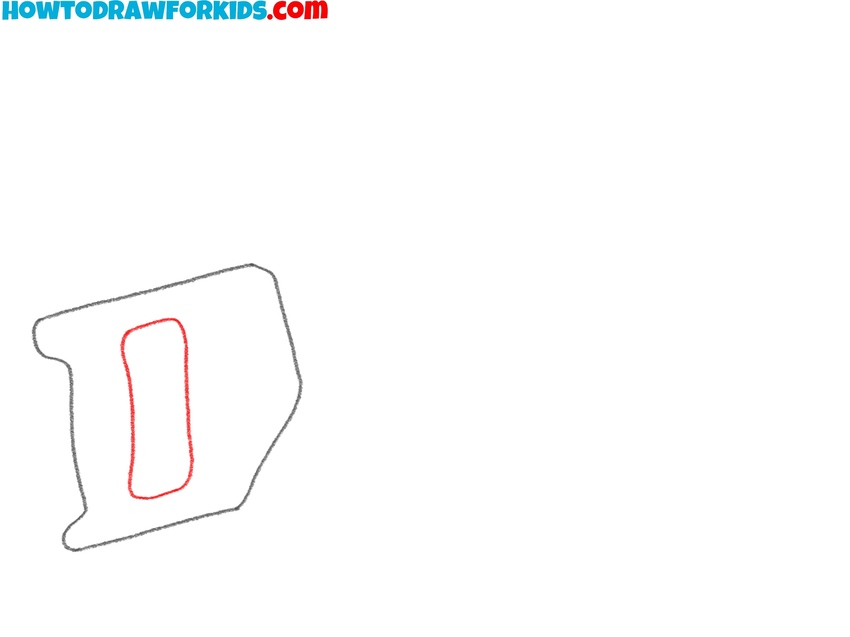
- Create the handle cutout.
Inside the handle, draw a rectangular cutout near the center. This represents the grip area of the saw handle. The handle cutout should have really smooth outlines, because this is the part that comes into contact with the person’s hand.
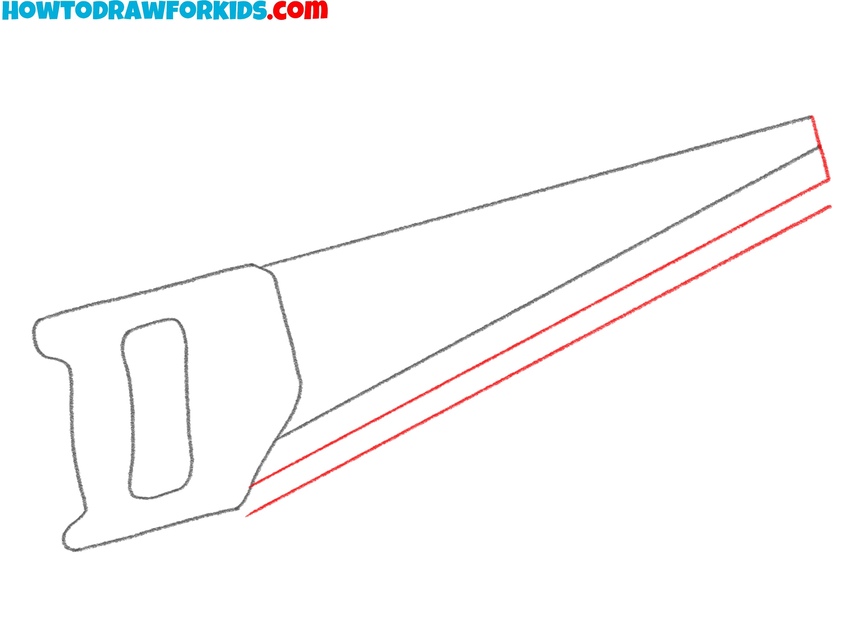
- Create the shape of the blade.
Extend two straight lines from the top and bottom fronts of the handle to form the basic shape of the blade. The bottom guideline should angle slightly upward, and the top line should run parallel to top edge of the handle. Thus, the blade should taper slightly closer to the end.

- Sketch guidelines for the teeth.
Below the bottom edge of the blade guidelines from the previous step, draw two long, straight guidelines to help position the teeth. The top line will help you to correctly position the top corners of the teeth, and the bottom guideline will help you to accurately position the bottom points of the teeth.
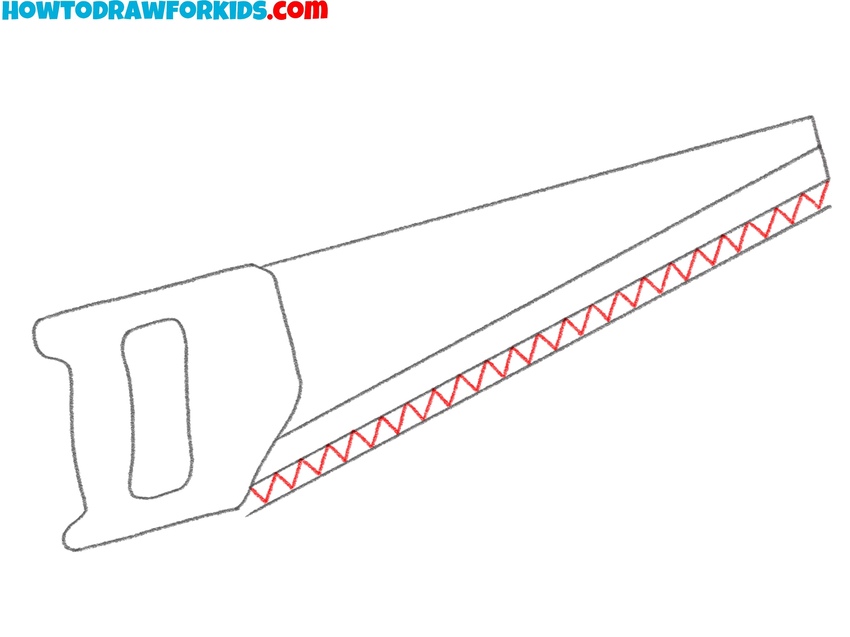
- Sketch the saw teeth.
Using the guides, draw small, sharp triangles along the bottom edge of the blade. Each triangle should have a wide base and a pointed tip. The teeth should be evenly spaced and aligned with the guideline. Each saw tooth must be the same shape, size and angle.
- Erase the guidelines and finalize the outline.
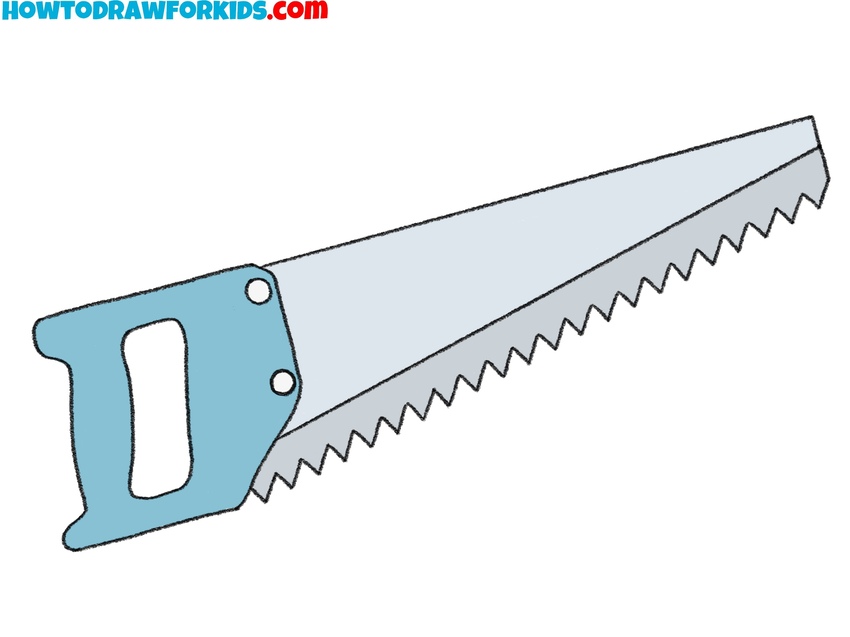
Draw two small circles on the front of the handle to represent the rivets. Place one rivet near the top edge of the handle and the other closer to the bottom. The rivets should be perfectly circular and uniform in size. This is one of those little details that adds realism to the saw drawing.

- Add color to your saw drawing.
Use a metallic gray or light blue for the blade and a bright color, such as blue or red, for the handle. Paint the rivets grey or a lighter blue. To make your saw drawing look more realistic, paint the teeth a different color from the rest of the blade.
How to Draw a Saw for Preschoolers
The basic lesson is over, so let’s try another one method. This saw drawing tutorial differs from the first one in its simplicity and the absence of additional details such as rivets and blade guides. The steps are more simplified, with fewer lines and no emphasis on small details like rivets or internal blade structure. It focuses solely on the basic features of a saw: the handle, the blade, and the teeth, with no unnecessary elements.
To draw a saw for preschoolers, begin by sketching the handle. Create a five-sided shape with straight edges and slightly angled corners to represent the outer frame of the handle. Inside the handle, draw a smaller, similarly shaped outline to create the cutout for the grip. Then, draw the top and front edger of the blade with straight lines. On the bottom edge of the blade, draw triangles to represent the teeth. Make the triangles sharp and consistent in size. Erase any extra lines to clean up the saw drawing, refining the handle and blade edges for a polished appearance. Finally, color the handle and blade, using brown for the handle and light blue or gray for the blade.
Share your thoughts about this simplified saw drawing lesson in the comments. I am interested in hearing your opinion. For convenience, a PDF with a simplified version of this tutorial has been prepared. This file includes helpful resources to assist you in completing the drawing lesson at any time, even without an Internet connection.

Conclusion
This lesson is complete, and you have now learned how to draw a saw. I hope you followed the steps carefully and are satisfied with the result. With each lesson, your ability to draw various objects improves, and you acquire new and useful skills.
If you found this tutorial helpful, you can check out other guides on my website to learn how to draw other tools. For instance, you can learn how to draw a hammer or a try to draw a knife by following my step-by-step instructions.