How to Draw a Shield
The shield is widely used from historical sketches to fantasy works, and this tutorial explains how to draw a shield step by step.
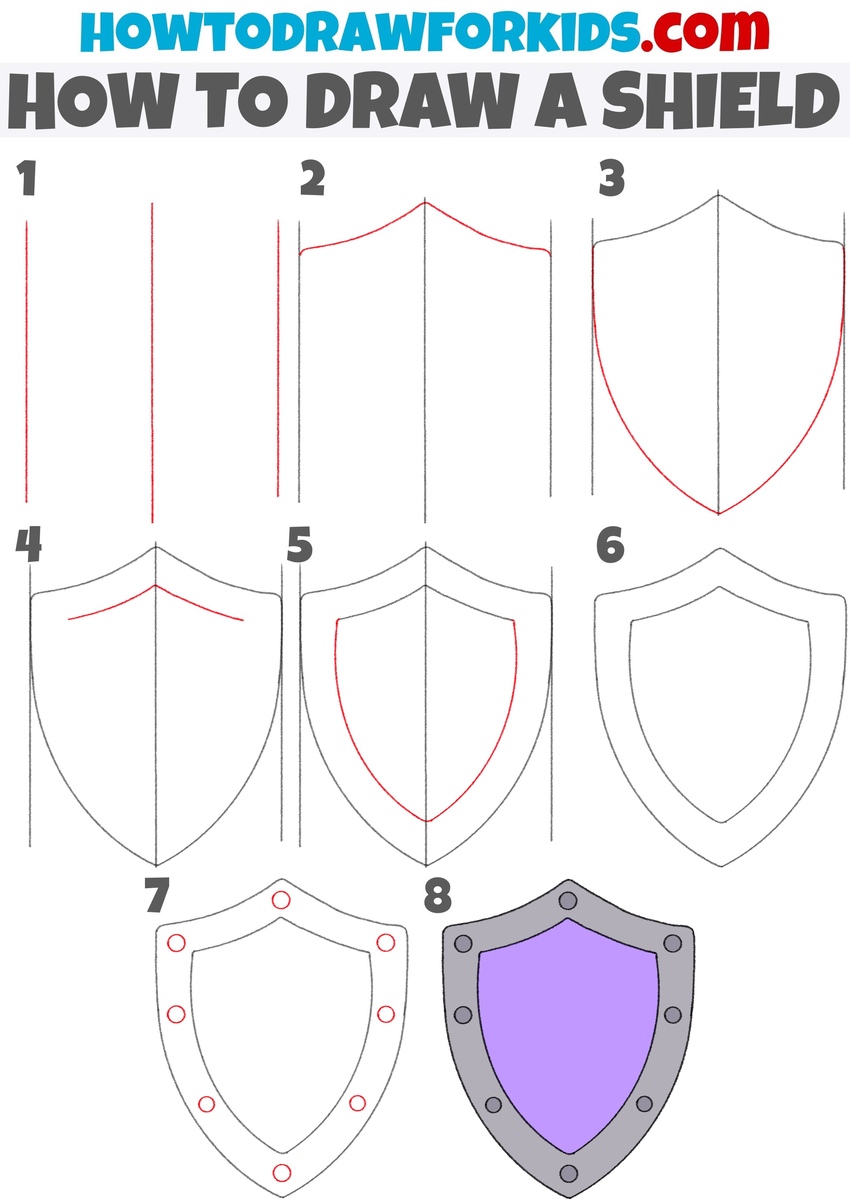
How to Draw a Shield: Introduction
In this tutorial, you will learn how to draw a shield. This is an ancient hand weapon that was used in battles by warriors of different nations. A shield is a rounded, diamond-shaped, or rectangular plane that protects against enemy attacks. Usually, the shields were made of metal, but there were also wooden shields.
The shield has a symbolic meaning and means protection and patronage. Very often you can see some kind of image on ancient shields. The shield can be beautifully decorated, on the front of the shield there may be symbols, signs, emblems, or the shield may have thorns along the edges.
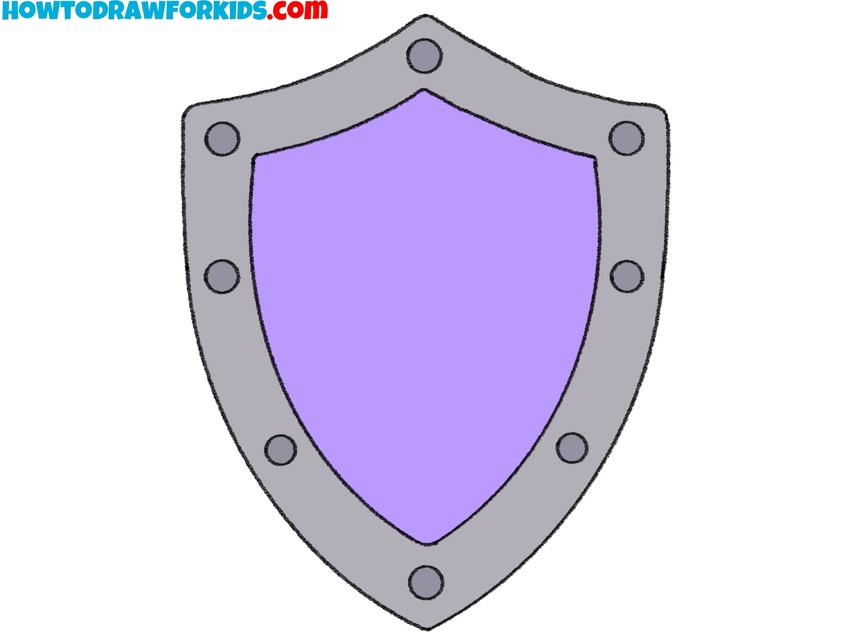
In this picture, you can see the shield, which is decorated with decorative spikes along the outer edge. It looks simple and strict. If you wish, you can draw a symbol in the center of the shield. You can easily follow this tutorial because the simplest elements are used here. Be sure to keep both sides of the shield symmetrical in this lesson.
Shield Drawing Tutorial
Materials
- Pencil
- Paper
- Eraser
- Coloring supplies
Time needed: 25 minutes
How to Draw a Shield
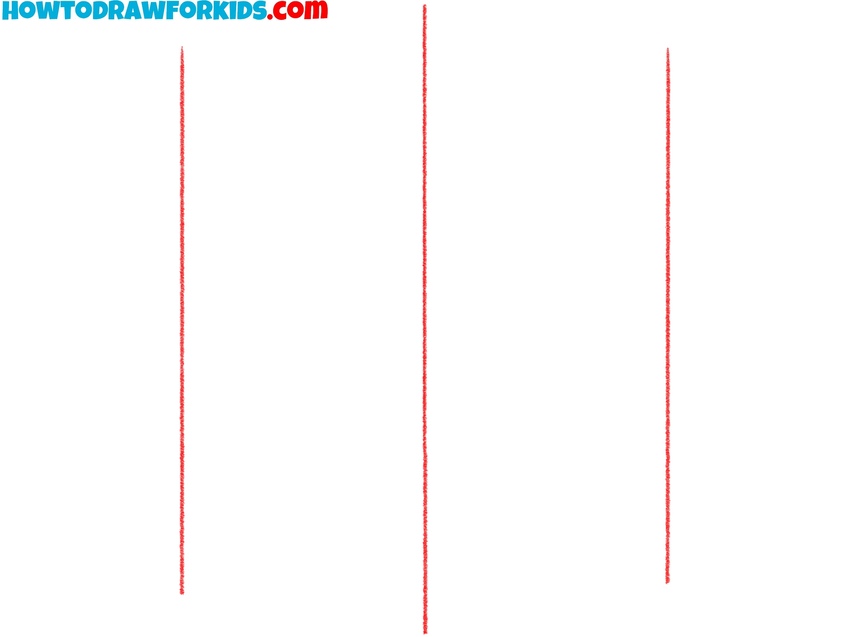
- Sketch three vertical guide lines.
Before working on the shield itself, it helps to place guiding lines so that both sides stay even and symmetrical. First, sketch a straight vertical line to define the center of your shield. Then, sketch two straight vertical lines on both sides of this first guide lines, placing them on equal distance.
- Shape the upper crest.
The shield has a distinctive curved top, so it makes sense to define that part before shaping the lower section. Connect the tops of the vertical guidelines with a smooth curve that rises slightly in the center, creating a peak. Think of this line as the protective crest of the shield.

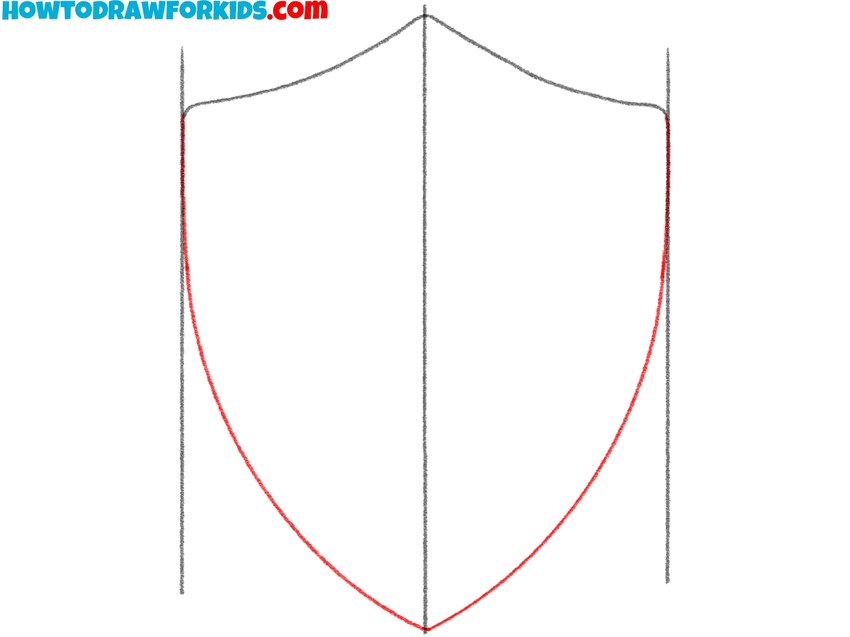
- Draw the side edges of the shield.
Once the top is drawn, you can guide the shield down to its lower tip. From each end of the curved top, draw long curved lines downward, meeting at a single point in the center below. This creates the classic medieval shield outline. Try to keep the curves smooth and symmetrical.
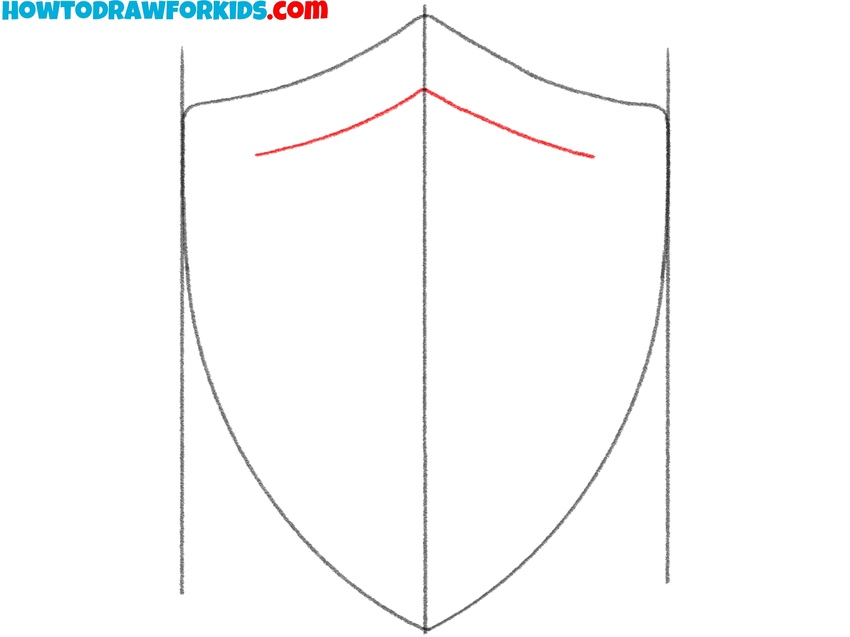
- Form the inner crest line.
To give the shield some demand weight, sketch the inner edge. Draw a second line just below the main crest, echoing the same curve but slightly smaller. This will become part of the inner edge of the frame. Try to maintain an uneven spacing between these two shapes.
- Complete the inner contour.
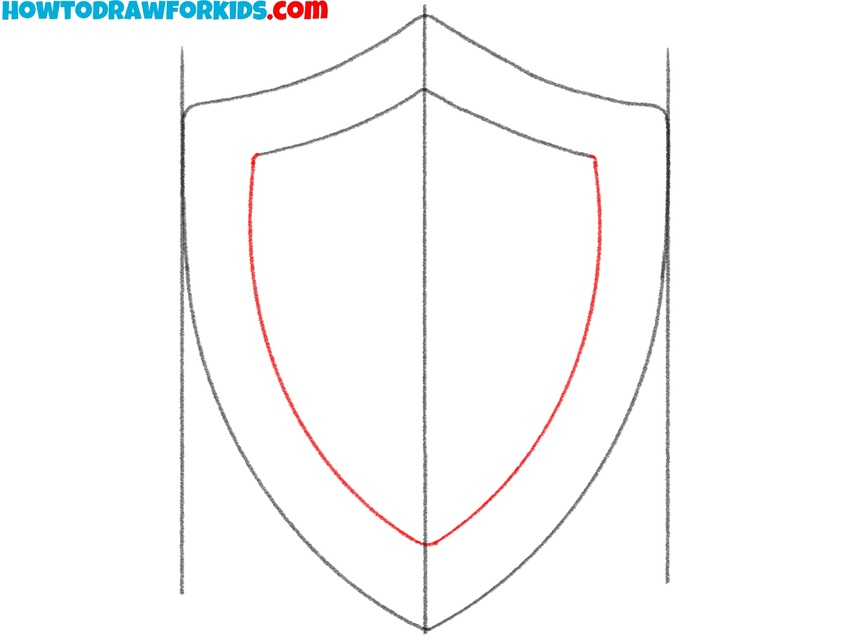
Now that the top section is placed, extend this inner edge down toward the bottom. Draw a smaller shield shape inside the main outline, keeping the spacing roughly even all the way around. It should follow the same curves as the outer shield and sit inside like a border.
- Clean up and trace the frame edges.
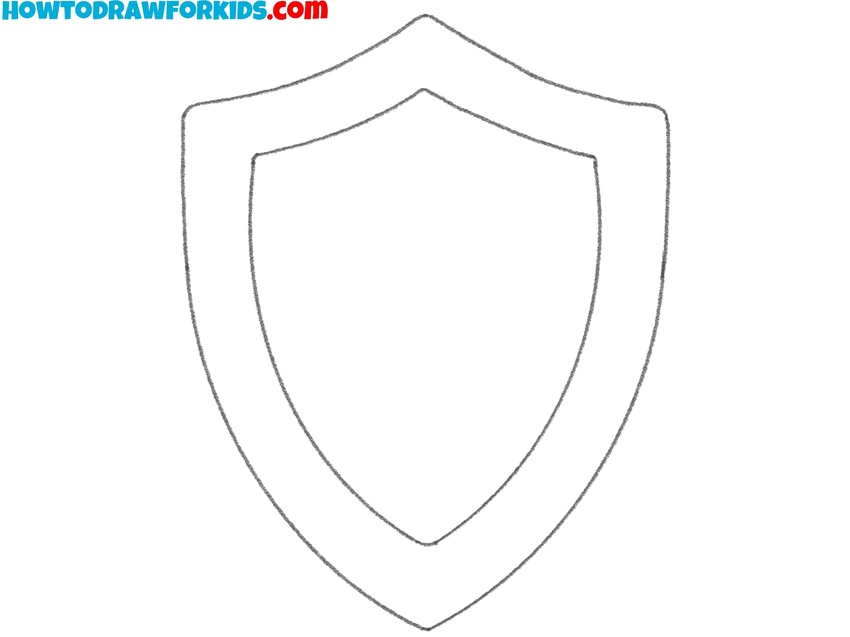
At this stage, you should have both the outer and inner contours finished. Carefully review the two outlines and compare the left and right sides to ensure your shield drawing is symmetrical. Erase the vertical guide lines, leaving only the main outlines of the shield.
- Draw rivets on the shield frame.
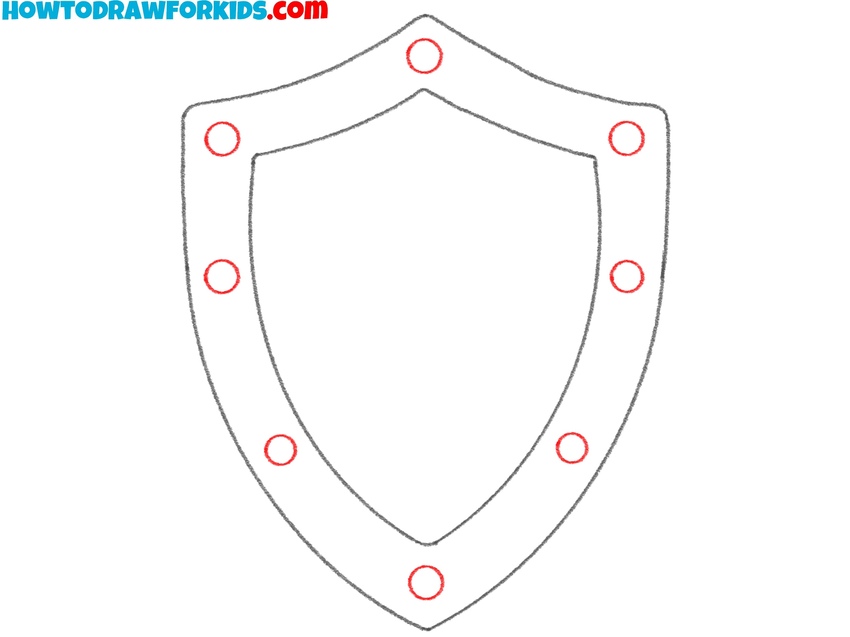
Most shields had metal bolts or rivets to reinforce the frame, so placing these will make the drawing more convincing. Draw small circles around the inner edge of the frame. Keep them the same size and distance apart. If needed, lightly mark the spots with dots first before drawing the full circles.
- Paint the frame and center.
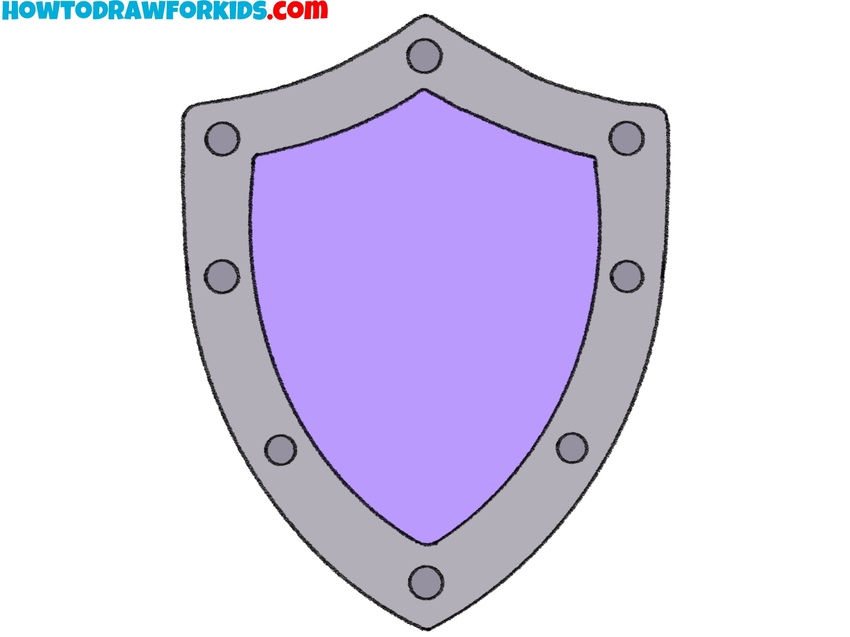
The frame can be shaded in a gray to convey steel, while the inner surface may be colored purple or any other tone. Just think about what your favorite color is and use that to paint that part. For more realism, you can add scratches or other marks with lighter or darker thin lines.
How to Draw a Shield: Additional Methods
Throughout human history, warriors have used a variety of shields in a variety of shapes and from a variety of materials. So, it’s time to try to learn how to draw shields of other shapes.
Easy Shield Drawing Tutorial
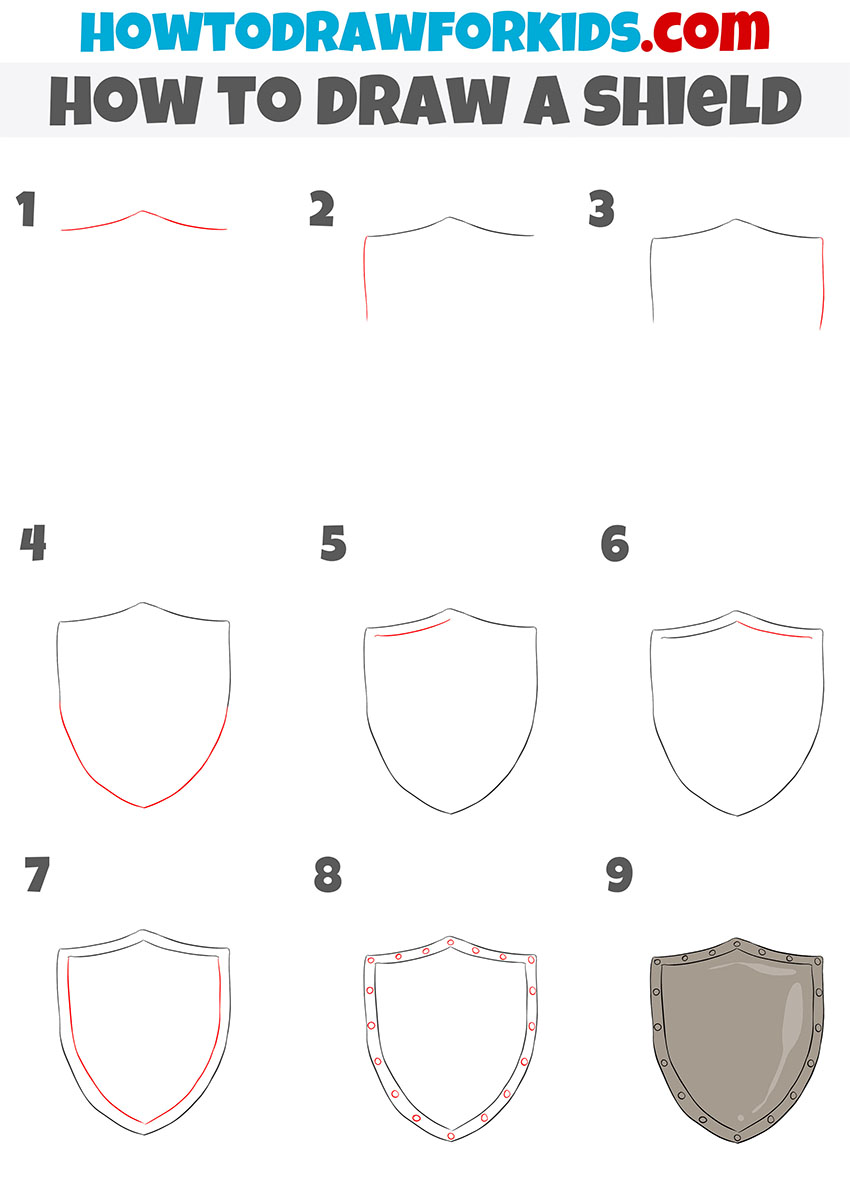
Outline the top ridge with a short angled line, then extend vertical edges downward to define the basic shield shape. Connect the lines with a rounded lower point to complete the outer contour. Add an inner contour slightly following the shape of the shield, which creates the impression of a border.
Mark small circular rivets evenly along this border. Pay attention to symmetry on both sides of the shield. Erase any extra guidelines, refine the lines, and then shade or color the surface.
Round Shield Drawing Tutorial
This shield is similar to the one used by the Vikings. It is made of wood and metal, and is one of the simplest types of shields.
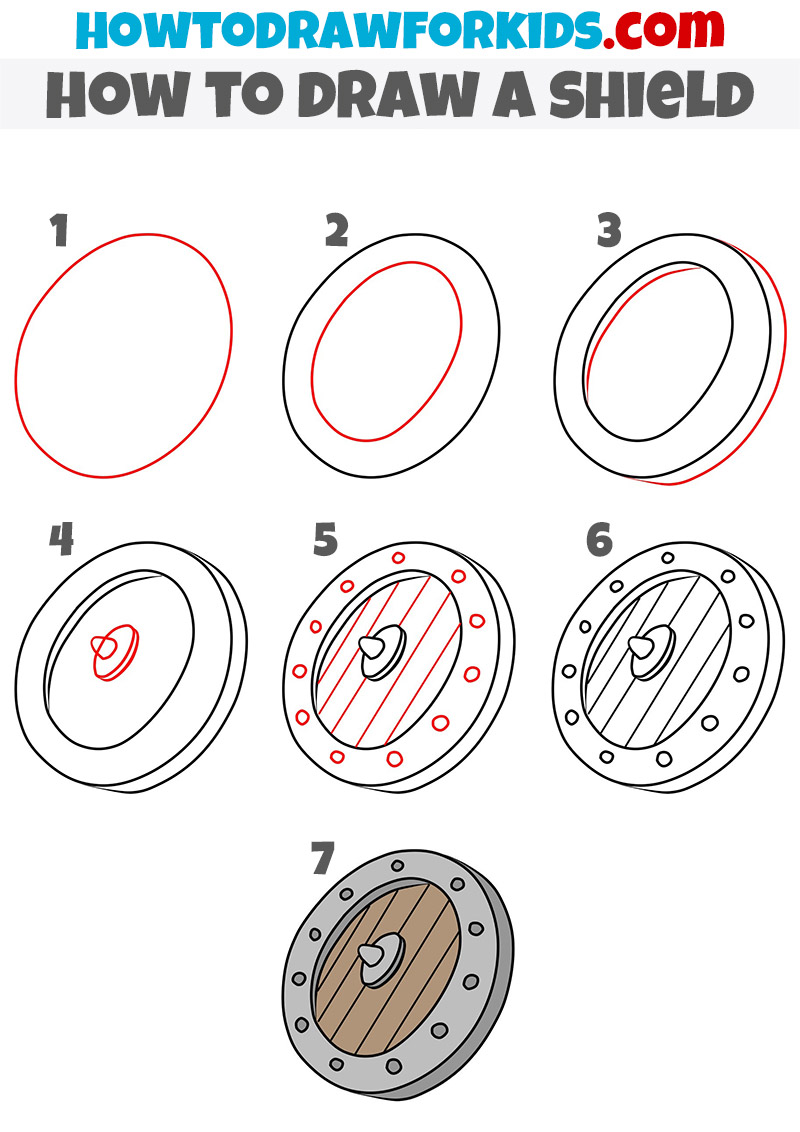
Sketch a large oval to form the outer contour, then add a smaller oval inside to represent the inner face. Slightly shift the lines to show perspective and thickness. Place the central boss by drawing concentric rounded shapes in the middle.
Divide the shield interior with vertical or diagonal lines to illustrate wooden planks. Add small circles along the edge to indicate rivets. Erase unnecessary construction lines and refine the outline. For coloring, use a gray color for the rim and boss, and shades of brown for the wooden planks.
Conclusion
Now you have learned how to draw a shield. You have seen that it is very simple. I would be glad if you share your feedback on this lesson in the comments. You can also suggest your ideas for the following lessons.
To continue this theme, visit my knight drawing tutorial, when you can sketch this object in combination with a human figure.

