How to Draw a Bluebonnet
In this drawing lesson, I would like to tell you how to draw a bluebonnet step by step. You will have a great time doing this tutorial.
So, I am glad to bring to your attention a drawing lesson in which I will tell and show you how to draw a bluebonnet step by step. Surely you love fascinating drawing lessons that are dedicated to depicting various plants. This lesson is one of them.
By learning how to draw such a beautiful flower as a bluebonnet step by step, you will be able to portray this in the future as the main subject of your drawing, as well as complement the natural landscape, field, trees, and any other drawing you have drawn. This tutorial should be fairly simple, as I prepared it specifically for beginners.
If you want to start drawing this beautiful plant right now, then I recommend that you prepare the necessary drawing supplies for you, and then get to work. I wish you to enjoy the creative process and get an excellent result of your work.
Bluebonnet Drawing Tutorial
Materials
- Pencil
- Paper
- Eraser
- Coloring supplies
Time needed: 31 minutes
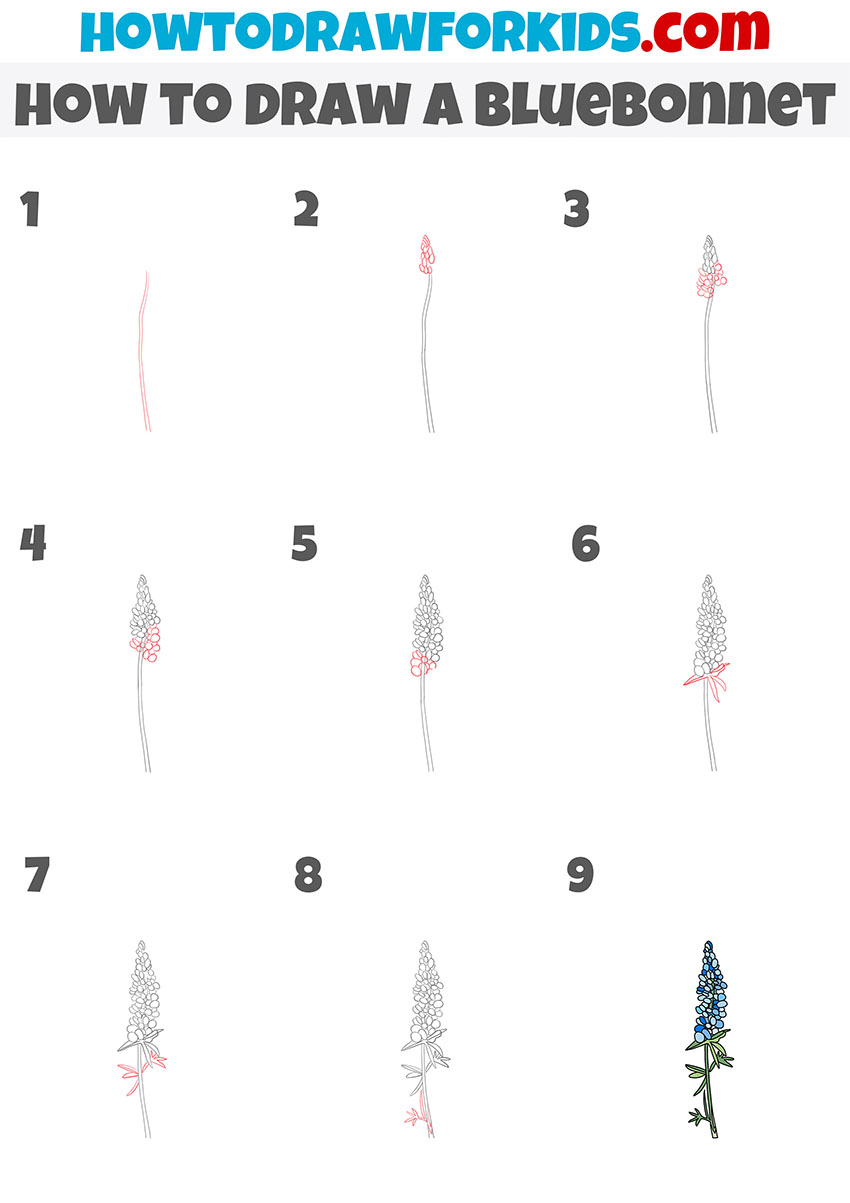
How to Draw a Bluebonnet
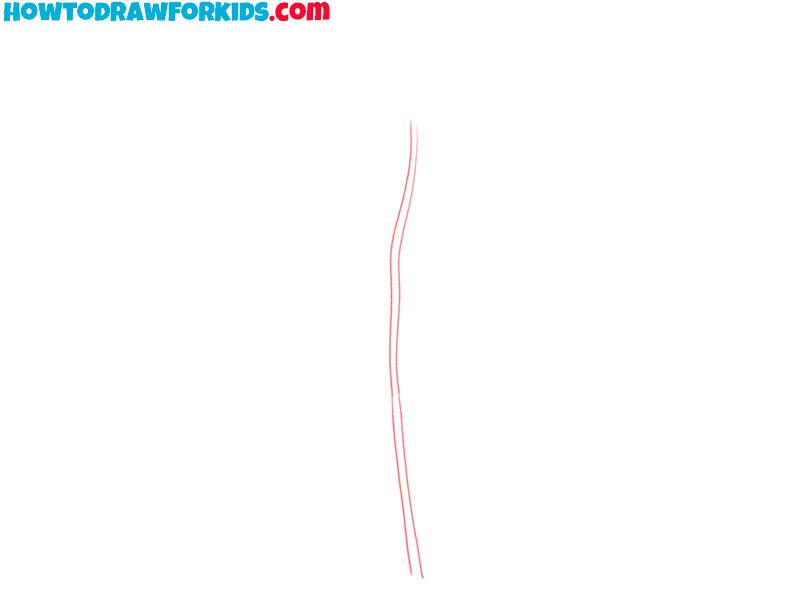
- Draw the stem of the bluebonnet.
To complete this step, you need to draw two long, curved lines next to each other.
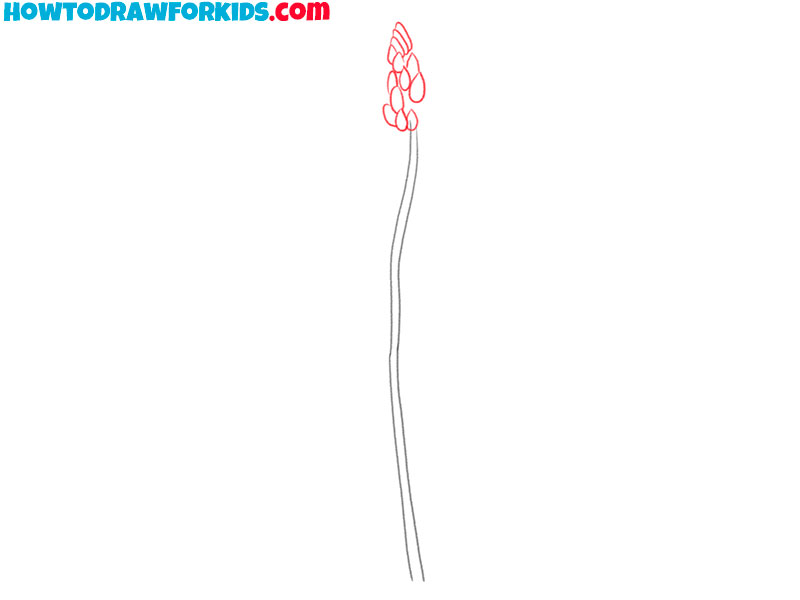
- Depict the top of the bluebonnet.
Above the previously drawn curved lines, add some arcs and oval shapes of different sizes.
- Continue drawing the bluebonnet.
Now you need to add some bluebonnet flowers below the drawn ones using arcs and ovals.
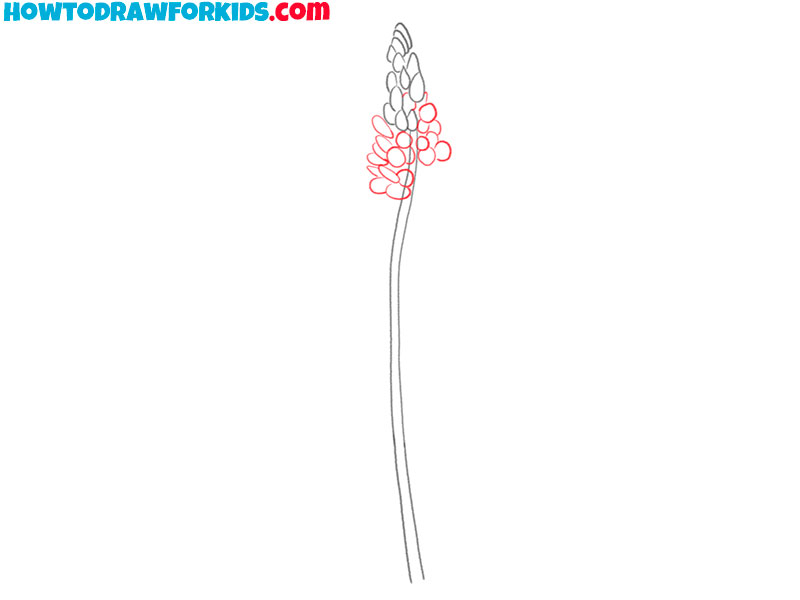
- Add some more bluebonnet flowers.
Below the previously drawn elements, draw a lot of arcs, as well as shapes that look like ovals.
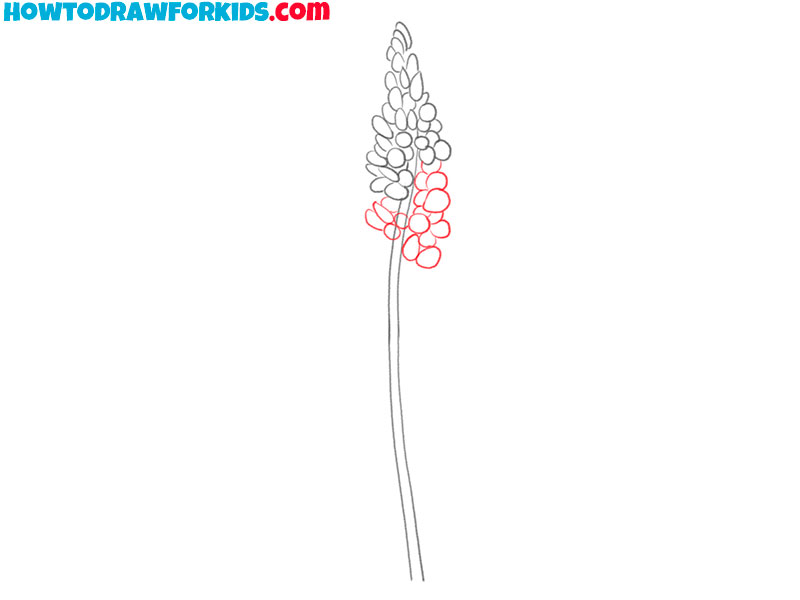
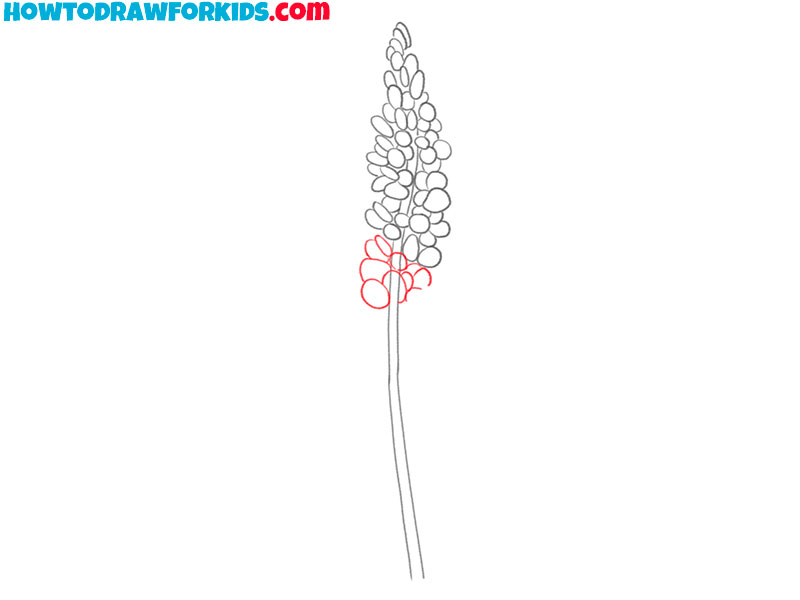
- Add some more flowers near the stem.
Draw arcs and ovals of different sizes as shown in the picture to add some more flowers.
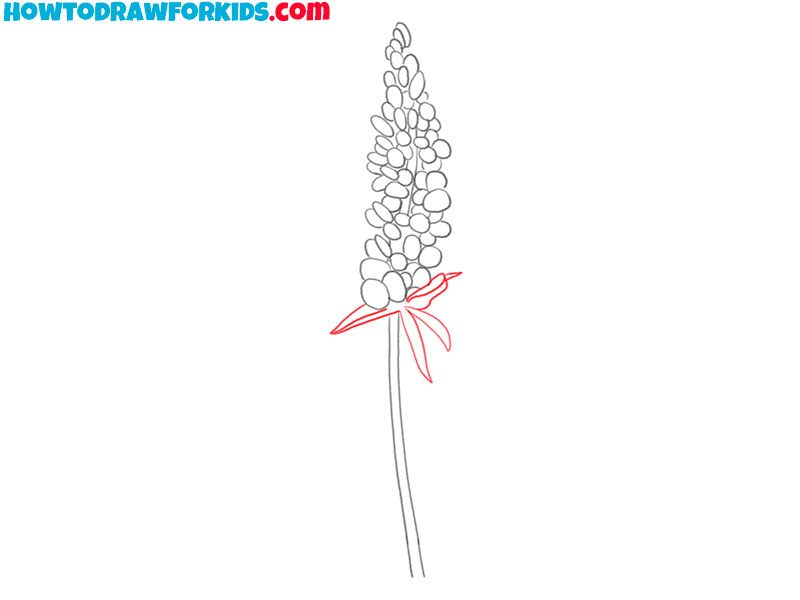
- Sketch out the bluebonnet leaves.
Below the previously drawn oval shapes and arcs, add curved lines to draw the leaves.
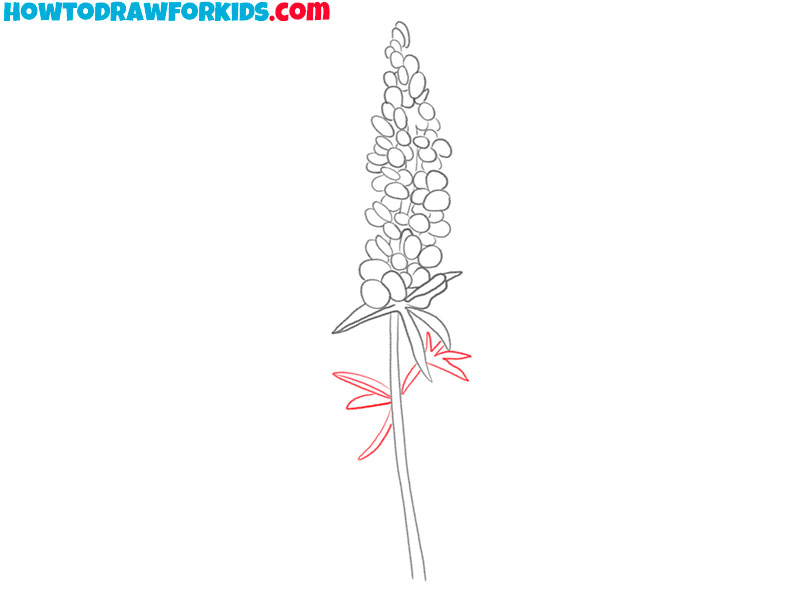
- Add some more leaves.
Below the drawn leaves, add a few more curved lines on the right and left sides of the stem.
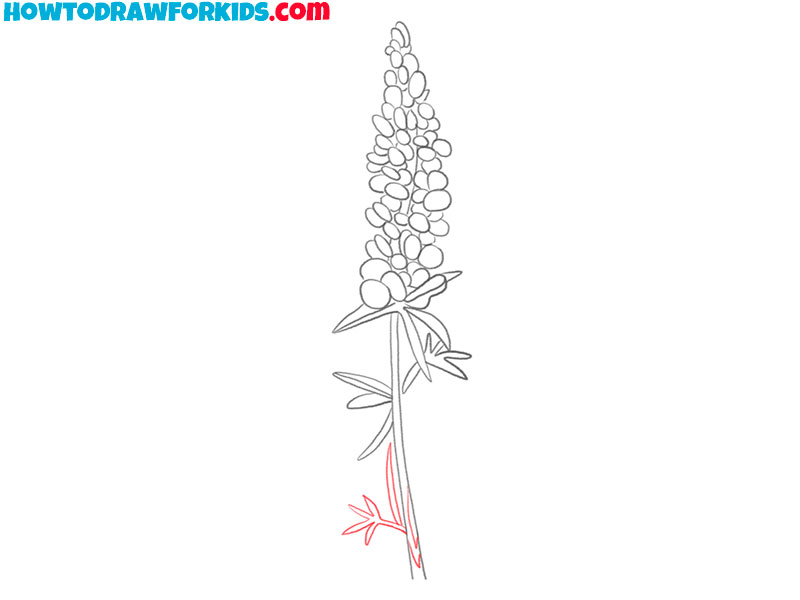
- Finish drawing the bluebonnet leaves.
Now you need to add some curved lines on the left side of the stem as shown in the picture.
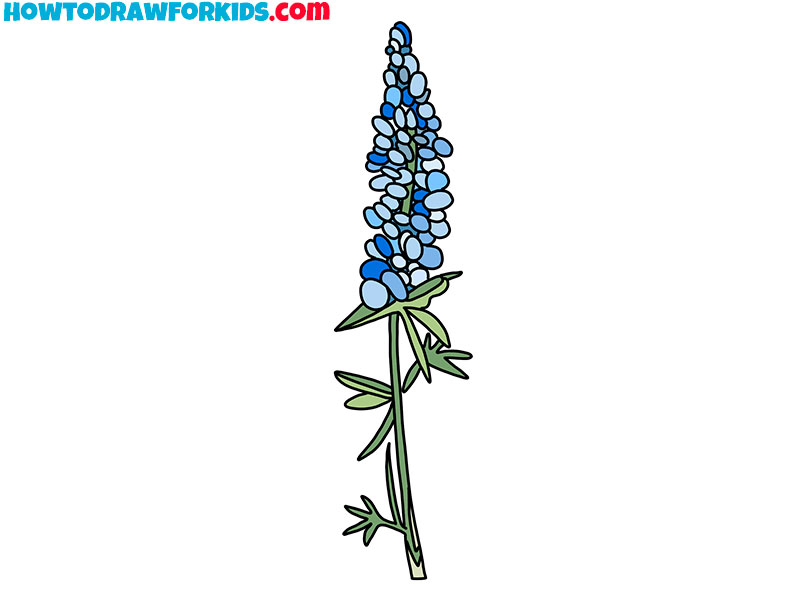
- Color the drawing.
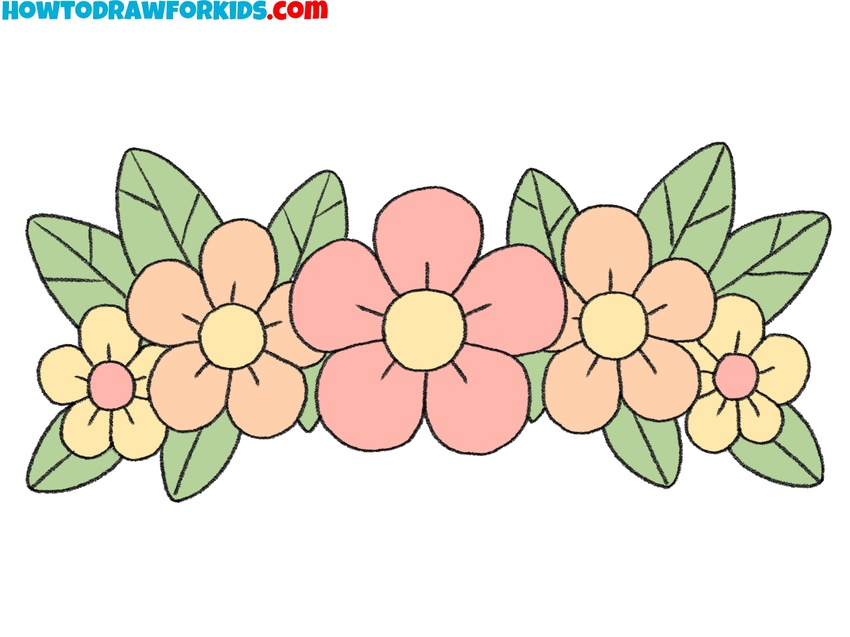
To color the bluebonnet, you can use different shades of blue as well as shades of green.
Traditionally, for your convenience, I have prepared a PDF file that contains a short version of this lesson, as well as training materials that will help you complete this lesson. Download this file right now so as not to lose this lesson and return to it at any time convenient for you, even if you are not connected to the Internet.
LOL. Nice drawing tutorial
is so good drawing😱