How to Draw a Shirt
I suggest you complete a very useful drawing lesson in which you will learn how to draw a shirt step by step.
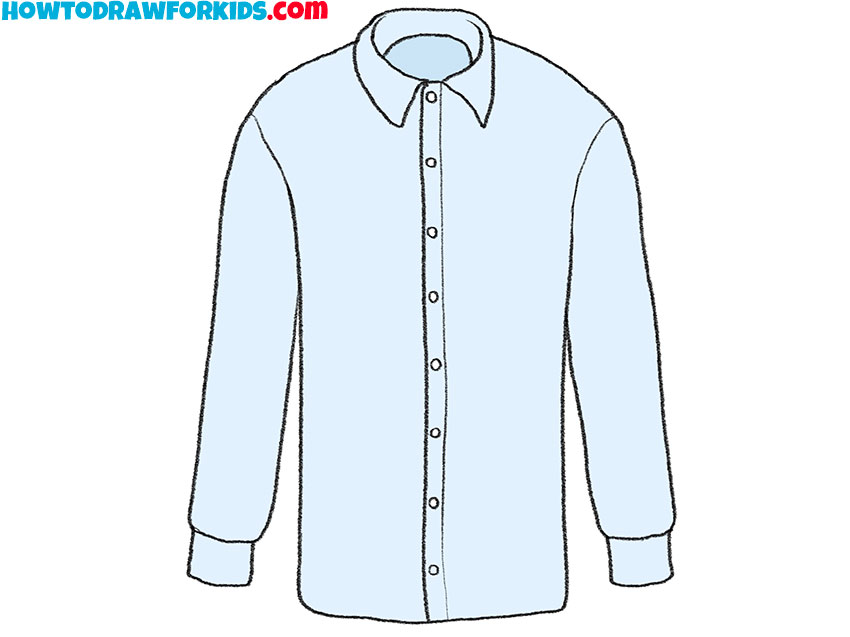
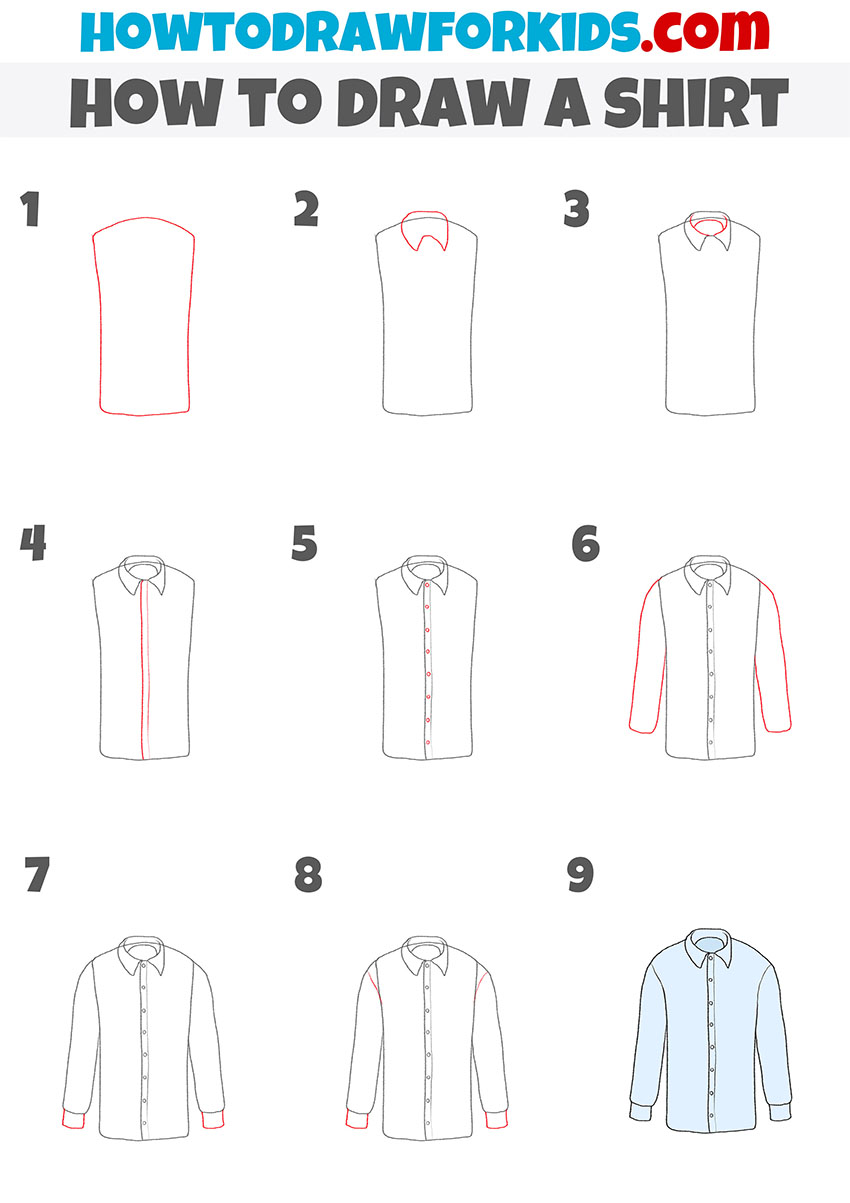
I am glad to offer you this drawing lesson in which you will learn how to draw a shirt step by step. This is another useful lesson for you on drawing clothes.
A shirt is a type of clothing related to the outer underwear. Often, shirts are made of lightweight fabric. This garment has a collar, long sleeves and fastens with buttons. Shirts belong to the classic style of clothing.
You will need the skills you learned in this lesson if you want to draw a person or character wearing a shirt in the future.
Shirt Drawing Tutorial
Materials
- Pencil
- Paper
- Eraser
- Coloring supplies
Time needed: 30 minutes
How to Draw a Shirt
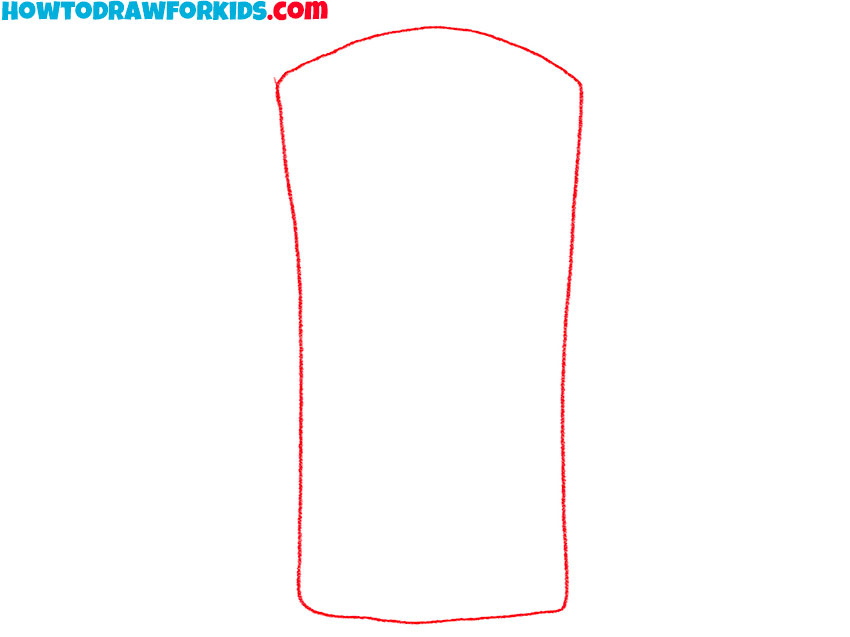
- Draw the main part of the shirt.
Depict the figure as shown in my drawing using curved lines.
- Add the outer outline of the collar.
At the top of the previously drawn shape, depict the shape using curved lines.
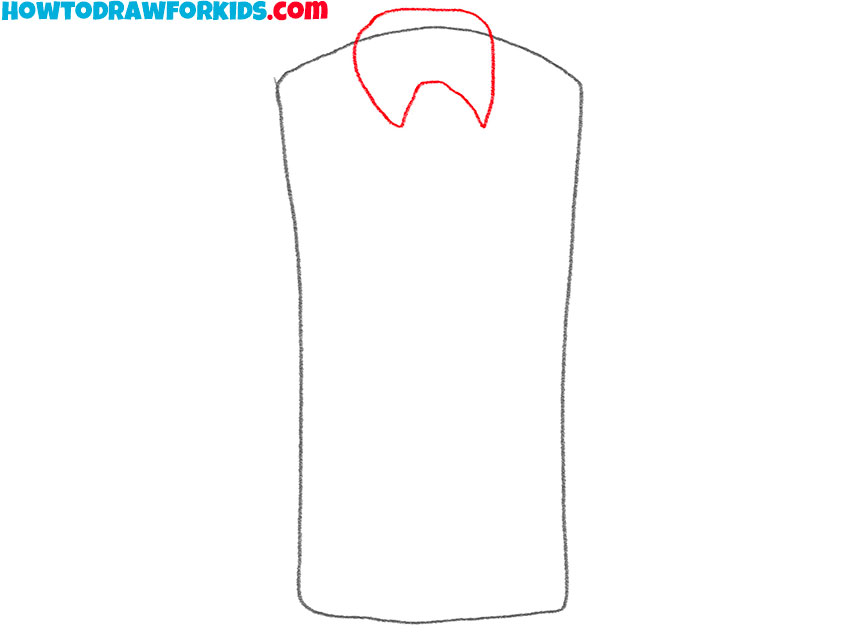
- Depict the inside of the collar.
Draw one arc in the center and rounded lines along the edges.
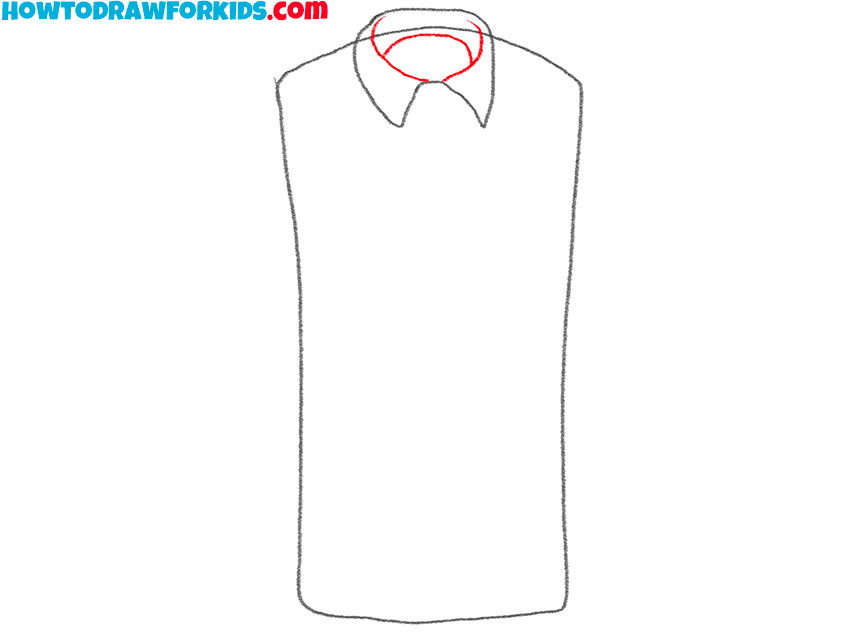
- Add elements in the middle of the shirt.
Depict two vertical straight lines of different thicknesses down the center of the shirt.
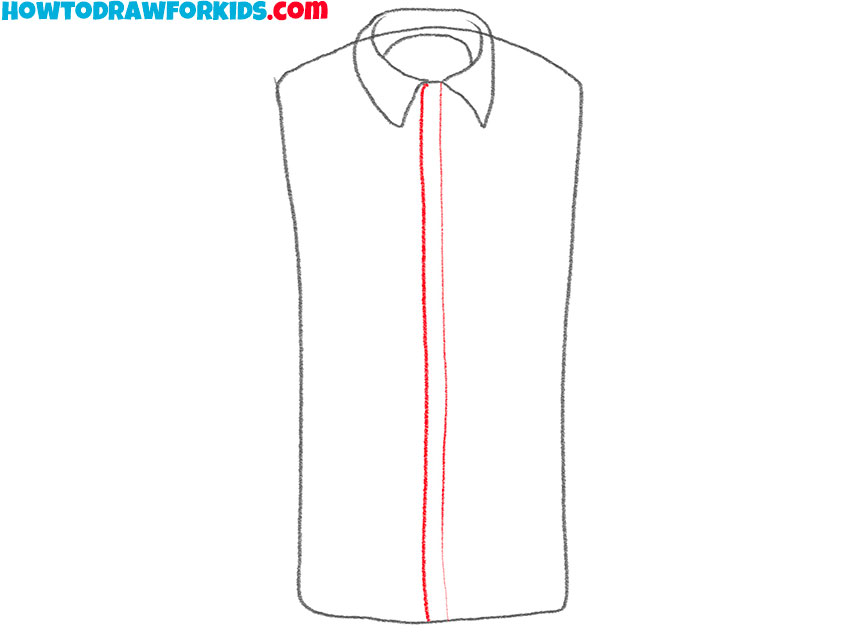
- Sketch out the buttons.
Draw eight identical circles between the two previously drawn lines.
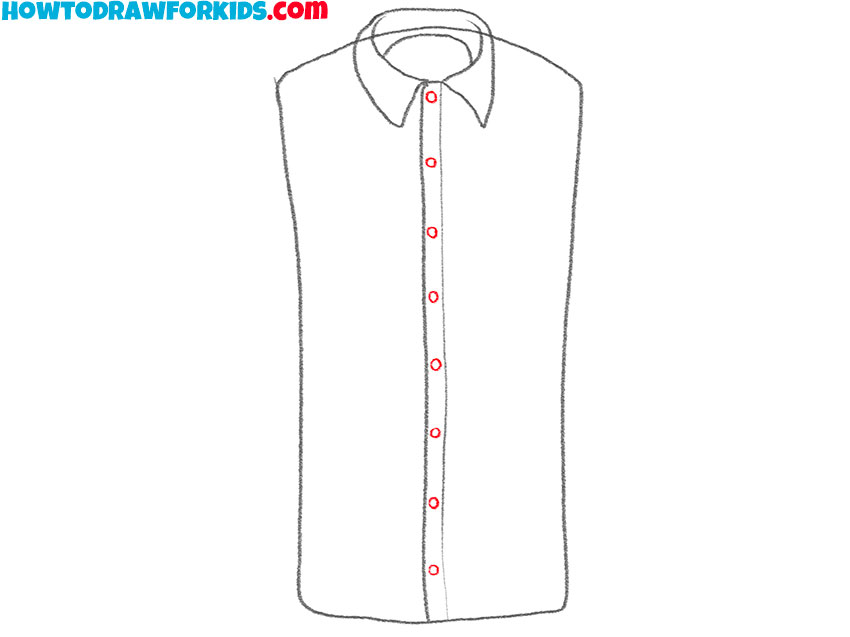
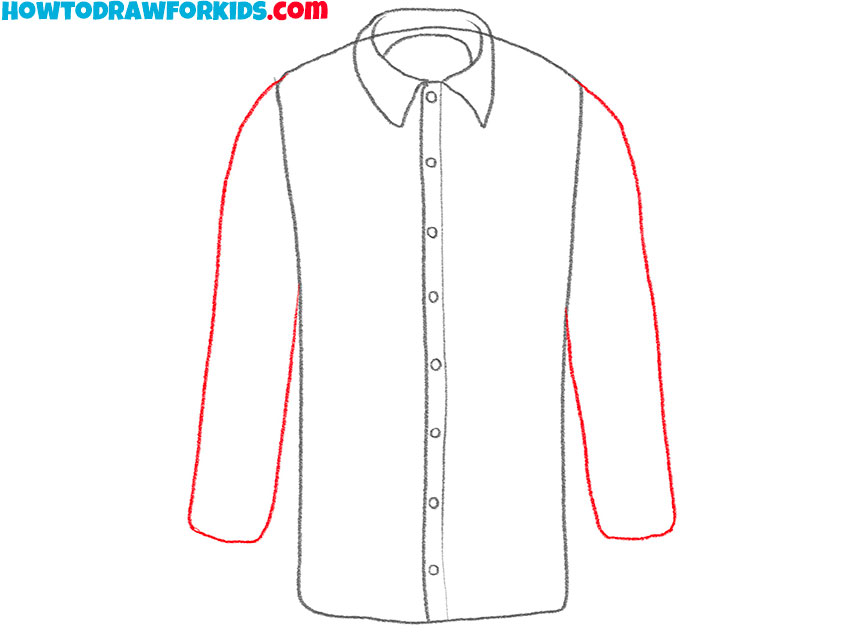
- Draw the top of the sleeves.
On the right and left sides of the shirt, depict two symmetrical sleeves using curved lines.
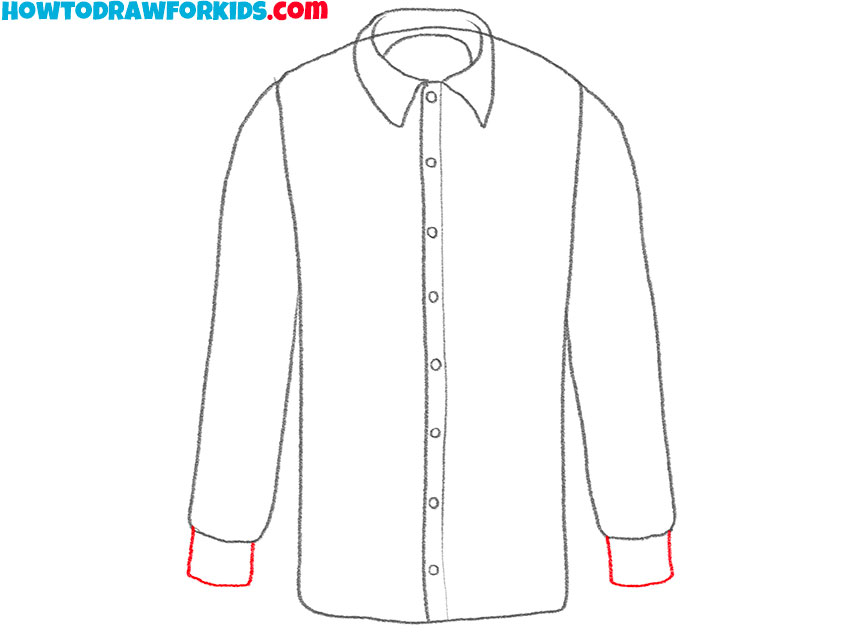
- Add the cuffs.
Depict symmetrical details on both sleeves of the shirt.
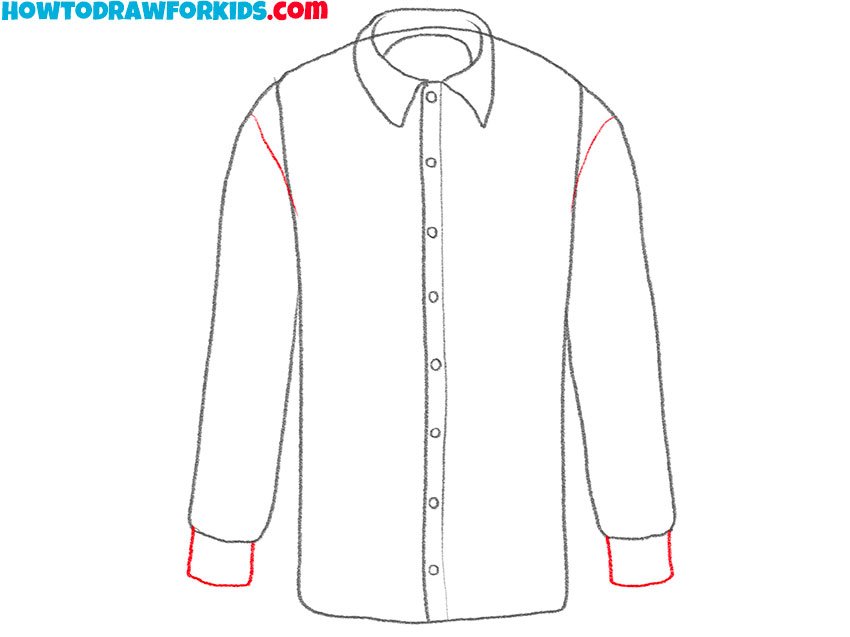
- Depict the seams around the shoulders of the shirt.
On the right and left sides, add curved thin lines as shown.
- Correct inaccuracies.
Use the eraser to remove any unnecessary guidelines.
Traditionally, I have prepared a PDF file for you, which you can download for free right now, so that you can use this manual and useful additional materials at any time.