How to Draw a Shrub
Let’s learn how to draw a shrub and find out how to illustrate lifelike plant artworks with really easy-to-follow methods.
How to Draw a Shrub: Basic Information
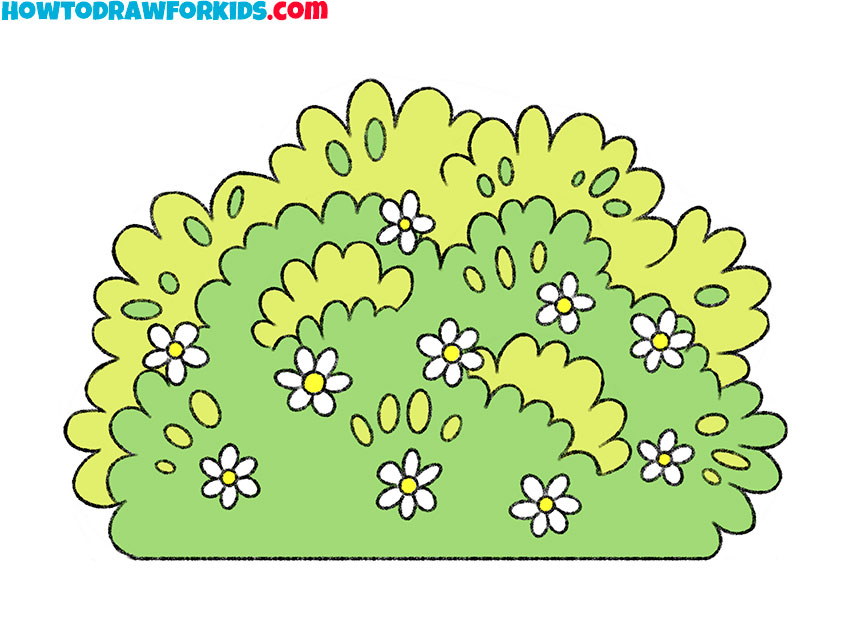
In this lesson on how to draw a shrub, I’ll guide you through the steps to create a charming, simplified shrub, perfect for adding a touch of greenery to any scene. This shrub drawing exercise is all about celebrating the basic shapes and simple outlines that come together to form a bushy plant.
The skills you gain from drawing shrubs are really useful for drawing landscapes that include plants. A well-drawn shrub can add realism to a landscape, making your scenes more convincing and detailed.
Drawing a shrub teaches you how to create complex plants with leaves and flowers. As you progress through the steps, you’ll learn to create the delicate shapes of leaves, the branching structure of the shrub, and the placement of flowers.
Mastering these details is really important for anyone interested in botanical illustration. By focusing on the complexity of a shrub, you develop an eye for the subtleties of plant life, such as varying leaf shapes, overlapping foliage, and the natural growth patterns of branches and flowers.
Shrub Drawing Tutorial
Materials
- Pencil
- Paper
- Eraser
- Coloring supplies
Time needed: 30 minutes
How to Draw a Shrub
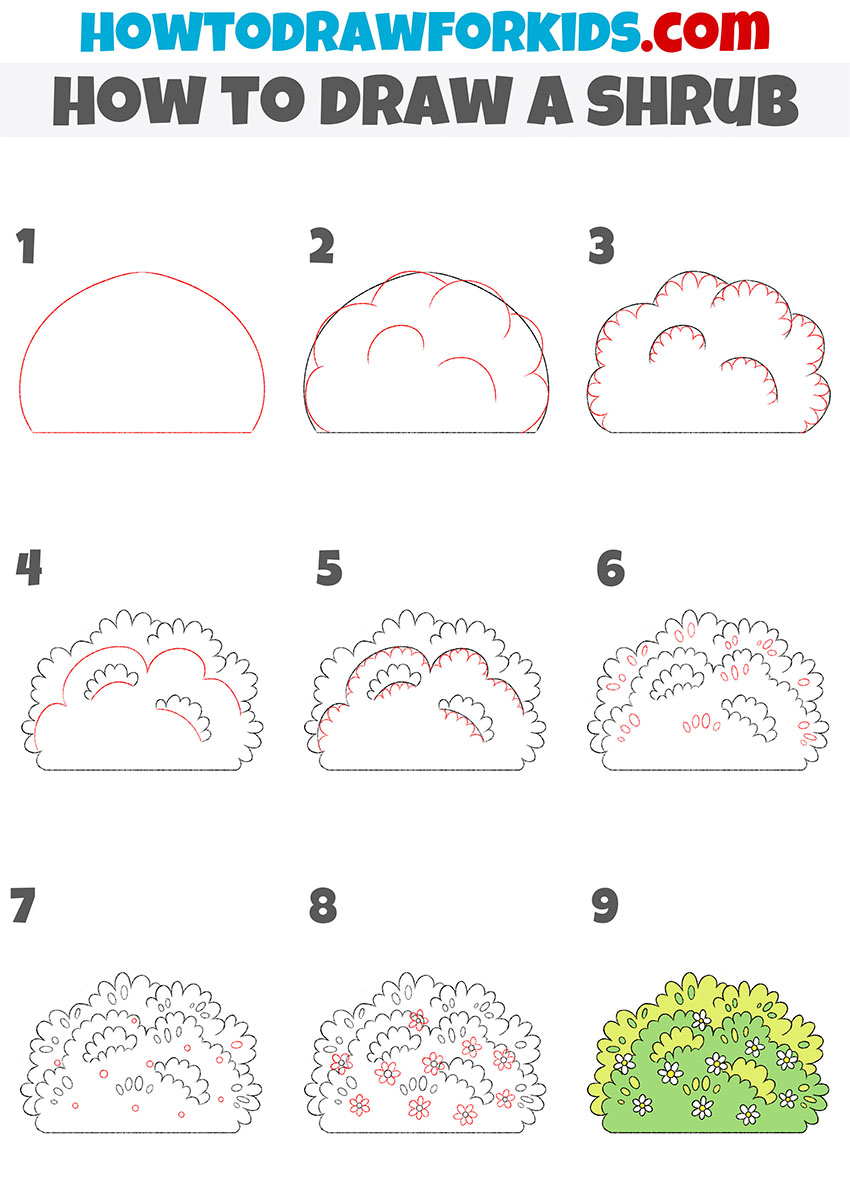
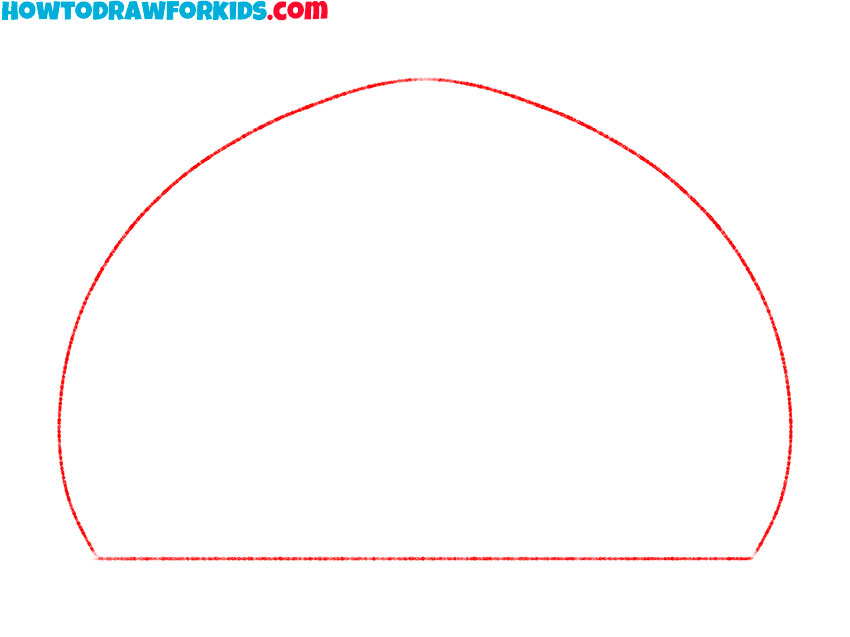
- Sketch the main outlines of the shrub.
Draw a large, rounded shape with a flat base, resembling a semicircle. This shape will serve as the basic structure of your shrub, giving it a solid foundation. Keep your lines light and easy to adjust, as this initial outline is just a guideline for the details you will add in the following steps.
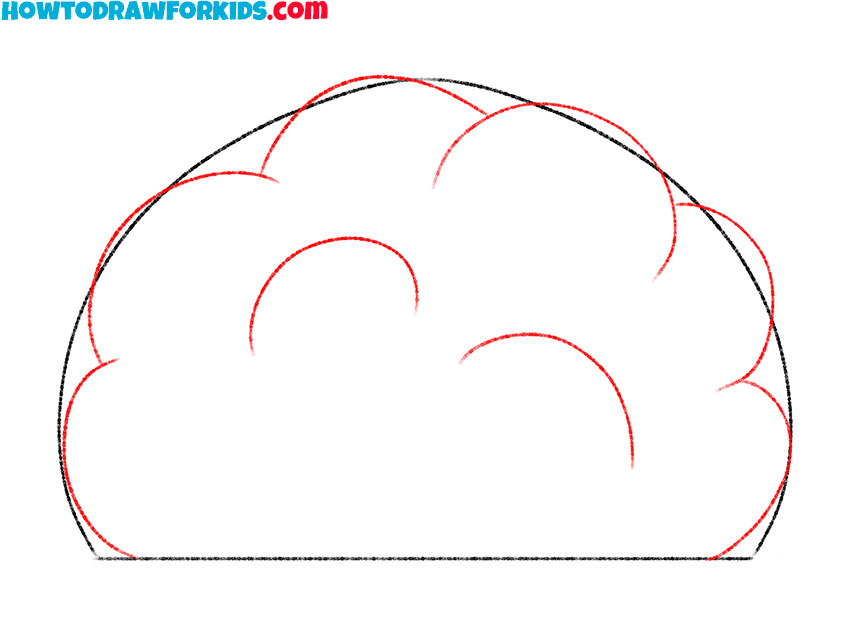
- Add the outlines of the branches.
Next, draw the main outlines of the branches within the shrub. Create several curved lines extending from the base to the top, mimicking the natural spread of branches. These lines should be evenly spaced and vary in length to add a sense of depth and complexity.
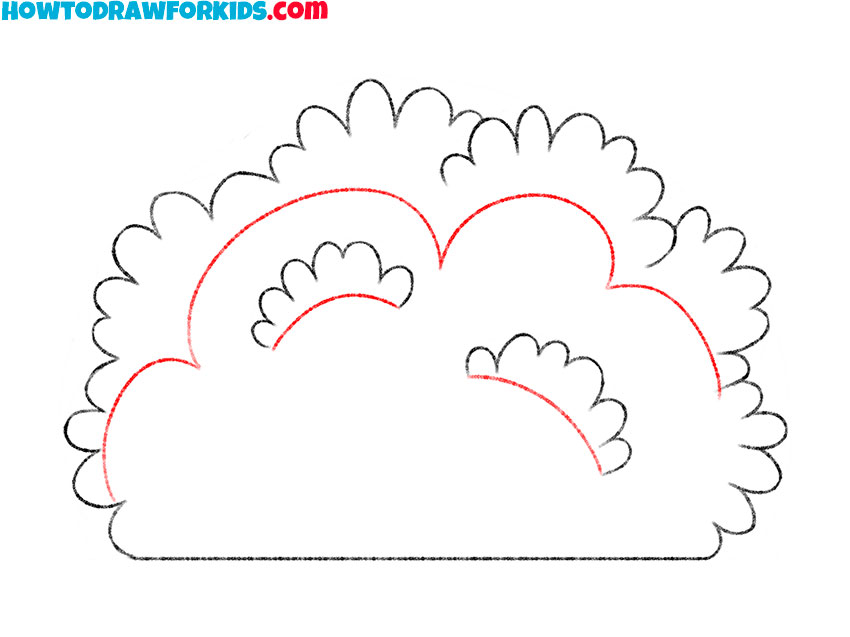
- Detail the branches.
Now, begin adding leaves along the outlines of the branches. Draw small, rounded leaves that cluster along the curved lines you sketched in the previous step. These leaves should vary slightly in size and direction, creating a more natural and realistic look.

- Illustrate more branches.
These should branch off from the main outlines, creating additional layers within the shrub. Draw curved lines that intersect and extend from the primary branches, adding complexity to the structure. This will help to build a more intricate and detailed shrub.
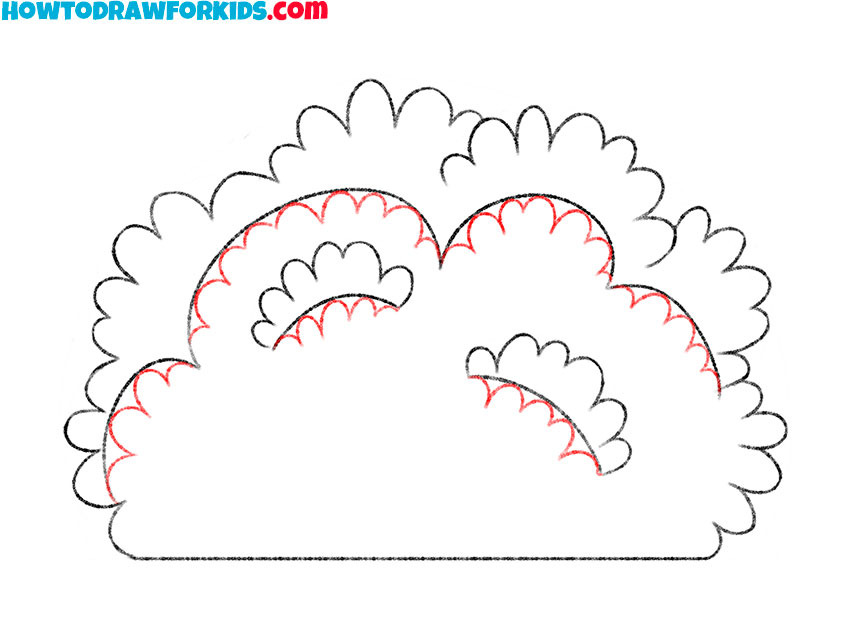
- Add the outline of the leaves.
Continue to fill in the shrub by drawing more leaves. Focus on adding them to the new branch outlines you created in the previous step. This will give your shrub a lush, full appearance. Vary the size and orientation of the leaves to enhance the natural look.
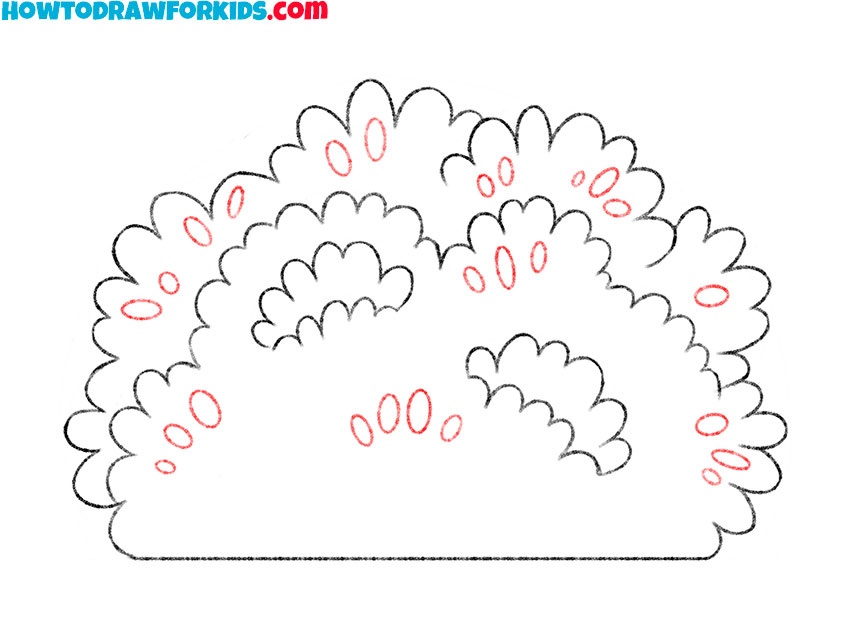
- Add the inner details.
Add inner details to the shrub by drawing tiny leaves and twigs within the main body. Scatter these elements throughout the shrub, focusing on areas that appear too sparse. This step add more texture and depth, making your shrub look more realistic.
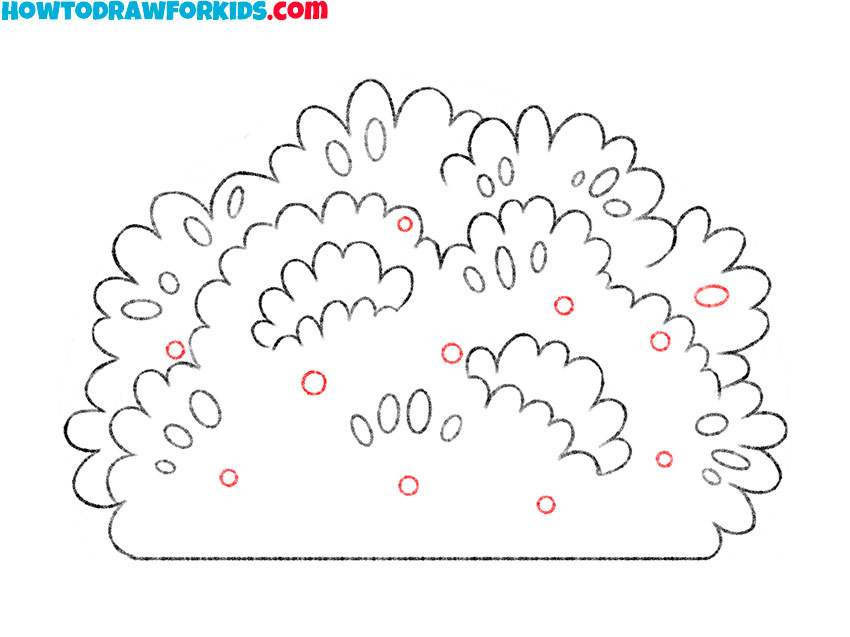
- Illustrate the centers of the flowers.
Begin adding flowers by drawing the central parts. Sketch small circles scattered throughout the shrub. These circles will serve as the centers of the flowers, providing focal points within the dense foliage. Place them randomly but evenly distributed, ensuring they are visible among the leaves.
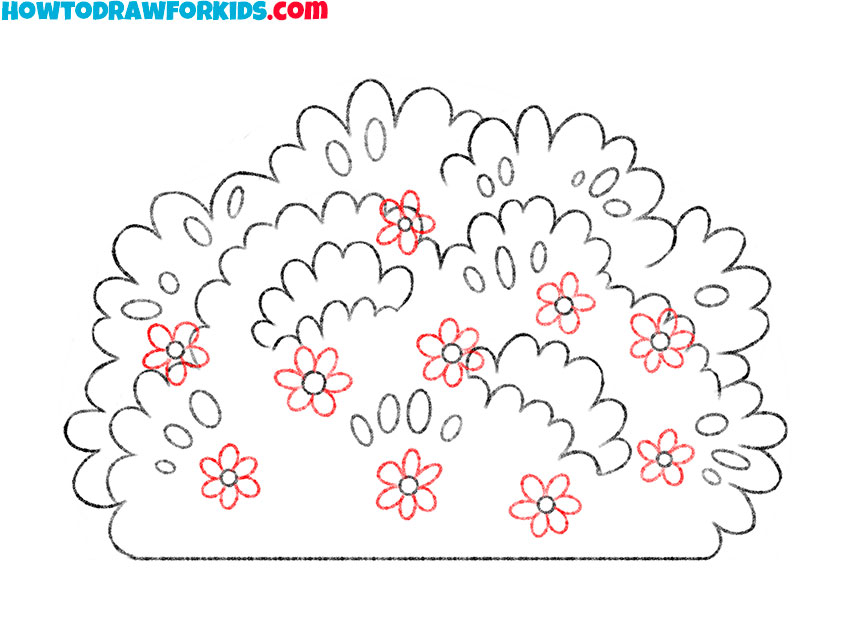
- Add the flower petals.
Complete the flowers by drawing petals around the central circles. Each flower should have five or six petals, radiating outward from the center. Vary the size and orientation of the flowers to create a more natural appearance. Scatter these completed flowers throughout the shrub.
- Color the shrub drawing.
Use different shades of green for the leaves to create depth and variation. Color the flowers with bright hues like yellow, pink, or white to make them stand out. If you added berries, color them red or purple. Additionally, you can add shadows to give the drawing a more three-dimensional appearance.

Additional Content
I’ve prepared a free PDF file with a concise version of this shrub drawing lesson for you. Moreover, downloading this file means you can enjoy drawing anytime, even when you’re offline.
Additionally, this convenient access ensures that you can practice your drawing skills whenever inspiration strikes, without the need for internet connectivity. Furthermore, this PDF is designed to be easily printable, so you can have a physical copy to refer to as you draw.
How to Draw a Shrub in Different Environments
A shrub drawing can stand alone as a finished piece of artwork or serve as a key element within a more comprehensive composition. For instance, placing a shrub in the foreground of a landscape painting can create a sense of scale and perspective, drawing the viewer’s eye into the scene. It can also act as a connecting element between different parts of the composition, such as a garden setting with various plants, flowers, and additional background elements like fences, paths, or distant trees.
You can place your shrub drawing into a larger landscape composition. I recommend trying out my lesson on how to draw a field, where your shrub can take a prominent position in the foreground, adding depth and focus to the scene.
Secondly, enrich your drawing by adding a variety of flowers around the shrub. On this site, you will find a lesson on drawing a rose bush, which could be an excellent addition. Alternatively, you can choose from any of the flower drawing lessons available to diversify your flora.
Additionally, incorporating a background element such as a fence or a distant tree line can provide your shrub drawing with greater depth. These elements help to frame the shrub and situate it within a more realistic setting, making the overall composition more interesting.
Moreover, adding small animals like butterflies or birds interacting with the shrub can infuse your drawing with life and movement. By thoughtfully integrating these details, you can create a rich, vibrant scene that captures the viewer’s interest and showcases your dtawing skills.
To add variety to your shrub drawing, make use of my tutorials on this website about how to draw the objects listed above.
Conclusion
By mastering the art of drawing shrubs, you have gained valuable insights into botanical illustration and the principles of composition. You can now confidently incorporate shrubs into larger landscape drawings, adding depth, realism, and vibrancy to your scenes. Additionally, you have learned how to use simple methods to create believable plant artworks.
I hope you enjoyed this tutorial and found it beneficial for you. If you did, please subscribe to my channel for more art lessons and tutorials. Sharing this lesson with your friends and fellow artists can help them improve their skills too, so don’t hesitate to spread the word!
I would love to hear your thoughts on this lesson. Did you find the steps clear and helpful? How did your shrub drawing turn out? Do you have any suggestions for future tutorials? Your feedback is incredibly valuable to me, so please leave a comment below. Don’t be shy – share your experiences and ask questions. Your insights can help us create better content and provide support to other budding artists.