How to Draw a Speech Bubble
In this drawing tutorial I want to show you how to draw a speech bubble. This lesson will be very simple, and soon you will see for yourself.
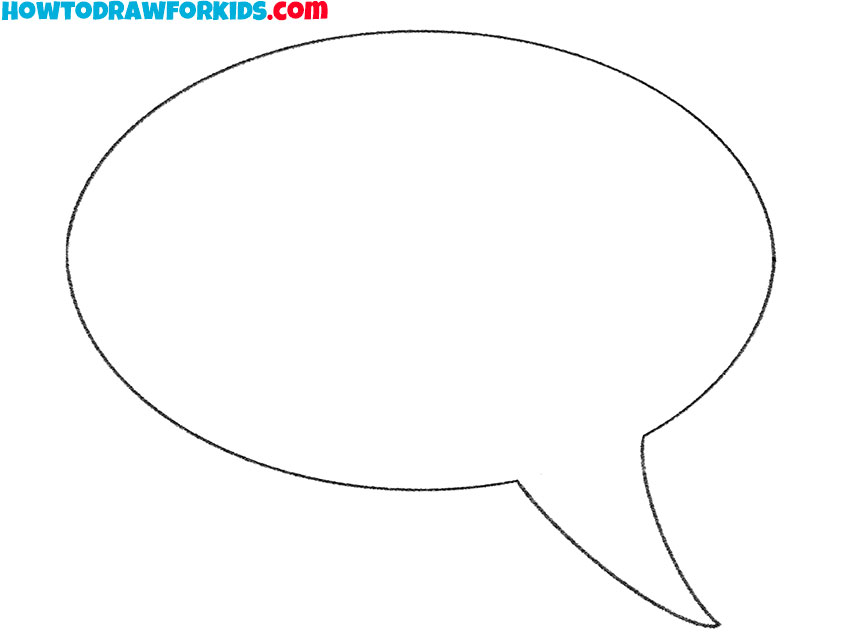
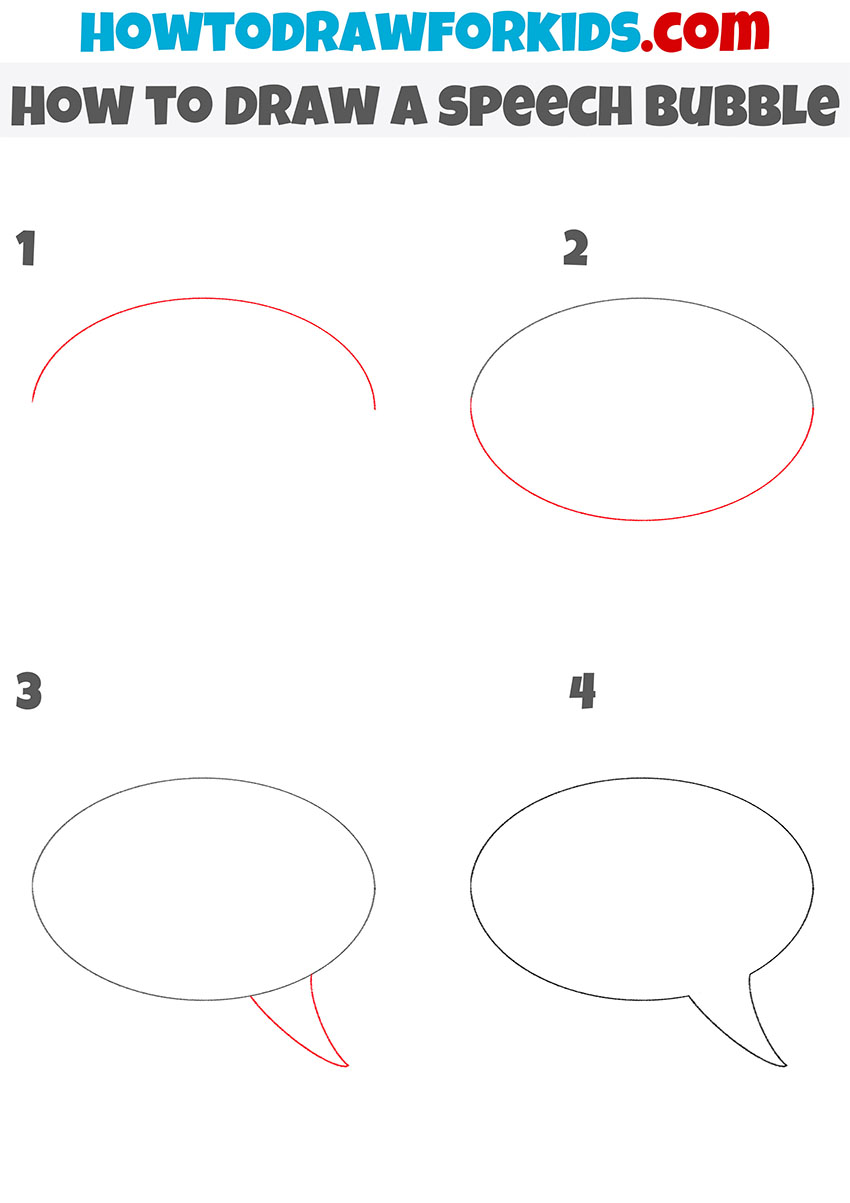
Especially for children and beginner artists, I created a new lesson in which I will show you how to draw a speech bubble. This instruction is very simple and contains only four steps that you can follow quickly. This lesson is suitable for all beginner artists.
Surely you have seen such a speech bubble more than once in comics or any other printed publications, as well as in any video materials. The speech bubble is a graphic element that contains a character’s lines or thoughts. The speech bubble can take many forms, but the most common is an oval shape with a tail that points towards the speaker. This is the speech bubble you will draw in this tutorial.
You can use the tools at hand to draw the outer outline of the speech bubble, but I recommend that you draw all the lines yourself. Thus, you will once again train your creative skills and in the future it will be easy to draw speech bubbles if necessary.
Materials
- Pencil
- Paper
- Eraser
- Coloring supplies
Time needed: 30 minutes
How to Draw a Speech Bubble
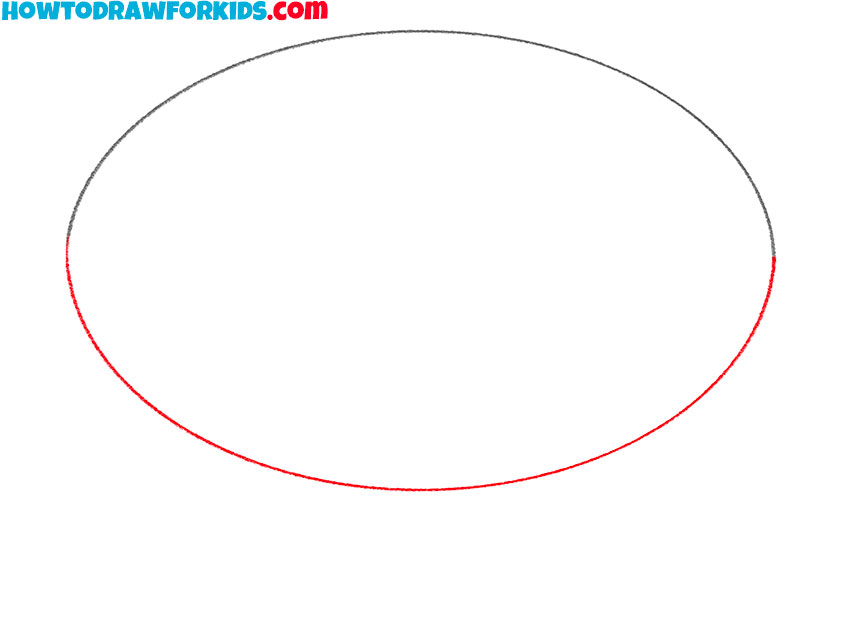
- Draw the top.
Determine the size and location of your drawing and draw a smooth, curved line.

- Add the bottom of the bubble.
Depict another smooth line to end up with a closed path.
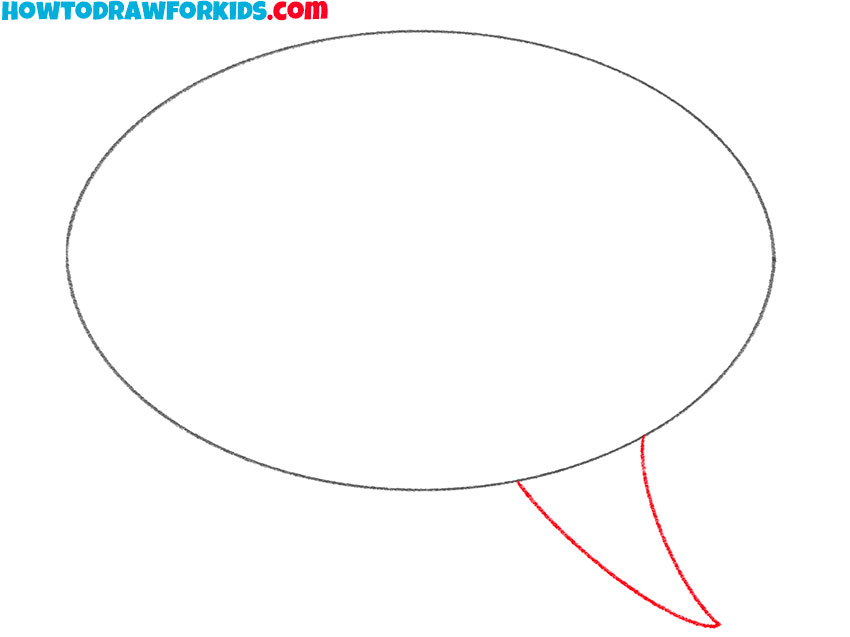
- Sketch out the tail.
Draw the small pointed tail at the bottom of the bubble.
- Correct inaccuracies.
Correct the shape of the bubble if necessary and remove the extra lines.

If you want to always have access to this lesson, then use the special link and download the PDF file, which contains a brief instruction and additional useful materials.

