How to Draw a Fire Hydrant
In this lesson, I will show you how to draw a fire hydrant. With the help of an instruction, you will once again train creative abilities.
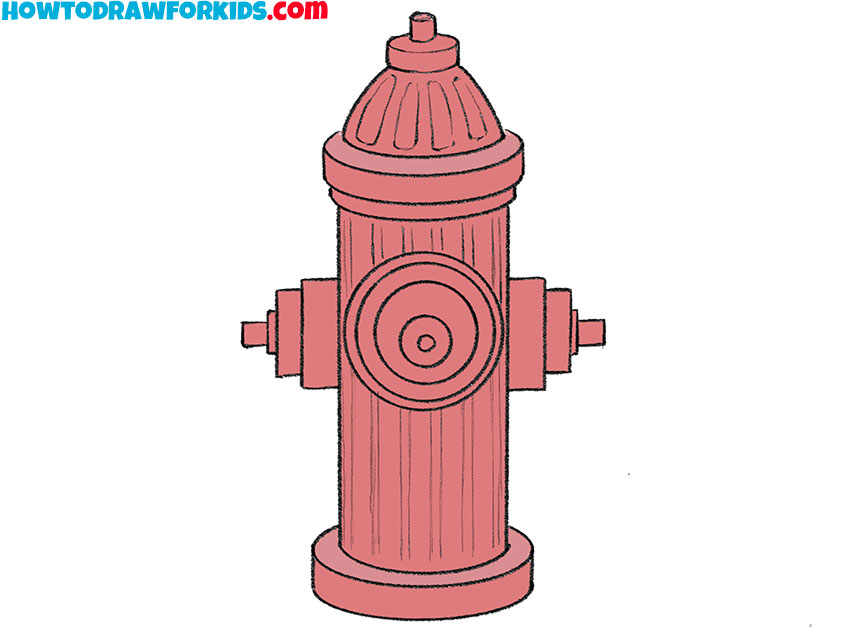
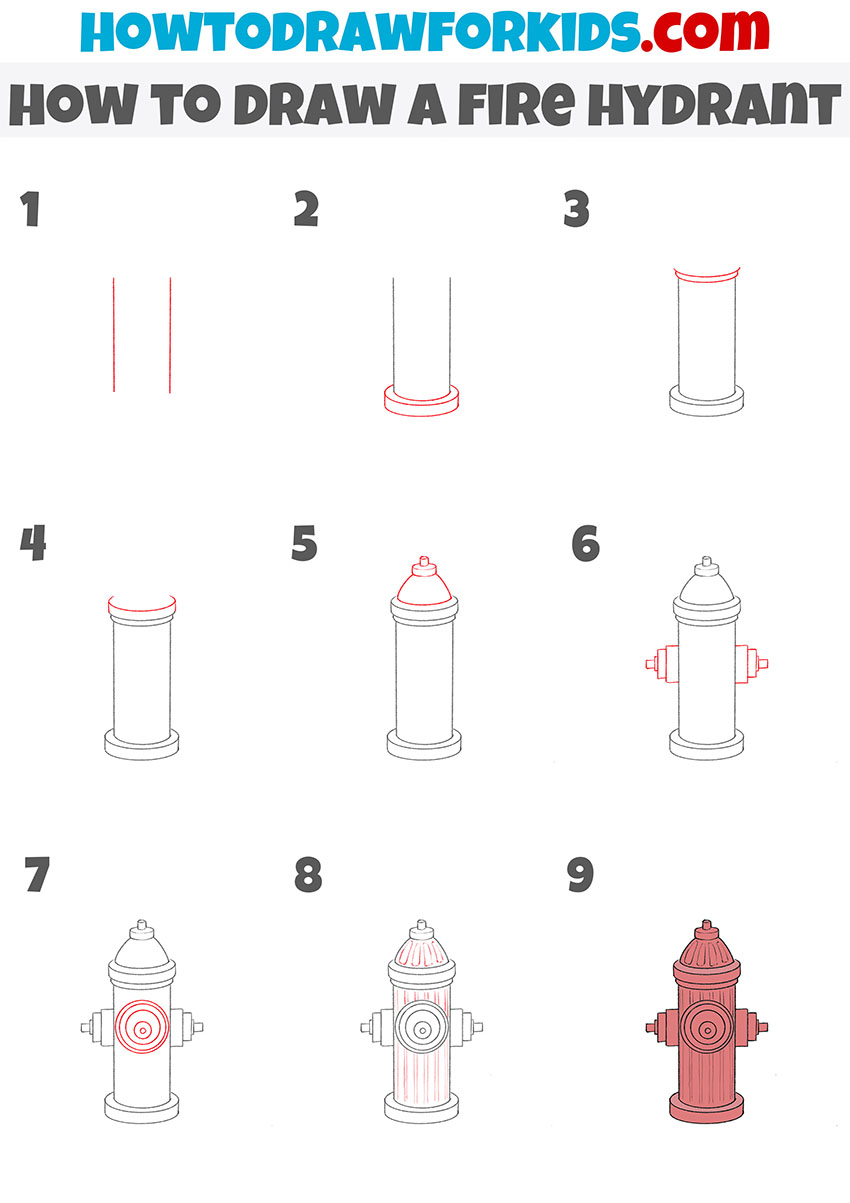
Now you have to complete an interesting and useful lesson, which shows in detail how to draw a fire hydrant step by step. In this lesson, you will practice drawing simple geometric shapes, and you will also use your spatial imagination, which is also a good workout.
The fire hydrant is a device that allows you to connect equipment to supply water in the event of a fire. It is an important fire safety device. Fire hydrants are used where there is access to water mains. Externally, the hydrant looks like a tap, to which, if necessary, a special hose is connected to supply water to the fire site. The fire hydrant consists of several elements interconnected. Sometimes a fire hydrant is used for household needs.
So, get your art supplies ready and get started with this fun tutorial.
Fire Hydrant Drawing Tutorial
Materials
- Pencil
- Paper
- Eraser
- Coloring supplies
Time needed: 30 minutes
How to Draw a Fire Hydrant
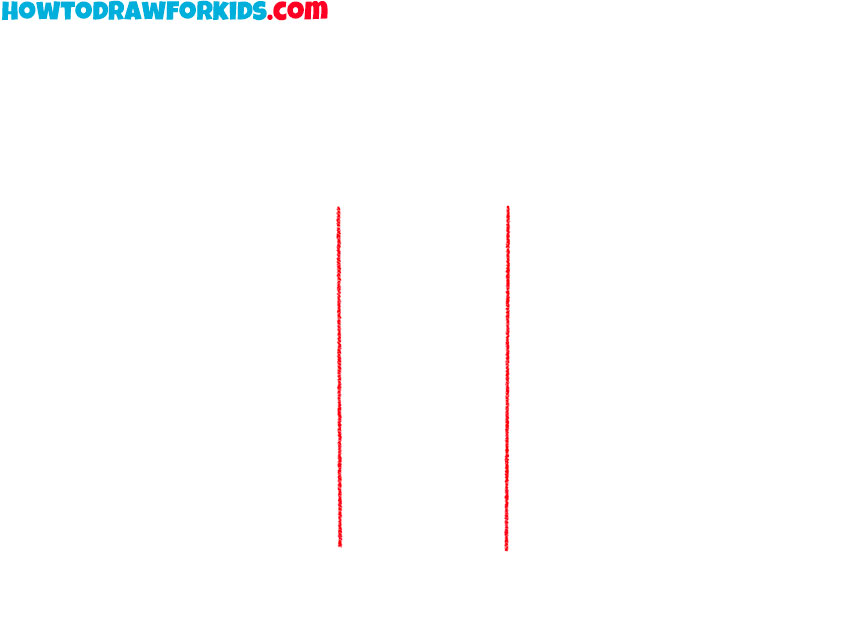
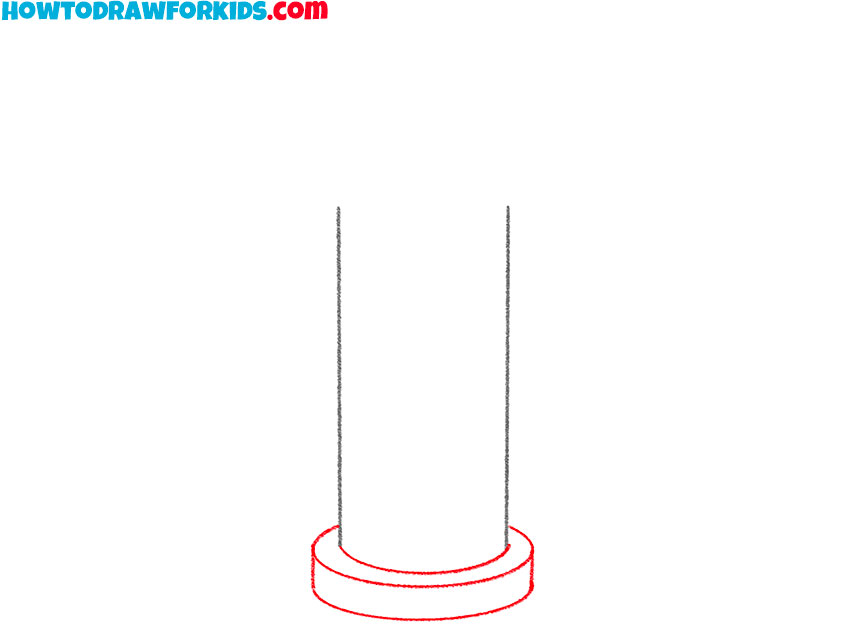
- Draw the sides.
Depict even vertical lines at some distance from each other.
- Depict the bottom.
Draw a smooth connecting line at the bottom and add the bottom stand.
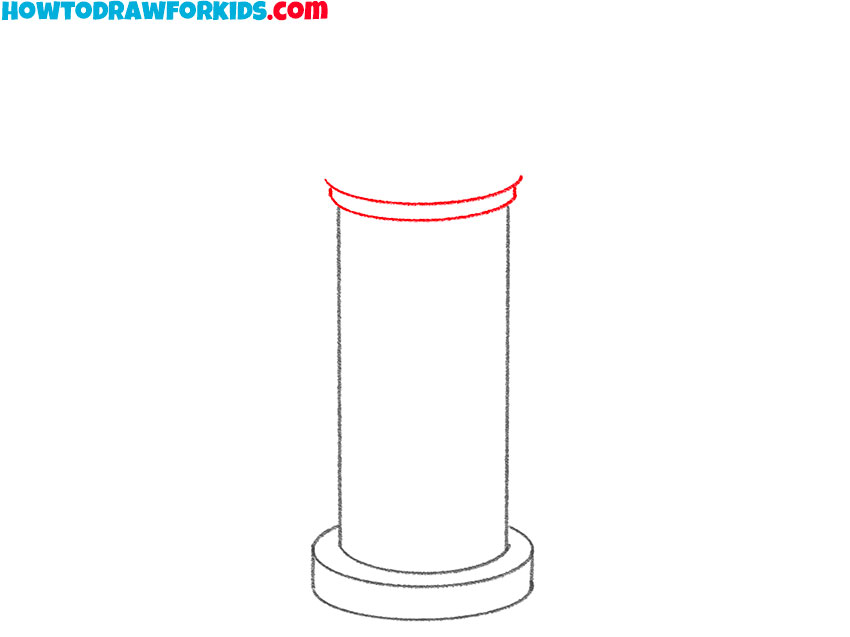
- Start drawing the top part.
Add two smooth lines as shown in the example.
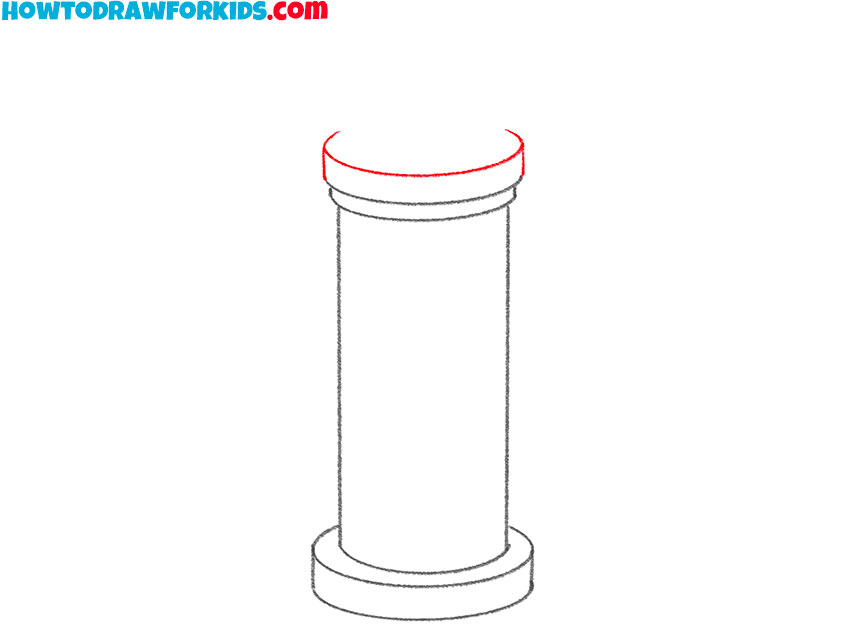
- Add the widest top.
Draw two short vertical lines on the sides and add a connecting line between them.
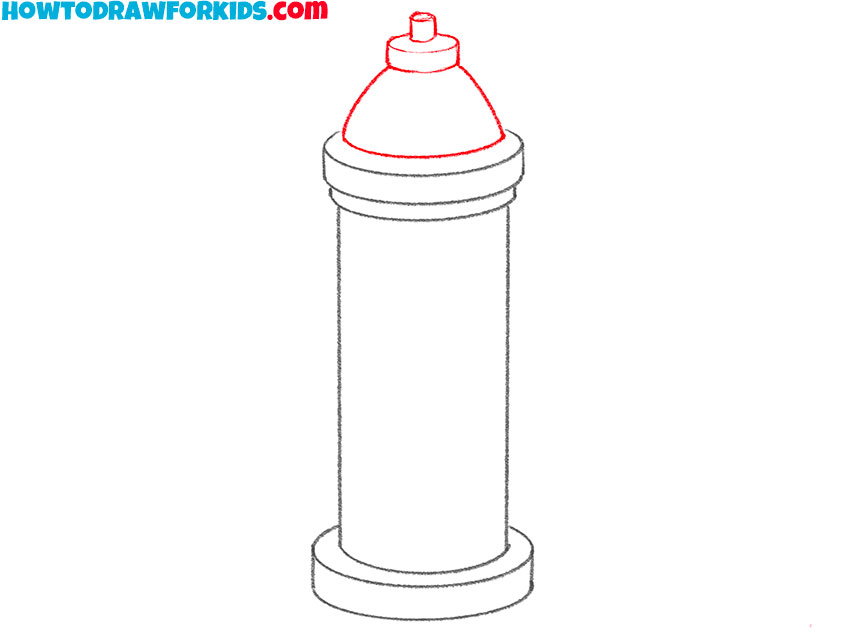
- Sketch out the lid of the hydrant.
The cover has the shape of the dome and consists of several elements interconnected.
- Draw the sides.
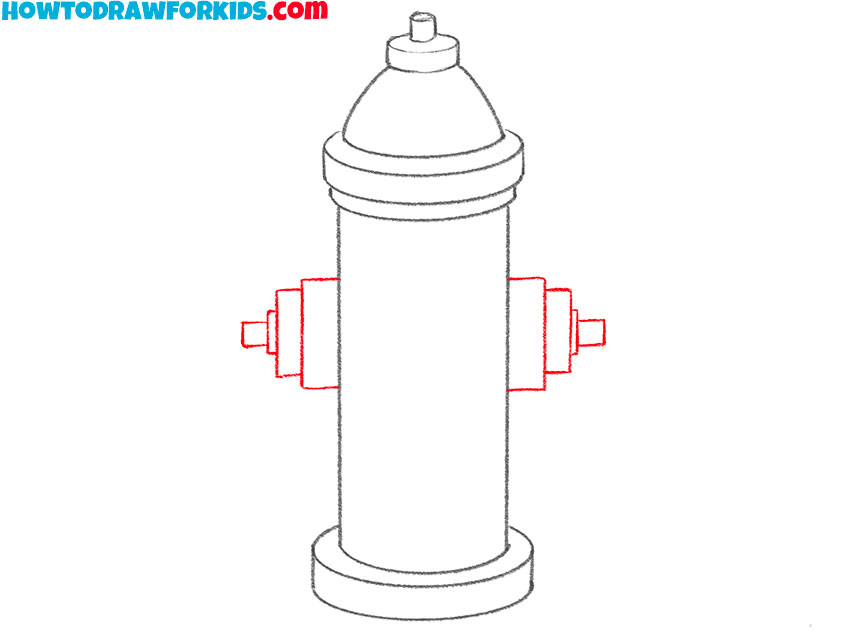
Draw several rectangular elements on the sides, while maintaining symmetry.
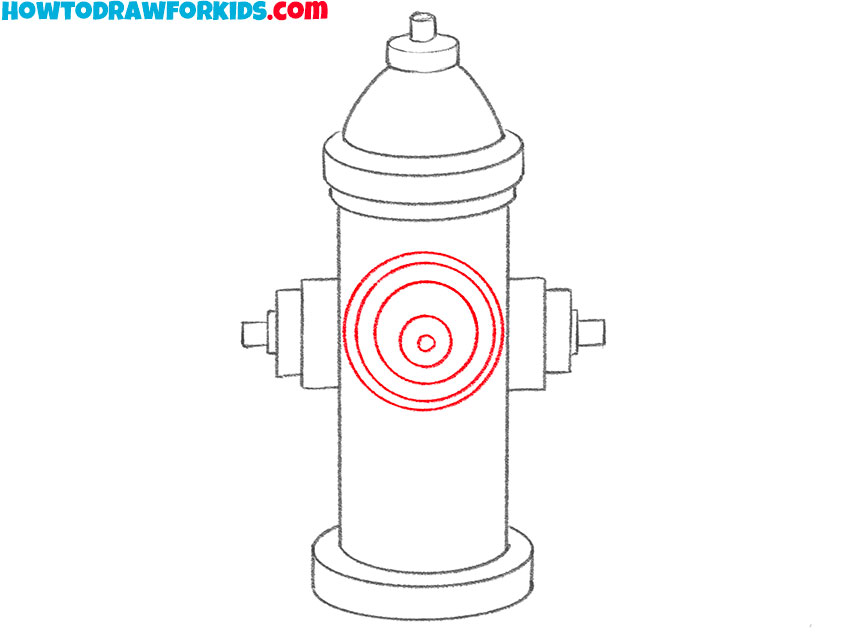
- Sketch out the threaded nipple.
In the middle of the body, draw several circles of different diameters.
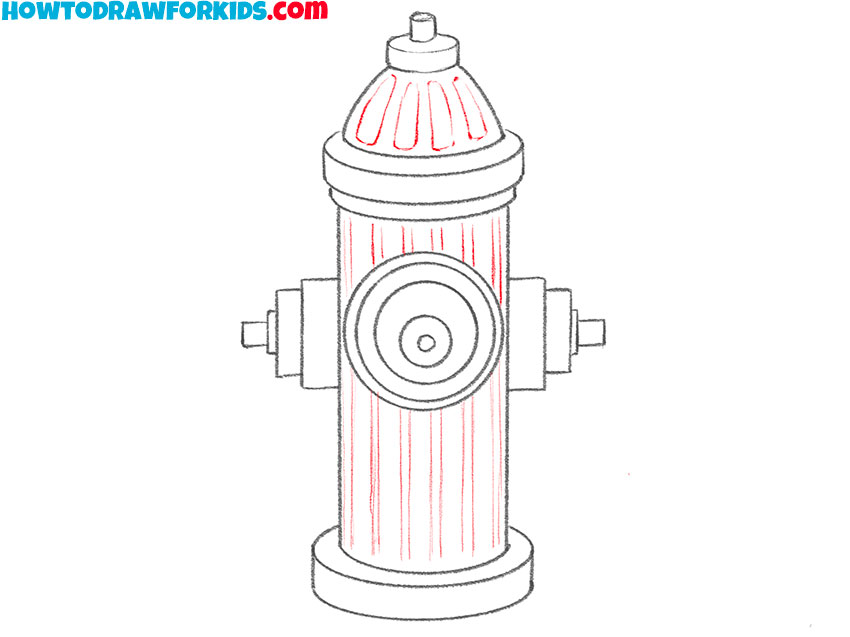
- Detail the surface of the grant.
Using thin lines, draw the relief on the lid and draw vertical lines on the body.
- Color the drawing.
For coloring, use different shades of red.
You have now completed all the steps in this tutorial and learned how to draw a fire hydrant. I would be interested to know your opinion about this tutorial, so I’ll ask you to leave a little feedback in the comments. I remind you that now you can download the PDF file, which I have prepared especially for your convenience. The file contains a short version of the lesson and additional practice materials with which you can complete the lesson at any convenient time.