How to Draw a Spiral Staircase
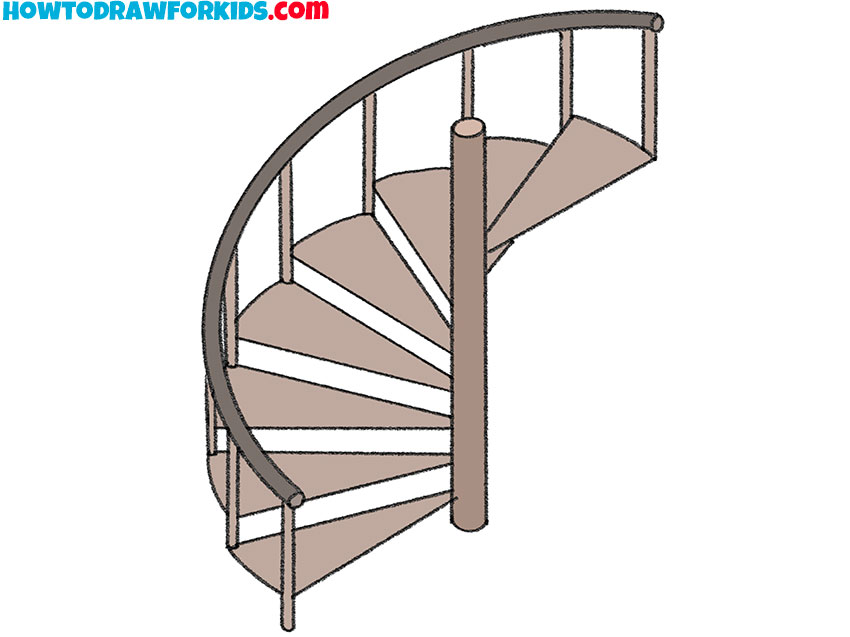
My lesson on how to draw a spiral staircase helps kids learn how to create one of architecture’s most interesting designs in a simple and clear way.
How to Draw a Spiral Staircase: Basic Information
Are you ready for a new drawing tutorial? Today, we’re going to learn how to draw a spiral staircase, a cool and atmospheric addition to any fairy tale castle or mysterious mansion. My simple method will help you create this complex-looking structure with ease.
We’ll begin with a straight line as the central pole of the staircase, then add steps curving around it. By the end, you’ll be able to draw a spiral staircase and add your own details, like a railing or vines.
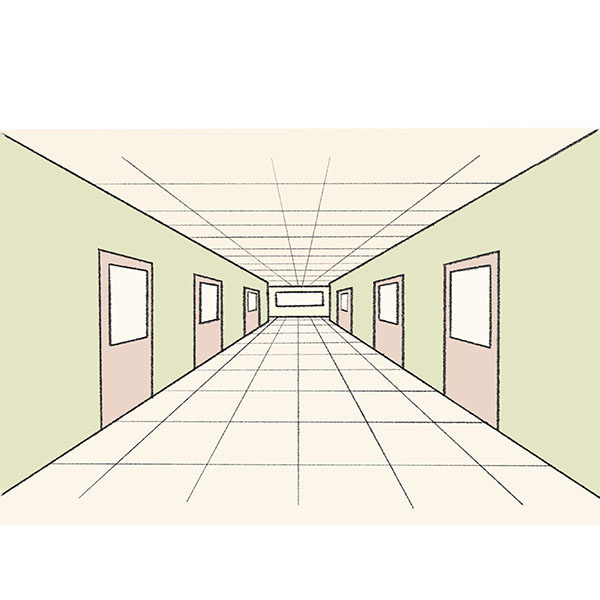
Besides, this tutorial introduces young artists to basic perspective drawing techniques, which are really important for creating three-dimensional objects on a two-dimensional surface.
Also, by drawing a spiral staircase, young artists can learn about spatial relationships, helping them to visualize how objects fit together in space.
Spiral Staircase Drawing Tutorial
Materials
- Pencil
- Paper
- Eraser
- Coloring supplies
Time needed: 30 minutes
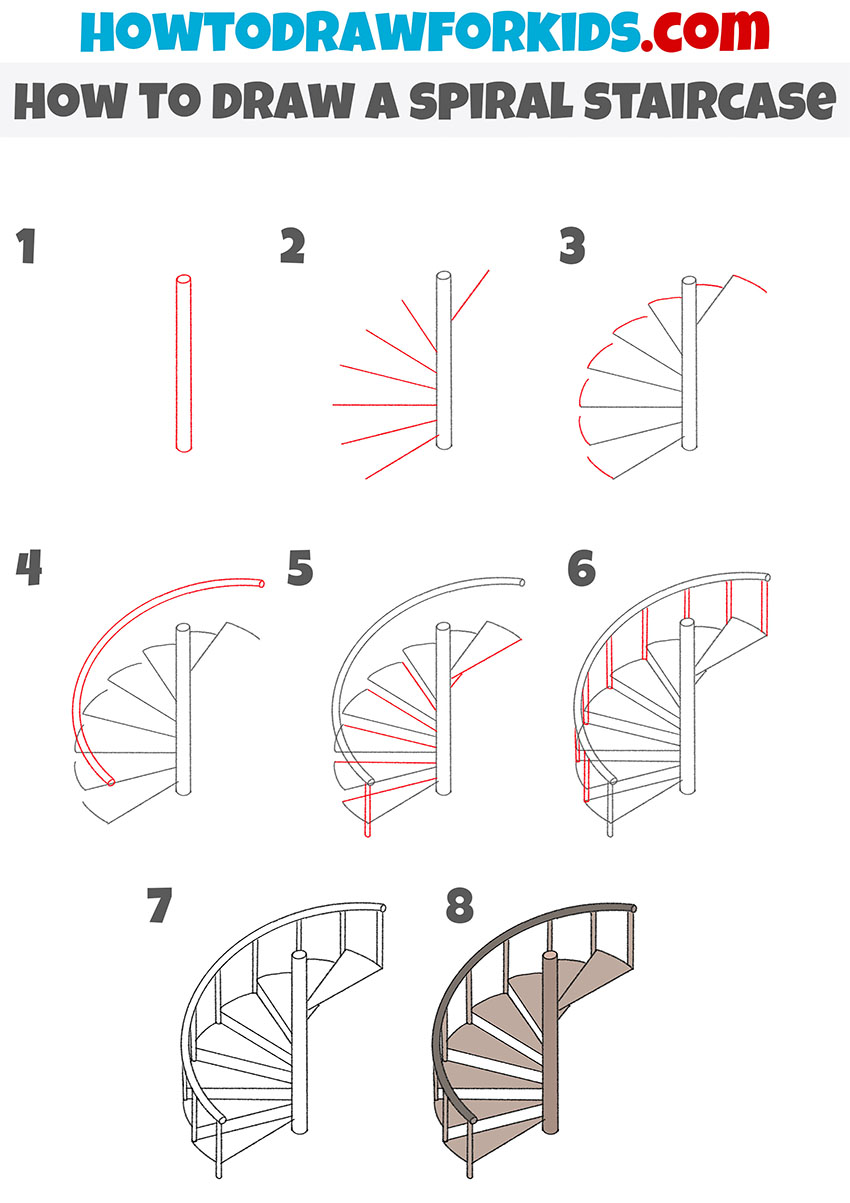
How to Draw a Spiral Staircase
- Draw the central pole.
Begin by drawing a straight vertical line that represents the central pole of your spiral staircase. This line will act as the axis around which the steps will spiral. Make sure the line is as straight as possible, as it will be the foundation of the staircase structure.

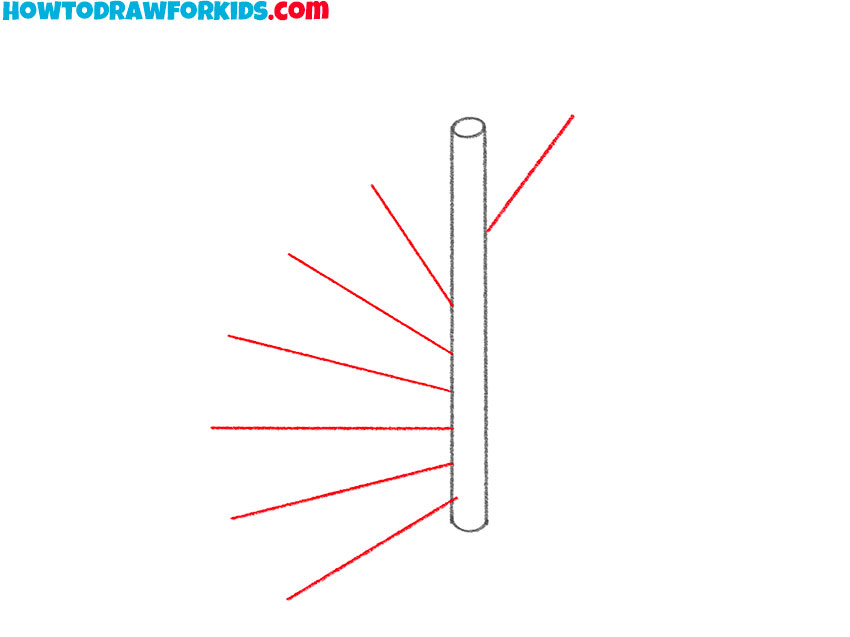
- Sketch the outline of the steps.
Draw straight lines extending from the central pole at different angles, forming a fan-like shape. These lines should be evenly spaced and represent the direction and position of each step as it spirals around the pole. Make sure the lines get closer together as they approach the central pole, mimicking the spiral effect.
- Add the edges of the steps.
Now, begin shaping the individual steps by adding curved lines to connect the ends of the straight lines drawn in the previous step. Pay attention to the perspective, ensuring that the curves become steeper as they ascend.
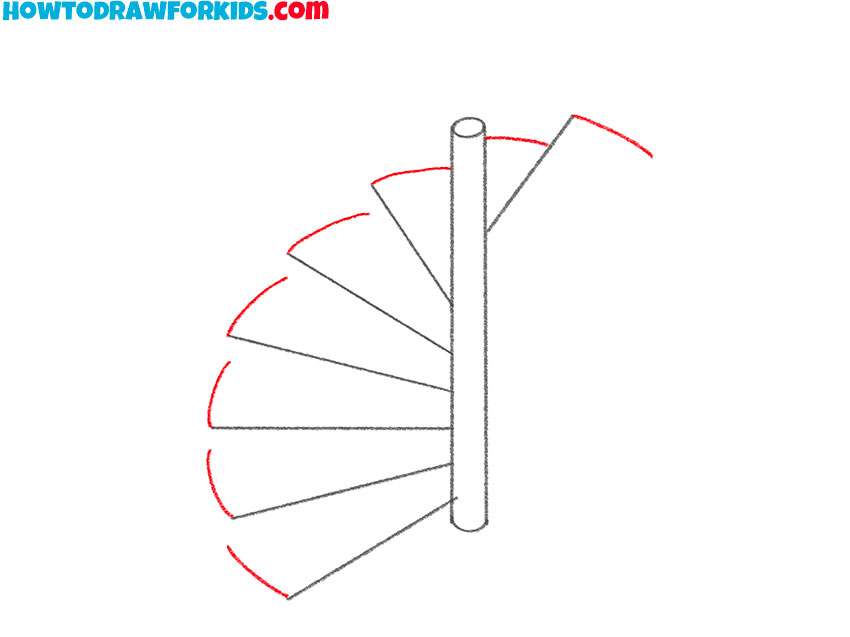
- Draw the handrail.
In this step, you will add the handrail to your staircase, which will follow the outer curve of the steps. To illustrate it, draw a smooth, curved line that traces the path of the outer edge of the staircase, beginning from the bottom step and spiraling upward.
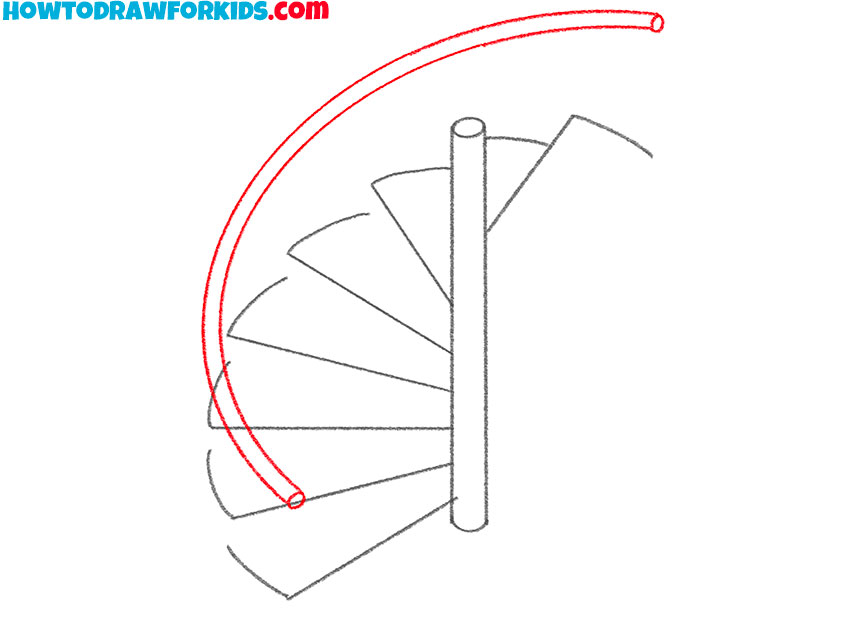
- Finish detailing the steps.
In this step, you will define the remaining edges of each step to give the staircase more clarity. Here you basically need to repeat the lines you drew in step 2. These lines should also get closer to each other as they get closer to the central pole.
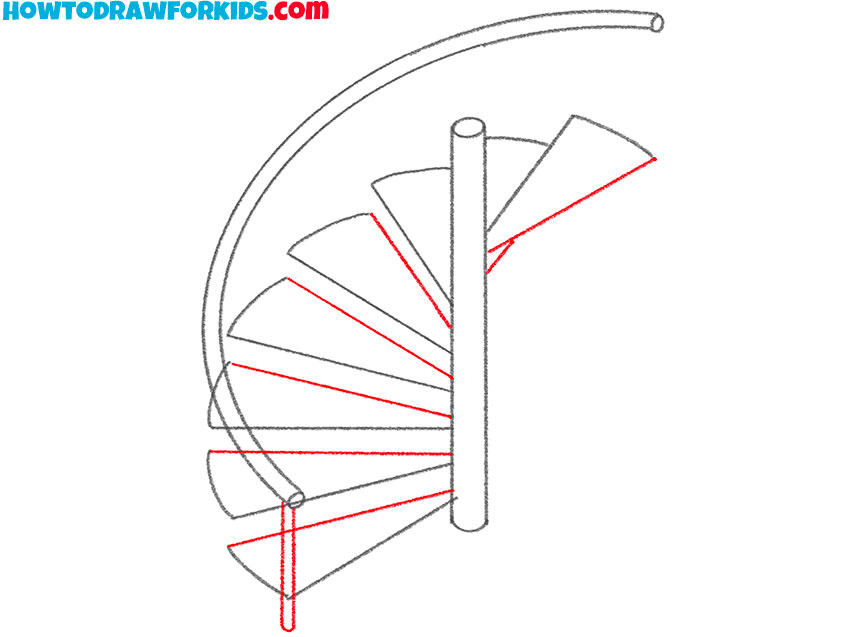
- Add the railing supports.
With the outer curve in place, it’s time to add the vertical railing supports. Draw small vertical lines at regular intervals along the outer curve of the staircase, corresponding to each step. These lines represent the posts that will hold the railing in place.
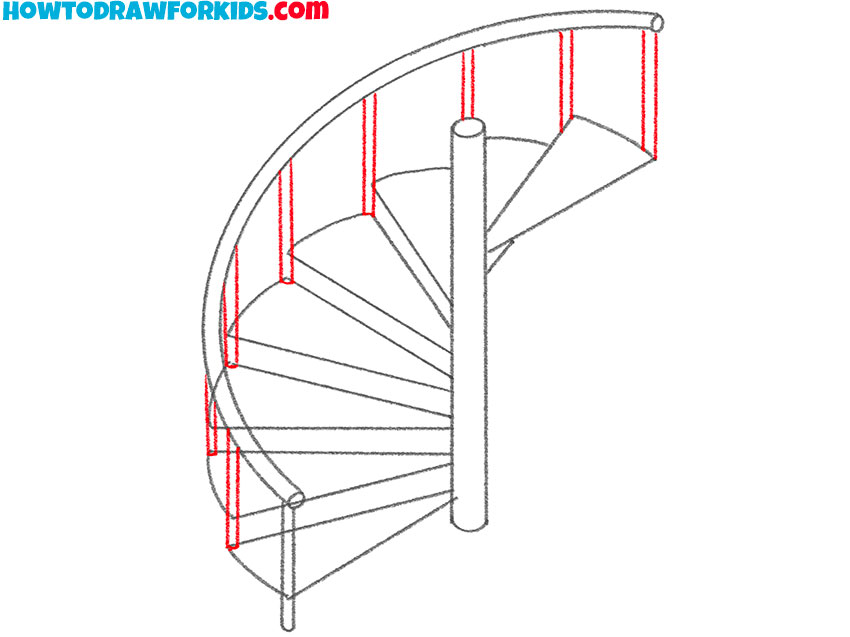
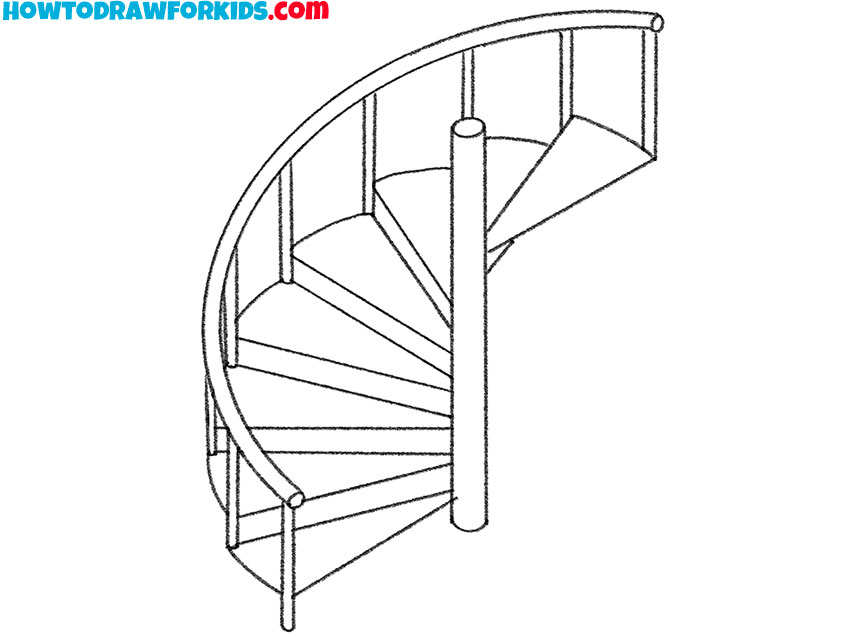
- Refine the structure and details.
Now, go over the entire staircase drawing, refining the lines and adding any final details. Darken the lines of the steps, the central pole, and the railings to give the staircase a more solid and finished appearance. At this stage, you can also add any additional features or correct any proportions that need adjusting.
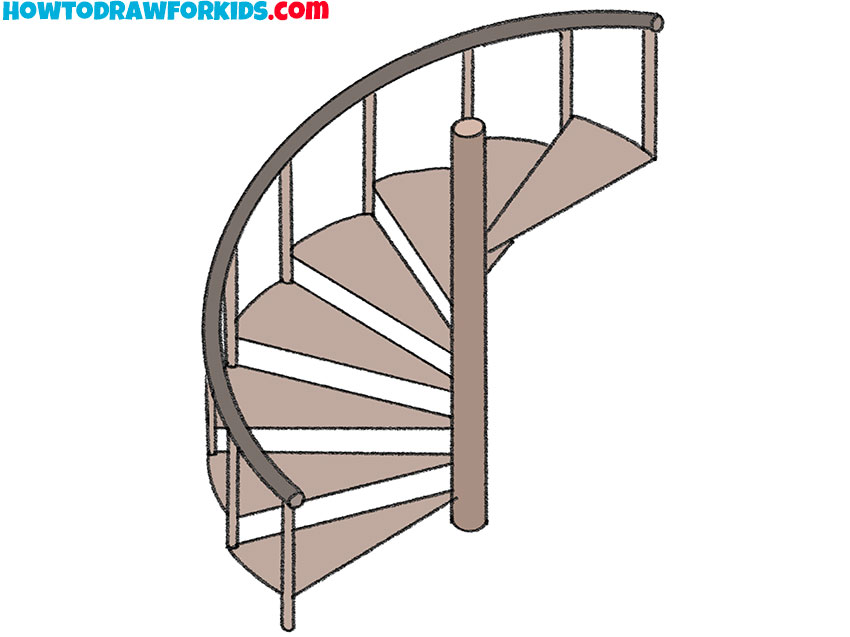
- Add some colors and shading.
Start by choosing a color palette that suits the design and mood of your drawing. You can opt for realistic colors like wood tones, or experiment with more vibrant or imaginative hues depending on the style you want to achieve. To make your staircase look more realistic, consider adding shadows and highlights.
Additional Content
I have created a free PDF for this lesson, containing a simplified version that you can download. This allows learners to use the tutorial offline, so drawing can continue anytime and anywhere without needing internet access.
Whether at home, while traveling, or outdoors, this PDF will serve as a helpful guide for practicing and improving your ability to draw a spiral staircase.
Elevate Your Spiral Staircase Sketching
You have made progress in your drawing of a spiral staircase, and there is always potential to improve and refine your work. Here are some tips to help you further develop your skills:
- Practice and refine: Continue working on your spiral lines to make them smoother and more polished. With ongoing practice, you will see improvement in the accuracy and overall look of your staircases.
- Add more realism with shading: Incorporate shading and highlights to improve the three-dimensional appearance of your staircase. This technique will give your drawing more realism.
- Incorporate unique elements: Consider adding additional features to your staircase drawing, such as a specific object at the top of the stairs. This could be something like a treasure chest or a door leading to a different setting.
- Experiment with colors: Don’t hesitate to use a variety of colors in your drawing. If you prefer a more colorful staircase, use different shades to achieve the look you envision.
Reflect on how much you have progressed from basic lines to a more developed spiral staircase. Remember that improvement comes with time and practice, and even the most skilled artists began with simple drawings.
So, continue using your drawing tools and apply these tips to improve your work. Keep practicing, and over time, you may find yourself creating even more detailed architectural designs.
Conclusion
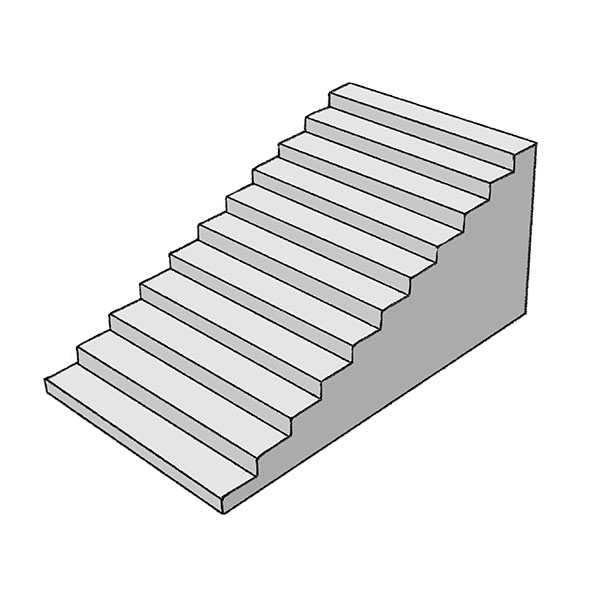
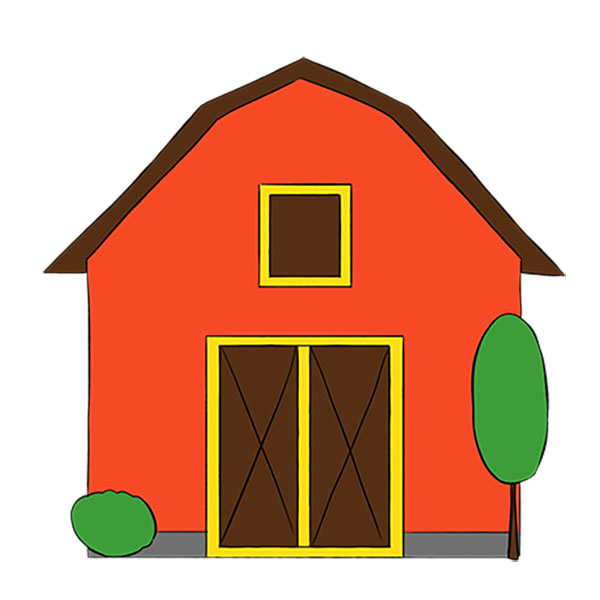
You have now completed drawing a spiral staircase. However, you should continue practicing and learning new drawing techniques. There are many other drawing lessons available on my website that you might find interesting. For example, you can try learning how to draw stairs or learn the how to draw a house. Each of these lessons offers a chance to learn and practice different skills.
Additionally, remember to stay connected through social media to receive updates on new lessons and new interesting tips. This way, you can be among the first to know when new content is available. Keep practicing your drawing skills, continue exploring new techniques, and let’s keep progressing together.

