How to Draw a Valley
In this lesson, I want to show you how to draw a valley step by step. The lesson will be very useful for you.
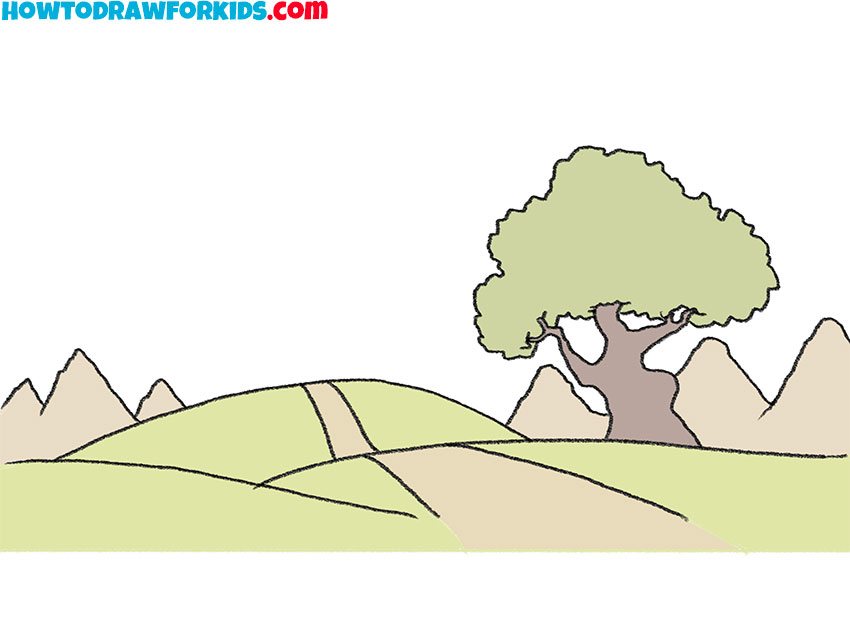
If you like to draw landscapes, then you will really like this lesson, because now you will learn how to draw a valley step by step.
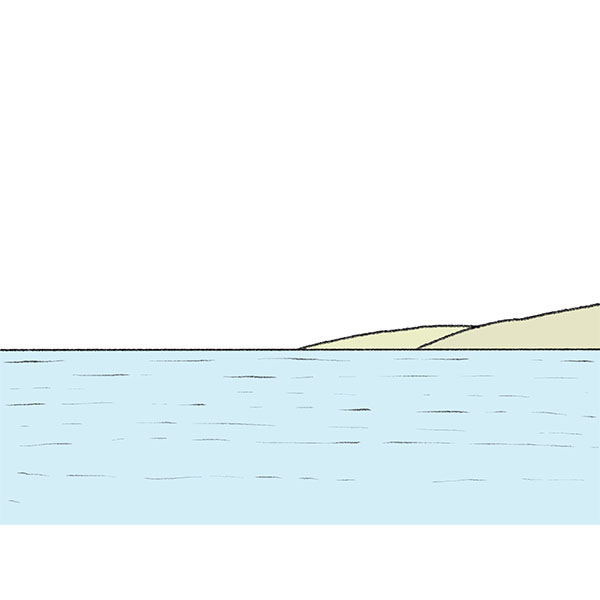
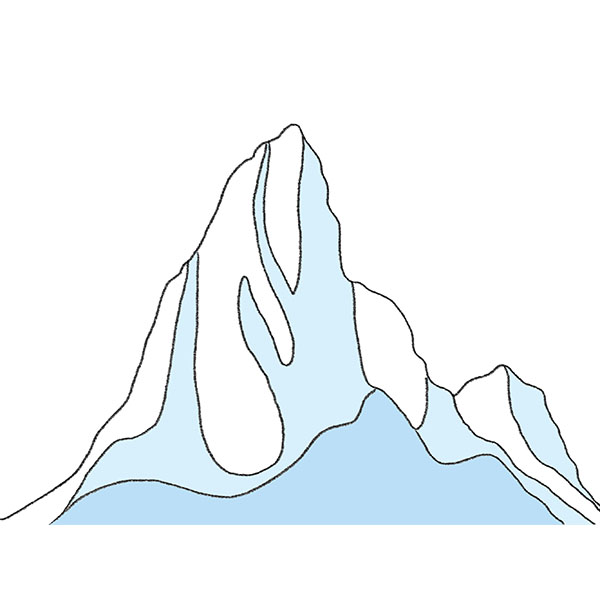
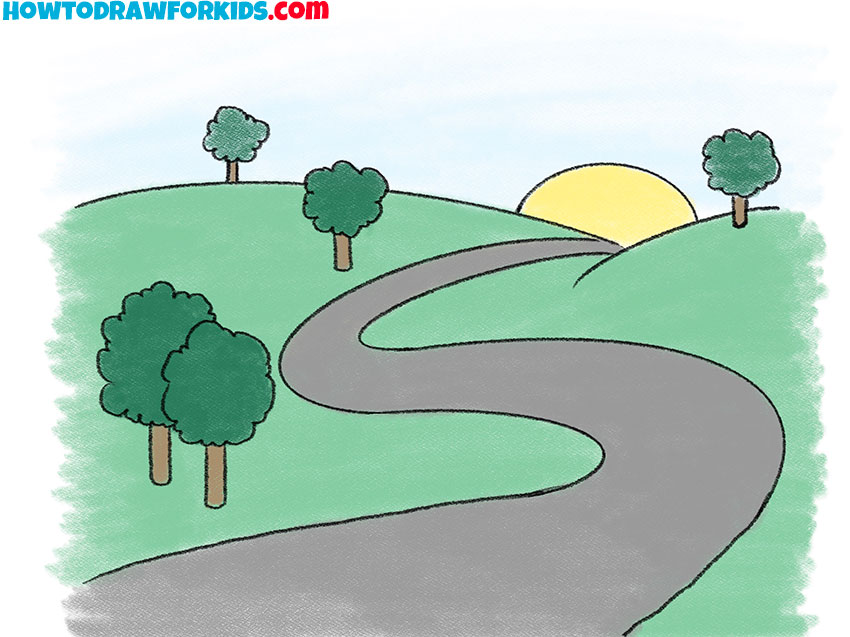
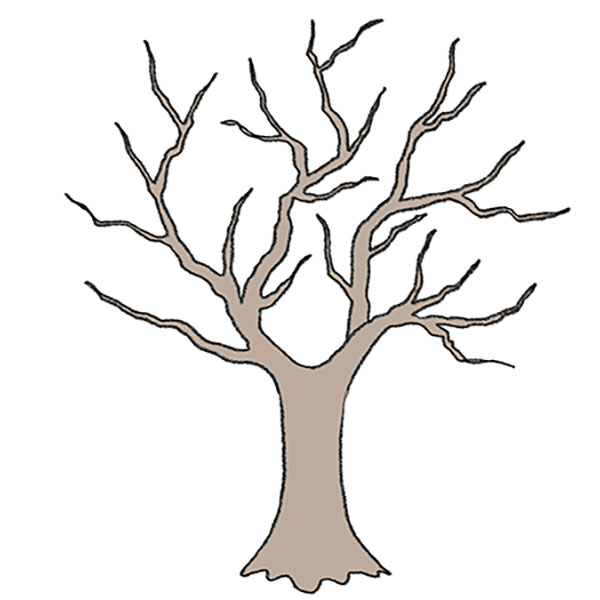
The valley is an elongated landform. The valley is usually located between the hills or between the mountains. In this picture, you can see small hills, a tree, a road, and mountain tops in the distance.
All the elements in this drawing are very simple, and you can easily repeat them, even if you have little experience in drawing. You will only need patience, accuracy, and care.
Materials
- Pencil
- Paper
- Eraser
- Coloring supplies
Time needed: 30 minutes
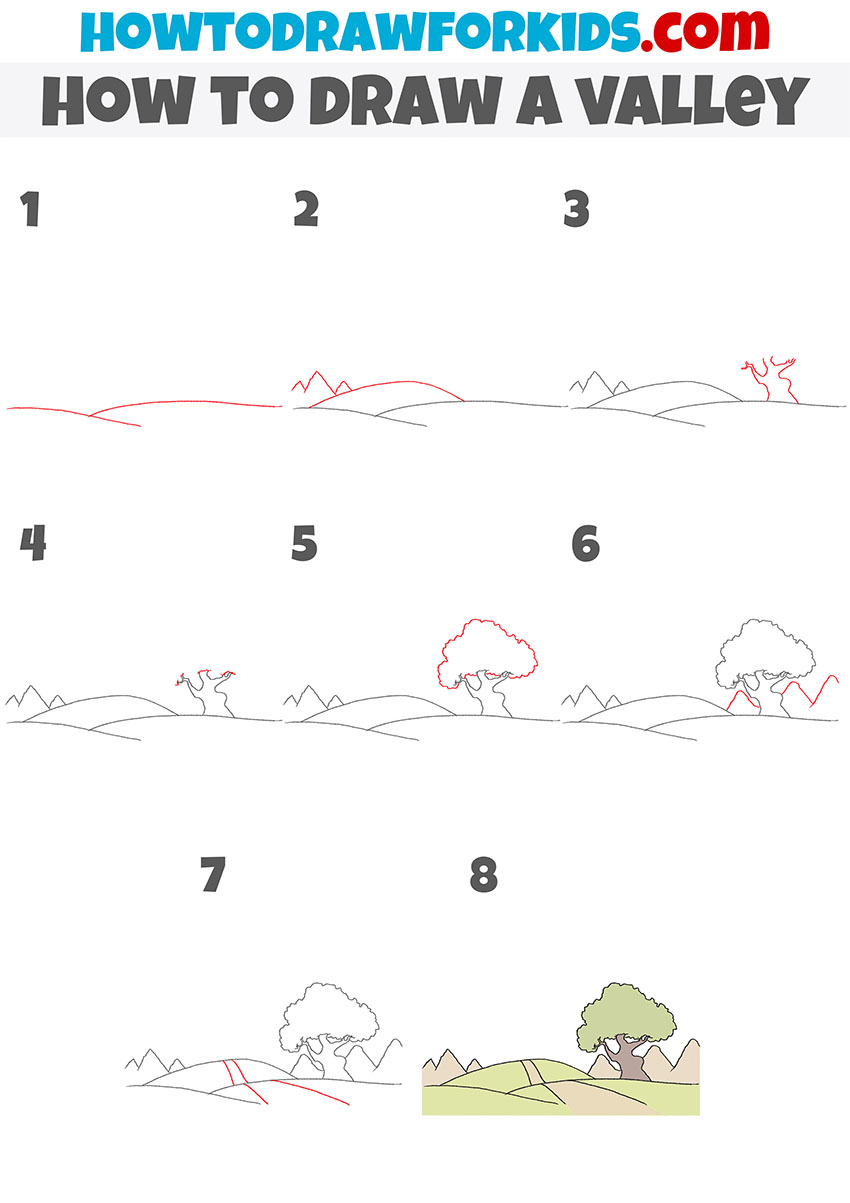
How to Draw a Valley
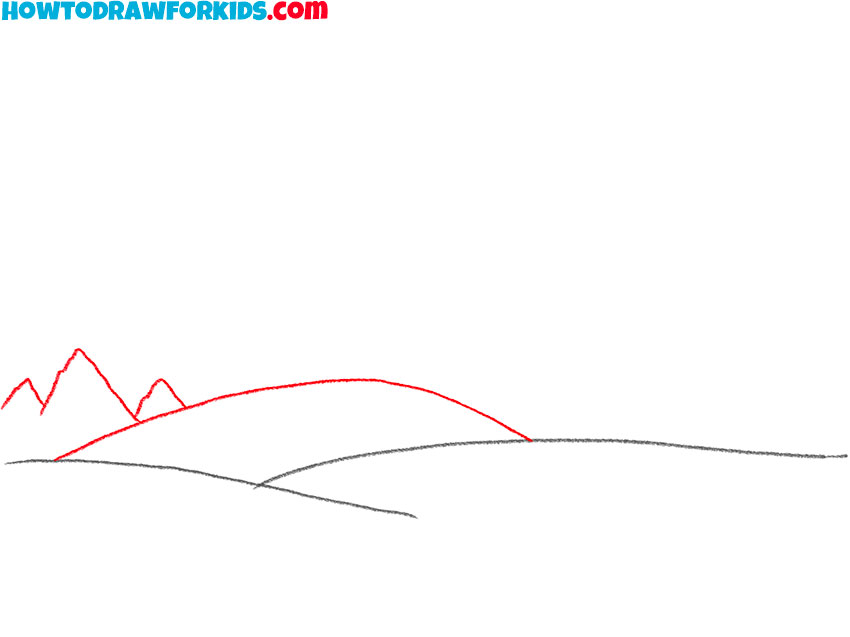
- Draw two gentle slopes.
Sketch out two smooth curved lines.

- Add the small hill and mountains in the background.
Draw one smooth line and use straight lines to draw peaks.
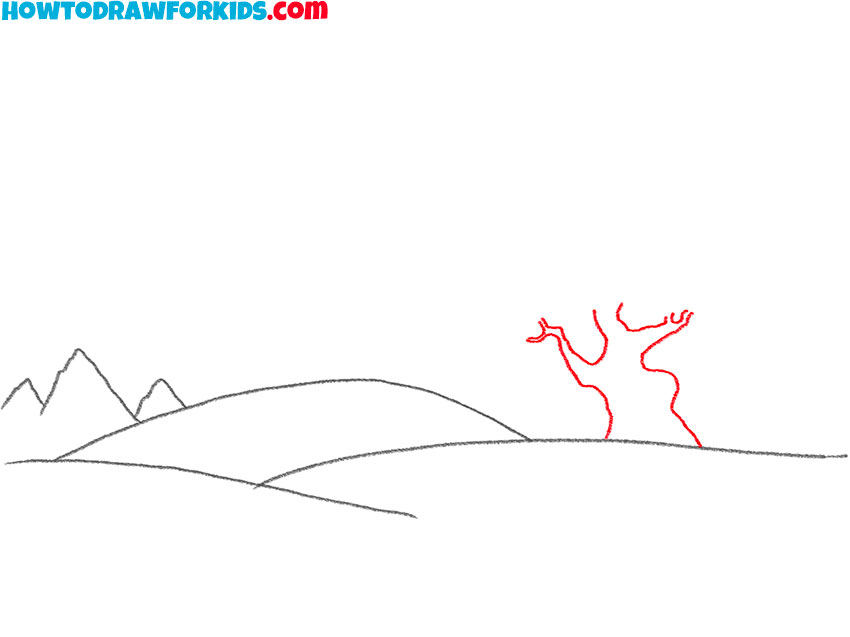
- Sketch out the tree trunk.
Use jagged lines to depict the wide trunk and individual branches.
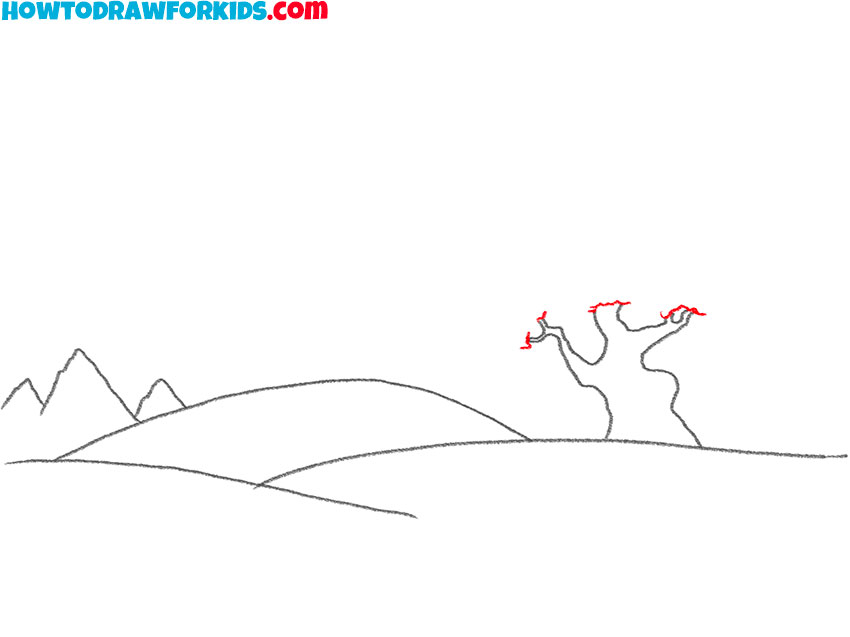
- Depict the bottom of the crown.
At the end of each branch, draw small jagged lines.
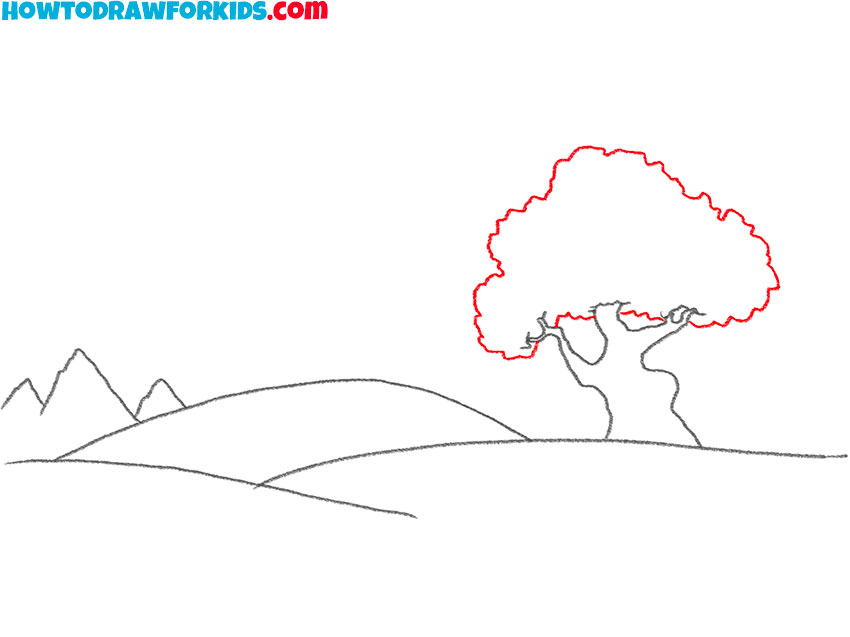
- Draw the crown.
Use a jagged line to represent the lush top of the tree.
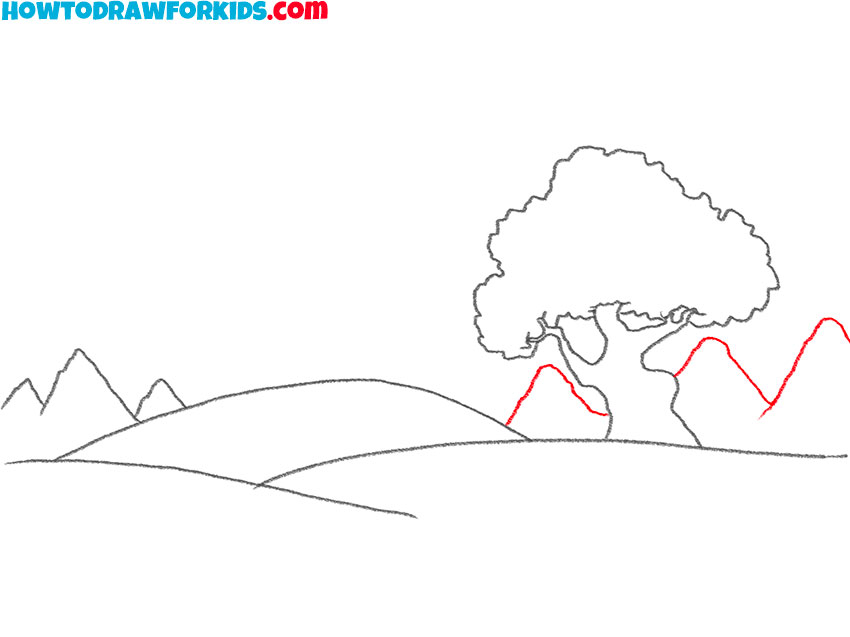
- Add the rest of the mountains.
With the help of jagged lines depict the three peaks of the mountain in the background.
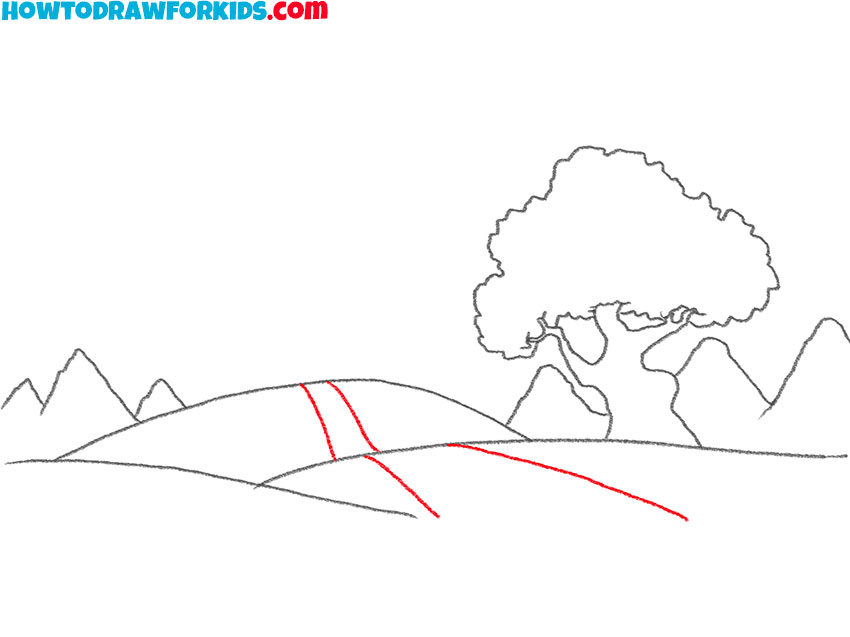
- Sketch out the roads.
With the help of smooth lines, depict the road that narrows closer to the horizon.
- Color the drawing.
Use different shades of brown and green.

Remind you that now you can download a PDF file that contains a brief instruction and additional useful materials. Save this file so that you can return to the lesson at any time, even if there is no Internet access.

