How to Draw a Witch Hat
In this drawing lesson, you will learn how to draw a witch hat step by step. I am sure you will find this simple tutorial helpful!
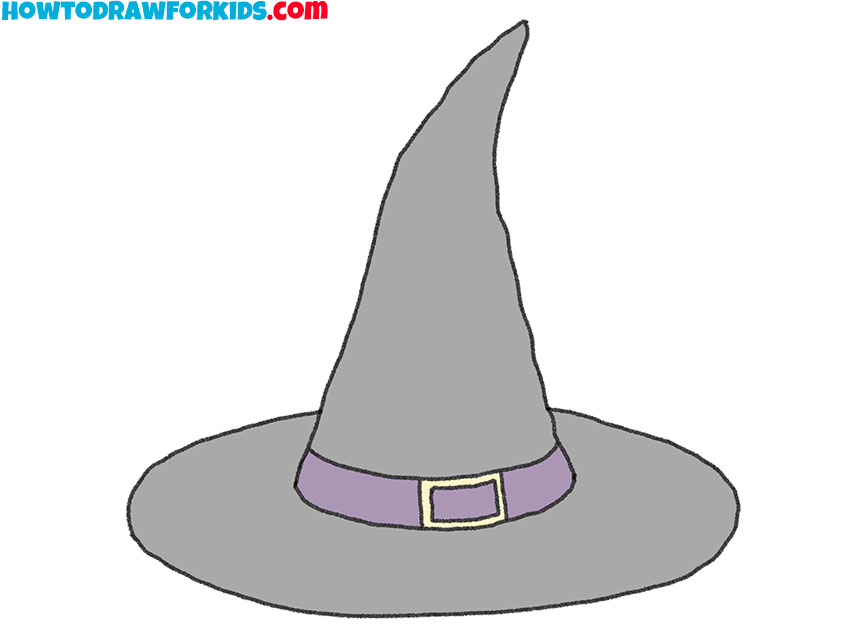
I have prepared for you a new, exciting drawing lesson in which you will learn how to draw a witch hat step by step. You will definitely need the ability to draw this element of the costume if you want to draw a witch in your next drawings.
I am sure that you have seen the witch hat many times in various cartoons, films and books. It is believed that this thing has magical properties, just like the witches themselves are known to us for their supernatural knowledge and abilities.
When performing this fascinating drawing lesson, you should be very careful and follow each step of this instruction. If you are ready to start, then grab the art supplies you need and start doing this work right now.
Materials
- Pencil
- Paper
- Eraser
- Coloring supplies
Time needed: 30 minutes
How to Draw a Witch Hat
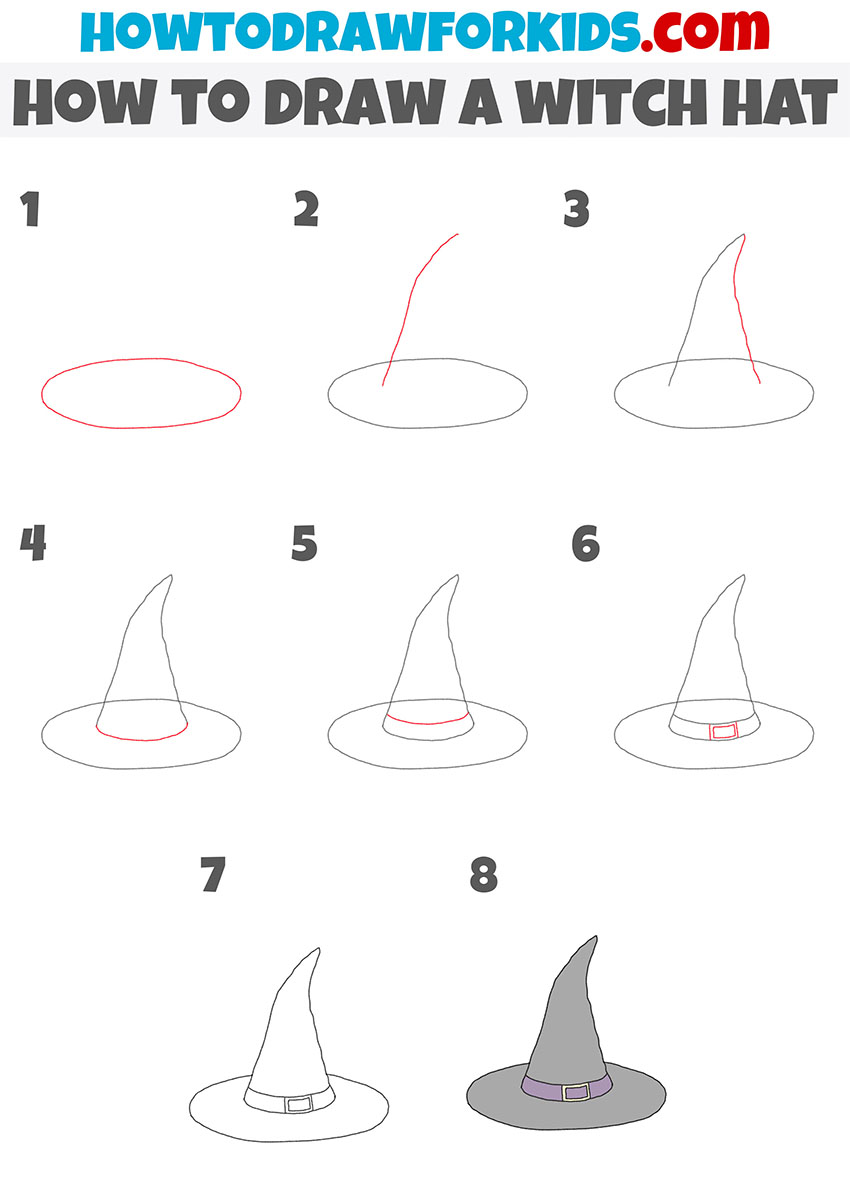
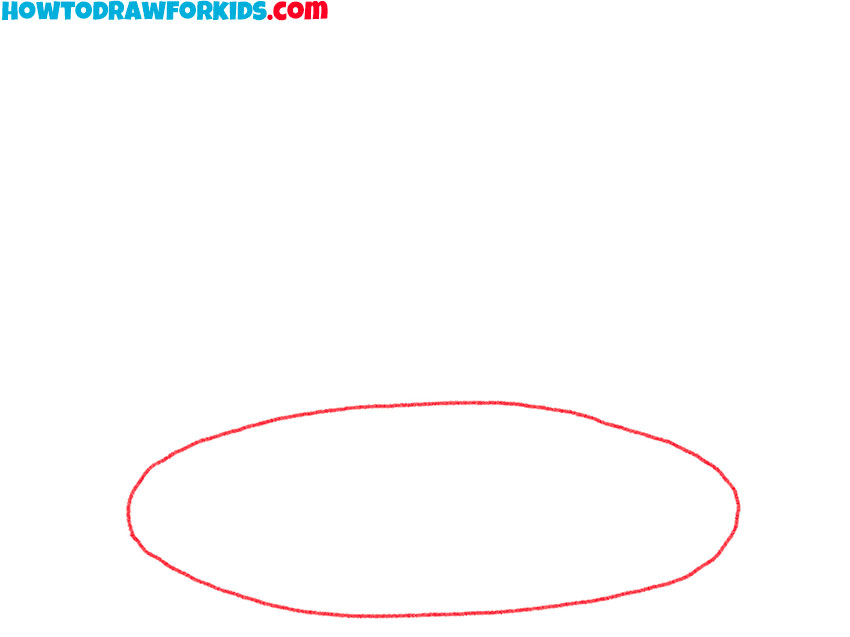
- Draw the bottom of the hat.
To complete this step, draw one slightly uneven oval.
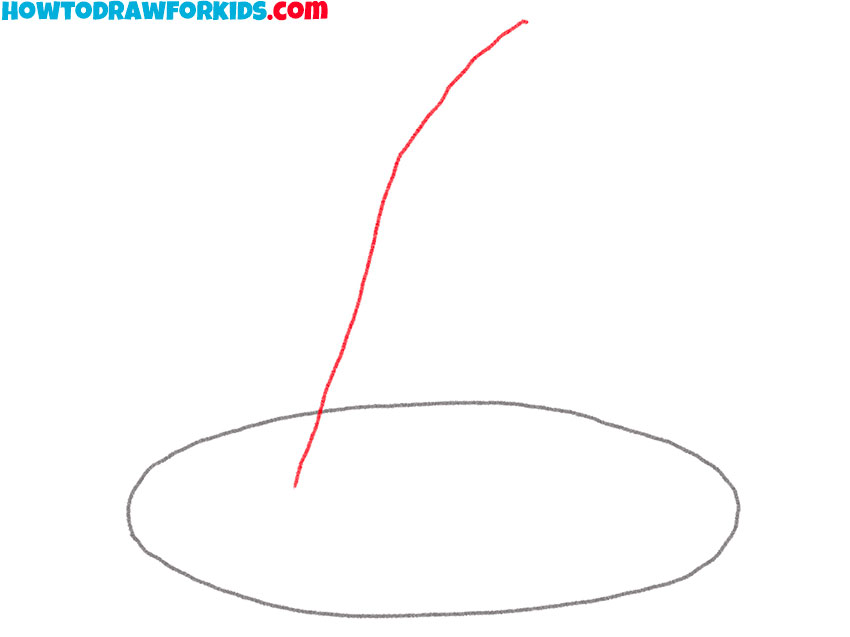
- Start drawing the top of the hat.
Depict one curved line on the left above the previously drawn oval.
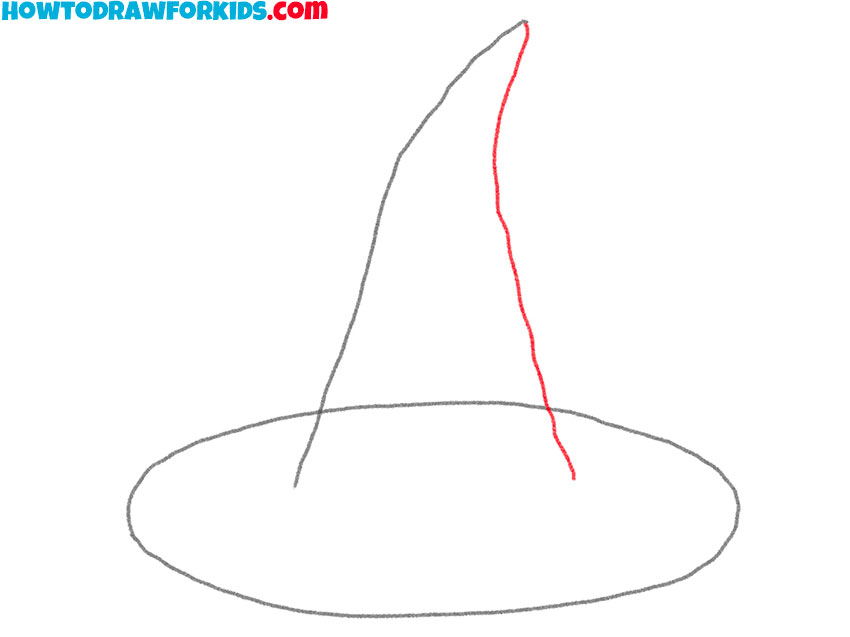
- Continue drawing the top of the witch’s hat.
Add another curved line on the right side of the previously drawn line.
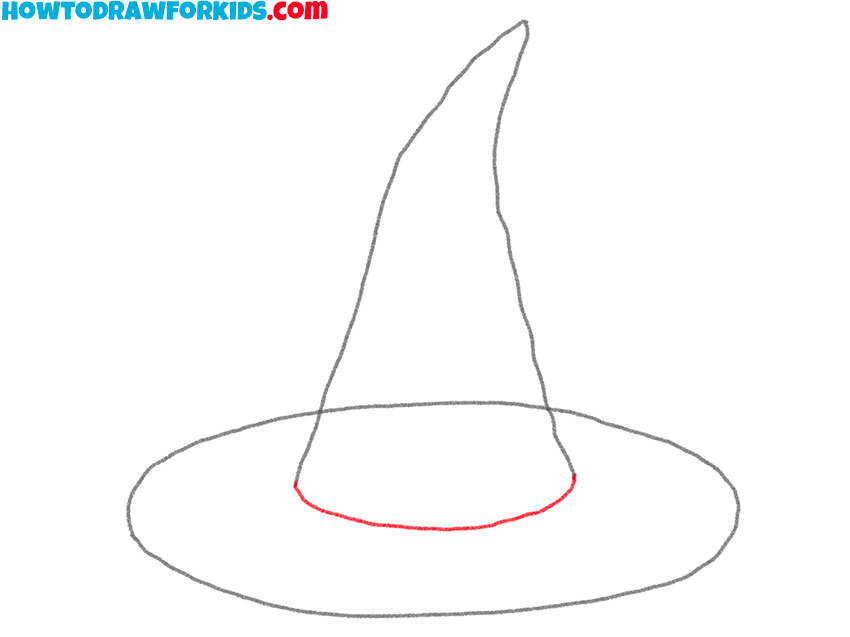
- Connect the top and bottom of the hat.
Draw a slightly curved arc to connect the ends of the previously drawn lines.
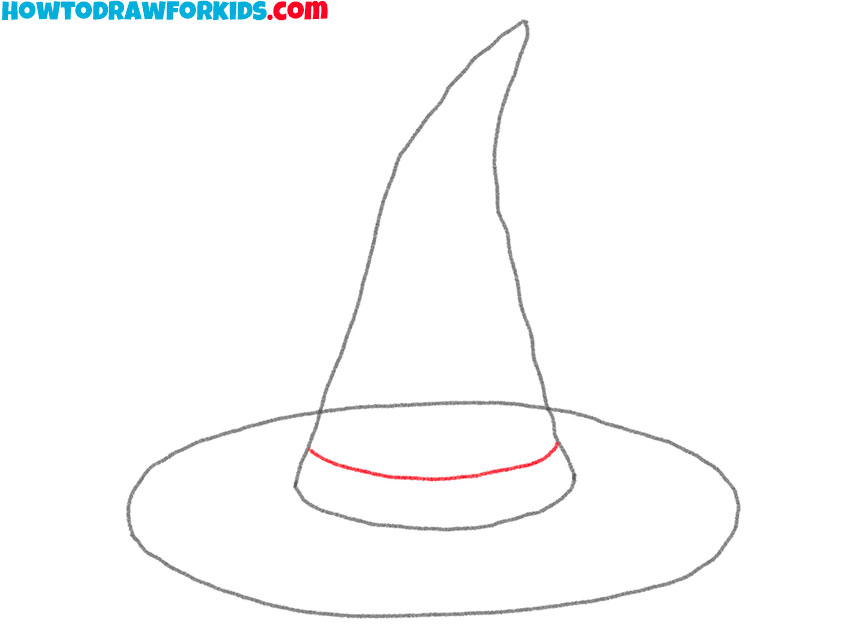
- Add the ribbon on the witch’s hat.
Depict another slightly curved arc above the previously drawn arc.
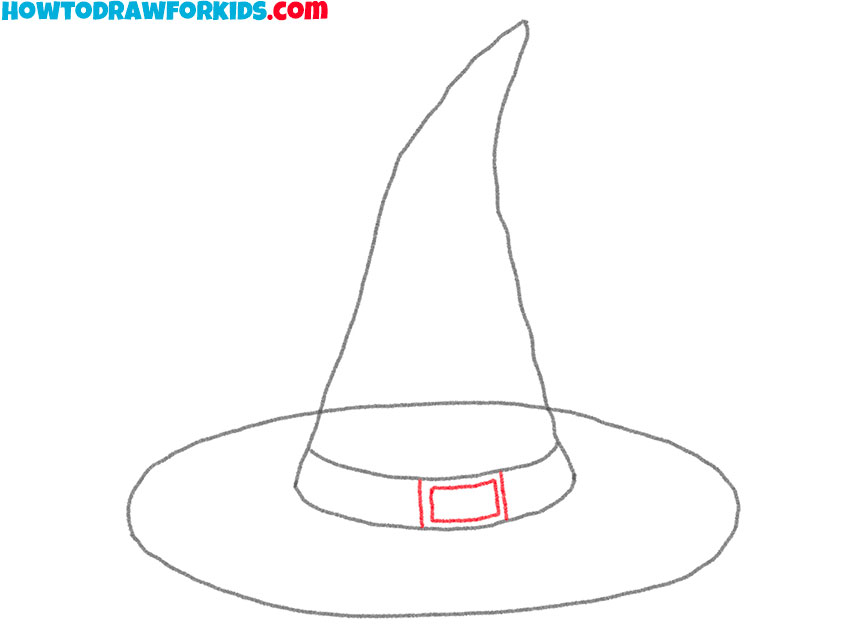
- Sketch out the buckle.
Draw two straight lines and a slightly uneven rectangle-like shape.
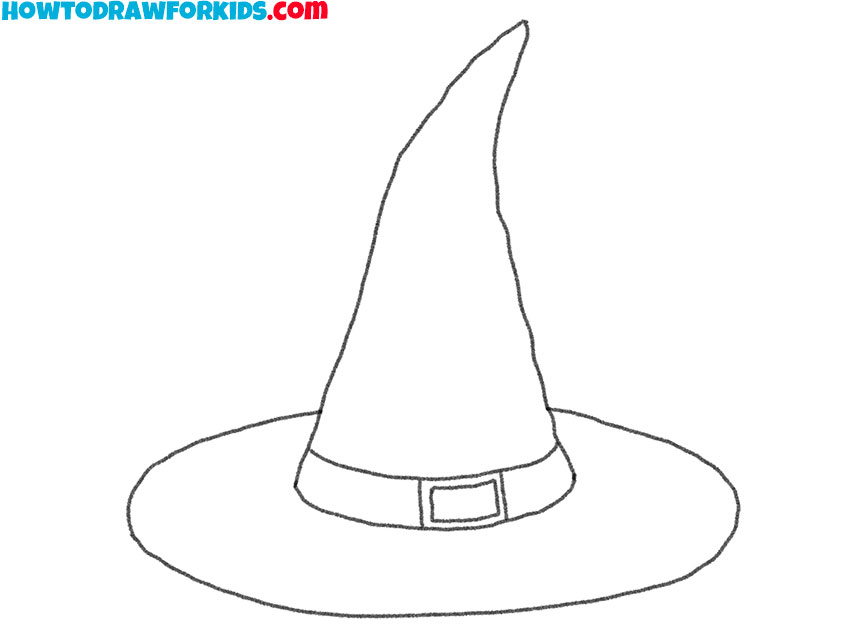
- Correct inaccuracies.
Use the eraser to remove any unnecessary guidelines.
- Color the drawing.
To color the witch’s hat, use yellow and shades of purple.

So that you can return to this exciting lesson at any time, I have prepared a PDF file for you, which contains all the necessary information from this lesson, as well as additional useful materials. Download it to repeat this tutorial even without internet.

