How to Draw a Zebra
Let’s learn how to draw a zebra with this simple step-by-step tutorial! Start with basic shapes, add details like stripes, and finish with coloring.

How to Draw a Zebra: Featured Image
This tutorial on how to draw a zebra has eight easy steps. Each step consists of really simple lines and details, and I am sure that any child can cope and draw this beautiful animal without any difficulties.
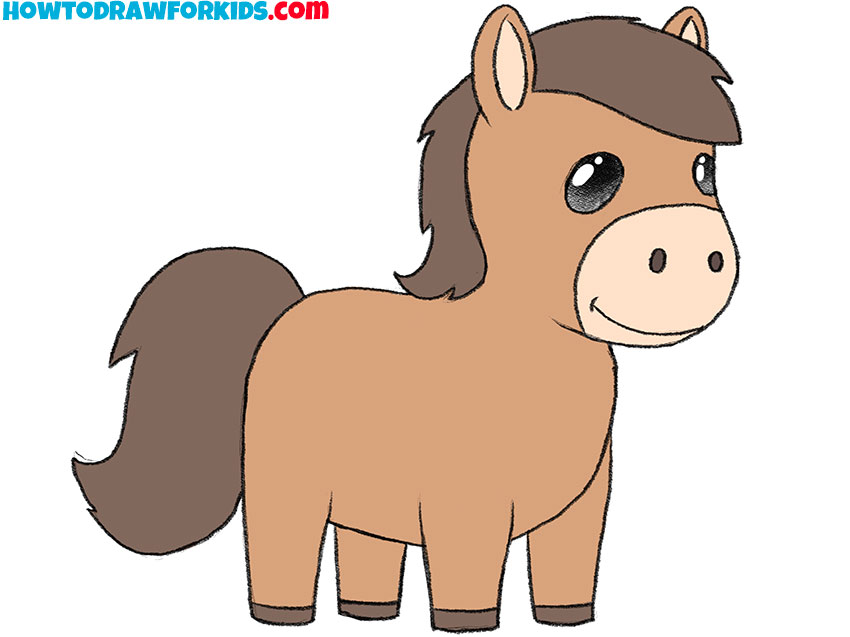
Zebra is very similar in appearance to horses and donkeys. This means that having mastered the ability to draw a zebra, a young artist will be able to draw horses, donkeys, and other externally similar animals.
In addition, this lesson teaches the young artist the proportions of ungulates. When drawing a zebra, you need to try to achieve the most correct proportions.
To make the experience of learning to draw this beautiful animal even more interesting, I’ve included two additional tutorials alongside the main lesson, each featuring a unique approach and different drawing style.
Zebra Drawing Tutorial
Materials:
- Pencil
- Paper
- Eraser
- Coloring supplies
Time needed: 40 minutes
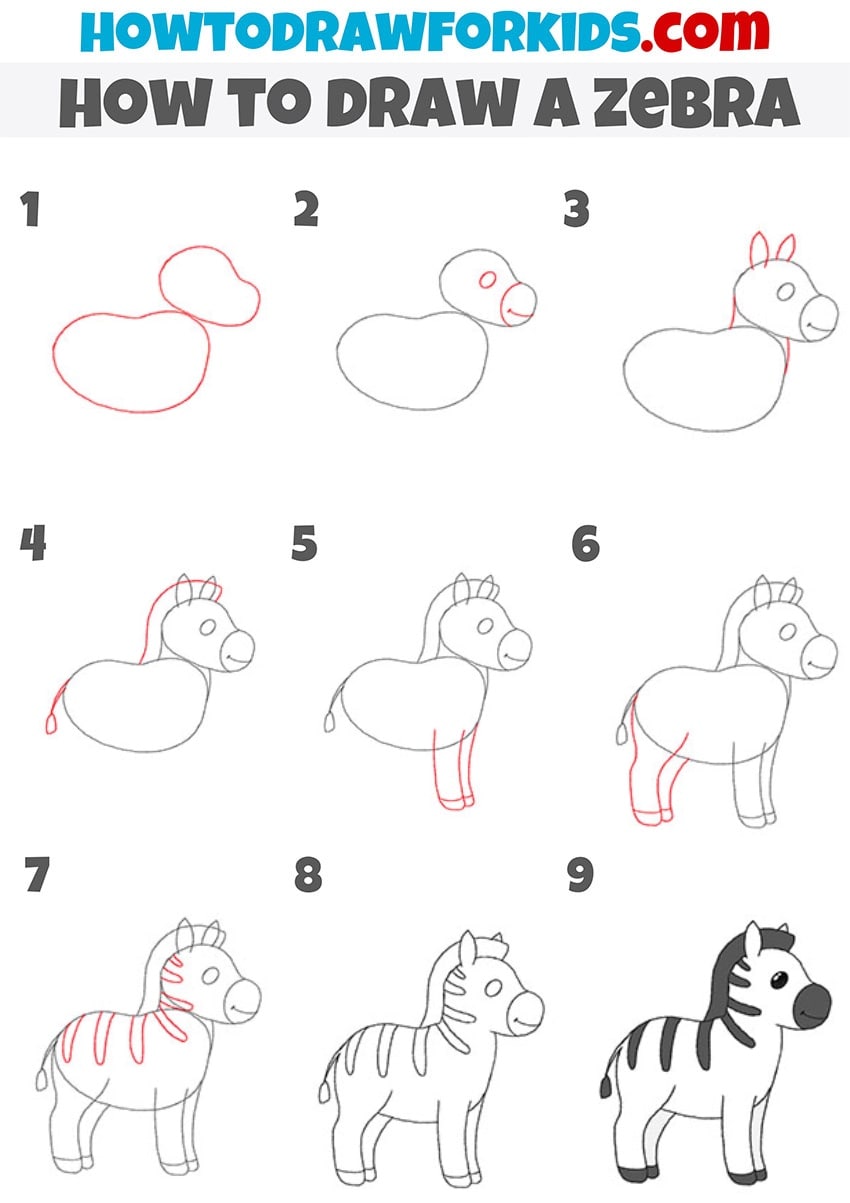
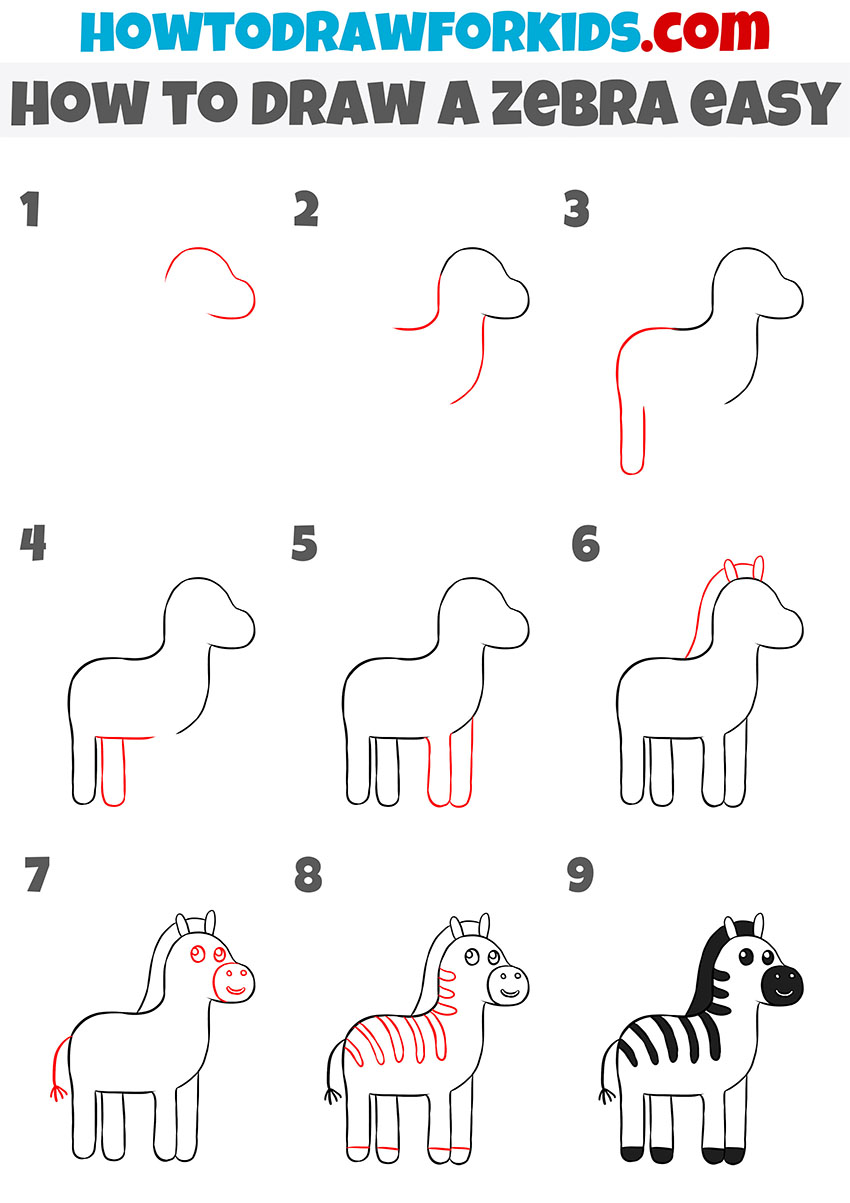
How to Draw a Zebra
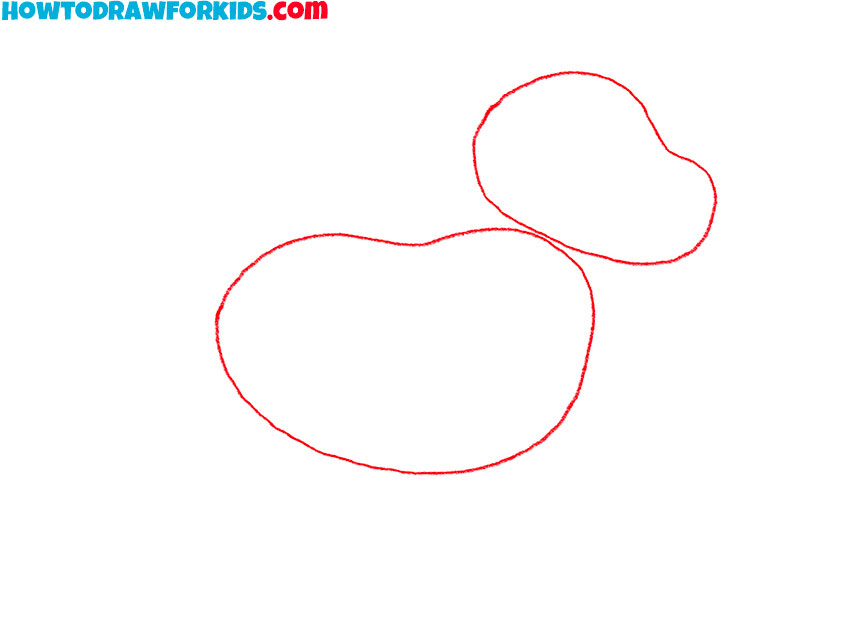
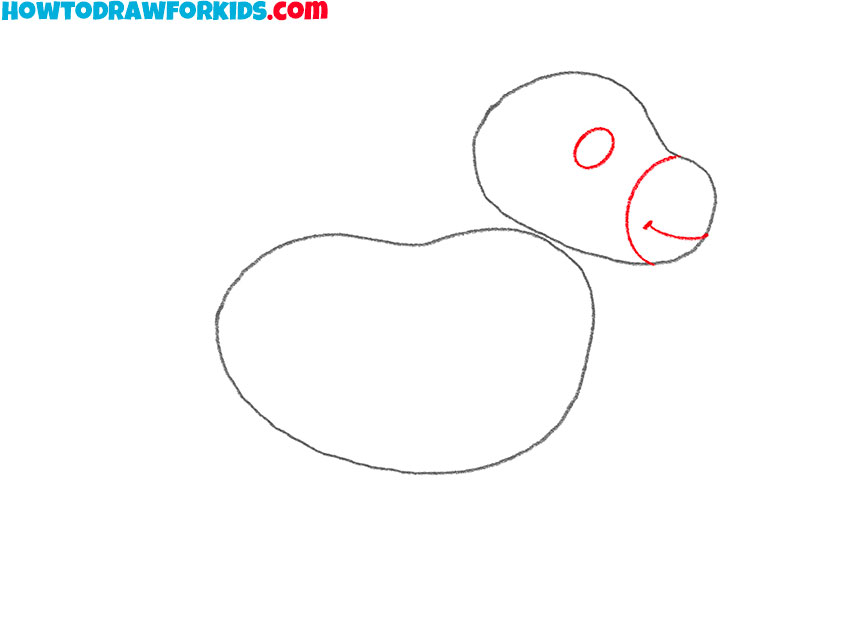
- Draw the head and torso of the zebra.
Begin your zebra drawing by sketching two interconnected shapes. The larger shape at the bottom will form the torso, while the smaller shape above it, slightly tilted and more rounded, will serve as the head. Make sure these shapes overlap slightly to create a body outline.
- Draw the facial details of the zebra.
In this step, add a small circle for the zebra’s eye near the top of the head. You can add a smaller circle inside it for the pupil. Just below the eye, draw a curved line for the mouth. Next, draw another curved line dividing the front of the zebra’s face from the rest of the head.
- Add the ears and neck of the animal.
Draw two pointed ears at the top of the head, making sure they are proportionate to the size of the head. Then, sketch a curved line from the bottom of the head to the body, creating the neck. This step integrates the head with the body and starts to flesh out the upper part of the zebra.

- Illustrate the mane and tail.
On the zebra’s head, draw a long and curved line to represent the mane running along the neck’s back. At the rear of the torso, draw a fluffy tail with a tuft at the end. These features add more recognisable details to the zebra drawing.

- Sketch the front legs.
Proceed to outline the front legs using two sets of parallel lines for each leg. The lines should taper towards the hooves, indicating slender yet strong legs. To make the legs of the zebra look more natural add the hives at the ends with a couple of short lines.

- Add the hind legs.
For the hind legs of the zebra, employ a similar technique used for the front legs but make the hind legs slightly more muscular and bent. At the bottom of the zebra’s legs draw the hooves using two short horizontal curved lines.

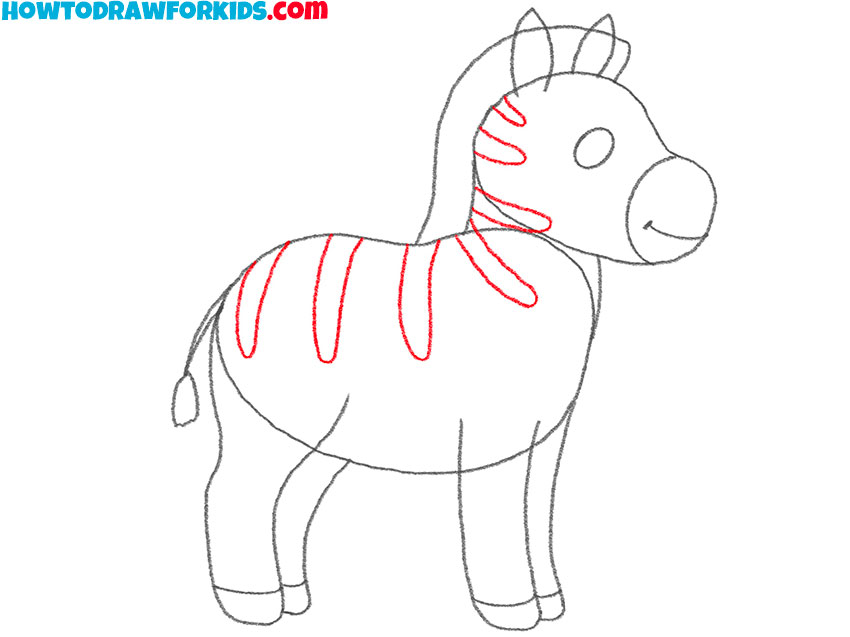
- Add the zebra stripes.
One of the most distinctive features of a zebra is its stripes. Draw wavy lines across the neck and torso to simulate the iconic striping pattern. Place these stripes thoughtfully, considering the natural contours of the body to maintain a balanced and aesthetically pleasing pattern.
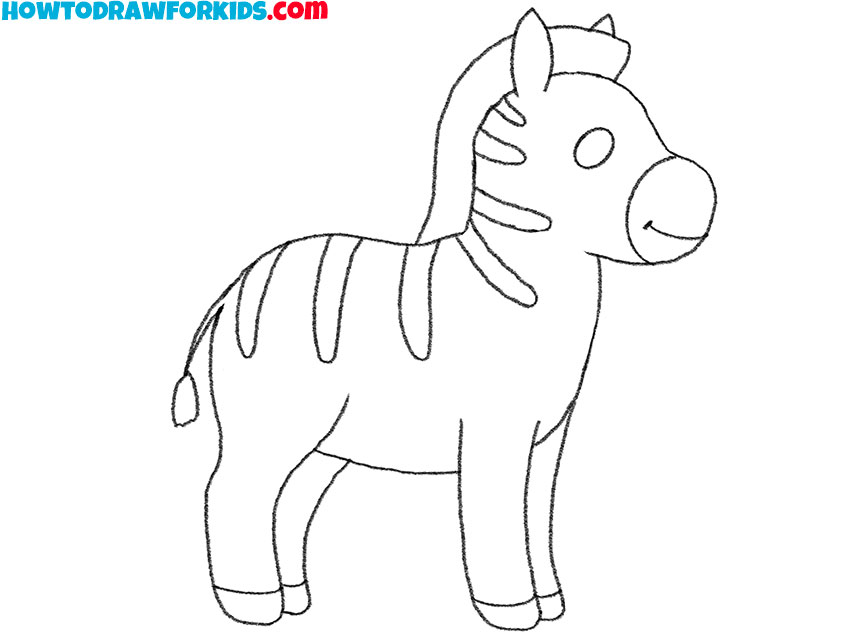
- Erase the unnecessary guidelines.
With the zebra now fully shaped, it’s time to clean up your drawing. Carefully erase all the initial sketches and guidelines that helped you shape the zebra. Make the lines smoother if necessary to sell them on the final look. At this stage you can add some details if it’s necessary.
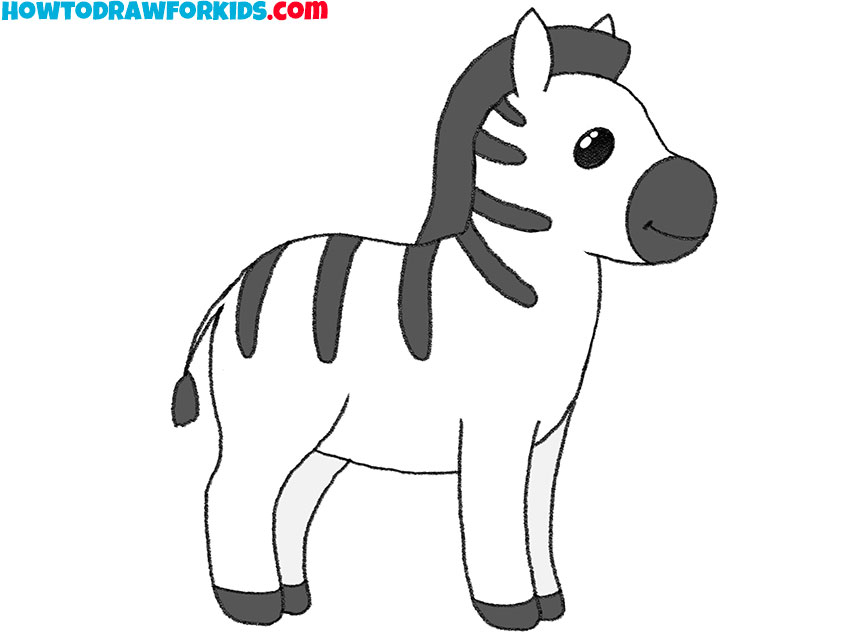
- Color your zebra sketch.
Traditionally, zebras are black and white, but you can use various shades of gray to add more realism and dimension to the black stripes and areas where shadows might fall. You can add subtle shading to give the zebra a more three-dimensional and realistic appearance.
Additional Content
The zebra drawing lesson is now complete. To help you draw this beautiful animal even without access to the Internet, you can use this free PDF worksheet. It includes all the steps from the tutorial, along with some additional content that you may find particularly useful and interesting.
How to Draw a Zebra: Alternative Techniques
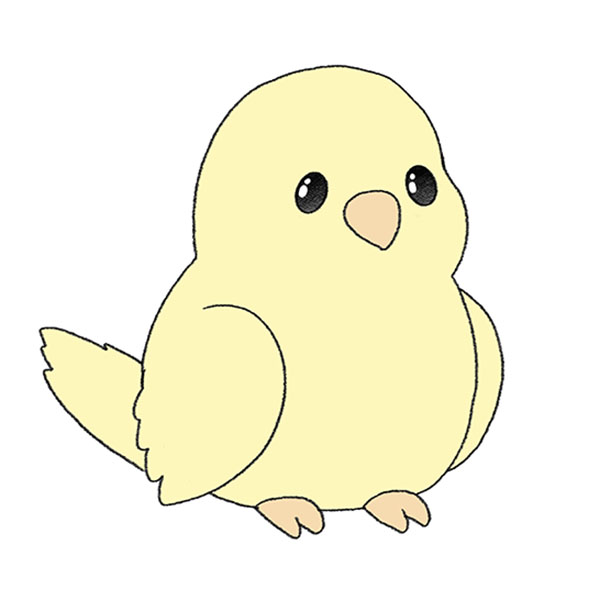
Drawing a Zebra: Alternative Method 1
Here’s an additional tutorial that complements the first one, providing another set of steps to draw a zebra. The main difference between this tutorial and the previous here we don’t use initial guidelines.
To begin, draw a small curved line that resembles a hook; this will serve as the foundation for the zebra’s head and neck. Next, continue the neck line downward, curving it smoothly to create the back and chest area. Then, draw the body by extending the lines to form a rounded shape that ends at the legs. Add the legs by drawing straight, vertical lines extending downward, with small rounded ends for the hooves.
After that, complete the body by adding the remaining legs on the opposite side, mirroring the first set. Draw the zebra’s tail by extending a short, curved line from the back and adding a small tuft at the end. Next, add the ears by drawing two small triangles on top of the head, and sketch a curved line along the back of the neck to create the mane.
In the next steps, draw the face by adding a small oval for the muzzle and two circles for the eyes. Add simple details like the nostrils and a smile. Finally, draw the zebra’s stripes using curved lines across the body, legs, and face, varying the thickness to create a natural look.
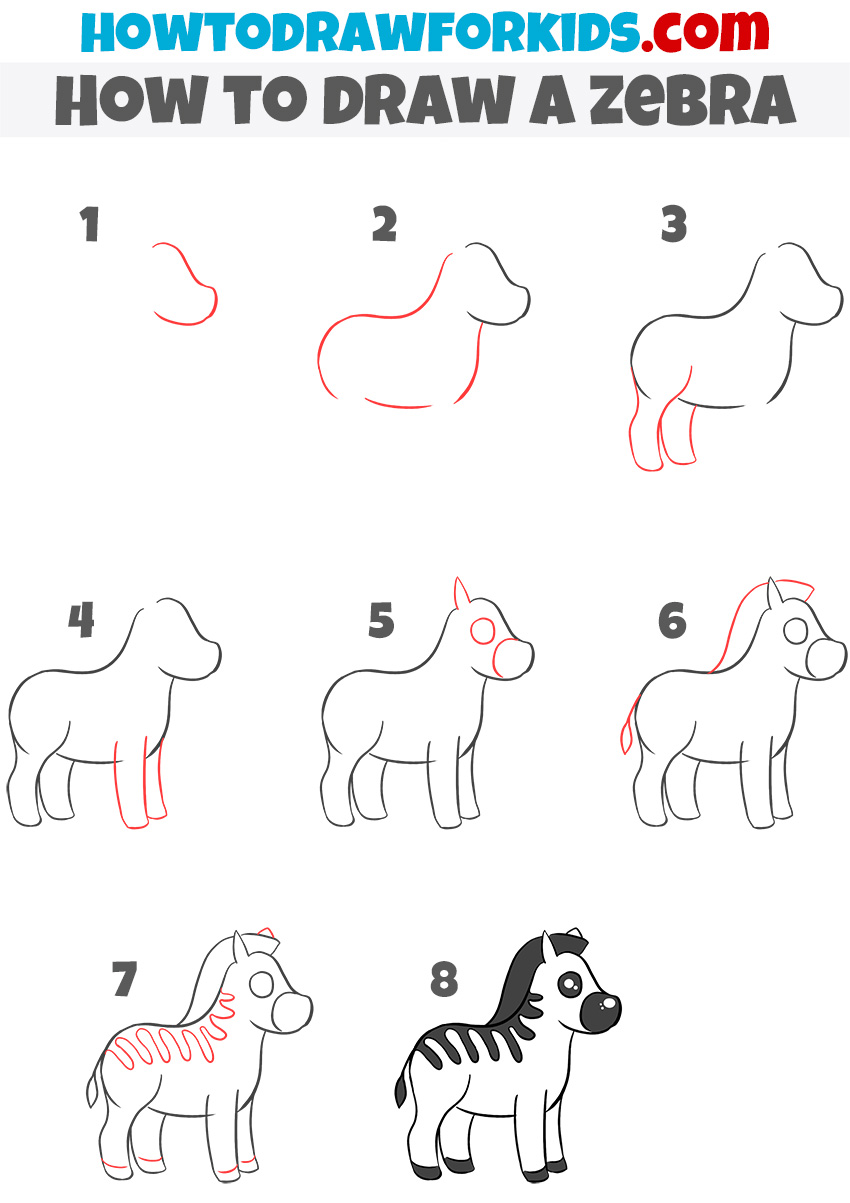
Drawing a Zebra: Alternative Method 2
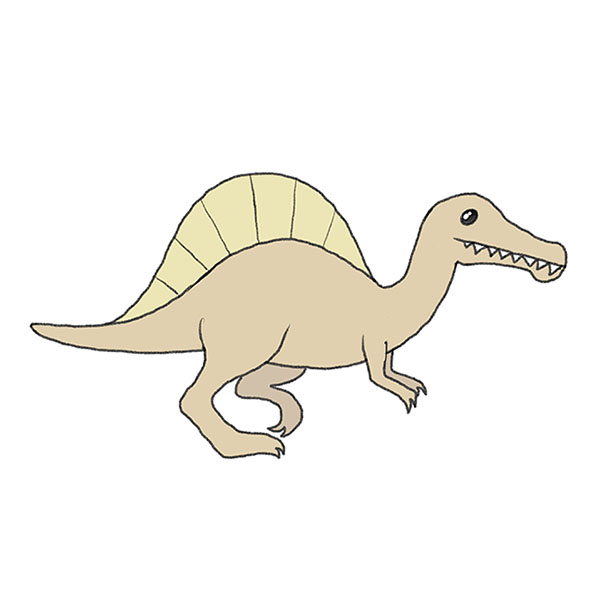
Here’s another tutorial that serves as an additional guide to the first one. This set of steps provides a different approach to drawing a zebra. In this approach, we won’t use preliminary lines; instead, we’ll draw the zebra step by step, forming its recognizable contours as we go.
Start by drawing the zebra’s head, beginning with a small, curved line that forms the muzzle. Extend this line upward to create the top of the head and then curve it downwards for the neck. Next, draw the zebra’s body by sketching a large, rounded shape that connects smoothly to the neck. Add another curved line at the bottom to form the belly.
Continue by drawing the back legs with two parallel lines extending from the rear of the body, adding rounded ends for the hooves. Then, draw the front legs similarly, ensuring they align with the back legs in both height and thickness.
Now, add the zebra’s face by drawing a large circle for the eye and a smaller circle inside it for the pupil. Add a short curve for the muzzle and draw two pointed ears on top of the head. Then, draw the zebra’s mane by adding a curved line along the top of the head and down the neck, as well as a small curved line for the tail.
Finally, complete the zebra by adding the characteristic stripes. Draw wavy lines across the zebra’s back, neck, and legs, following the contours of the body. Make sure the stripes are correctly spaced and vary in thickness for a more natural look. Finish by darkening the mane, hooves, and muzzle to give your zebra drawing a finished appearance.
How to Draw a Zebra: Conclusion
Now that you’ve completed the zebra drawing, take a moment to review your work and make any final adjustments. If you found this guide helpful, consider sharing it with others who might enjoy it as well.
I encourage you to check other tutorials to continue improving your drawing skills. For instance, you can learn to draw a donkey, a dog, or any other familiar animals. Simply enter the name of the animal you’re interested in into the search field and start drawing.
Also subscribe to me in social media for new tutorials and tips. Make sure to follow me on Pinterest to keep up with all the latest lessons from my site, and subscribe to my YouTube channel to learn how to draw through video versions of my lessons.