How to Draw a Zipper
Learn how to draw a zipper with this tutorial. In just eight very simple steps, you will get a great result and enjoy the process of drawing.
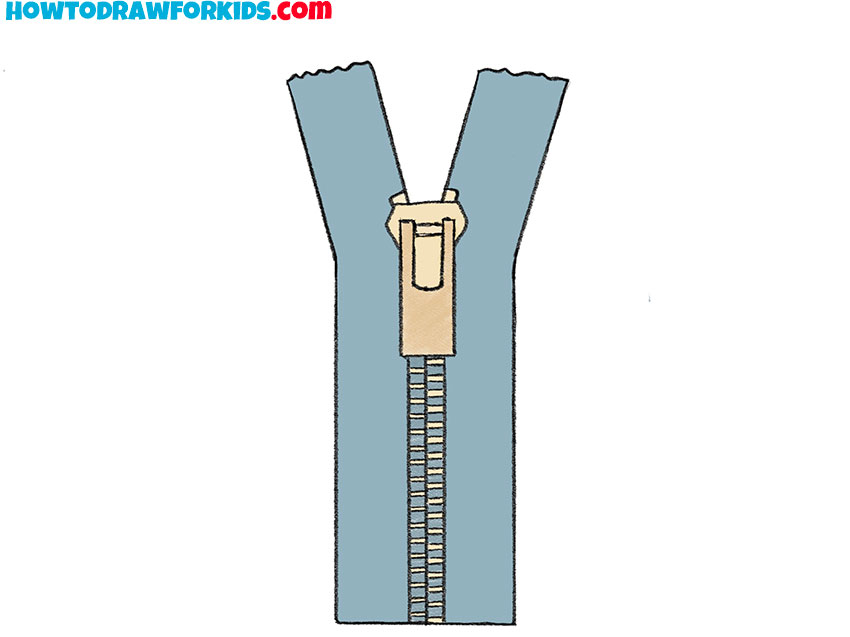
Now you will learn how to draw a zipper. This piece of clothing is extremely popular. The zipper provides a fast and convenient connection of details of clothes.
There are zippers on jackets, tracksuits, skirts, trousers, jeans, dresses, vests, and other types of clothing. Also, the zipper is used in bags, sporting goods, camping equipment, and other items.
The main elements of a zipper are two textile tapes, plastic or metal links, and a slider that slides smoothly over the tapes. You can see all these elements in the picture.
You can easily repeat this if you are attentive and patient. I think you will enjoy this lesson and will help to train your artistic skills.
Materials
- Pencil
- Paper
- Eraser
- Coloring supplies
Time needed: 20 minutes
How to Draw a Zipper
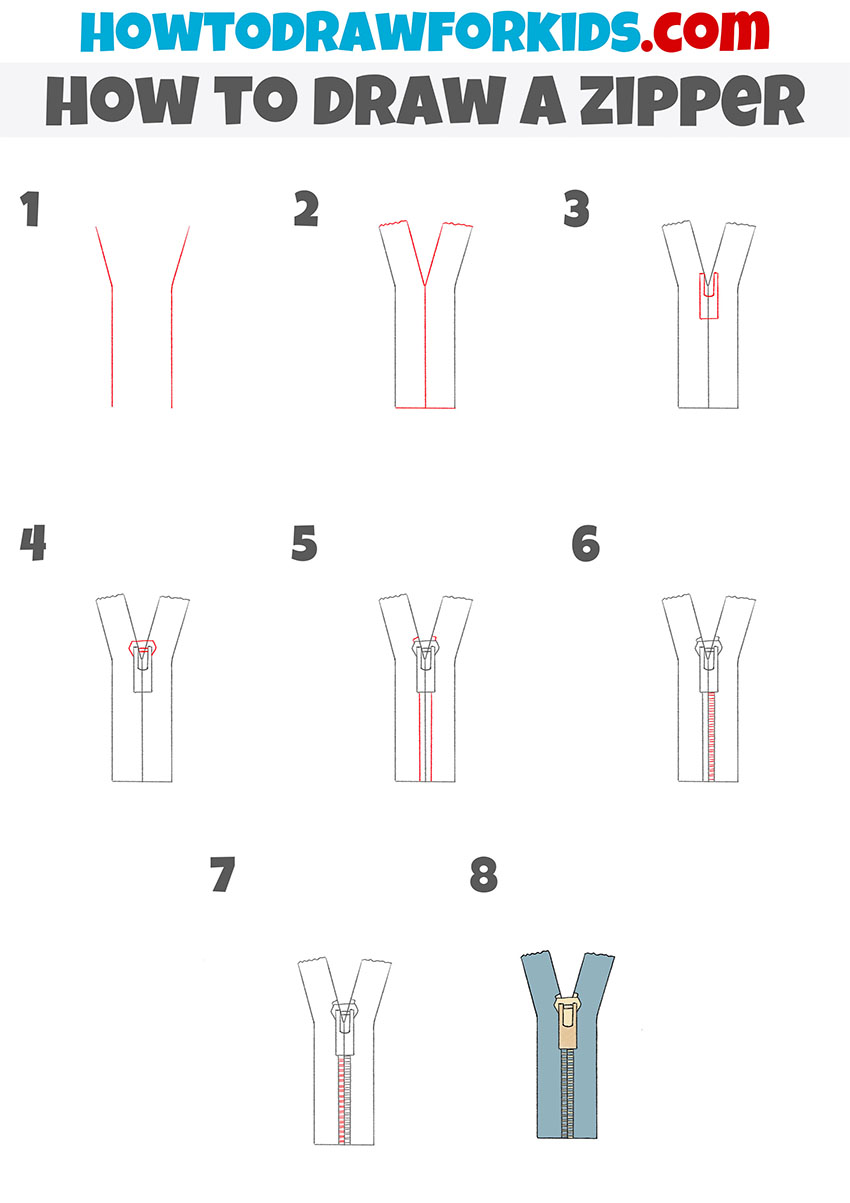
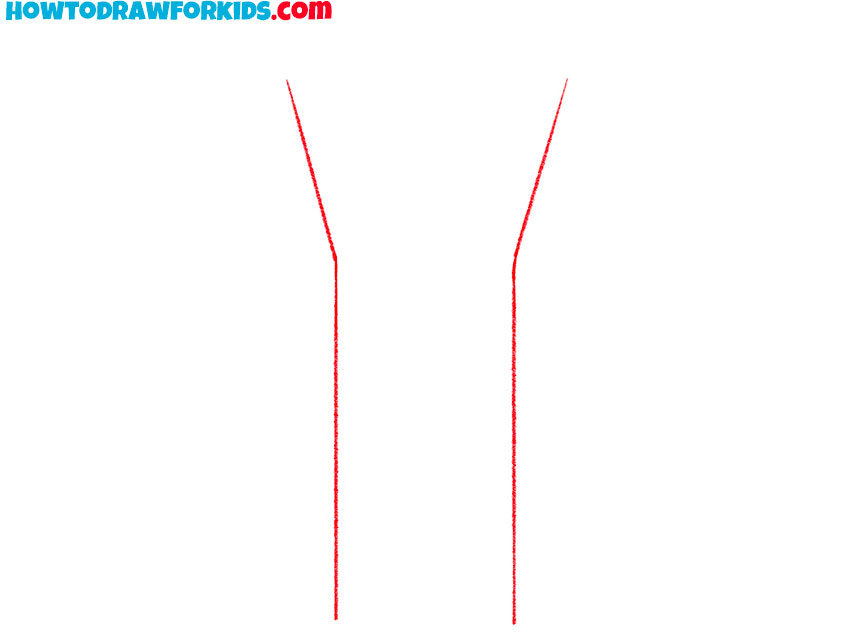
- Draw the outer outline of the two ribbons.
Depict two straight parallel lines that diverge in different directions at the top.
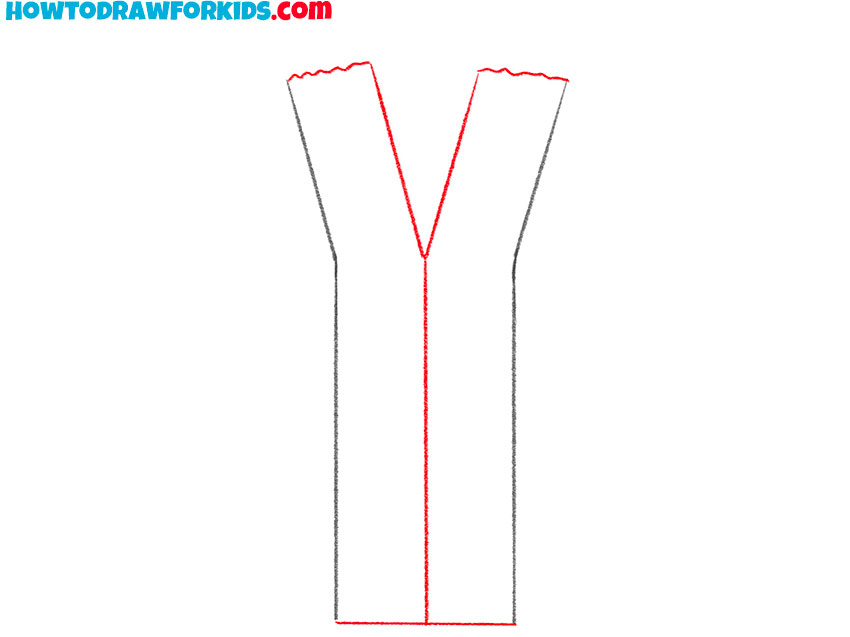
- Add the inner outline of the ribbons.
Draw a straight line in the center that branches out. Depict the upper ends with a wavy line.
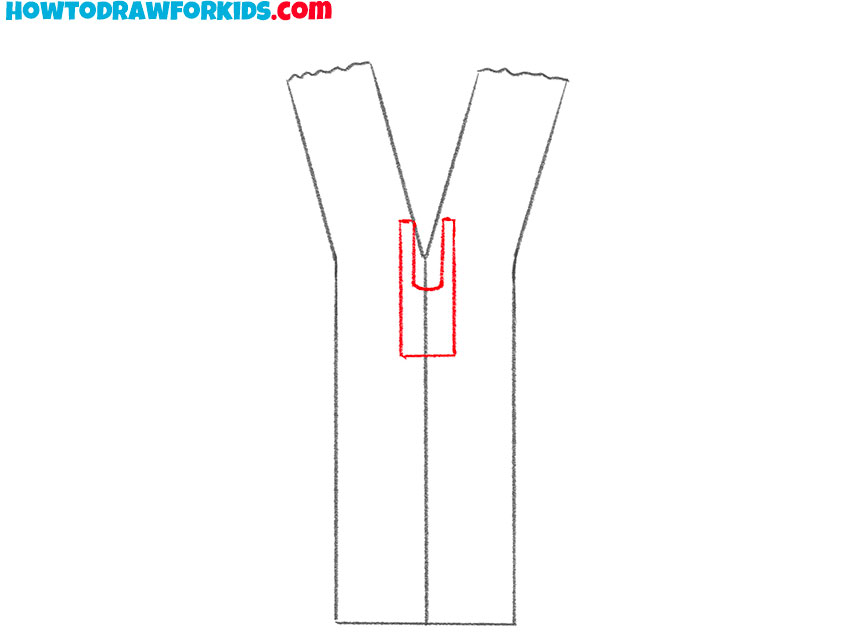
- Sketch out the keychain.
With the help of a few short straight lines draw the rectangular-shaped keychain.
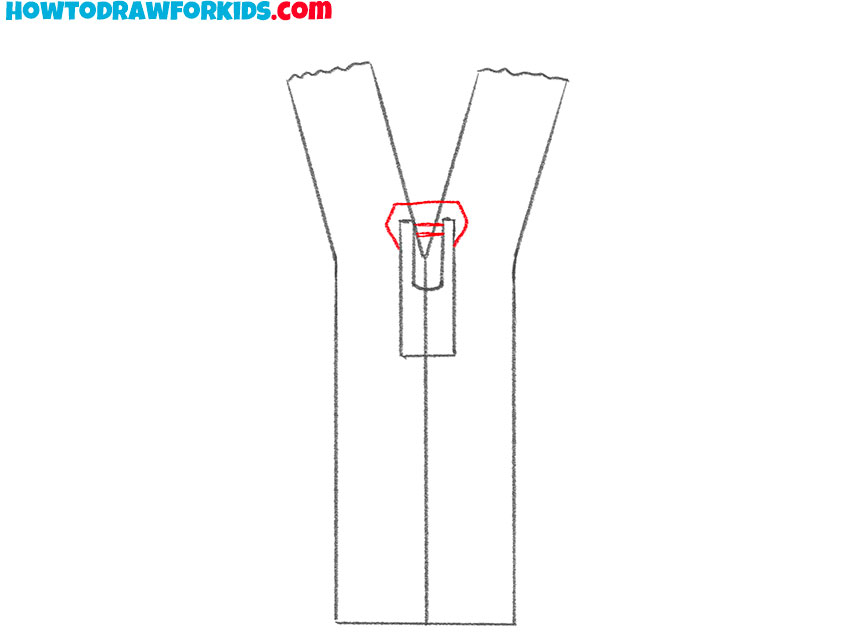
- Depict the slider.
At the fork, draw the small slider, as shown in the example.
- Draw two edges of the teeth.
Depict two even parallel lines along the center and add short ends at the top.
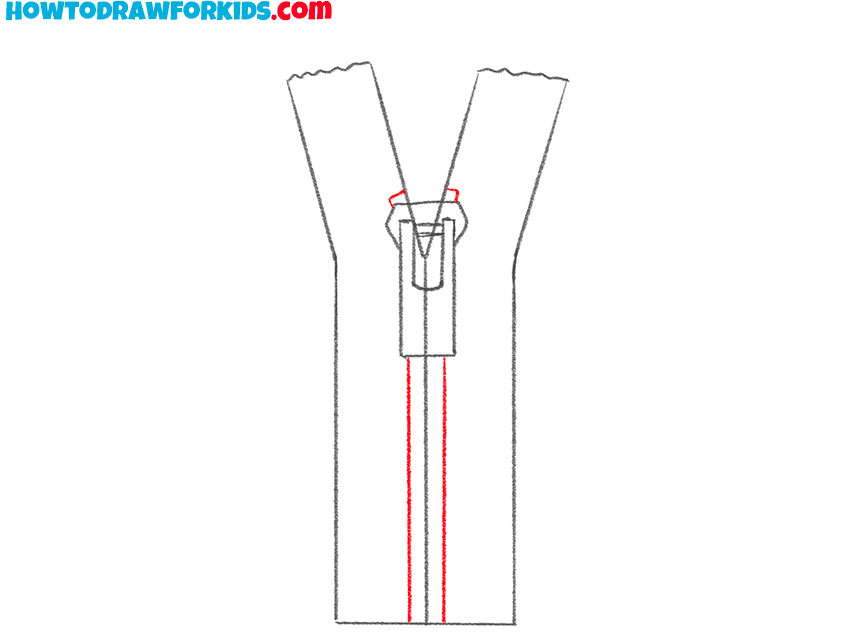
- Detail the teeth on one side.
On the right, successively draw short transverse lines.
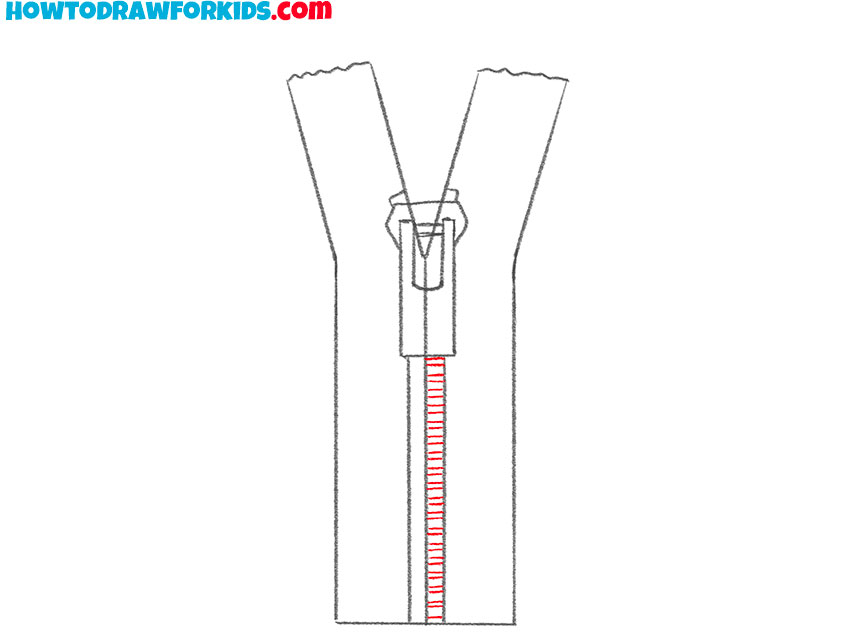
- Detail the teeth on the other side.
Repeat the previous step and draw transverse lines on the left side.
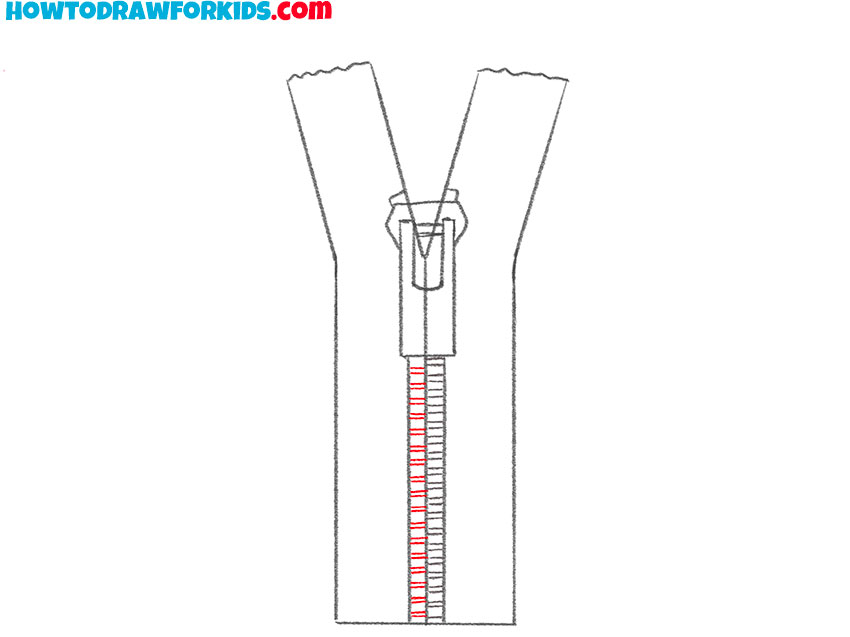
- Color the zipper.
Keychain color beige. Color the textile ribbons in blue or any other color of your choice.

By tradition, at the end of the lesson, you are presented with a link where you can download a simplified version of the step-by-step lesson as a PDF file for free. Download the file to use as needed.

