How to Draw an Acorn
Even learning how to draw an acorn requires some basic knowledge, which we’ll go over together in this step-by-step lesson.

This easy guide will help you improve your artistic skills, learn to draw an acorn, and andd details any other drawings in the future. For example, the acorn sketching skill can be useful if you want to draw an oak tree and add acorns on it or near it.
Surely you know that the acorn is the fruit of the oak tree. In mythology, the acorn symbolizes life and richness. In ancient times, people believed that acorns have magical properties. Nowadays, acorn sowing is the main way to restore oak forests.
So, if you are interested in this lesson you should now prepare the materials that you need to draw and then you can begin doing this task.
Materials
- Pencil
- Paper
- Eraser
- Coloring supplies
This step-by-step lesson on drawing acorns has come to an end. I would be happy to read your comments with feedback on this tutorial.
Time needed: 20 minutes
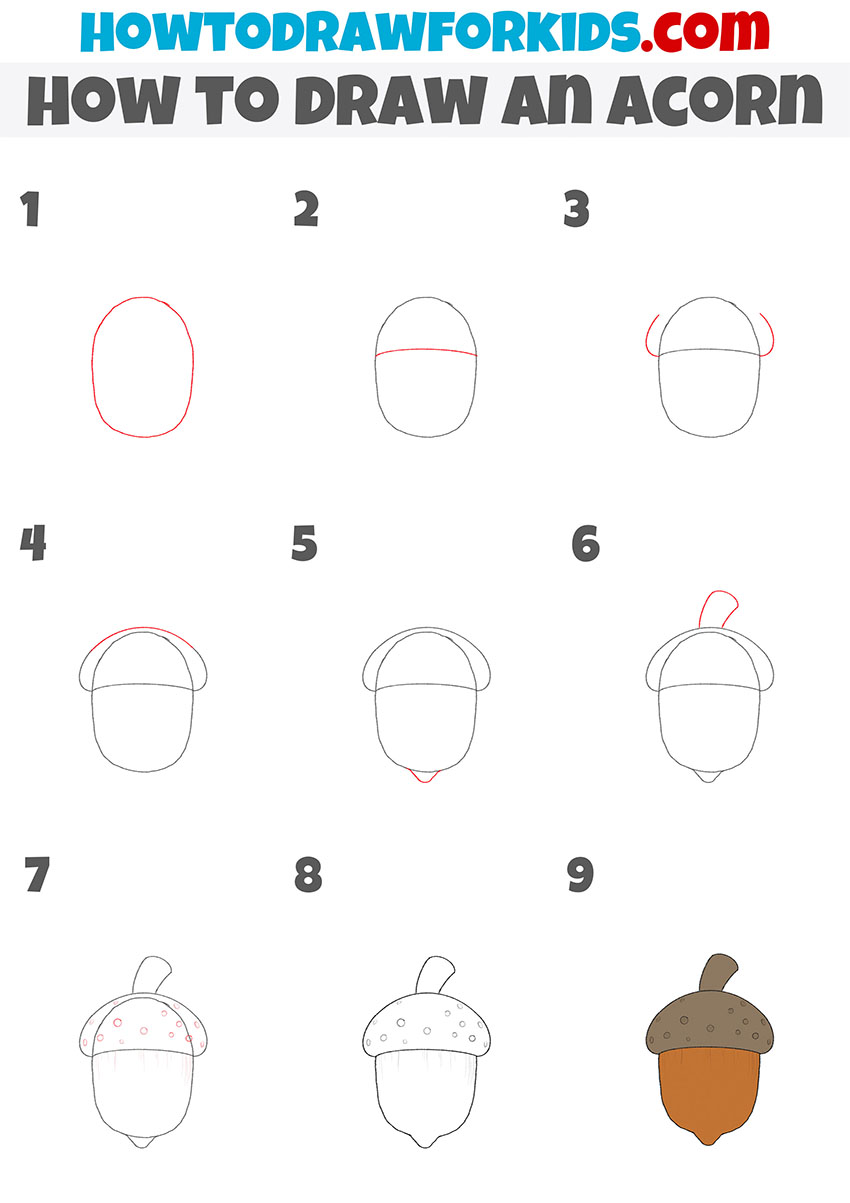
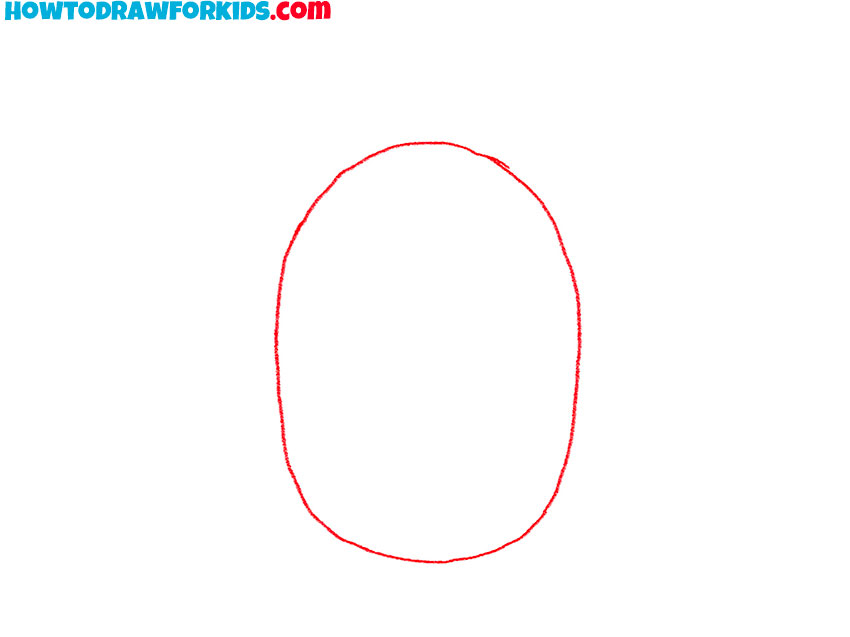
How to draw an acorn step by step
- Sketch the main oval for the nut.
Sketch a tall oval to represent the acorn nut. Use a light pencil so you can adjust the contour without heavy erasing. Aim for symmetry, but allow a small taper toward the bottom point because real oak acorns narrow slightly.
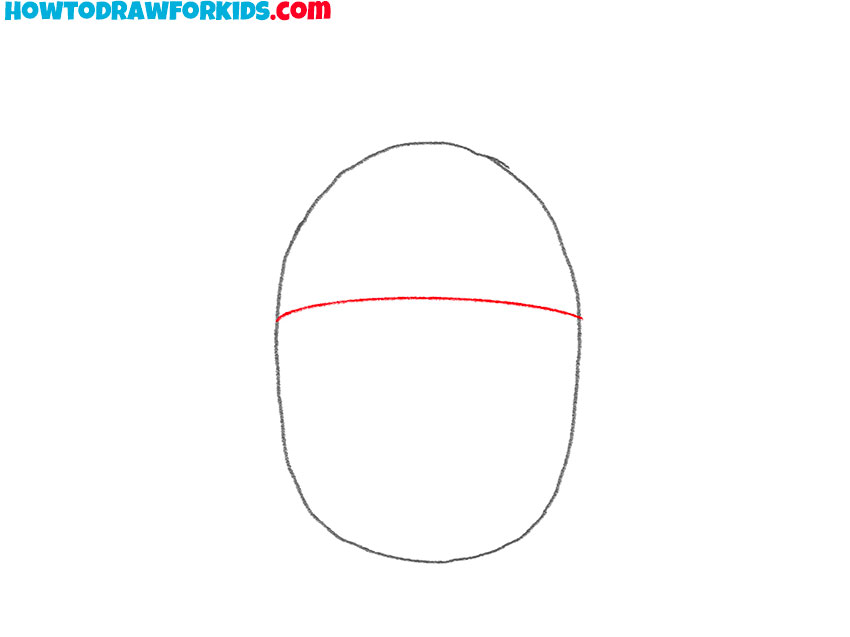
- Draw the top line separating the acorn cap.
Now, draw a shallow horizontal curve across the upper third of the oval. The curve should rise slightly in the middle, like a gentle arch, because the cap wraps around a round surface. This guide marks the boundary between the nut and the cap and also conveys volume.
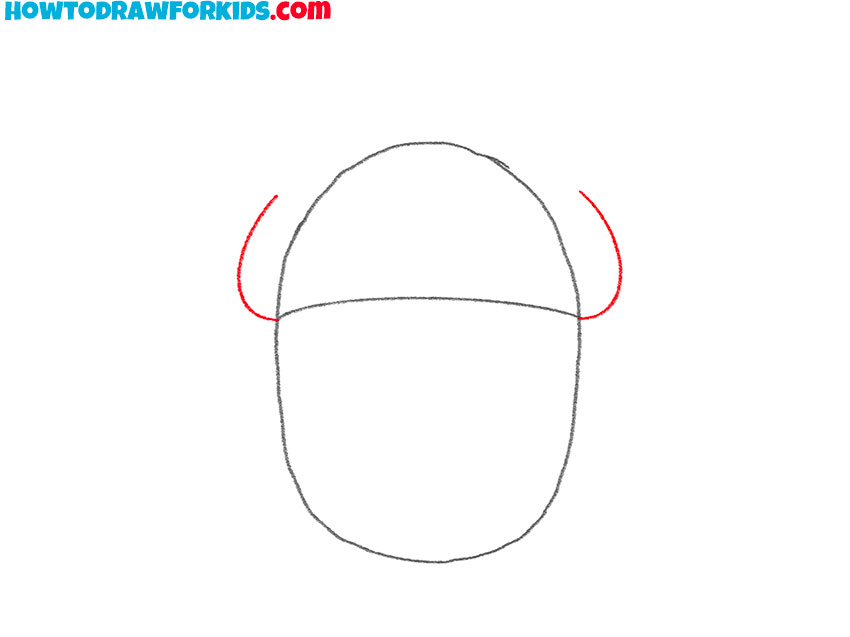
- Draw the curved edges of the cap.
Define how far the cap extends to the sides. From each end of the guideline, created in the previous step, sketch short upward curves. These arcs indicate the cap’s rim overlapping the nut. Keep both lengths similar. The arcs should be smooth.
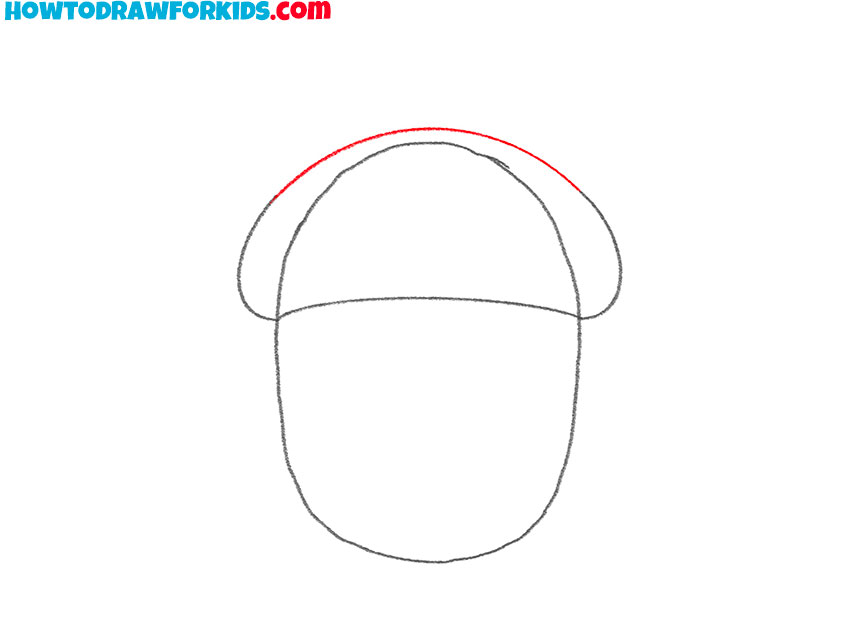
- Draw the upper curve of the acorn cap.
Now, sketch a broad arc connecting the two rim ends of the acorn, creating a shallow dome that sits above the guideline. Check balance and symmetry: the dome should center over the nut’s vertical axis.
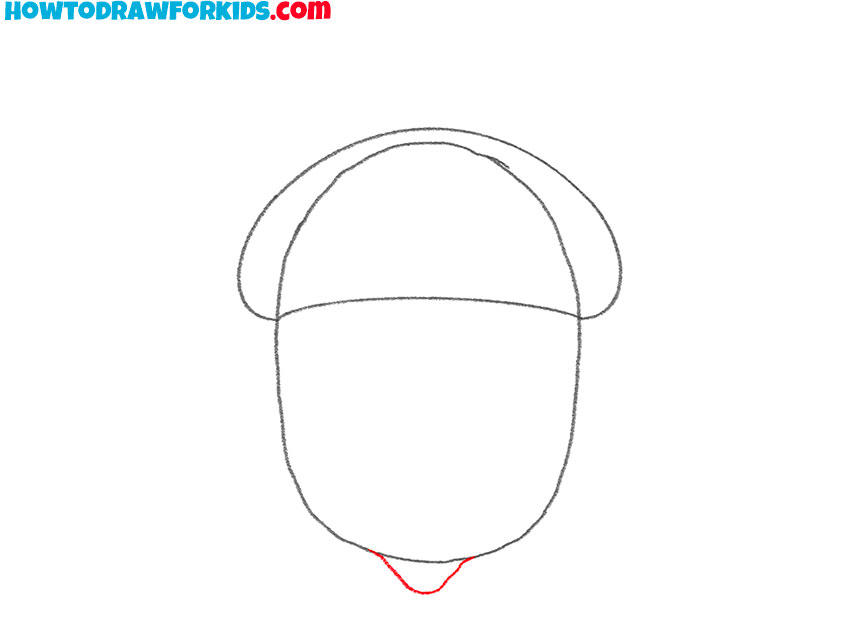
- Add the pointed tip at the bottom.
At the bottom center of the oval, illustrate a small triangular tip, pointing down. Blend its sides smoothly into the nut so it looks grown, not glued.
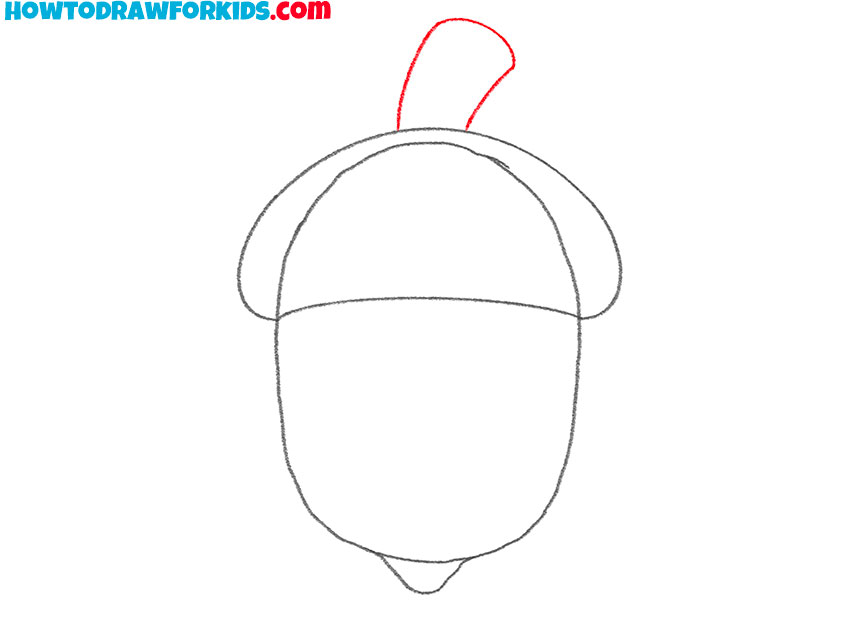
- Draw the small acorn stem on top.
On the upper central point of the dome, sketch a small, curved rectangle or bent tube that tilts outward. Round its top edge. The stem should be and simple. Place the top edge of the stem off-center.
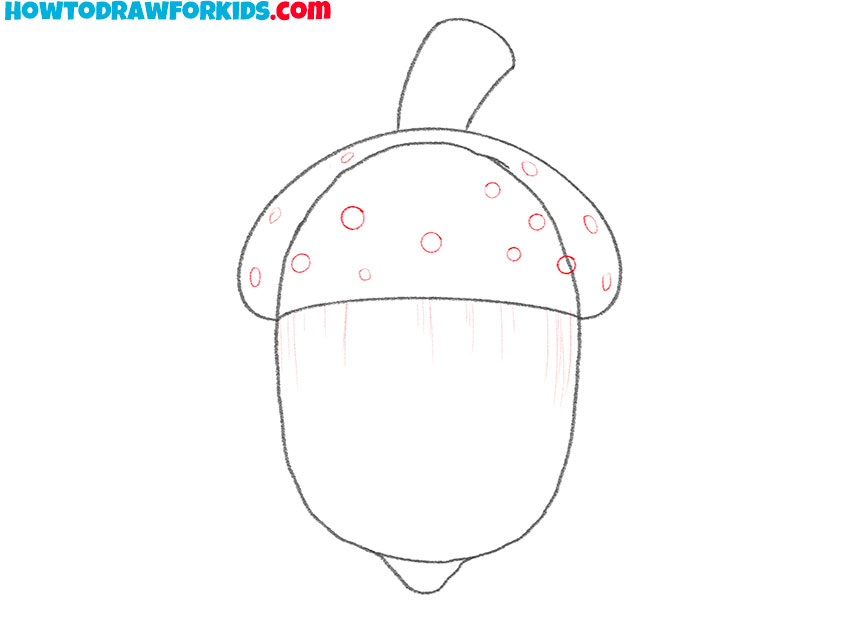
- Add texture to the cap and nut.
Inside the cap, sketch scattered small circles or ovals to suggest the pebbled texture of an acorn cupule. Vary sizes slightly and keep spacing irregular so it doesn’t look like polka dots. On the nut, sketch a few faint vertical lines from the cap boundary downward to indicate subtle growth striations.
- Outline the final acorn drawing.
Now, trace the final outer edges of the stem, cap, and nut body with steady, confident lines. Erase the upper part of the early sketched guideline. Check your acorn drawing for errors and inaccuracies, correcting any crooked parts to give the sketch a more authentic look.

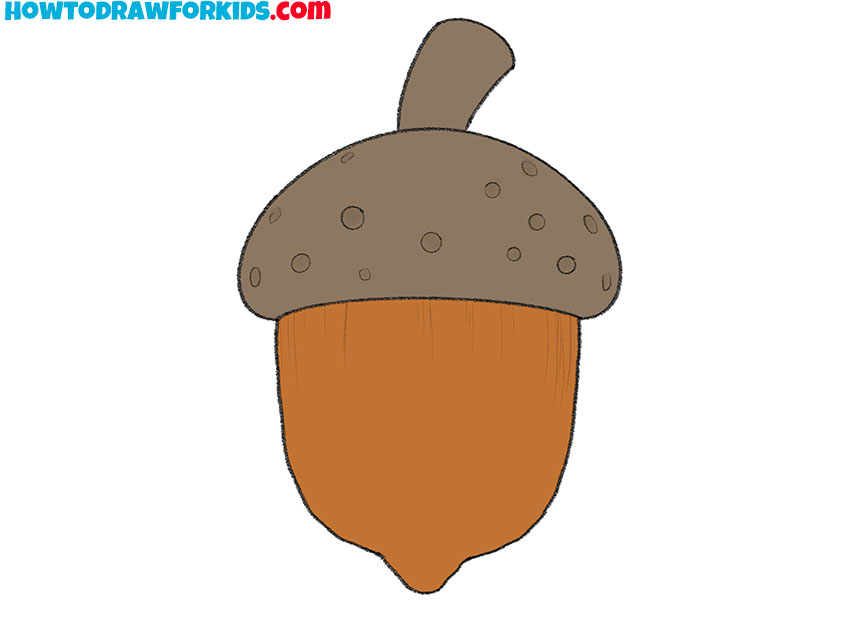
- Add brown tones to the nut and cap.
Add natural color so the drawing of an acorn reads as a finished botanical illustration. Paint or shade the cap and stem a muted olive-brown with. Color the nut a warm golden brown to chestnut. You can deepen the tone near the edges to represent roundness. Also, you can leave tiny highlights on the upper nut and the cap’s top to imply light direction.
If you liked this lesson and found it useful, you can share it with your friends to draw together with them. Don’t forget to download the PDF file which contains a short version of this drawing lesson and some additional useful materials.