How to Draw an Anime Ear
Anime style requires attention to detail, and we’ll explore one of those details now in this tutorial on how to draw an anime ear.
In this tutorial I will show you how to draw an anime ear. Japanese animation is loved not only by children, but also by teenagers and adults, and many anime fans are far from Japan.
Anime has many genres, storylines can be very diverse. Anime has its own characteristics of drawing characters and backgrounds. Very often, the facial features of the characters and the structure of the body look very realistic. In anime, great attention is paid to detail, so many objects are carefully drawn.
In this lesson you will draw a human ear in the distinctive anime style. The acquired skills will be useful to you in the future when you want to draw an anime character in full or when you want to draw any person. The ear has a standard rounded shape and looks very realistic.
Drawing such an object is easy and interesting. This step by step guide will help you quickly and accurately draw an ear and learn how to draw anime characters in detail. Remember the sequence of steps in order to successfully apply these skills in your subsequent drawings.
Materials
- Pencil
- Paper
- Eraser
- Coloring supplies
Time needed: 10 minutes
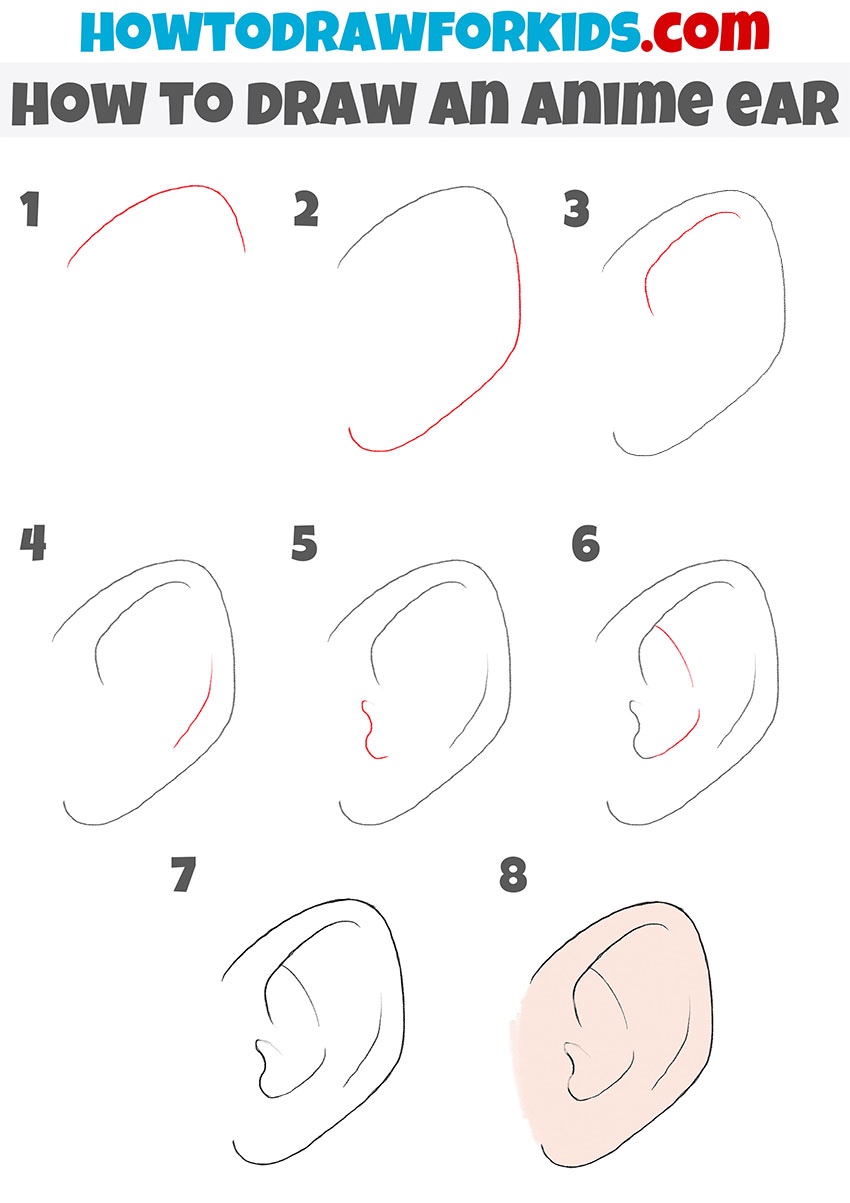
How to draw an anime ear step by step
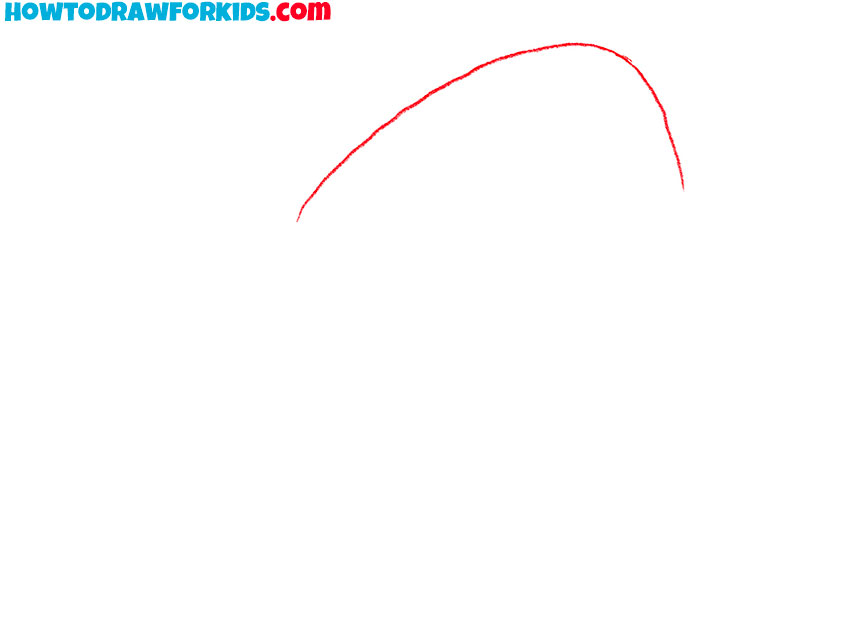
- Sketch the upper edge of the ear.
To start the anime ear drawing, create the outer contour that defines the upper part of the ear. Begin with the top edge and sketch a smooth, curved line. This first arc sets the general shape of the top edge and helps you understand the direction of the ear. Keep the line light so adjustments can be made later.
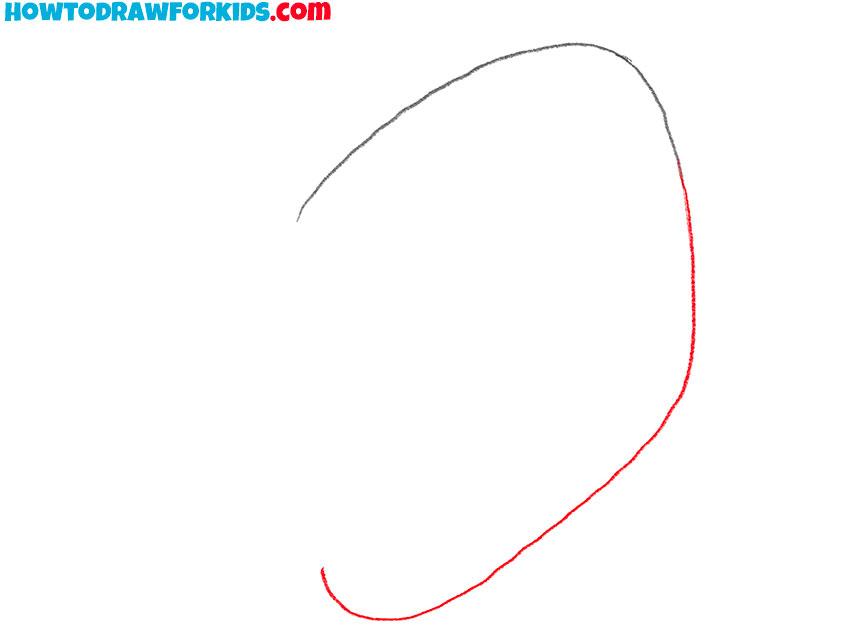
- Complete the anime ear outline.
Continue shaping the outline by extending the curve downward. Draw a long and tapering line, forming the earlobe. Connect it smoothly with the line drawn in the previous step to create a single continuous contour. You can make the earlobe smaller or pointier to suit different anime character styles.
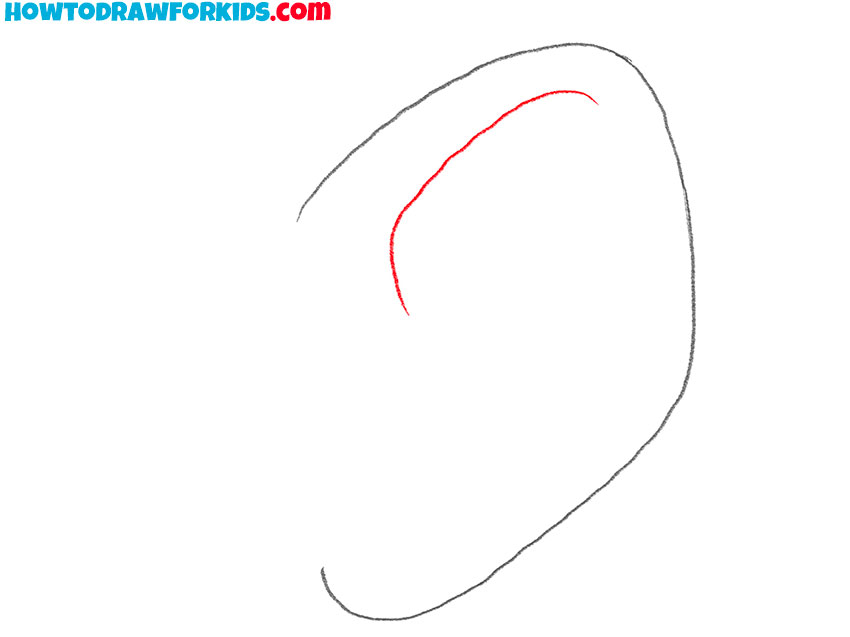
- Add the first inner fold.
Add structure inside the outer contour by drawing a smaller curved line parallel to the top section. This inner ridge represents the helix fold and gives the anime ear more form. Maintain even spacing between the outer and inner contours. The line does not need to be perfectly symmetrical, slight differences make it appear natural.
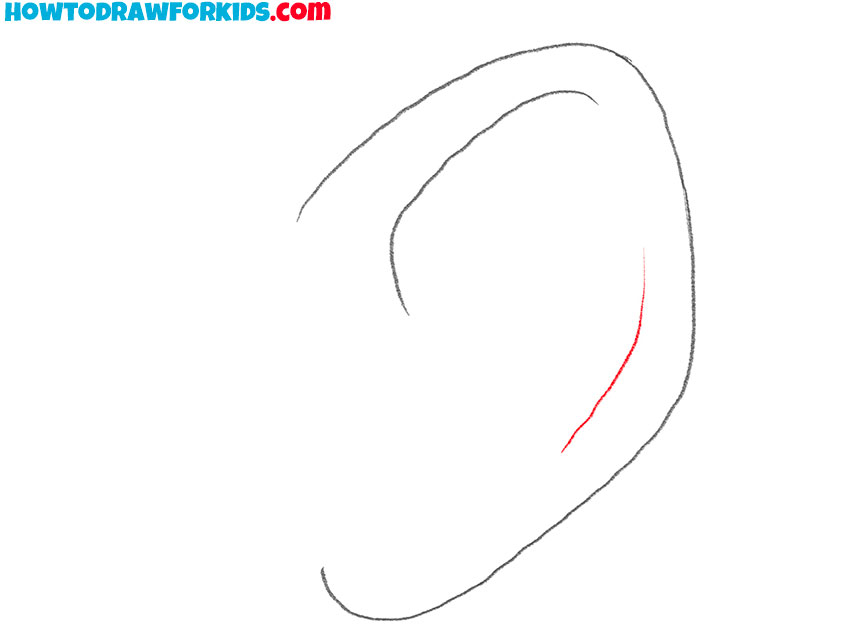
- Draw the lower ear inner fold
Now, illustrate an additional curved line within the lower section of the ear. This short curve represents the lower edge of the inner fold and complements the ridge drawn before. Keep it smooth and subtle. You can adjust the distance or curvature of this part.
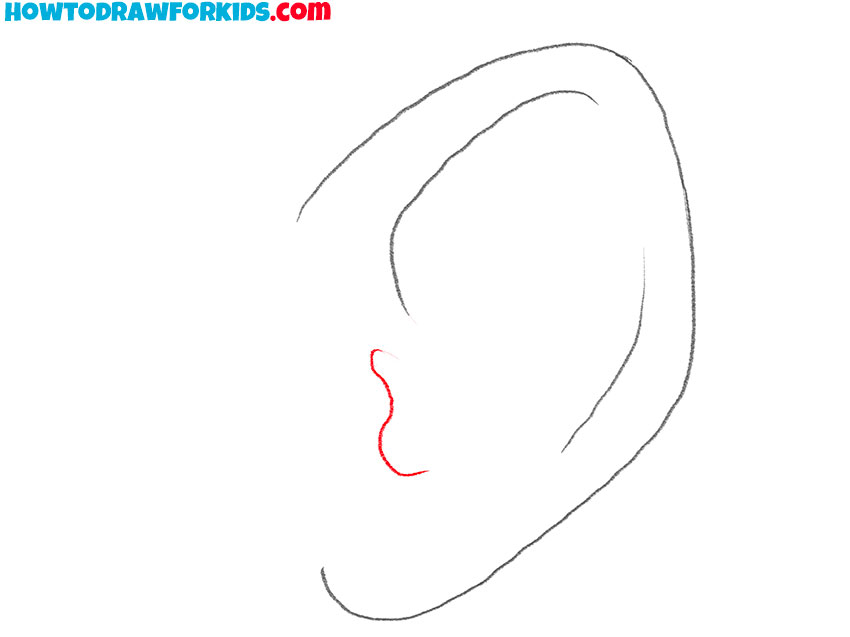
- Sketch the tragus detail.
Enhance the form by sketching a small curved fold in the middle section of the ear. This line defines the tragus area, the part that partly covers the ear canal. Keep the curve compact and natural, resembling a small hook shape. It should stay within the existing outline without touching the outer border.
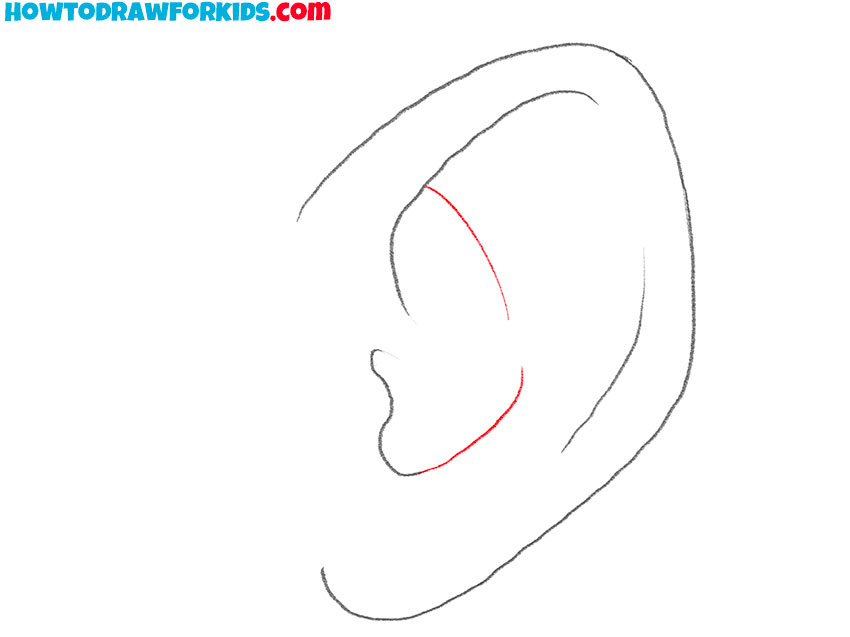
- Complete the inner ear structure.
Finish defining the interior by adding a long, smooth inner curve that connects the previously drawn folds. This curved line should follow the general direction of the ear, forming the base of the inner cavity. It visually links the tragus area to the upper ridge and creates a clear, harmonious form.
- Finalize the contours of the anime ear.
Now it’s time to make the drawing look neat and precise. Erase any overlapping or construction lines that could be used to build the ear’s structure. Check the details and proportions. Trade and darken the main lines with clean strokes. You can also adjust proportions at this stage.

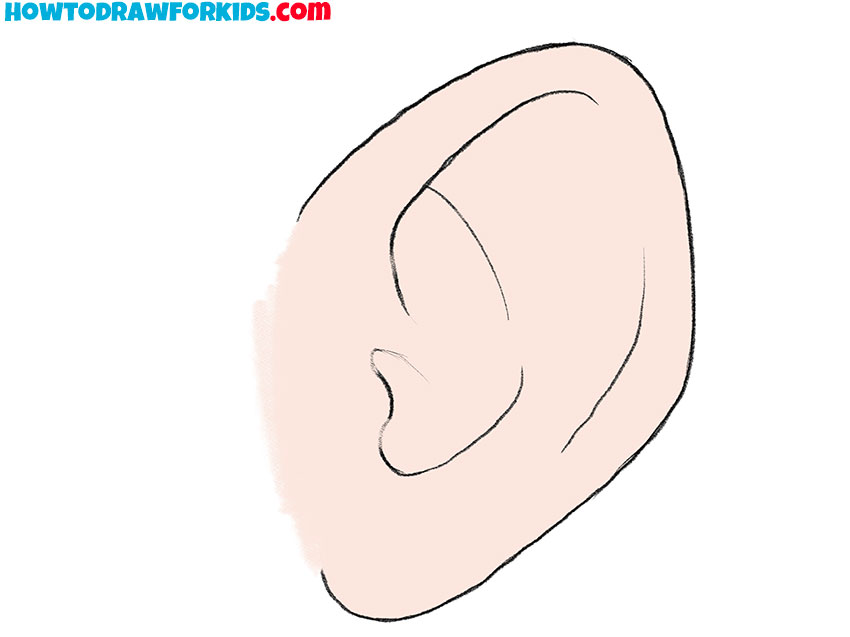
- Color the anime ear with a uniform tone.
Finish the anime ear drawing by applying a skin tone. A pale peach, beige, brown, or soft pink tone works well for a natural look. For characters with distinct designs, such as elves or fantasy figures, light gray or bluish hues can make the ear look more unique and authentic.

Keep in mind that each person has an individual ear structure and keep these features in mind when sketching different characters or drawing people in the future.
You now have the option to download a PDF of the short version of this guide. Save this file and use as needed.