How to Draw a Little Red Riding Hood
For all fans of classic fairy tales, I’ve created this tutorial on how to draw Little Red Riding Hood in a very simplified style.
With this step-by-step guide, you’ll learn how to sketch a little Red Riding Hood in a very simple way. This character is very popular.
Everyone knows the tale of Little Red Riding Hood from an early age. This is a little girl who went to visit her grandmother and on the way she met a wolf.
Such a meeting had unfortunate consequences. Fortunately, this tale has a good ending and in the end, Little Red Riding Hood and Grandma stayed unharmed.
Here is the easiest way to draw. The lesson consists of nine simple steps and each step has an explanation on how to draw a girl with a distinctive hood. After you complete all the drawing steps correctly, a new character will appear in your drawing collection.
Materials
- Pencil
- Paper
- Eraser
- Coloring supplies
Time needed: 35 minutes
How to draw Little Red Riding Hood step by step
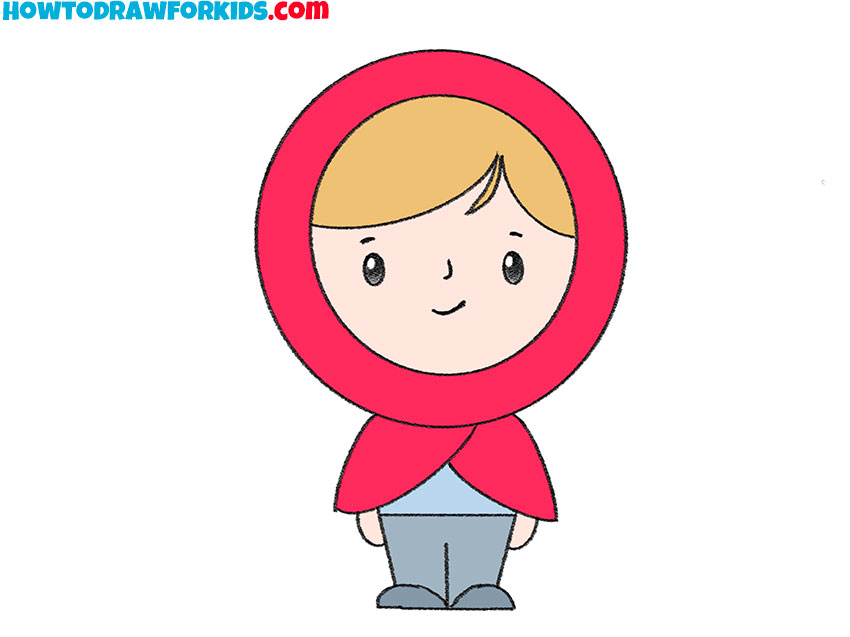
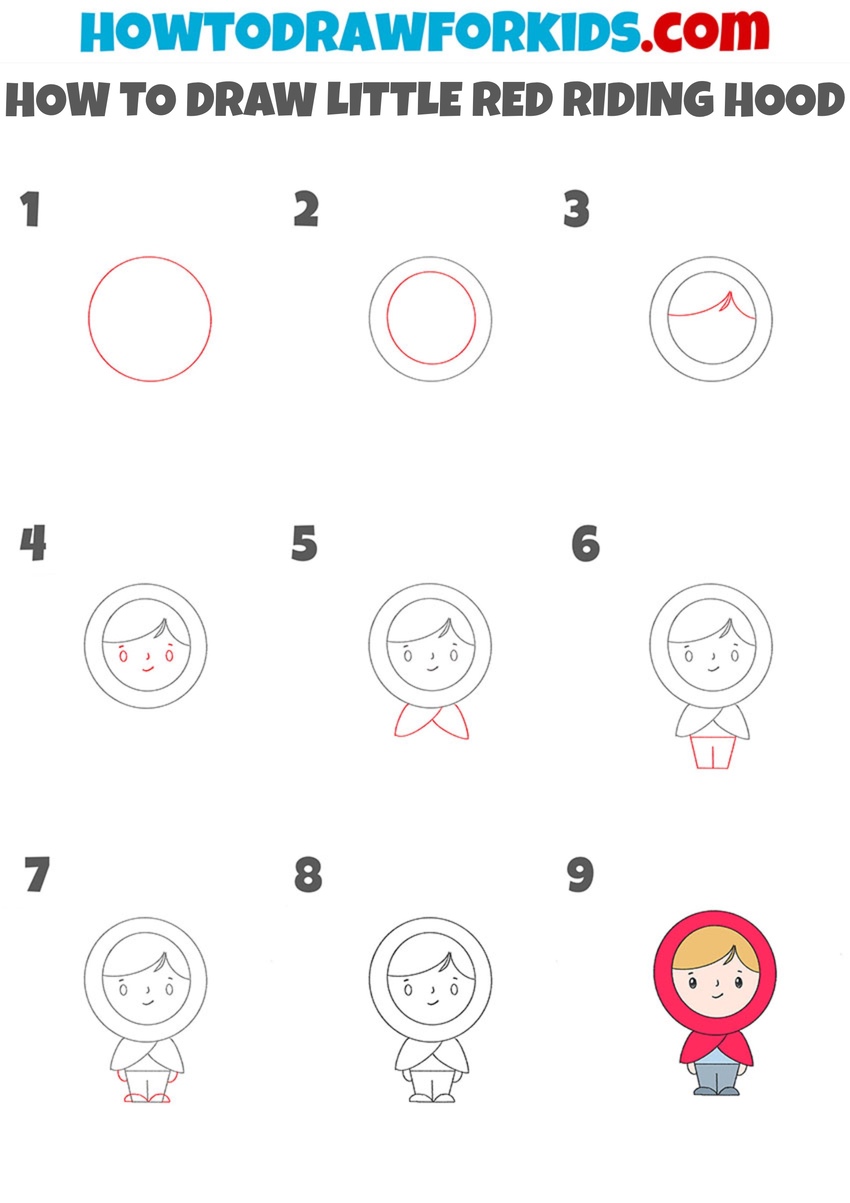
- Sketch the main circle for the face.
First, mark a clean circle near the top-center of the page, to indicate the head shape of the character. Keep the outline smooth and simple. Leave generous space around it for the hood ring and the scarf later. A light stroke works best at this stage so small adjustments are easy.
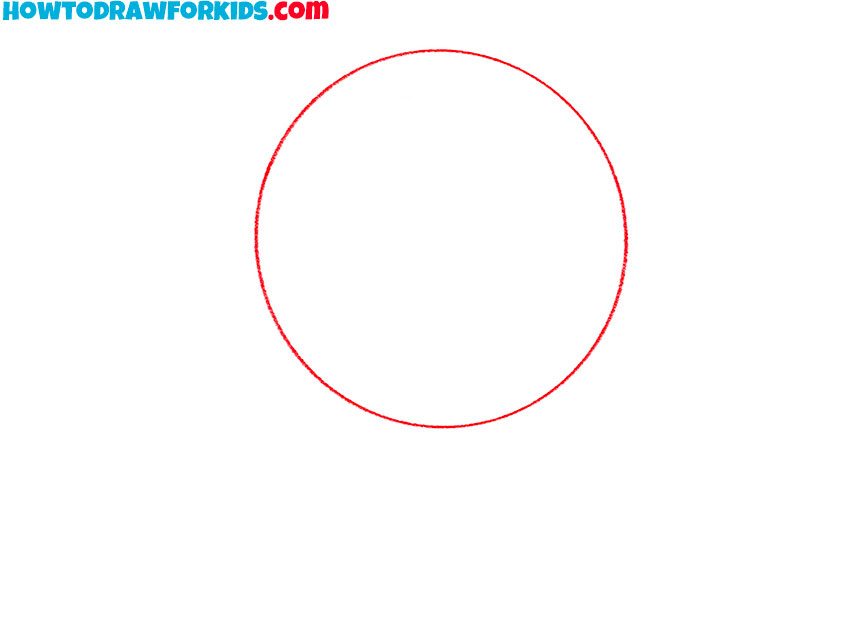
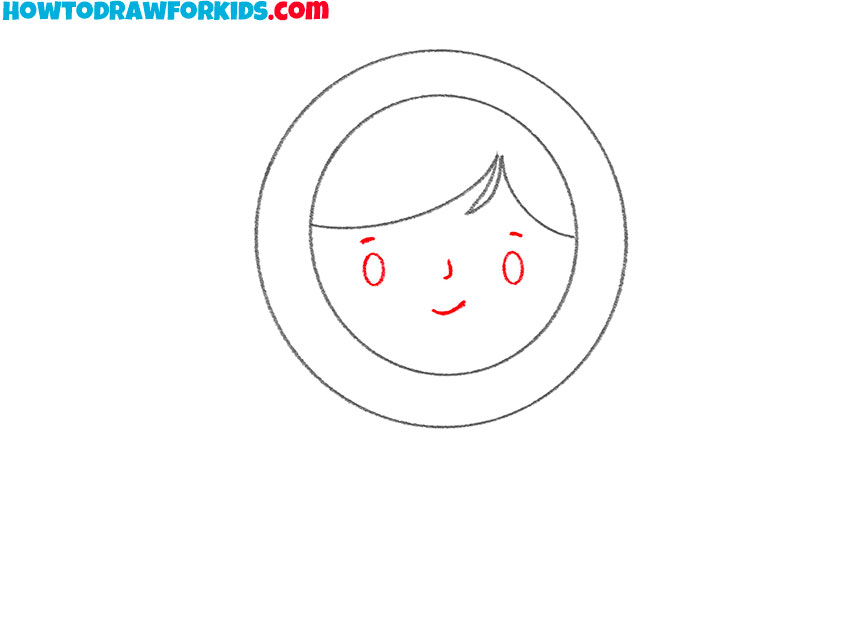
- Add the hood opening inside the head oval.
The cloak frames the face, so add its inner and outer edges. Inside the face circle from the previous step, draw a smaller circle to indicate the hood opening. This simple shape should be concentric. This inner oval also helps position the facial features.
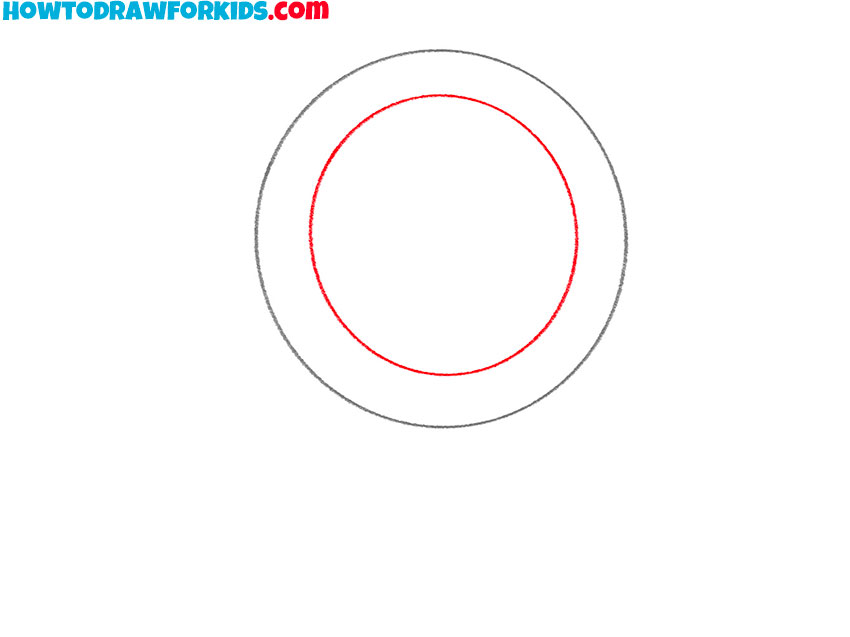
- Sketch the hair under the hood.
Inside the face area from the previous step, draw the hairline of Little Red Riding Hood as a curved band that dips gently to the right. On the right side, add a small pointed lock that overlaps the forehead. You can also draw a braid coming out from under the hood and hanging over the shoulder.
- Draw the face of Little Red Riding Hood.
Now, draw the girl’s eyes as two small ovals set on the center of the face. Add tiny curved eyebrows above the eyes. Between and slightly below the eyes, sketch the nose as a tiny vertical dash. Below, illustrate a short, gentle smile. Keep features small.
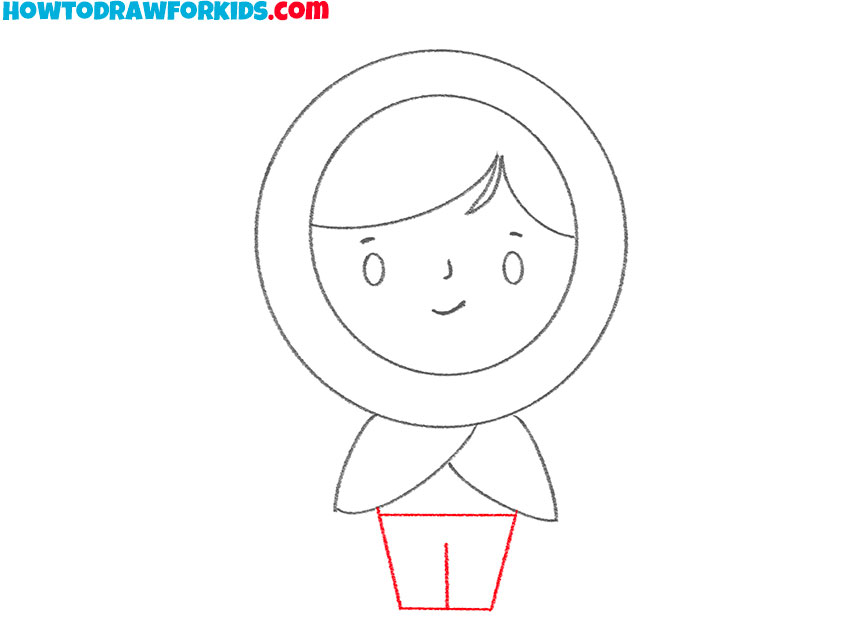
- Add the bottom edges of the hood.
Under the bottom edge of she head, draw two leaf-like triangles pointing down and out to the sides; these are the hood ends. Their top corners tuck under the head while the bottom points hang freely. Keep both shapes similar in size.

- Sketch the torso and legs of the character.
Under the bottom edge of the hood, sketch a short rectangular block for the torso of the fairy tale character. Next, using a couple of rectangular and slightly tapered shapes, outline the legs, making sure they are the same shape and size.
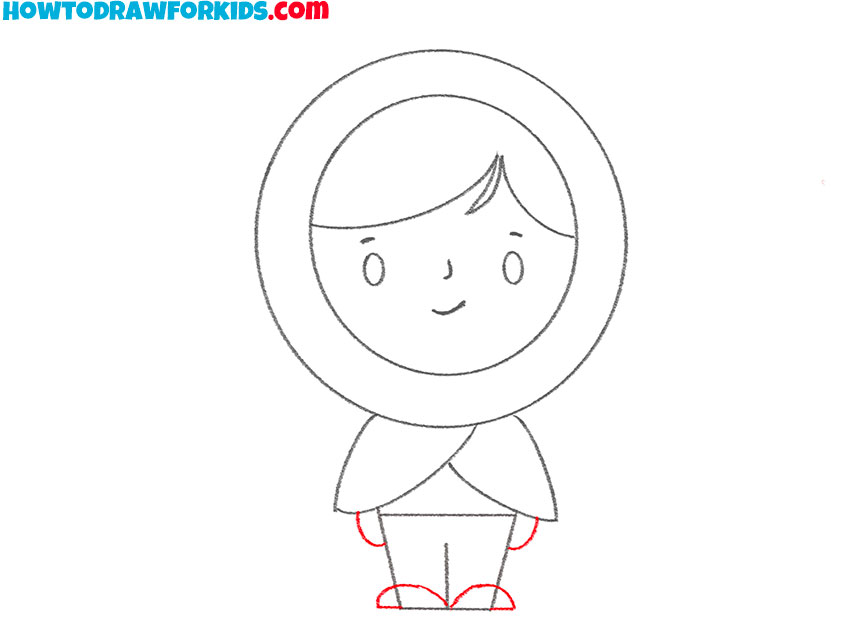
- Sketch the character’s hands and feet.
At the end of each sleeve, draw the hands as two small oval shapes. Under the legs, add short rounded shoes. Symmetry is very important here, so try to give both hands and feet the same size and make sure the left and right sides are proportional.
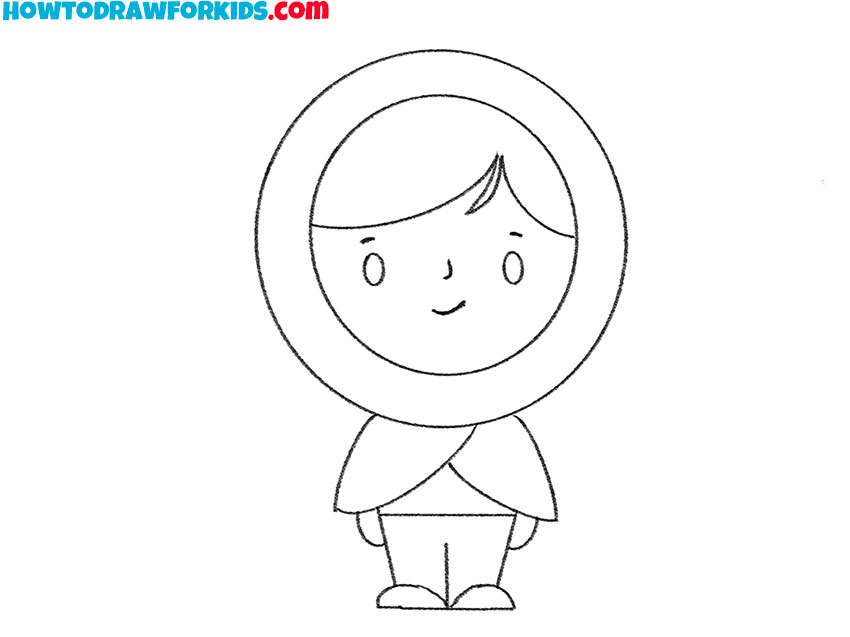
- Refine contours of the hood and body.
Now, darken the final contours of hood, face, and body of the character. Keep the facial features crisp and simple. One last time before coloring, check the symmetry and accuracy of proportions and correct if necessary.
- Color Little Red Riding Hood.
To color the fairy tale character, use flat, bright colors. Paint the hood with a strong red, because it is the most important color in the sketch. Color the hair a warm blond or light brown. Use a peach tone for skin. Paint the shirt and pants in muted blue or gray, and make the shoes a dark neutral.

This drawing lesson is over. I hope that Little Red Riding Hood looks exactly the way you wanted. Show your drawing to your friends and offer to do drawing lessons together.
You can now download a PDF file that contains a short version of this tutorial and some useful additions. This file will come in handy if you want to repeat the lesson again.