How to Draw an Armadillo
In this lesson I want to show you how to draw an armadillo. Be sure to follow this tutorial to improve your creative skills.
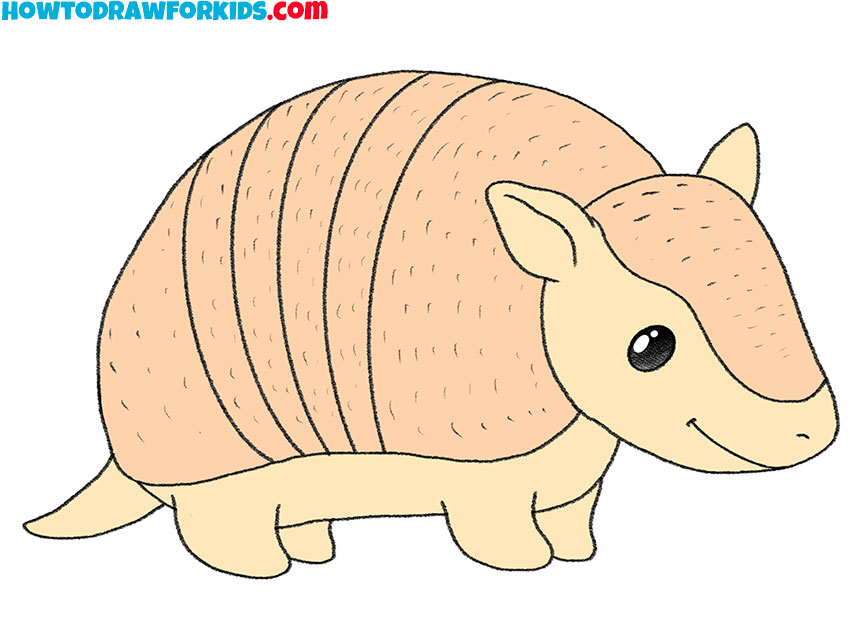
So, I am glad to offer you a new instruction on how to draw an armadillo. This is one of the most amazing animals on our planet. The ancestors of these animals were huge, and now on Earth there are only a few types of armadillos that are small.
The armadillo has a wide muzzle and straight-set ears. The body of this animal is covered with a heavy shell, which consists of many bone plates. A dense shell allows the armadillo to defend itself from predatory animals. In case of danger, some types of armadillos are able to curl up into a ball.
I hope that you are interested in learning a few facts about these animals, and you are ready to start the lesson. Check if you have all the art at your friend’s fingertips and enjoy the creative process.
Armadillo Drawing Tutorial
Materials
- Pencil
- Paper
- Eraser
- Coloring supplies
Time needed: 30 minutes
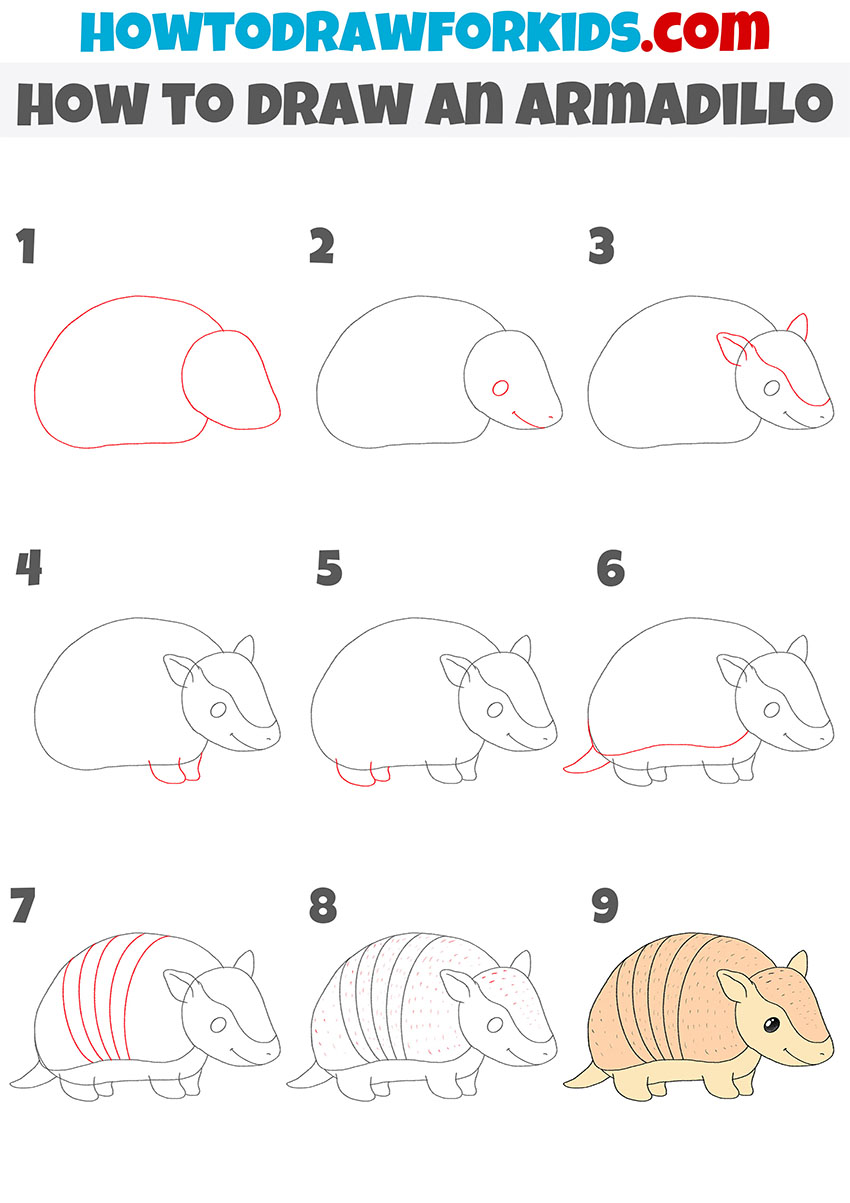
How to Draw an Armadillo
- Draw the head and torso.
Depict the head, in which the front part is more elongated and add the large torso.

- Add the elements of the muzzle.
Draw the oval eye, use a smooth line to draw the mouth and add the small nostril.

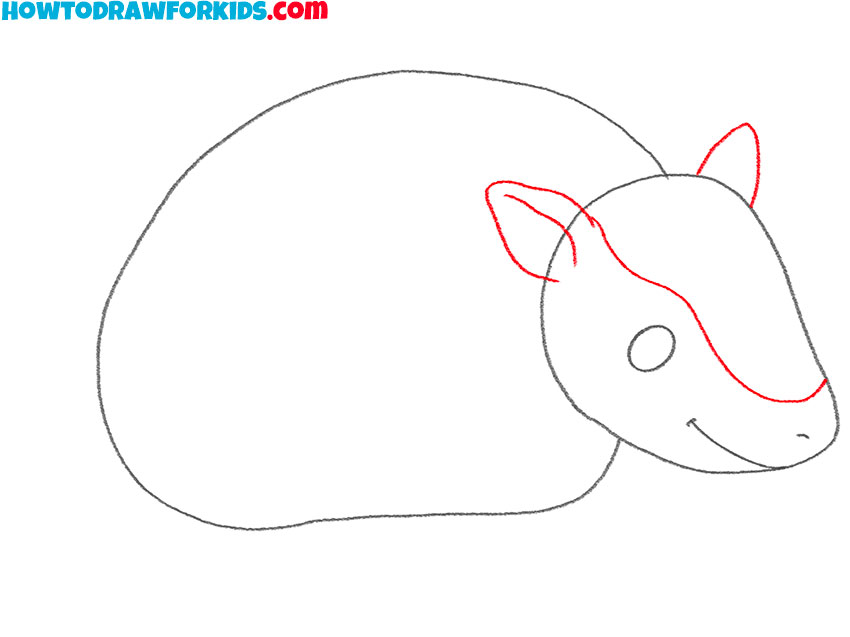
- Depict the ears and the top of the head.
Use a wavy line to outline the top of the head and add two pointed ears.
- Sketch out the front paws.
Draw two short front legs that are located side by side.

- Draw the hind legs.
At this stage, depict the hind legs in the same way as the front ones.

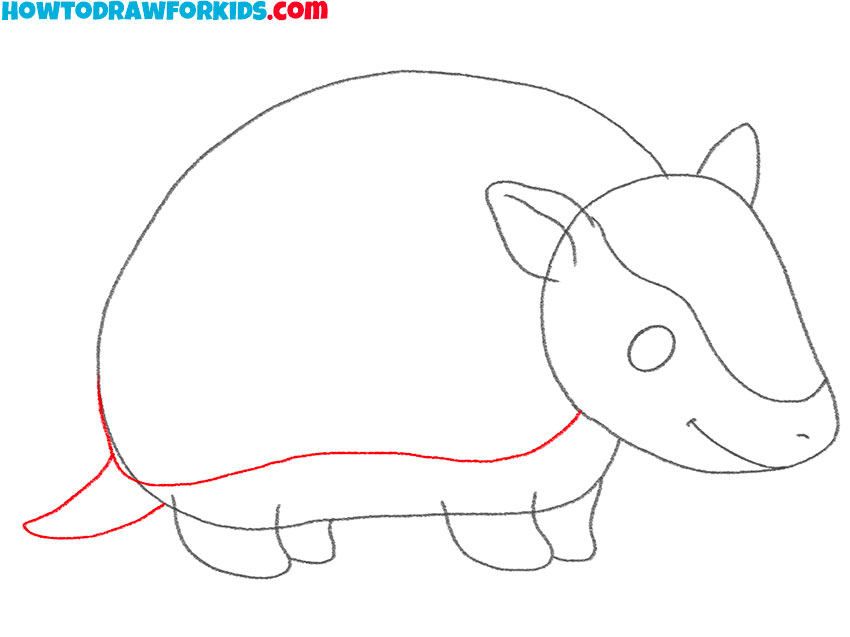
- Add the tail and outline of the armor.
Draw a smooth wavy line at the bottom of the body and add the short tail.
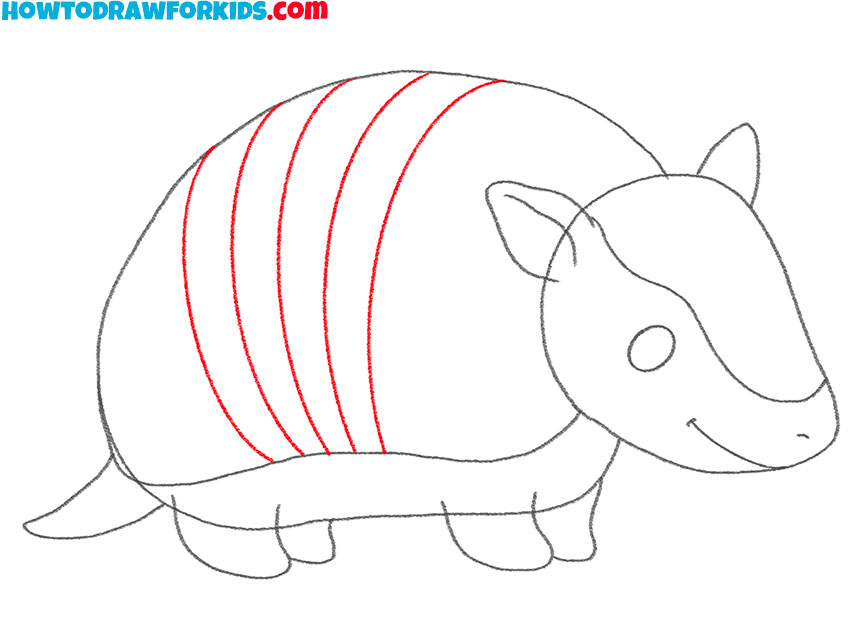
- Sketch out the stripes.
On the torso, draw a few stripes to represent the bone plates.
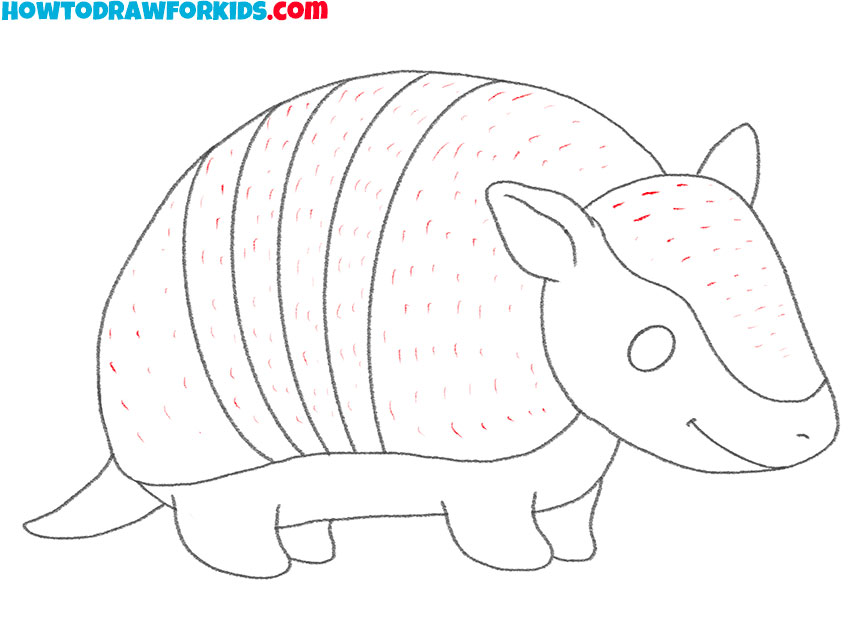
- Detail the surface of the body.
On the top of the head and torso, draw the short, thin strokes.
- Color the drawing.
You will need different shades of brown. Color the eye black.
I hope that you tried your best at each stage of drawing, and you got a great drawing. If you want to always have access to this lesson, then download the PDF file right now, which contains a brief instruction and additional training materials.