How to Draw an Atom
I have prepared for you an interesting lesson in which I will show you in detail how to draw an atom step by step.
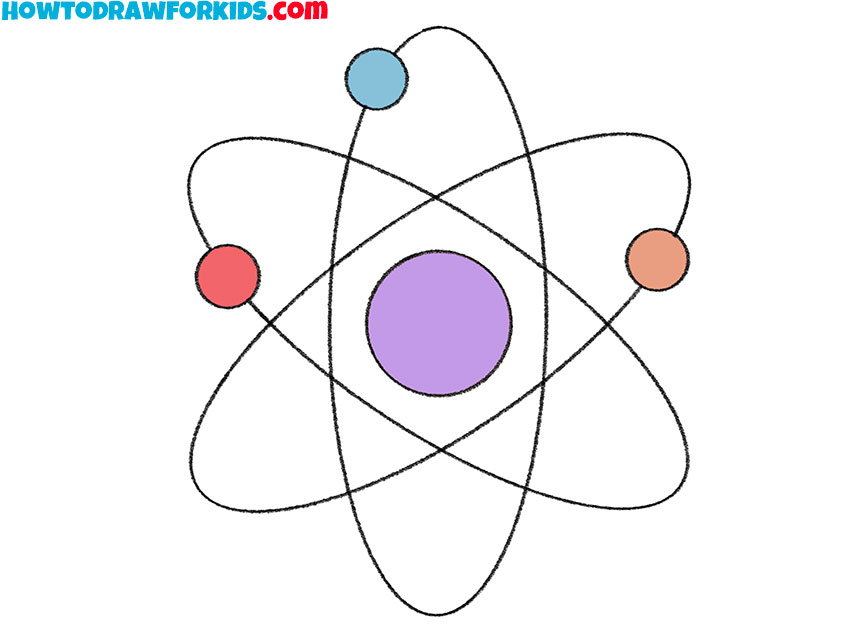
You probably know that everything in this world consists of the smallest particles, and now I will show you in detail how to draw an atom. This lesson is suitable for all novice artists. From the field of physics, we know that an atom is the smallest particle of a chemical element, which consists of a nucleus and charged particles.
In the picture you see the nucleus, which is indicated in purple, and charged particles move around the nucleus. The number of particles may be different. In this case, three particles, which are called electrons, move around the nucleus.
Each particle moves in its own orbit, and you must correctly depict the orbit of each electron. This lesson will require your ability to draw smooth rounded lines and this creative task will be a great workout for you.
Atom Drawing Tutorial
Materials
- Pencil
- Paper
- Eraser
- Coloring supplies
Time needed: 30 minutes
How to Draw an Atom
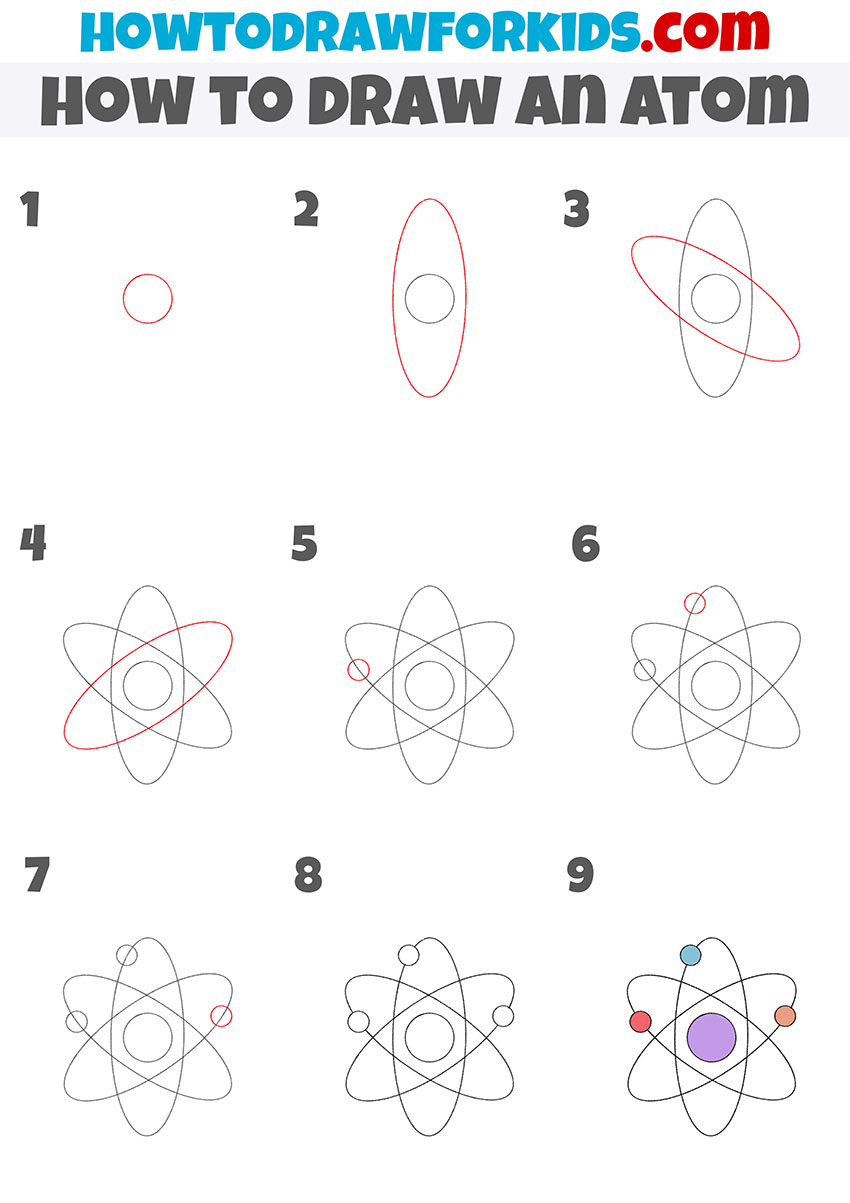
- Draw the nucleus.
Determine what size your drawing will be and draw an even circle.

- Depict the first orbit.
Add an even elongated oval around the core.
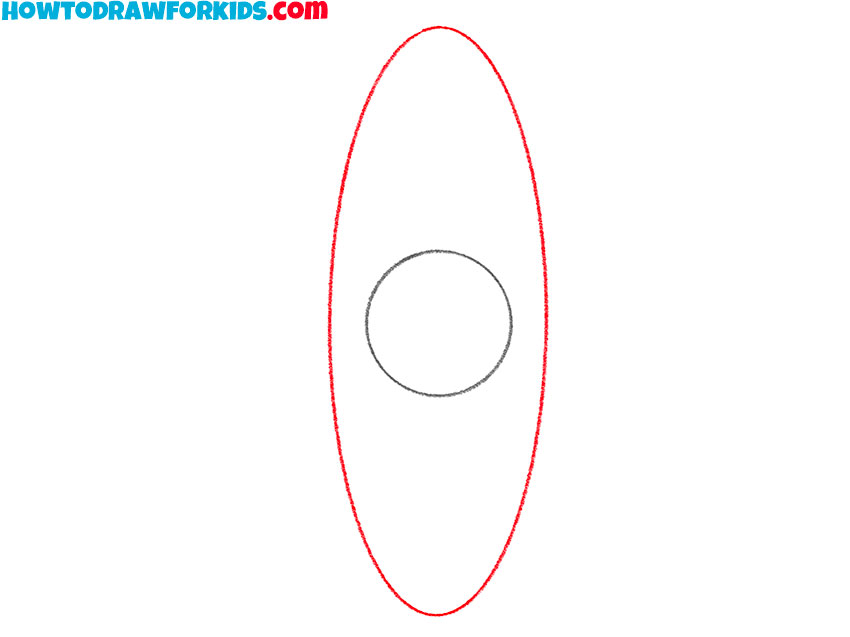
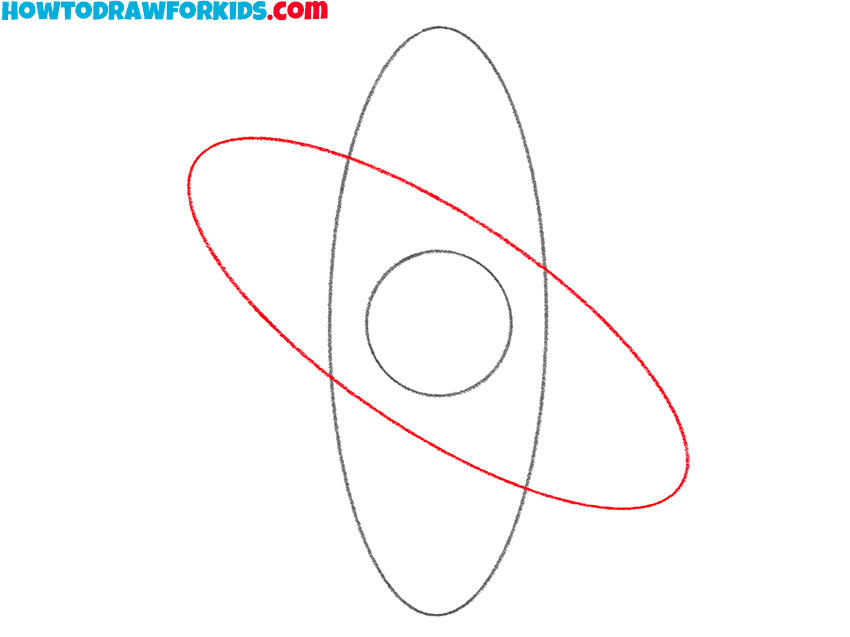
- Add the second orbit.
Draw another oval, but position it at a different angle.
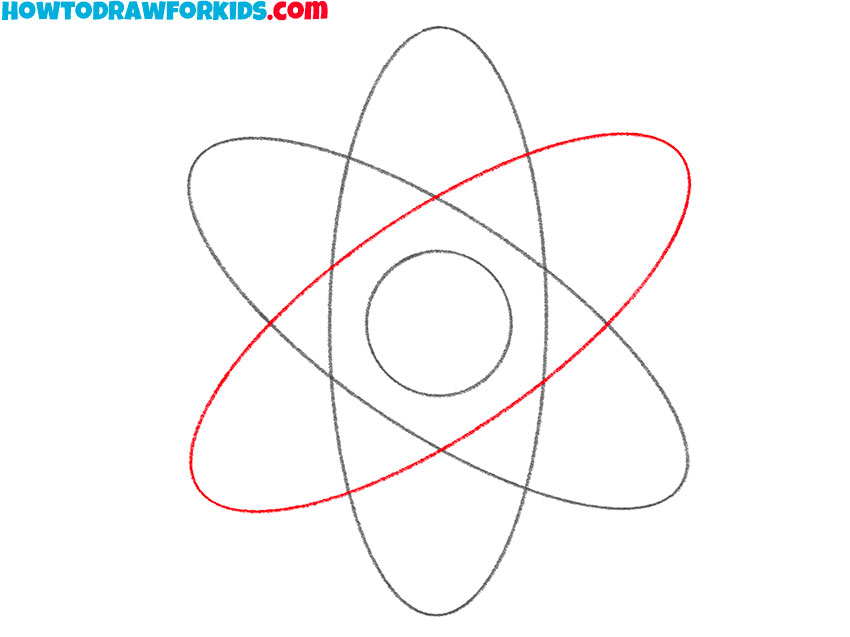
- Sketch out the third orbit.
Repeat the previous step and draw the orbit as an elongated oval, but positioned differently.
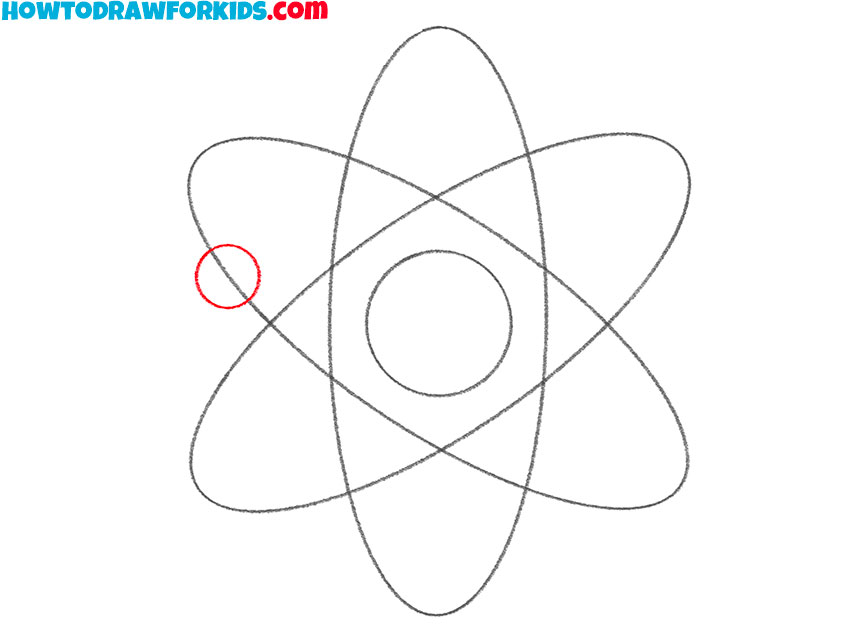
- Draw the first electron.
On the orbit, depict one small circle on the side.
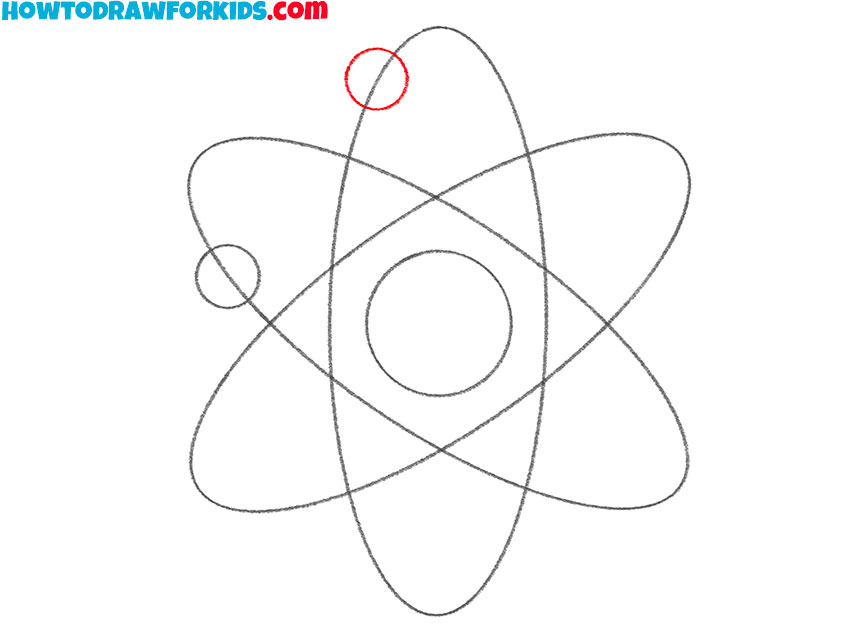
- Depict the second electron.
In the next orbit, arrange another electron in the form of a small circle.
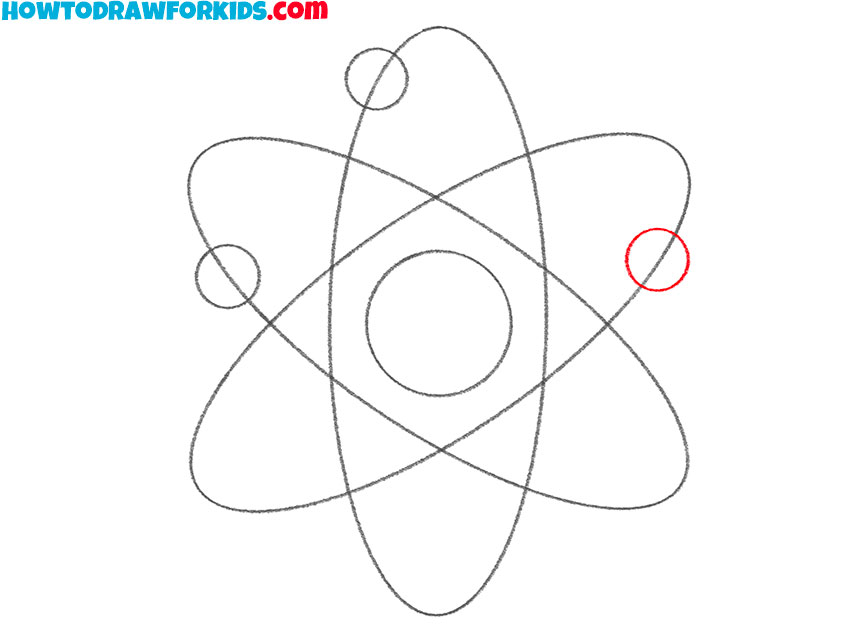
- Add the third electron.
On the right side, add another small circle that is symmetrical.
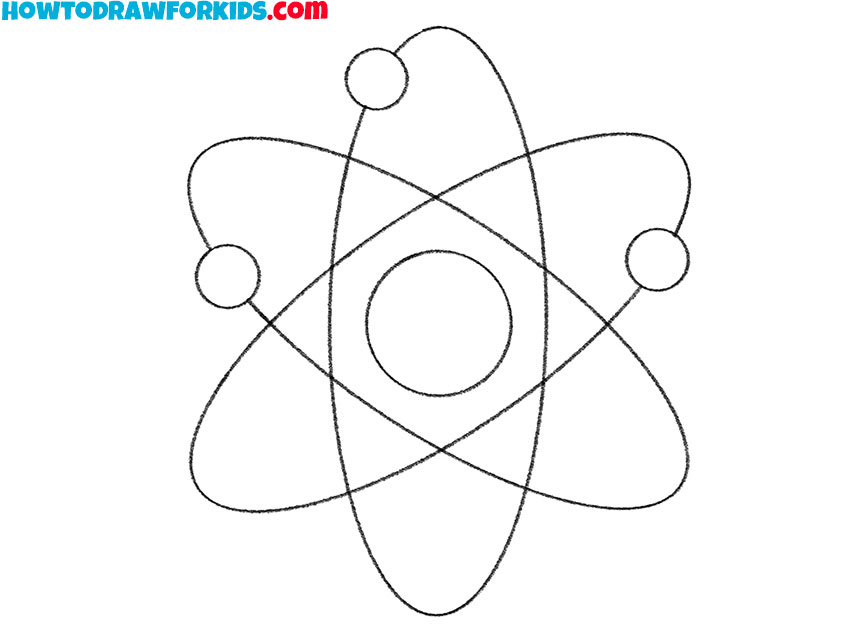
- Correct inaccuracies.
Use the eraser to remove all unnecessary lines.
- Color the atom.
Choose a few different bright colors.
Share your impressions in the comments and download a short version of the lesson in PDF format. This will help you at any time to return to the lesson and repeat it again.