How to Draw a Bike
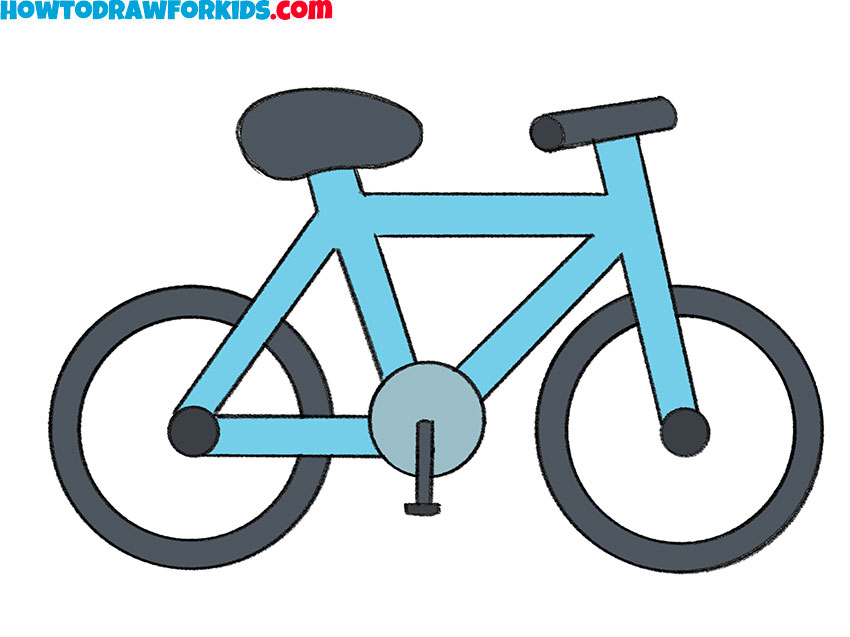
Ready your pencils, as today we’ll navigate through how to draw a bike, an object that might seem daunting with its many parts but is quite simple with my techniques. I’ll guide you in creating the circles for the wheels and the lines that form the frame, ensuring that each piece is in harmony with the others.
How to Draw a Bike: Basic Information
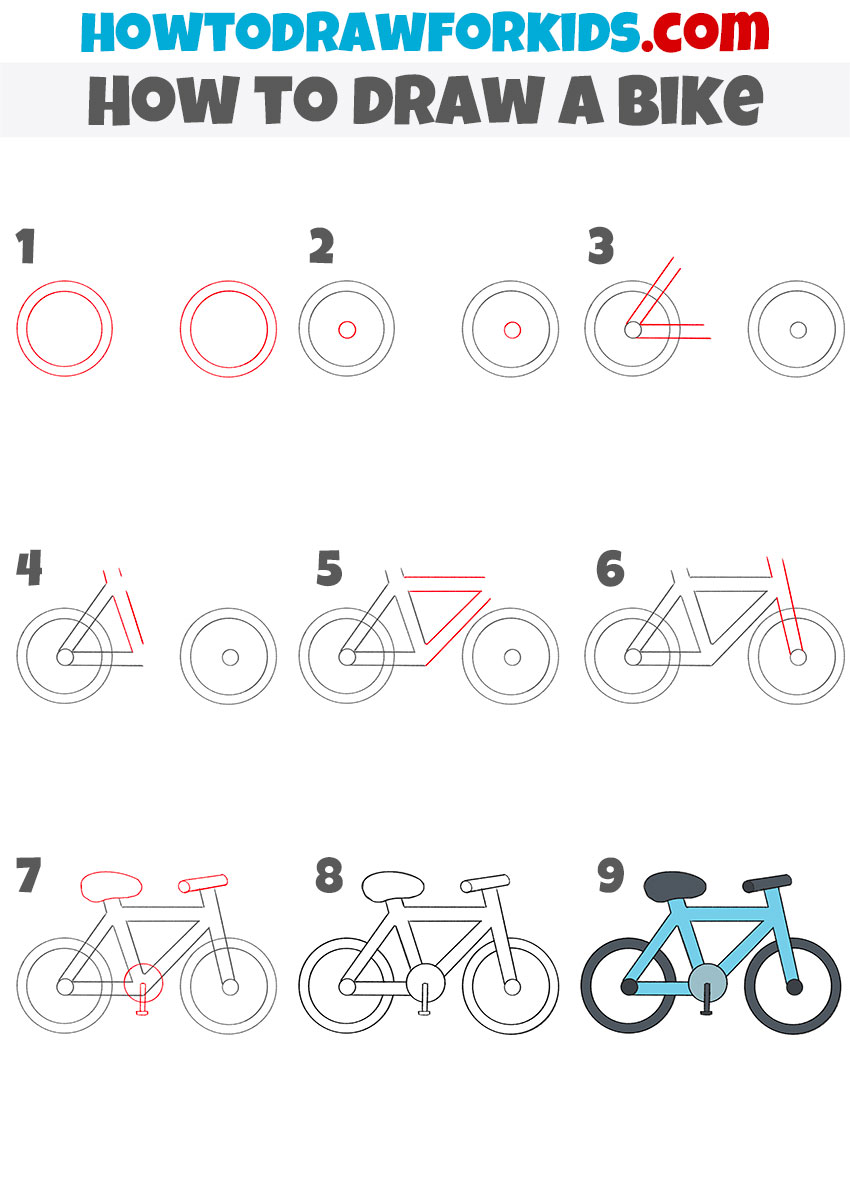
In today’s lesson, I’m going to unveil how to draw a bike, which may seem complex at first glance but is quite simple with my method. We will begin by laying down the basic shapes that form the structure of the bike, focusing on proportion and balance. Drawing a bike is like assembling it – piece by piece, it comes together.
The key to drawing this bike lies in understanding its proportions and how each part connects seamlessly with the next. My approach demystifies the process, showing you how to sketch the wheels, frame, and handlebars step by step. It’s about seeing the whole picture by drawing one shape at a time.
By the end of this tutorial, you will have the confidence to draw a bike on your own. This lesson is designed to teach you not just the steps in drawing a bike but also to help you understand the joy of creating something from scratch. With your newfound skills, you’ll be ready to tackle even more complex drawings.
Bike Drawing Tutorial
Materials
- Pencil
- Paper
- Eraser
- Coloring supplies
Time needed: 20 minutes
How to Draw a Bike
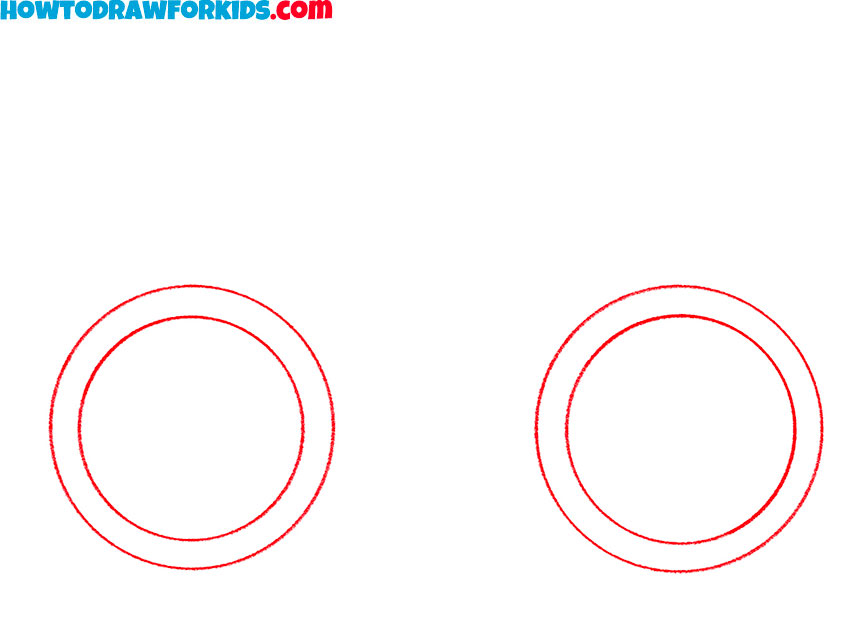
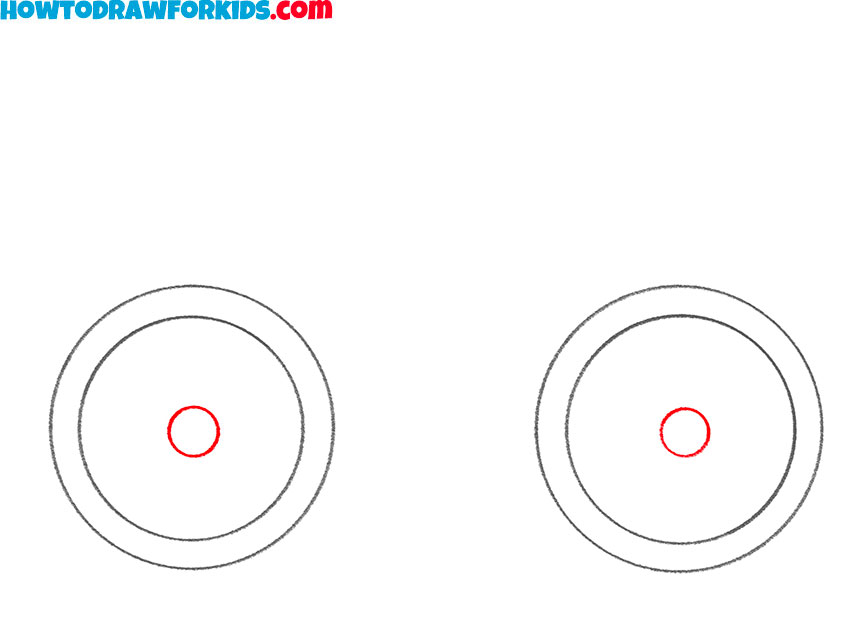
- Draw the wheels of the bike.
Depict two big circles and two slightly smaller circles inside them.
- Outline the inside of the wheels.
Draw two identical small circles inside the previously drawn wheels.
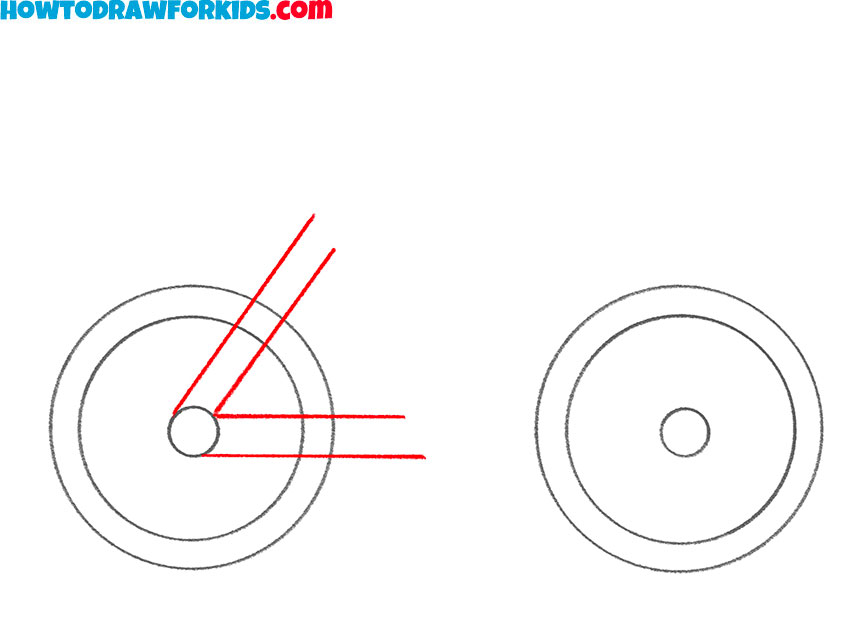
- Add an item on the left wheel.
Draw straight lines coming from a small circle inside the wheel.
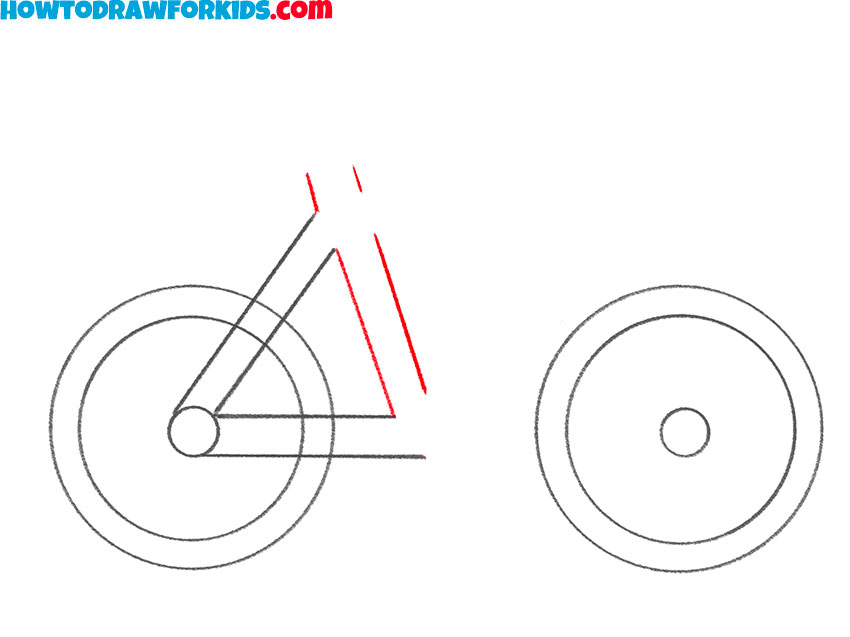
- Add one more detail.
Use straight lines to connect the previously drawn lines and draw a seat tube.
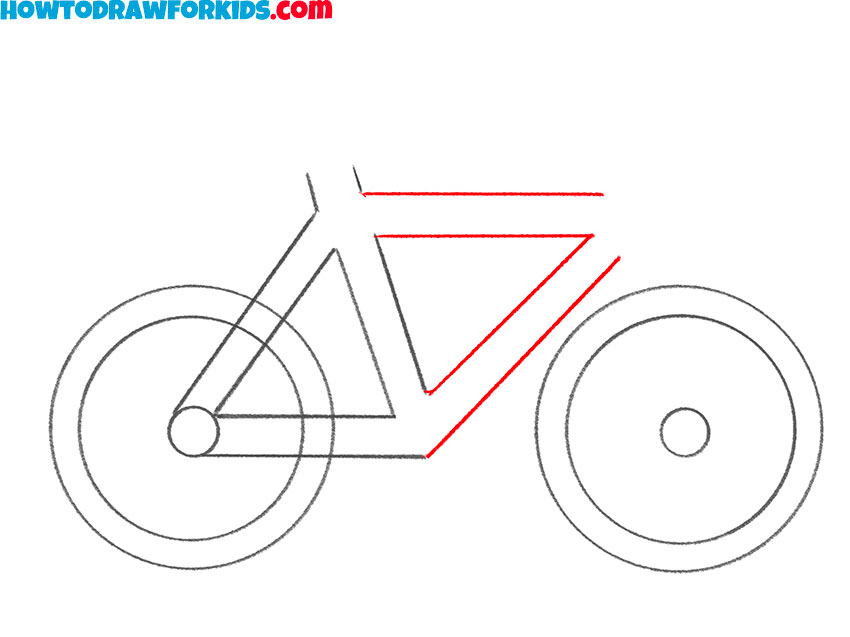
- Outline the top tube and the down tube.
Draw some straight lines that continue the previously drawn lines.
- Depict the front fork.
Add it at the front of the bike. It should connect the back of the bike to the front wheel.
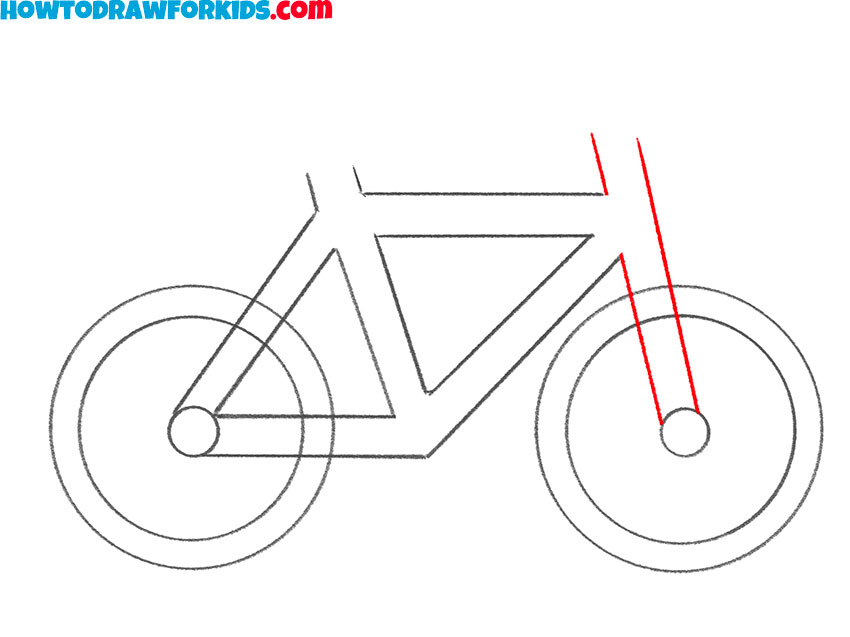
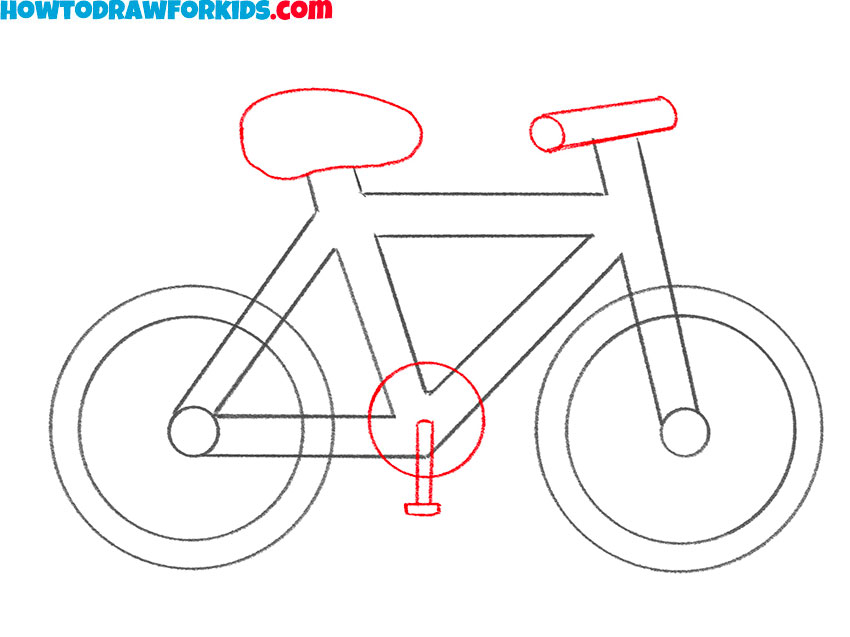
- Draw the saddle, steering wheel, and pedal.
You should use curved lines to depict these elements in the front and middle of the bike.
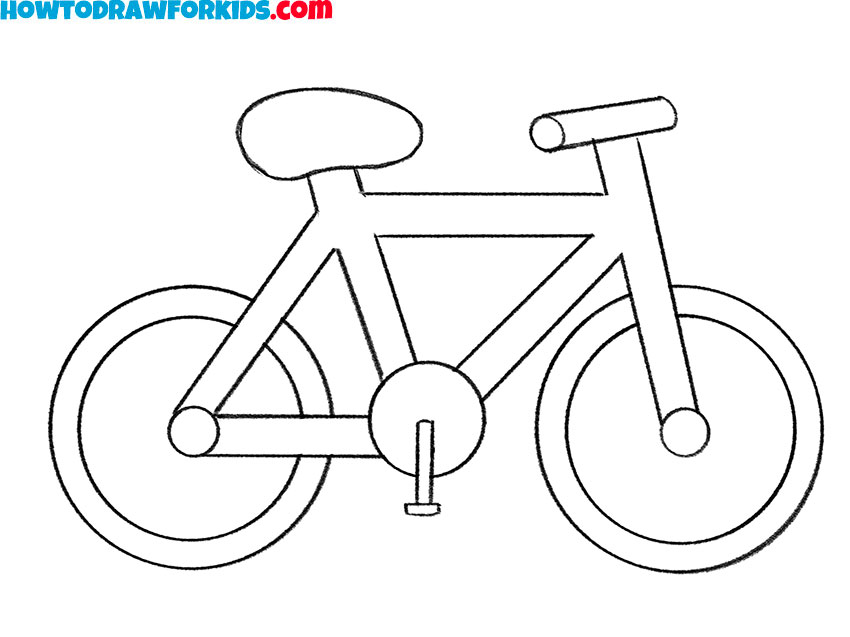
- Erase the auxiliary lines.
Remove any unnecessary lines from the drawn bike with an eraser.
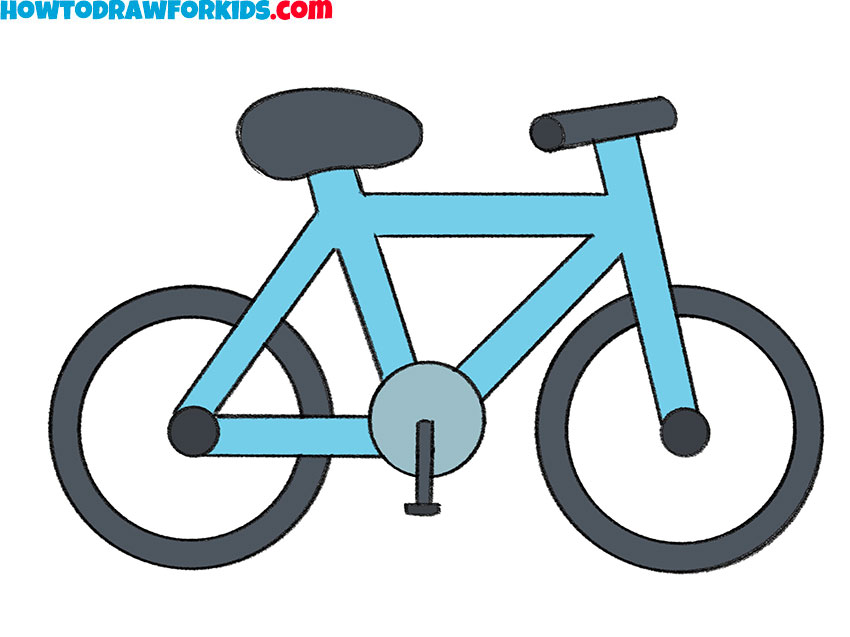
- Color the drawing.
Use grey and shades of blue to color the bike you have drawn.
Additional Content
For those who prefer to have a guide right at their fingertips, I’ve created a free PDF file for this bike drawing lesson. This concise version is perfect for quick reference, allowing you to practice anywhere, anytime, even when you’re offline. Just download it, print it out, and you’ve got a portable art class.
It’s designed for ease of use, with clear, step-by-step instructions that break down the process of drawing a bike into simple, actionable stages. Whether you’re at the park, on a train, or cozied up at home, this PDF is your personal sketchbook companion, ready to help you refine your drawing skills at your own pace.
Alternative Drawing Methods
To ensure a well-rounded artistic development, I’ve prepared a series of alternative bike drawing techniques for you to explore. These methods range from quick gestural sketches that capture the bike’s motion, to detailed studies focusing on the mechanics and design of different types of bicycles.
By working through these techniques, you will develop a deeper understanding of form and function, which is essential for any aspiring artist. Moreover, you’ll learn to appreciate the subtle nuances that make each bike unique, enhancing your drawings and giving them a more authentic feel.
How to Draw a Detailed Bike
In this drawing lesson, I’m excited to walk you through the process of creating a detailed bike, where we’ll focus on capturing the intricacies that make up the whole. We’ll start with the fundamental shapes, ensuring accurate proportions, then gradually layer in the finer elements.
This method emphasizes precision and attention to detail, teaching you to observe and replicate the complex parts that often seem daunting. By breaking them down into simpler shapes and adding layers progressively, you’ll find that drawing a bike in all its detail isn’t as challenging as it first appears.
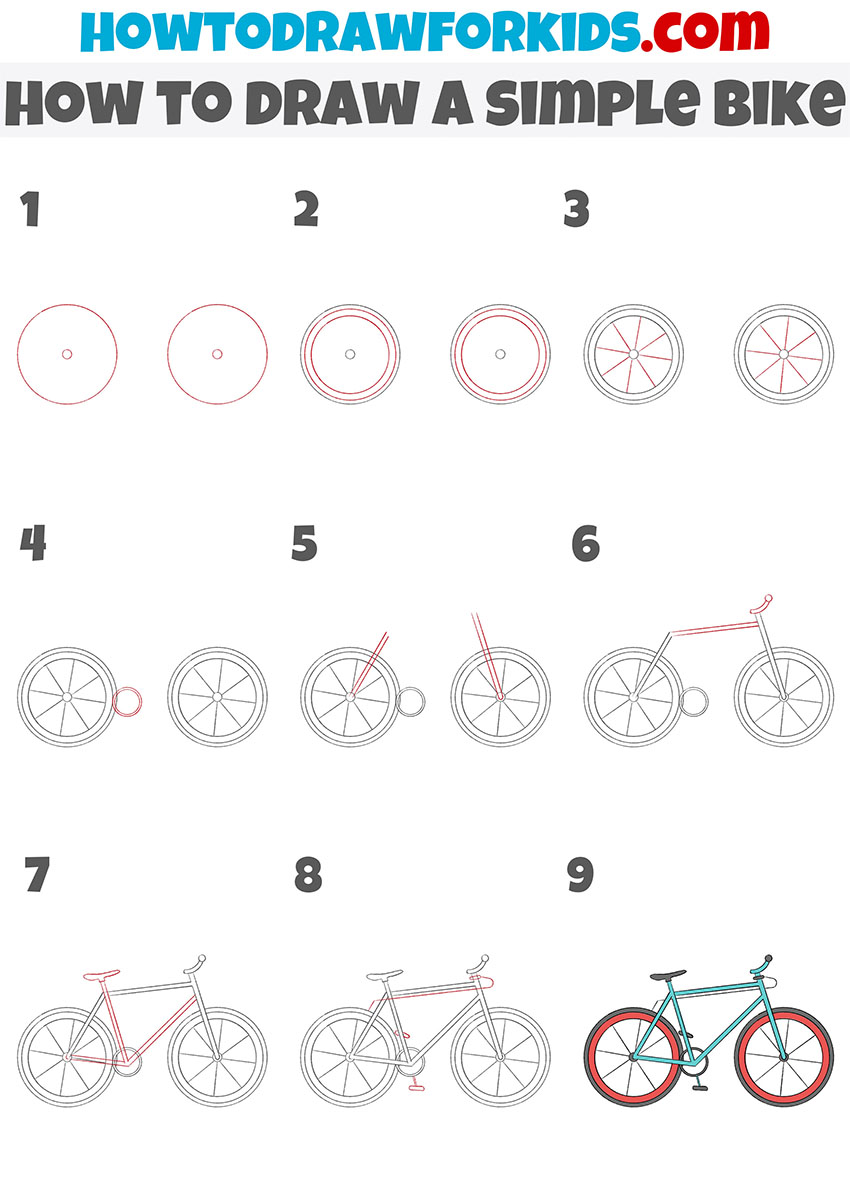
Drawing a Bike in a Different Direction
Here we have another detailed bike, this time shown in a different direction to challenge your skills and help you practice. This change in perspective is a fantastic opportunity to understand the bike’s structure from various angles and will enhance your ability to render its form and details with accuracy.
By drawing the bike in this new orientation, you’ll strengthen your grasp of proportion and perspective, crucial skills for any aspiring artist. Let’s sharpen our pencils and our eyes as we tackle this fresh viewpoint, reinforcing what we’ve learned and pushing our artistic abilities even further.
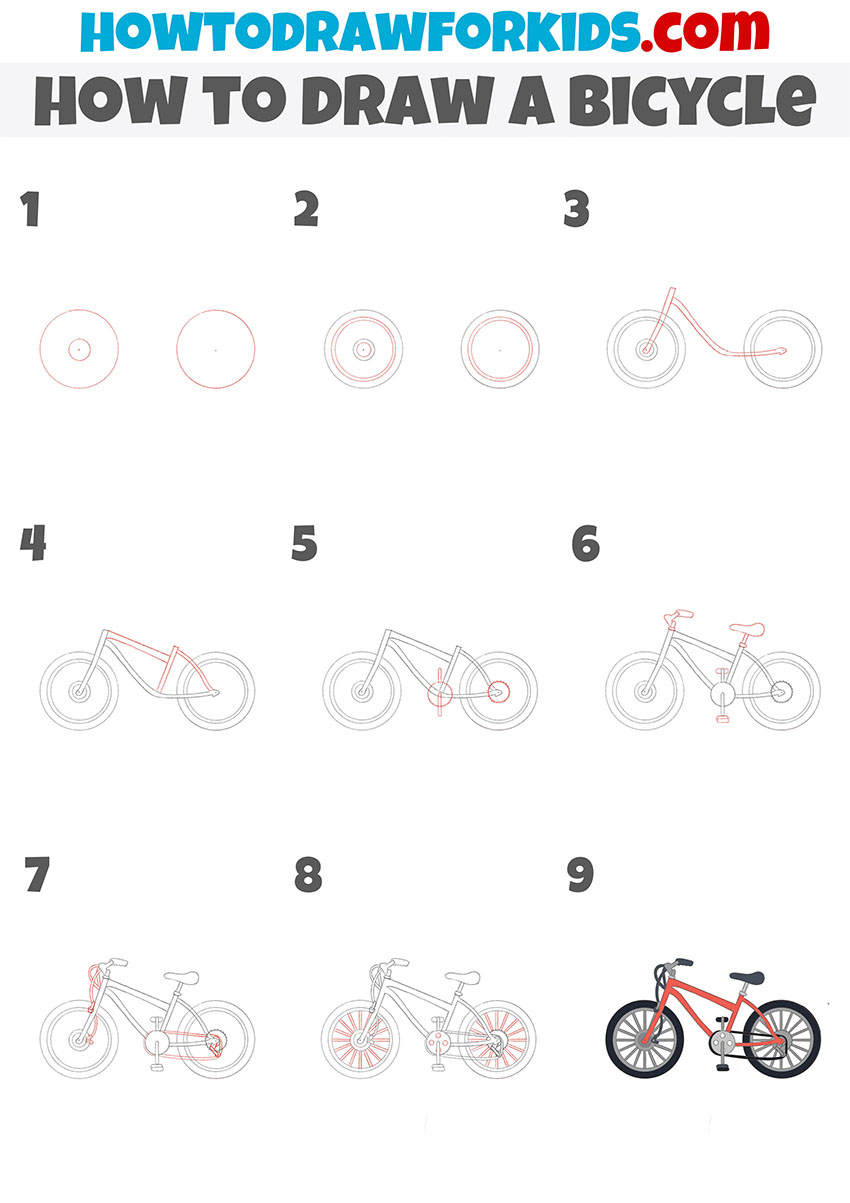
How to Draw a Simplified Version of a Bike
Now, let’s shift our focus to a simplified version of the bike, perfect for beginners or for those looking to sketch a quick impression. This approach distills the bicycle down to its most basic elements, emphasizing ease and speed without sacrificing the essence of the bike.
We’ll go through the key components with broader strokes and less detail, which is great for gaining a foundational understanding of bike anatomy and for times when you want to capture the concept of a bike without getting caught up in the intricacies.
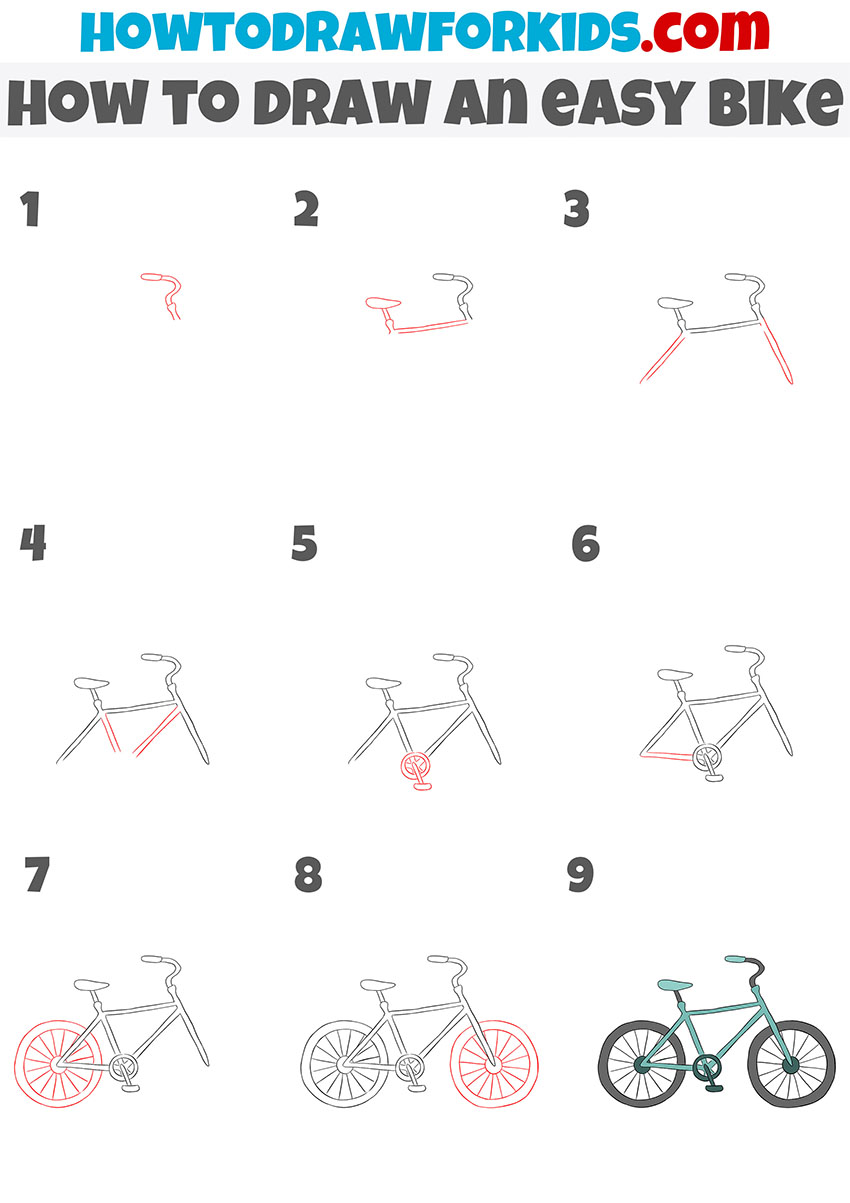
Bike Drawing with Minimal Details
There’s no such thing as too much practice, so let’s keep going! This additional method I’m presenting to you emphasizes minimal details while still capturing the essential form of a bike. It’s a fantastic way to quickly sketch a bike, focusing on its basic geometry without getting bogged down by the complexities.
This stripped-down approach is excellent for honing your sense of proportion and perspective, and it’s especially useful when you want to include bikes in larger compositions or simply practice creating clean, crisp line work.

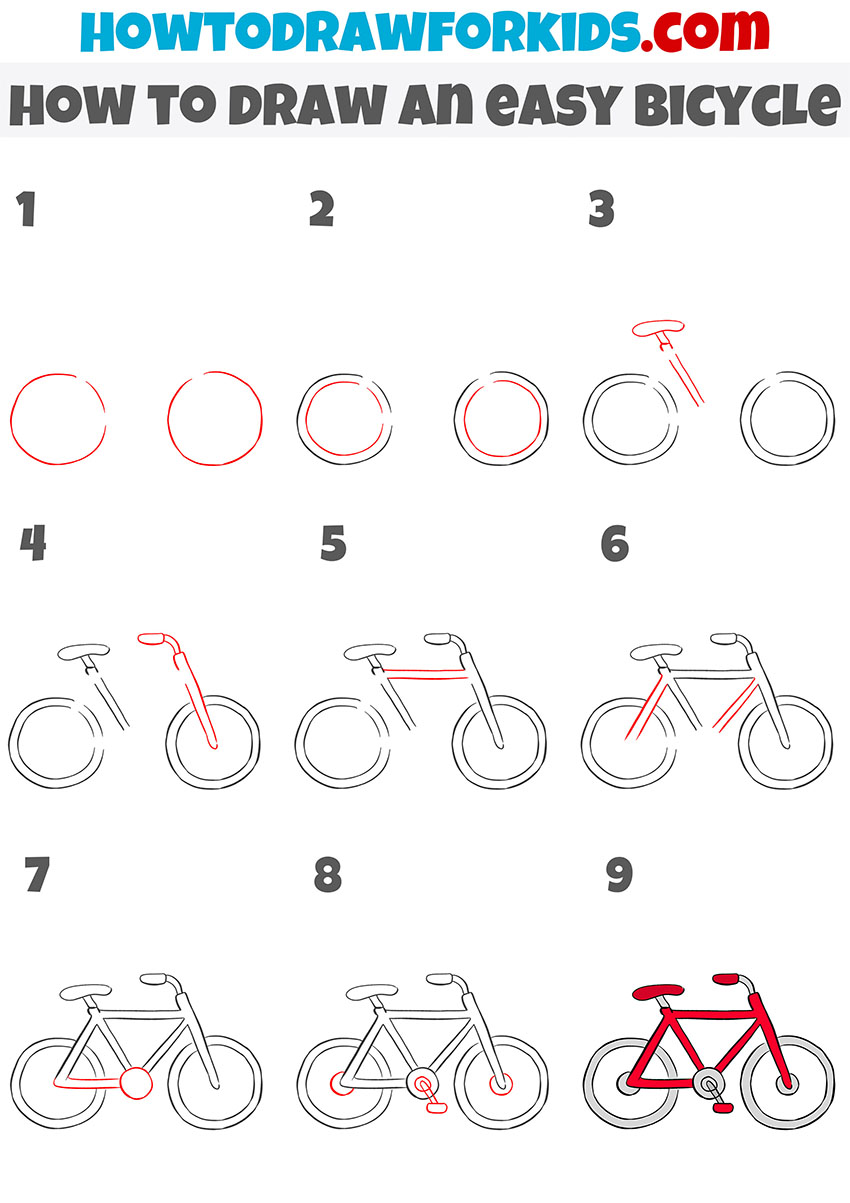
How to Draw a Bike for Kindergarten
And now we come to our final and ultra-easy method, specifically designed for the young artists in kindergarten. This approach breaks down the bicycle into its most basic forms and lines, making it incredibly accessible for little ones just starting their artistic journey.
The simplicity of this method is perfect for small hands still mastering coordination and fine motor skills, allowing them to enjoy the magic of drawing without any frustration. It’s a fun and engaging way to introduce the basics of shapes and help them create a picture they can be proud of.
Conclusion
Congratulations on completing your bike drawing! I’m so proud of what you’ve achieved today. But the journey doesn’t stop here – my website is filled with exciting lessons for you to explore next. How about learning to draw a smiley face or a cute red panda?
To make sure you’re always in the loop with our latest artistic activities, follow me on social media. And if there’s something special you want to draw, leave a comment below with your request. I’m always looking for inspiration from my talented young artists for future lessons. Let’s keep the creativity flowing!


