How to Draw an Eight-Pointed Star
This tutorial explains how to draw an eight-pointed star, focusing on straight lines, symmetry, and tips for maintaining balance in your sketch.

How to Draw an Eight-Pointed Star: Introduction
This tutorial will show you how to draw an eight-pointed star and help you practice drawing straight lines. While drawing, it’s important to keep your lines straight and your angles sharp.
You can use a ruler or draw a star freehand, but make sure the figure is symmetrical. Straight lines are really important for achieving the geometric look of the star, so take your time to practice forming them smoothly.
If you’re working without tools, take extra care in maintaining the star’s symmetry. As with any other drawing, you can lightly sketch the initial lines before going over them more firmly, which will help prevent mistakes. Another tip is to step back from your star drawing frequently to check its overall symmetry.
A helpful technique is to use a mirror to check for any irregularities. Looking at your star’s reflection will give you a fresh perspective on whether the points are aligned correctly. You can also rotate or flip the drawing upside down – this is a quick way to spot mistakes that might not be immediately noticeable.
Pay close attention to how the lines intersect when forming the star’s points. These intersections need to be clean and precise to achieve the sharp look of an eight-pointed star drawing.
Eight-Pointed Star Drawing Tutorial
Materials
- Pencil
- Paper
- Eraser
- Coloring supplies
Time needed: 25 minutes
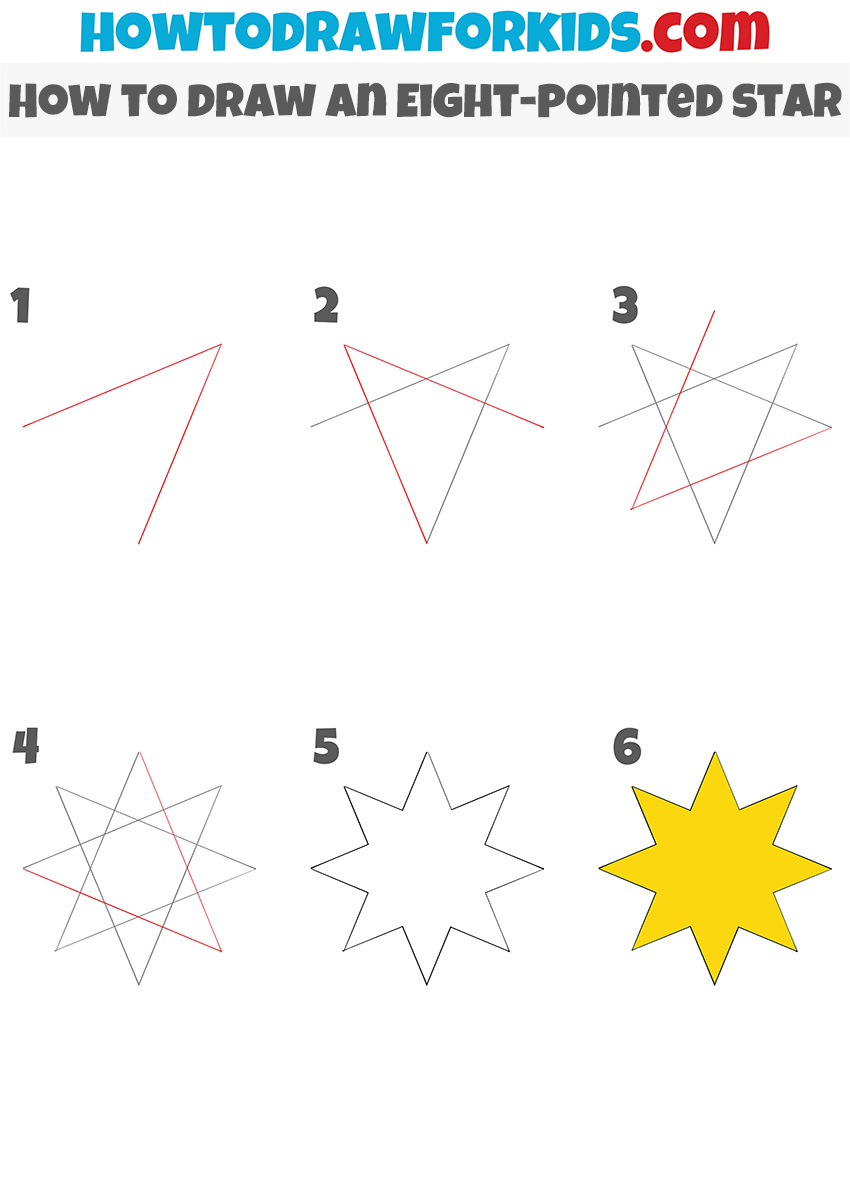
How to Draw an Eight-Pointed Star
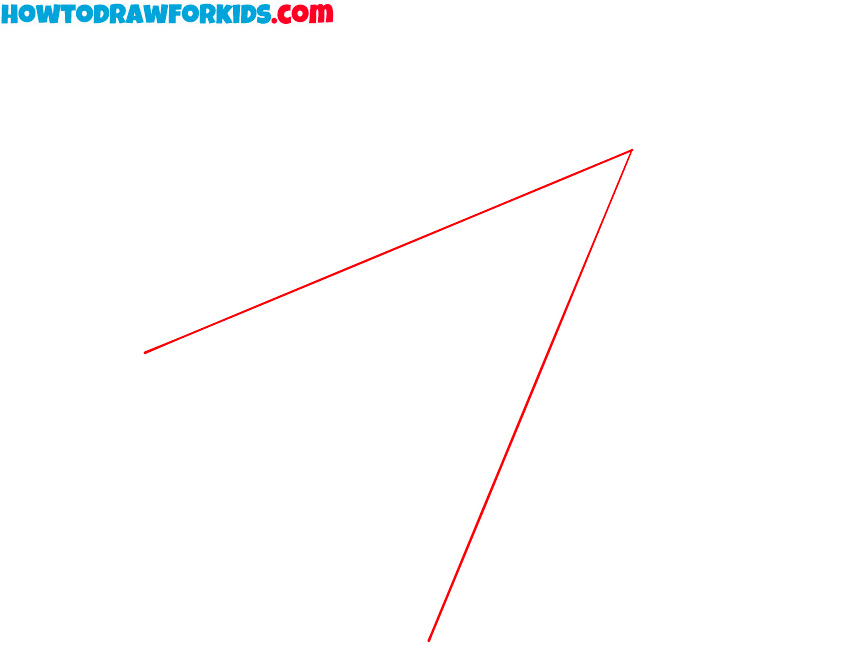
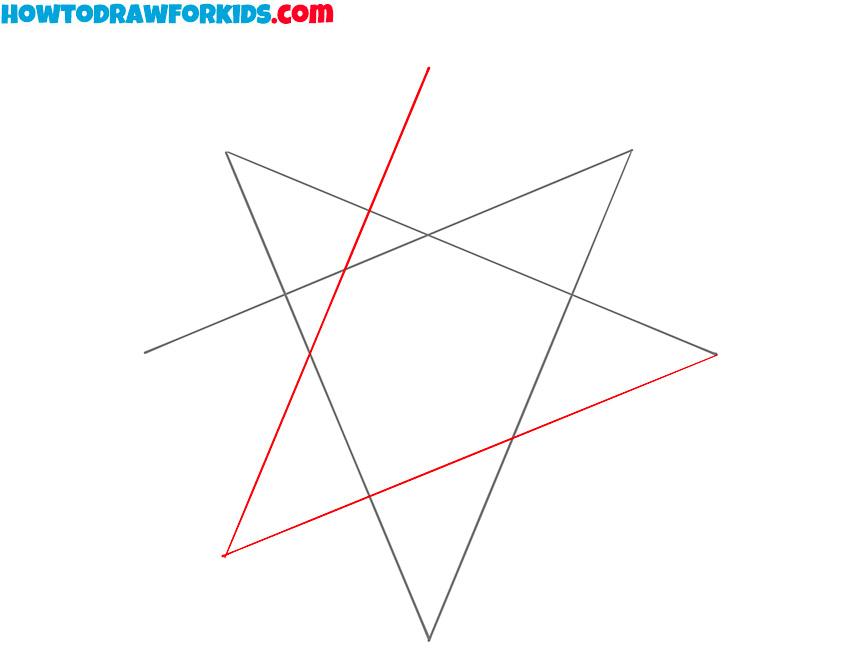
- Draw the first lines of the star.
Begin by drawing a straight diagonal line that extends upward and to the right and then downward and leftward. This initial triangle will serve as the base for one of the points of your eight-pointed star drawing. It’s important to ensure that the triangle has straight lines.
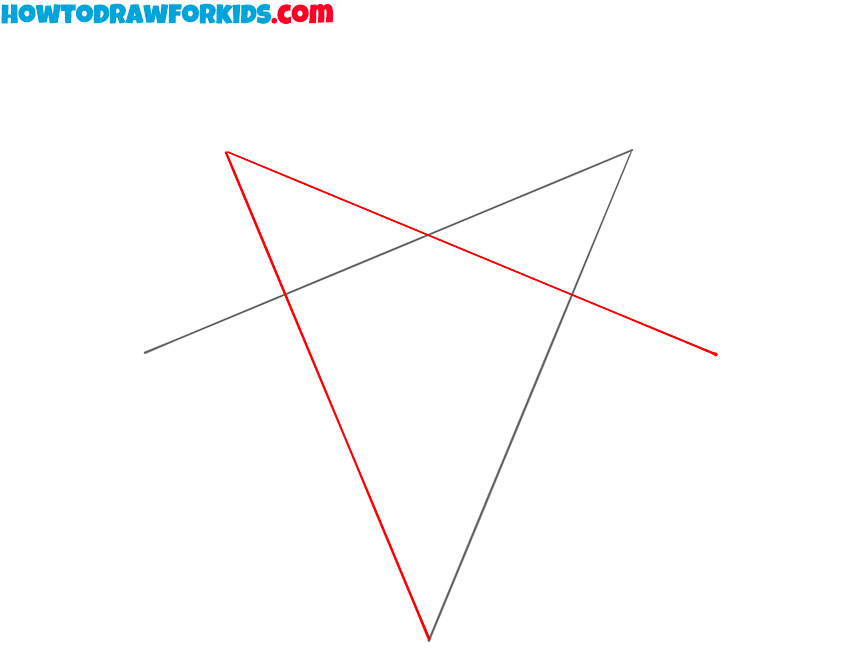
- Add the second angular line.
From the tip of the first triangle, draw a second triangle. This geometric shape should angle upward and toward the right. The lines in this step should form the upper left ray of the star. Make sure to keep the lengths of these lines fairly similar, as this will contribute to the symmetry of the final shape.
- Add another angular line.
Now, you’ll need to continue drawing additional lines that crisscross to form the left part of the star. Add a third angular line starting from the end of the second line, making sure it intersects the bottom of the first line. These intersecting lines will define the pointed edges of the star.
- Finish the outlines.
Repeat the same process of drawing intersecting angular lines to form the rest of the star. Every time two lines meet, they should create a new pointed tip of the star. This step gives the star its complete, eight-pointed shape, with all the outer edges now fully visible.

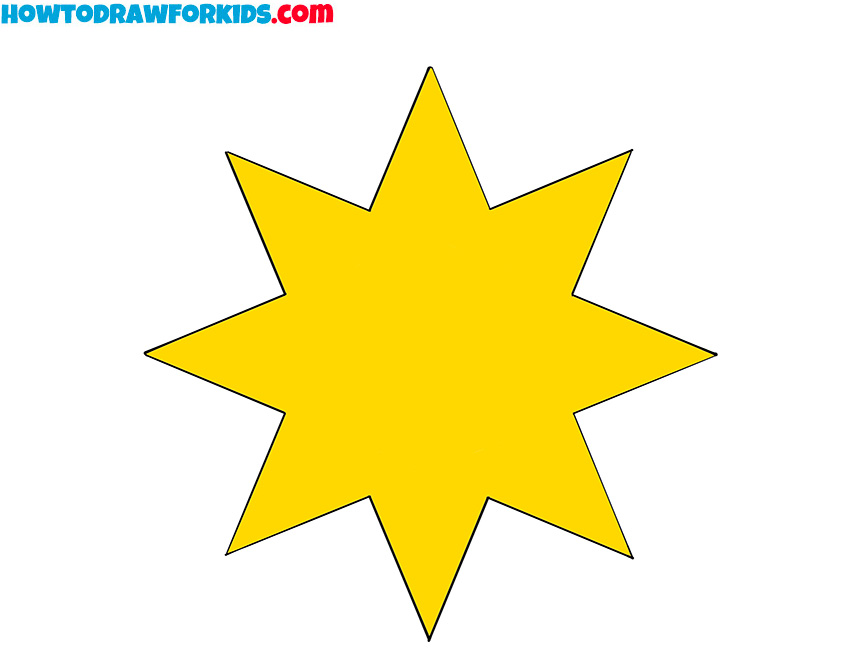
- Finalize the eight-pointed star drawing.
Once the structure of the eight-pointed star drawing is sketched out with intersecting lines, it’s time to clean it up by outlining the outer edges. Carefully trace over the outer lines of the star, ignoring any inner construction lines that were only used for shaping. Then, erase the inner lines to give sketch a finished look.

- Color in the star.
With the outline complete, it’s time to fill in your eight-pointed star drawing with color. While yellow is a common choice, it’s not the only option – you can choose any color that suits your preference. Feel free to experiment with different shades to give the star an interesting and unusual look.
Additional Content
This PDF file provides a set of resources to aid in learning how to draw an eight-pointed star for kids. It includes a clear step-by-step guide with illustrations of the drawing process, a coloring page to experiment with different colors, a tracing worksheet for improving your drawing skills, and a grid drawing worksheet that helps reinforce proportions.
These materials can be downloaded and used offline, making them ideal for both classroom use and individual practice.