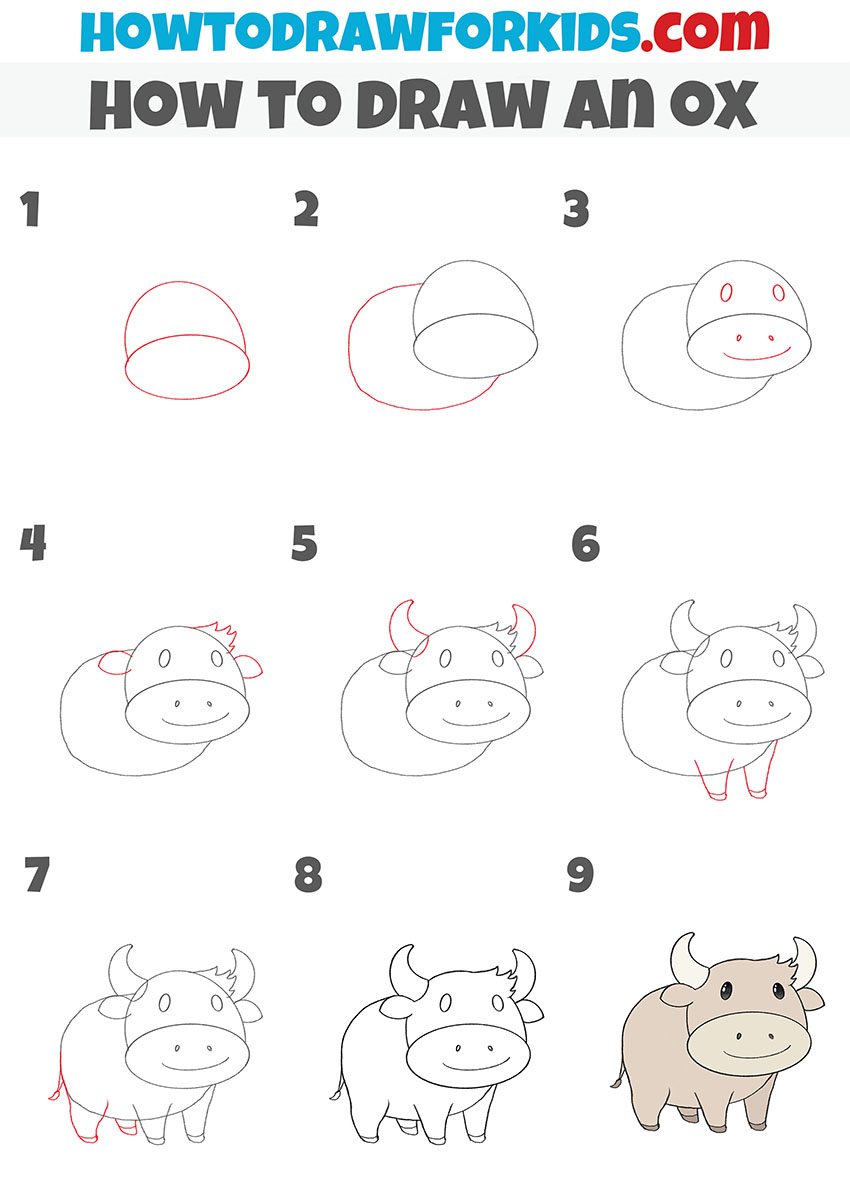
How to Draw an Ox
Today you will learn how to draw an ox in just nine steps. This step by step guide is very simple and will be helpful for you.
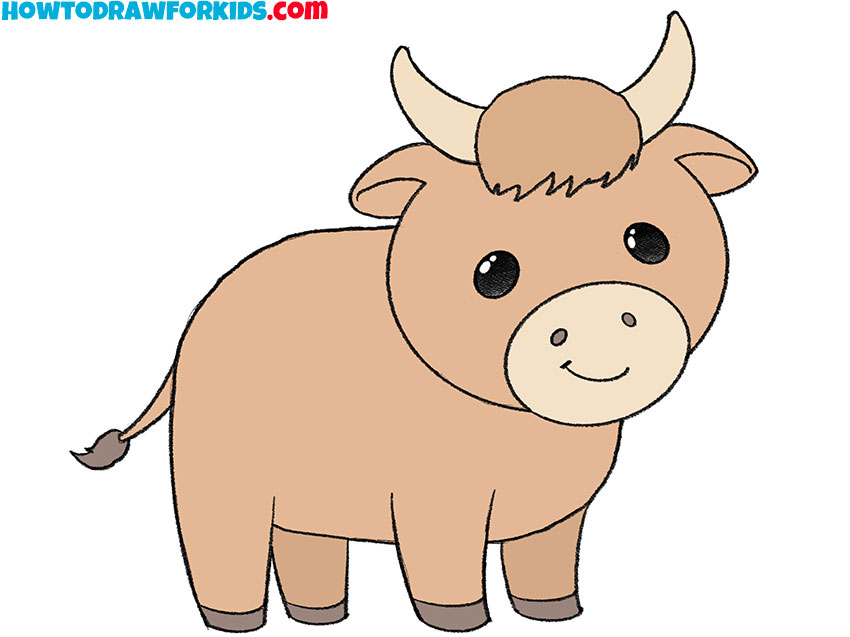
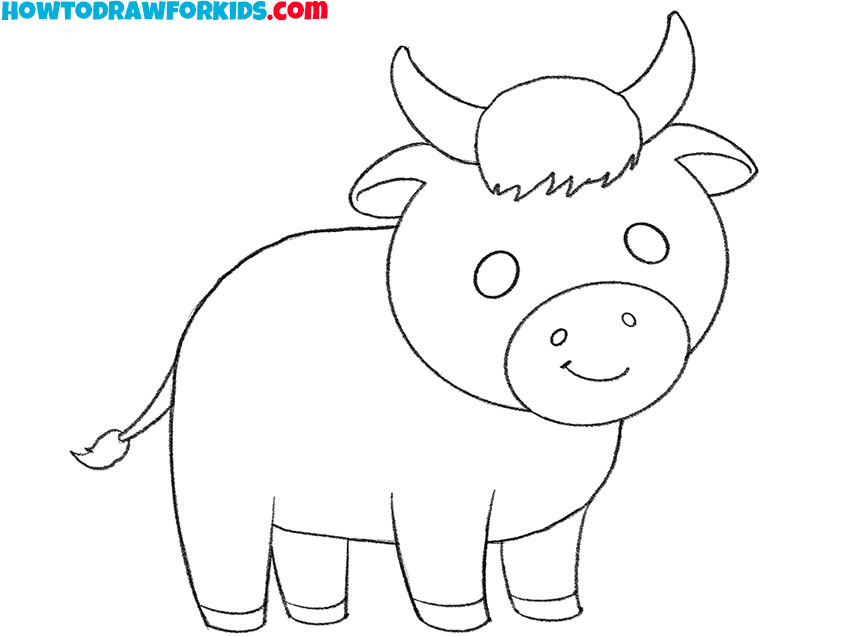
Now I will show you how to draw an ox. This is a large artiodactyl animal. The ox has a massive physique, on the ox’s head there are a pair of hollow horns. This is a very common domestic animal and the number of oxs in some regions is very high.
Oxs feel especially good in regions with a temperate and tropical climate. Oxs live in large herds. Most of the time oxs spend on pastures, where they constantly chew on various vegetation.
In the figure, the ox is depicted in a cartoon style and looks very cute. I think you will enjoy this tutorial and enjoy drawing a domestic ox. The lesson is adapted for children and beginner artists. Thanks to this step-by-step guide, you will easily draw an ox.
Ox Drawing Tutorial
Materials
- Pencil
- Paper
- Eraser
- Coloring supplies
Time needed: 30 minutes
How to Draw an Ox
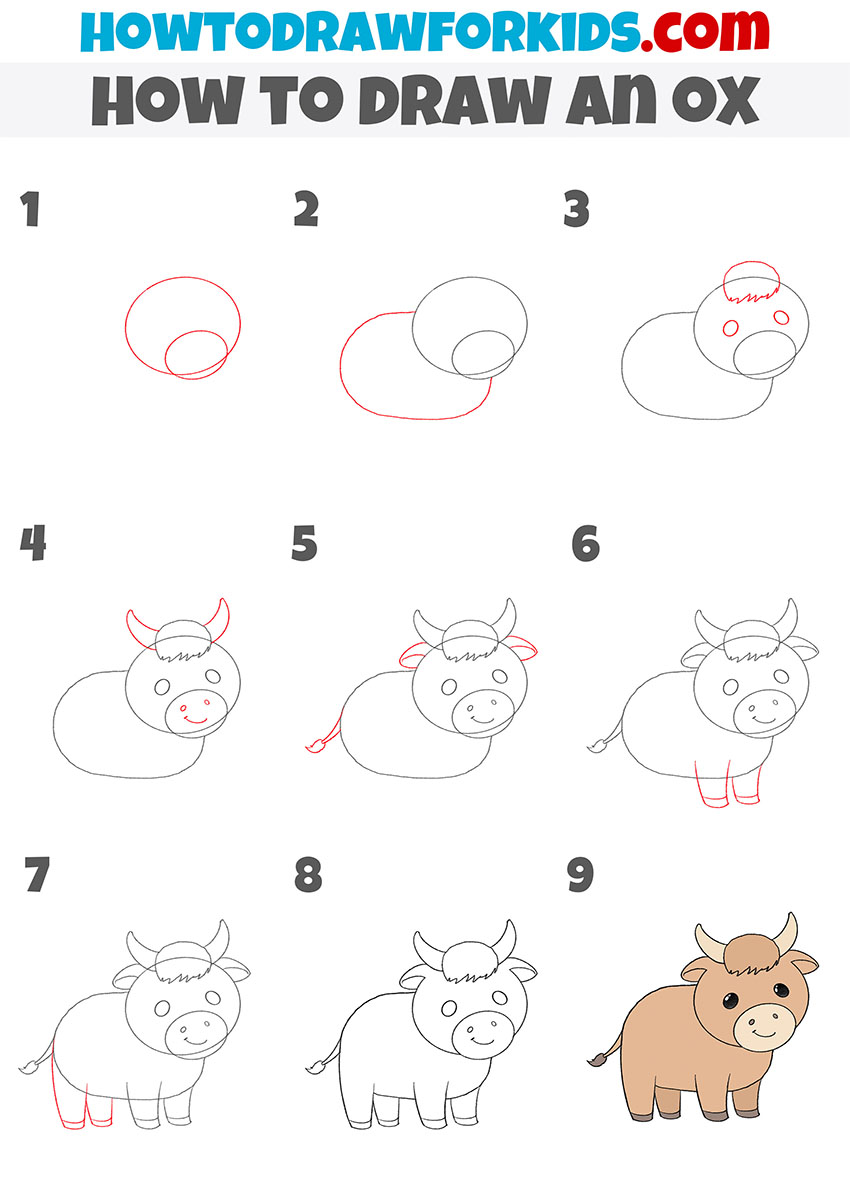
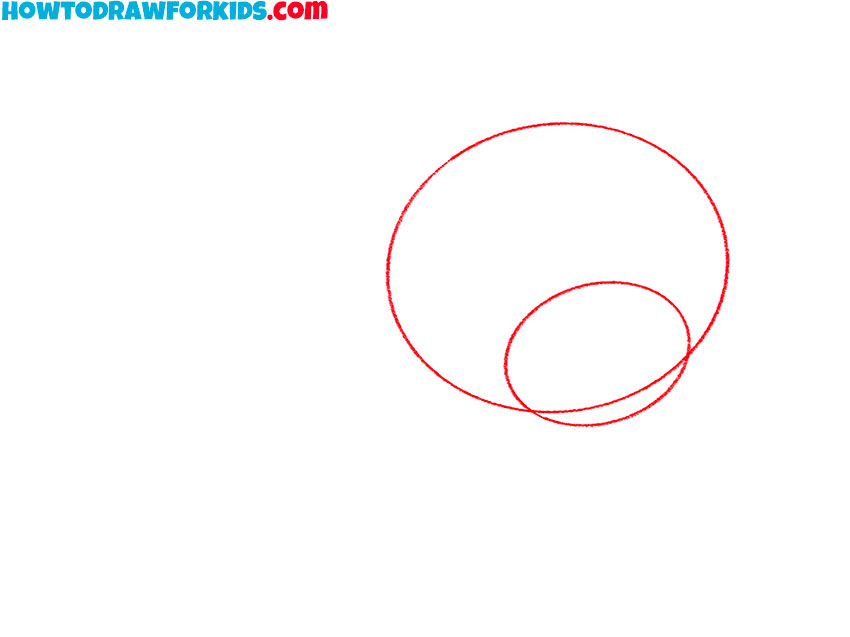
- Draw the head.
Depict two circles. One circle is large, the other is smaller.
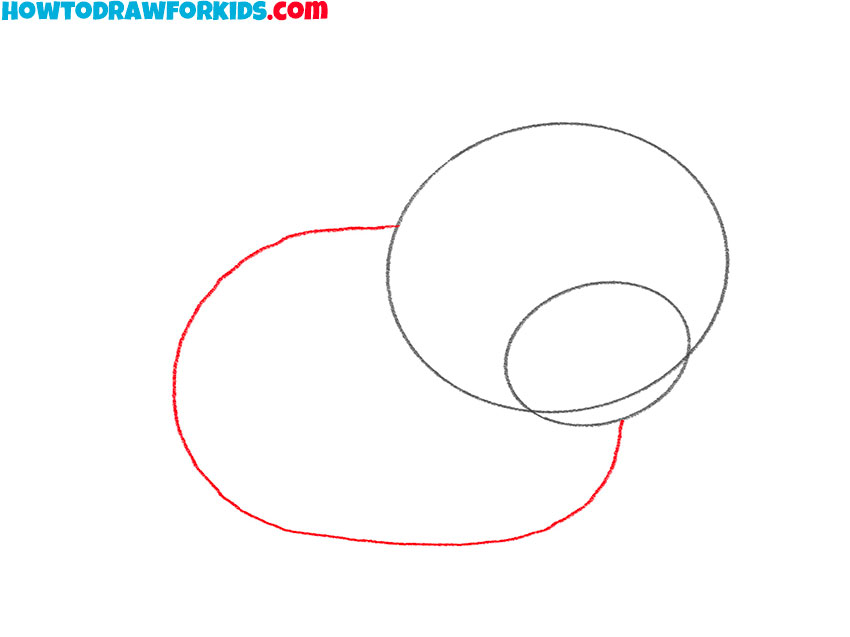
- Depict the torso.
With a smooth line, draw the torso in the shape of an oval.
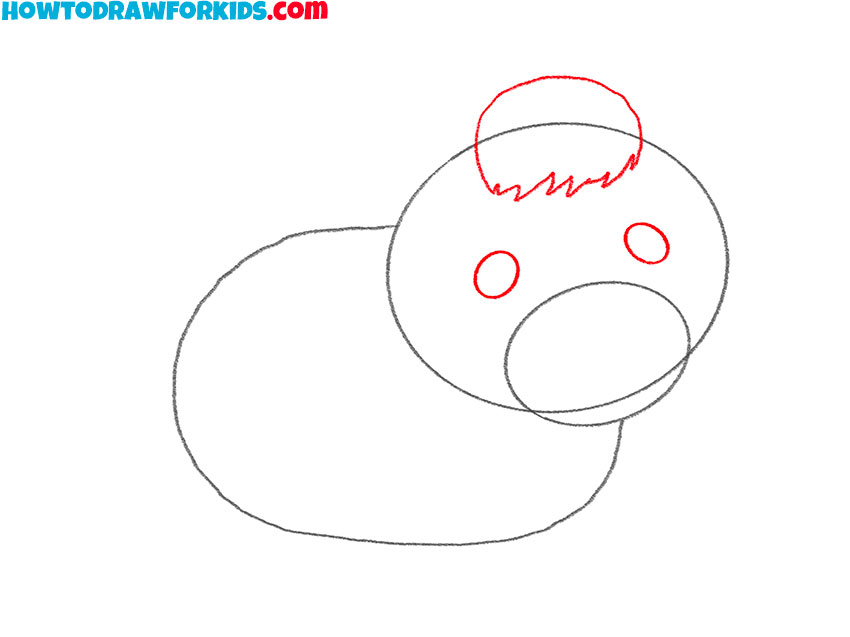
- Add the forelock and eyes.
Draw the eyes and draw the forelock on the forehead with jagged lines along the bottom edge.
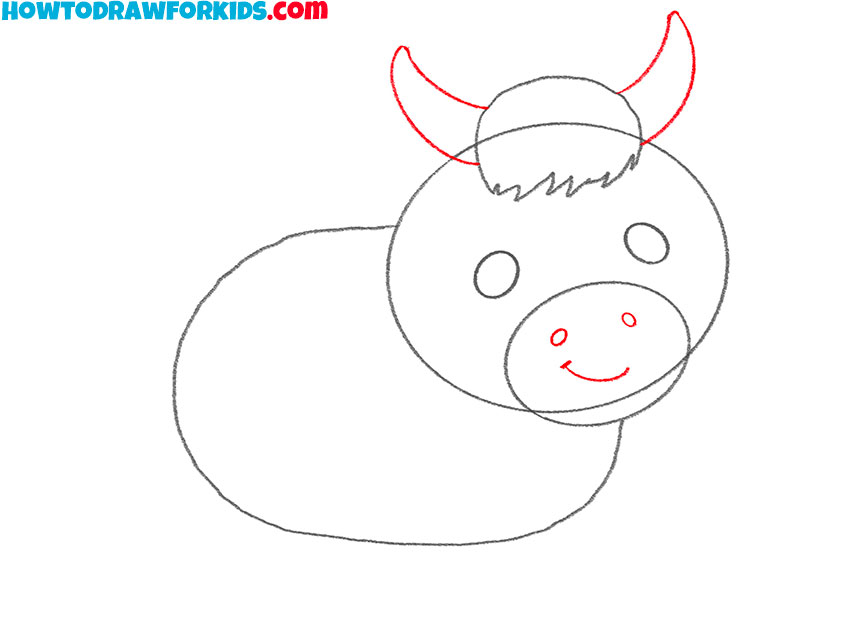
- Add details.
Draw the horns and other elements of the muzzle.
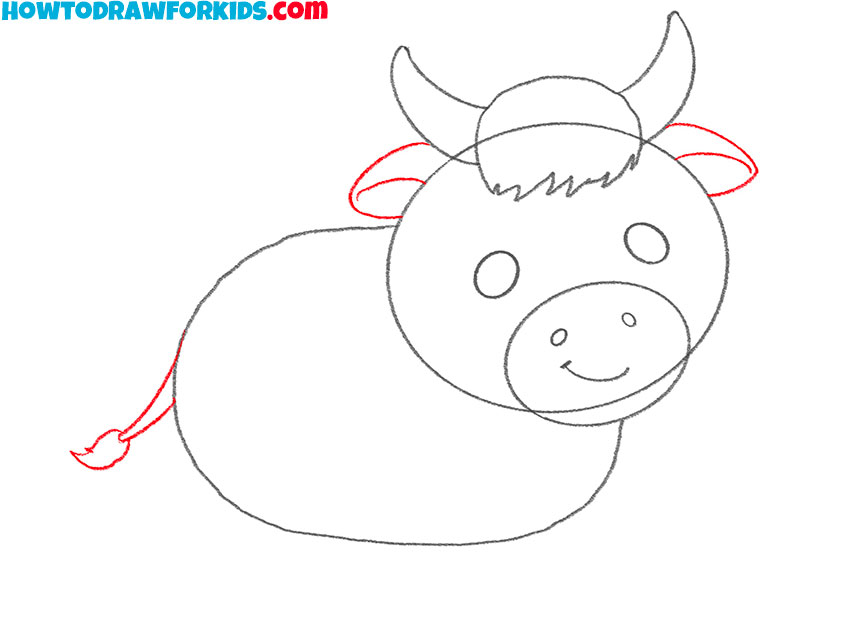
- Depict the ears and tail.
Below the horns, add two ears of the same shape. Draw the short tail with the tassel at the end.
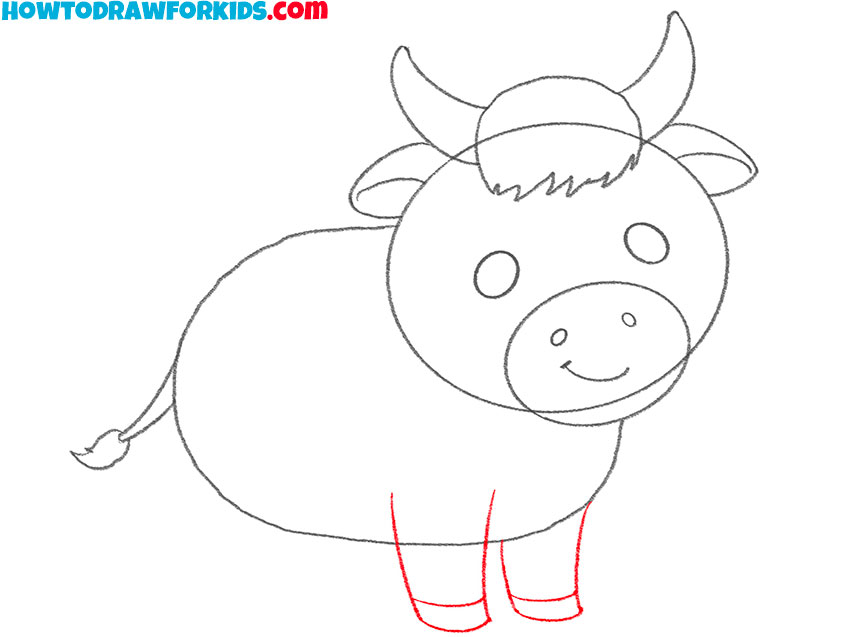
- Draw the front legs.
The legs are relatively short. At the bottom, add transverse lines to depict the hooves.
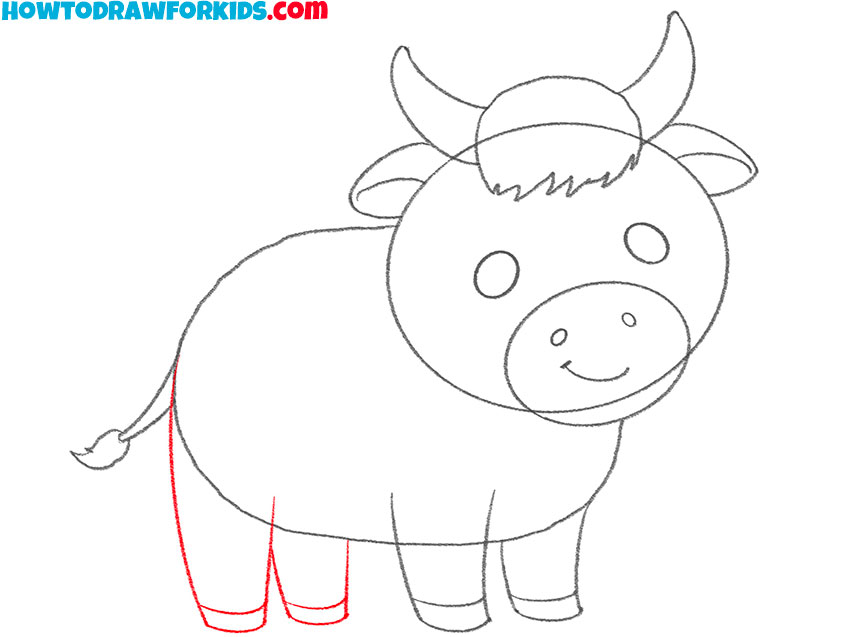
- Add the hind legs.
Repeat the previous step and draw two hind legs that are located side by side.
- Correct inaccuracies.
At this stage, erase the extra lines.
- Color the ox.
Choose grey, black and shades of beige. Add highlights to the eyes.
For your convenience, I have prepared a PDF file containing a quick guide and some useful drawing tools.
How to Draw an Ox: Alternative Method
Above you saw a very simple way to draw an ox. now let’s try to draw the same animal, but give it a slightly different appearance.