How to Draw Closed Eyes
Today in this simple tutorial you will learn how to draw closed eyes in just nine easy steps with helpful tips.
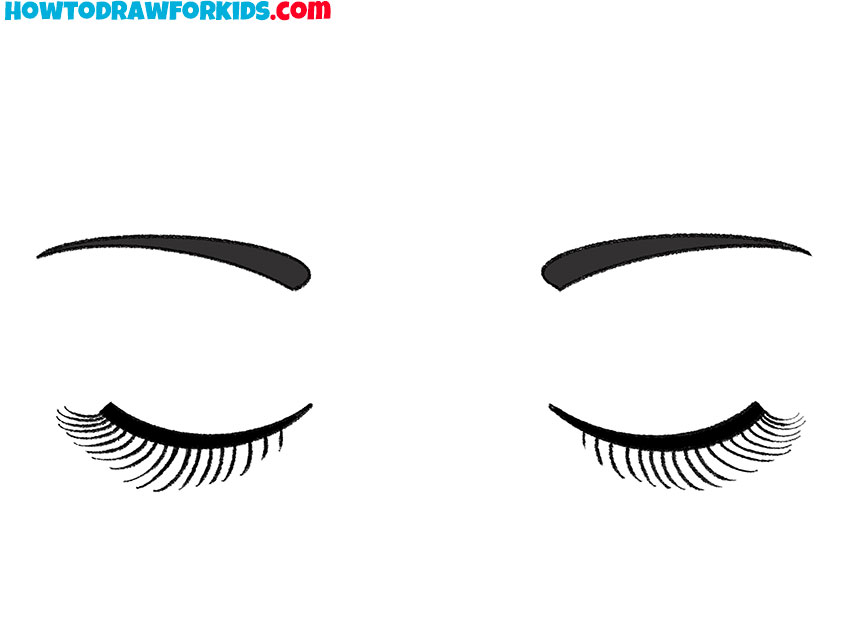
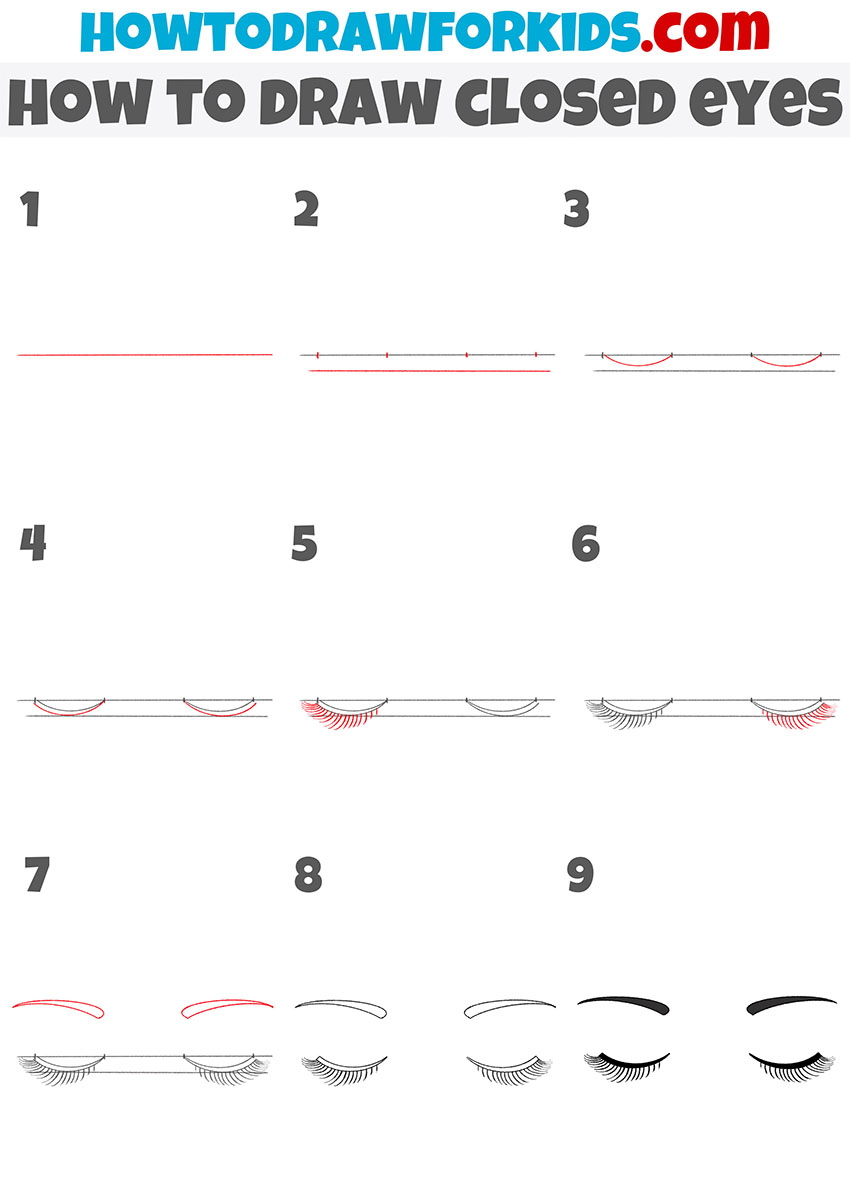
I want to present you with a new useful lesson in which you will learn how to draw closed eyes. The lesson is designed for beginners and includes nine easy steps.
In this tutorial, I will show you how to draw closed eyes. The acquired skills will be useful to you in the future when you want to draw the whole face of a person.
In this tutorial, you will use guidelines to position all the elements correctly. Auxiliary lines should be even and thin so that they can be easily removed later.
Please note that the distance between the eyes should be approximately equal to the width of one eye. Consider this feature in this lesson and in all your subsequent drawings. Also, make sure that the eyes are completely symmetrical.
Materials
- Pencil
- Paper
- Eraser
- Coloring supplies
Time needed: 20 minutes
How to Draw Closed Eyes
- Draw the first guideline.
Determine the size of your drawing and draw a straight line.

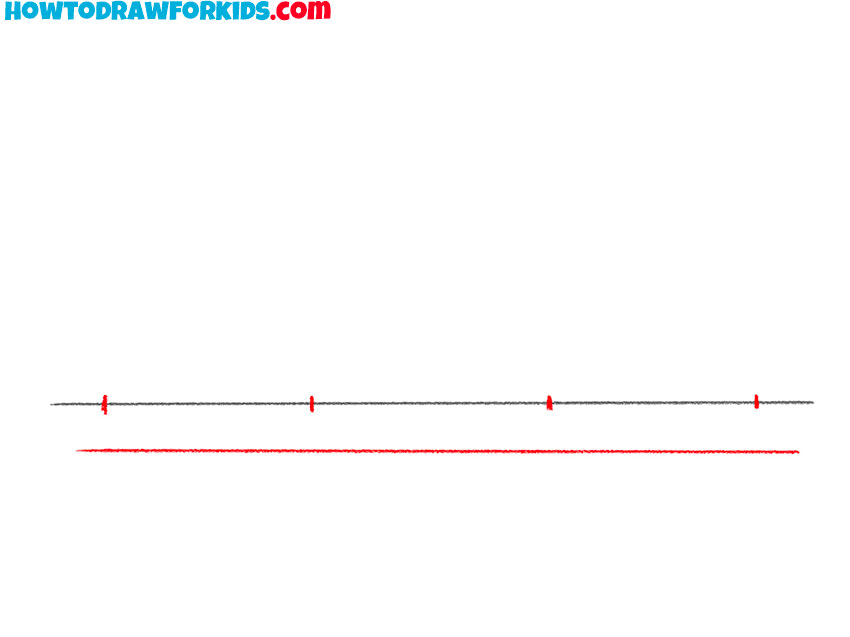
- Add the second guide line and make small marks.
Draw another line below and make marks to indicate the location of the eyes.
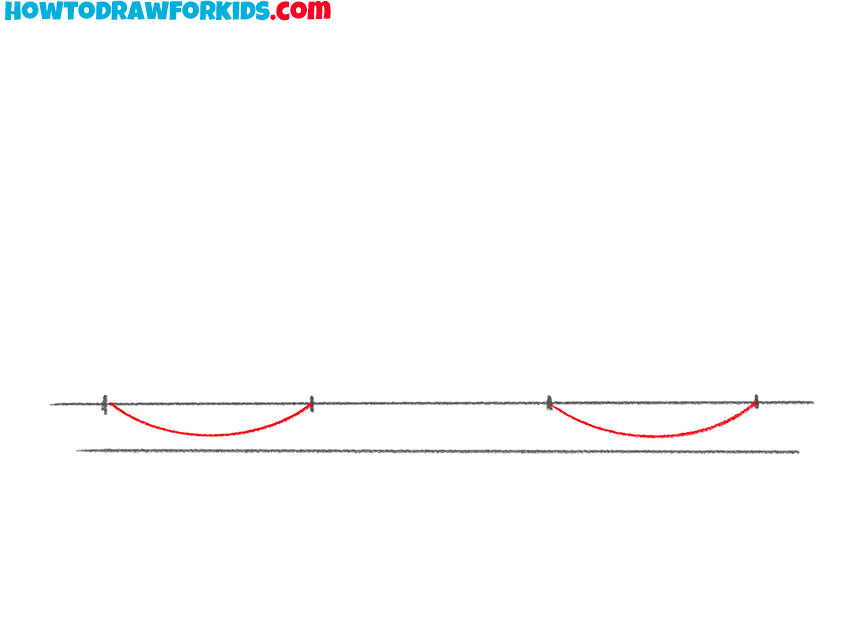
- Depict the upper outline of the eyelid.
Between the marks, depict smooth rounded lines on each side.
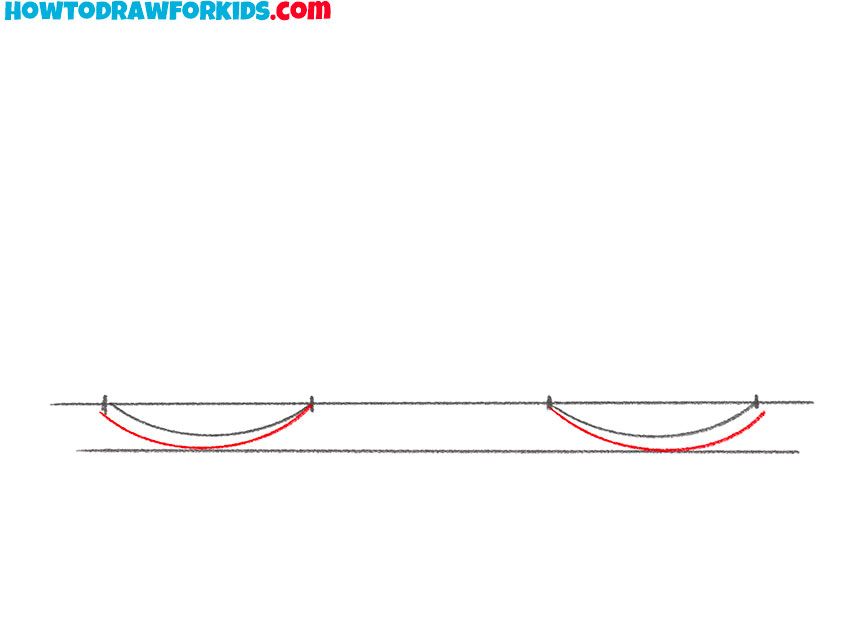
- Add the lower part of the eyelid.
Sketch out two more smooth rounded lines, as shown in the figure.
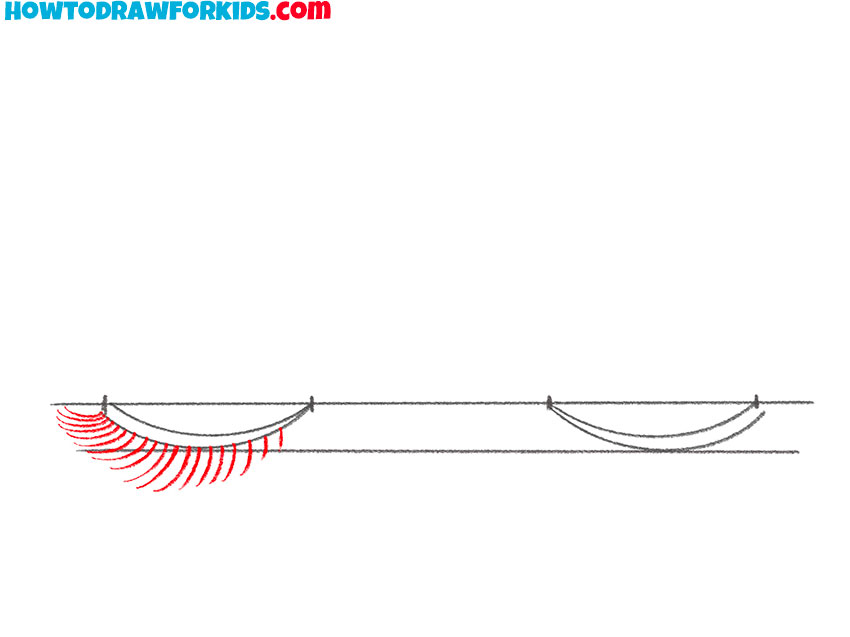
- Draw eyelashes on one side.
Sequentially draw short rounded lines on one eyelid as in the example.
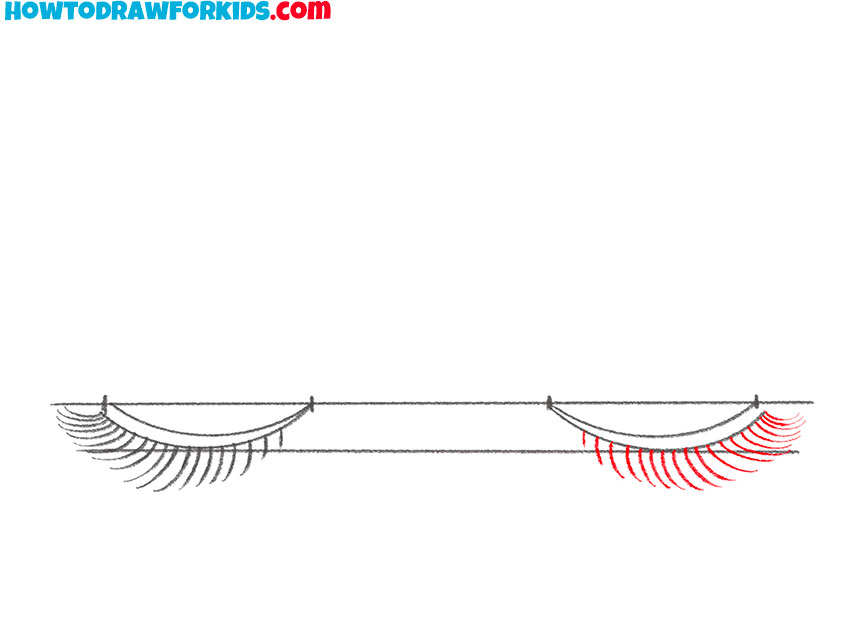
- Add eyelashes on the other side.
Repeat the previous step and draw eyelashes on the other eyelid.
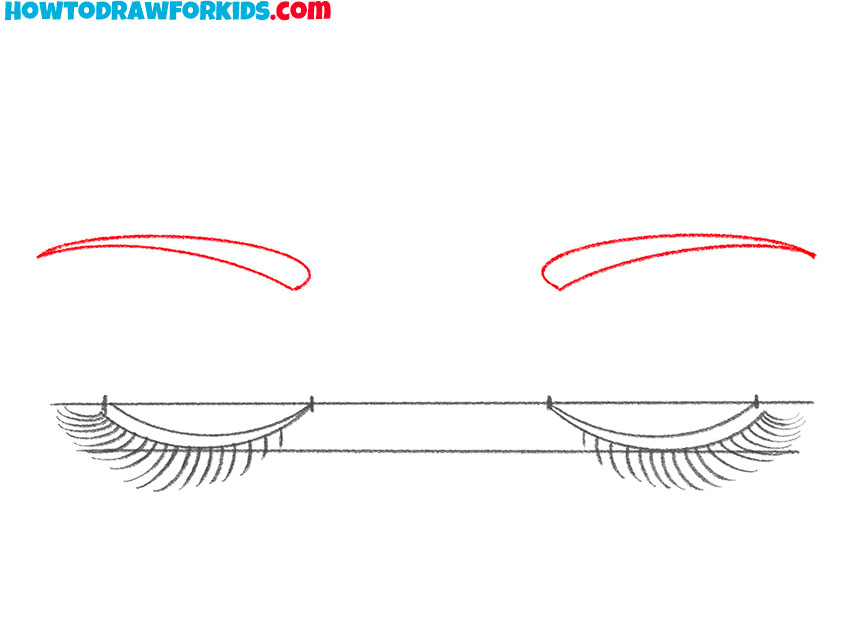
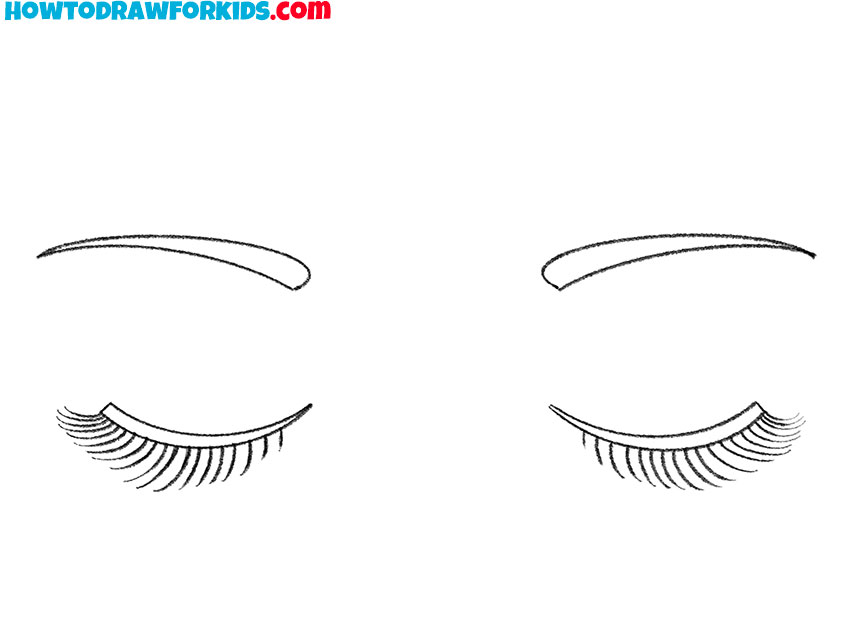
- Sketch out the eyebrows.
Draw eyebrows with smooth lines on each side.
- Correct inaccuracies.
Carefully remove the auxiliary lines.
- Color the closed eyes.
Use black to make the eyes and brows more expressive.

As a reminder, for your convenience, I have created a PDF file in which you will find a short version of the lesson and additional materials.


