How to Draw Eyes Looking to the Side
In this lesson you will learn how to draw eyes looking to the side. This instruction contains only nine simple steps with useful tips.
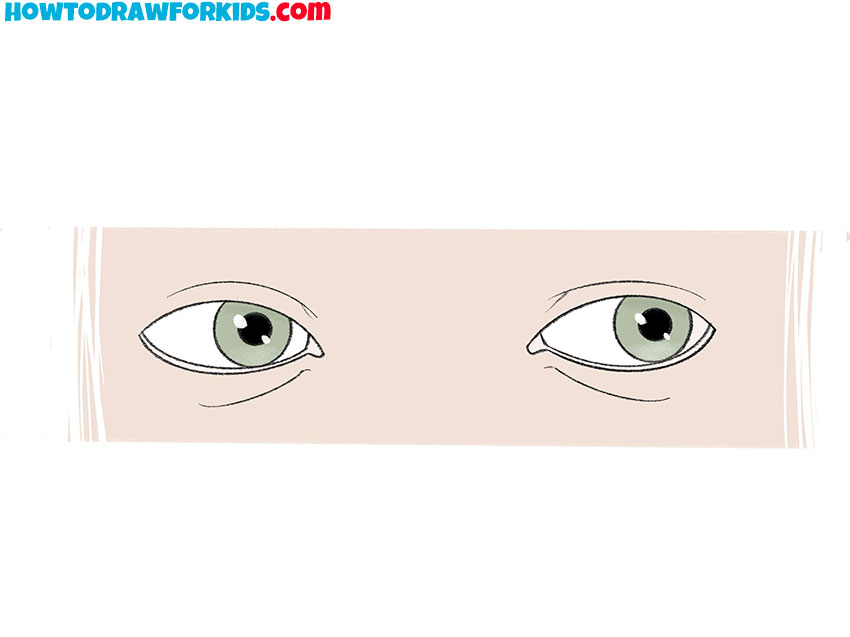
I want to offer you a new interesting lesson in which you will learn how to draw eyes looking to the side. If you have already completed other similar lessons on my site, then you can easily follow this lesson.
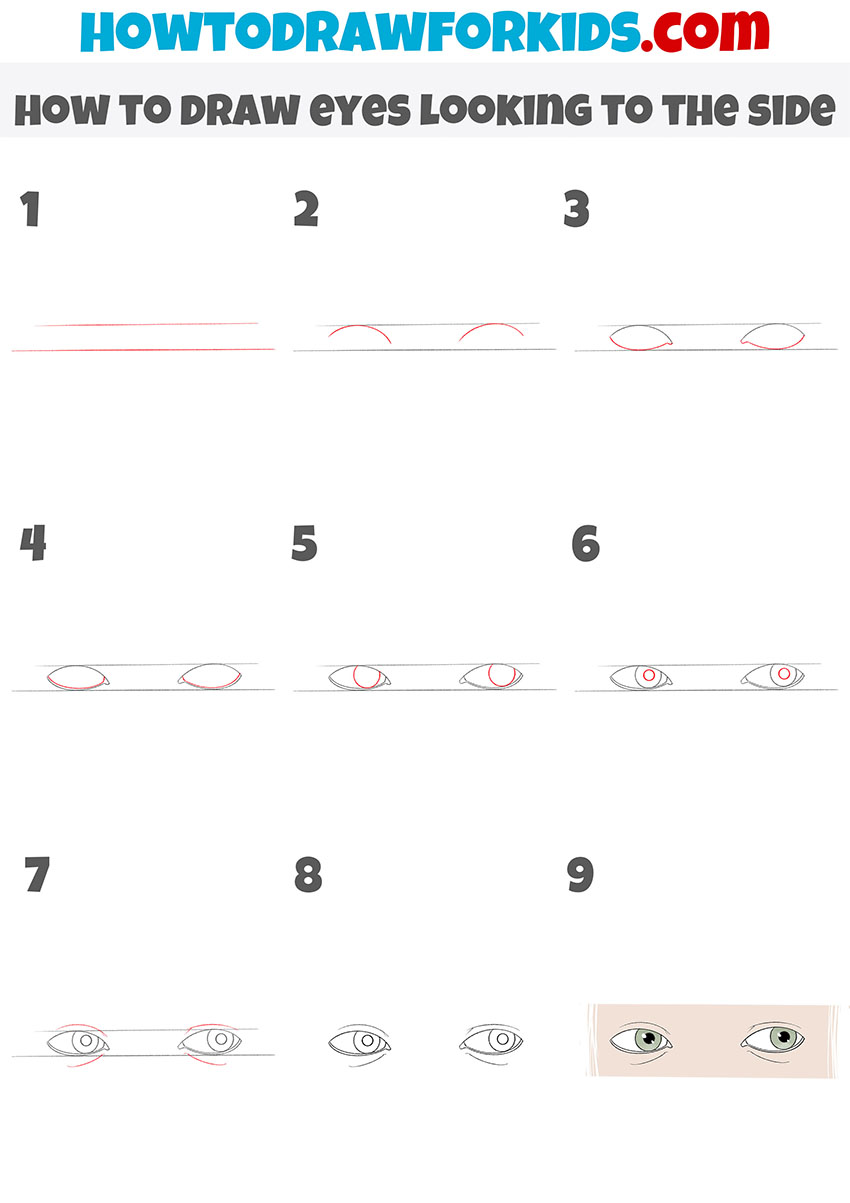
Even if you are drawing eyes for the first time, you will still get a good result, since the lesson is designed specifically for beginners. The lesson consists of nine simple steps that can be easily repeated. Each step involves one simple action.
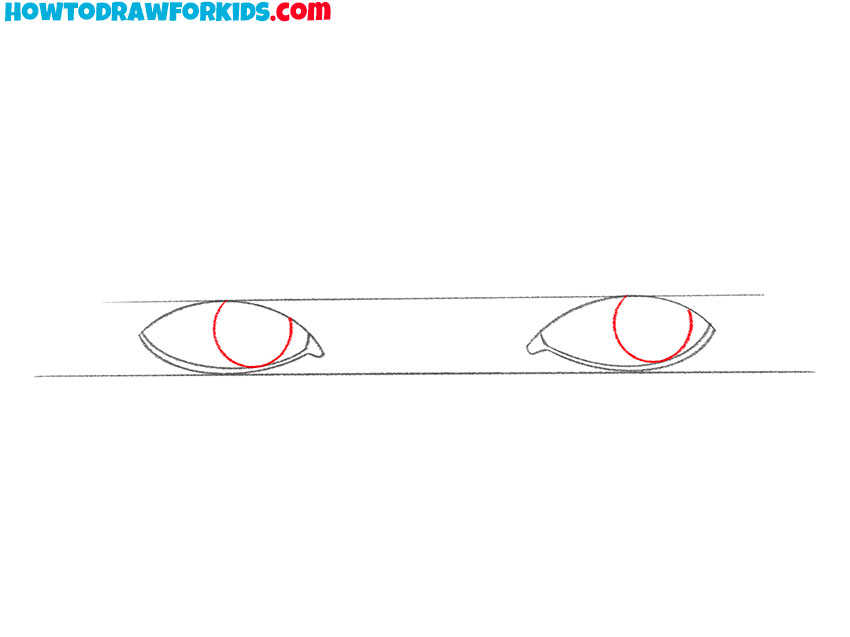
In the picture, the eyes have the usual oval shape. The pupil is located on the right side of each eye, so you can easily mimic a look that is directed to the side.
Materials
- Pencil
- Paper
- Eraser
- Coloring supplies
Time needed: 20 minutes
How to Draw Eyes Looking to the Side
- Draw auxiliary lines.
Determine the size of the eyes and draw two straight horizontal lines.

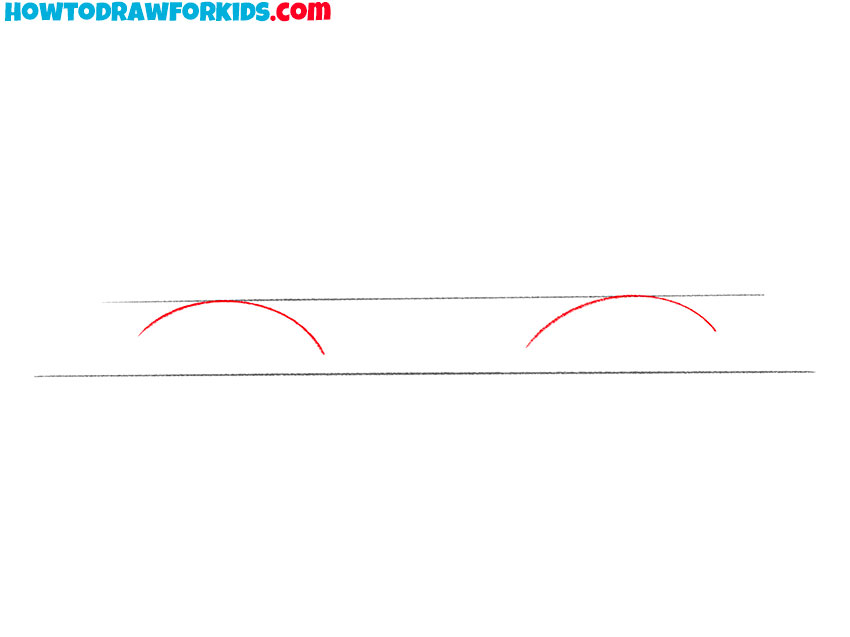
- Depict the upper outline of the eyes.
Under the upper horizontal line, draw two smooth rounded lines.
- Add the bottom outline of the eyes.
Draw two smooth rounded lines and draw the inner corner of each eye.
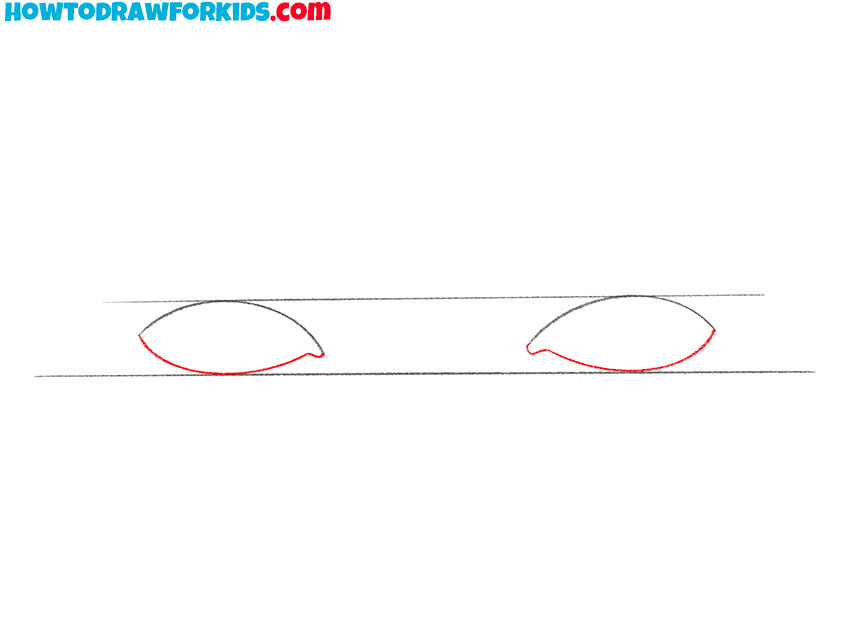
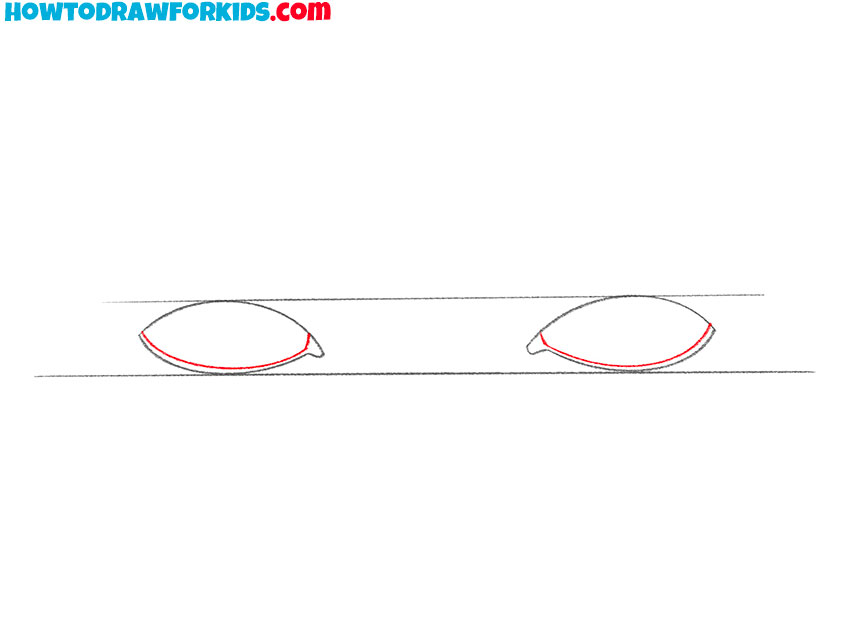
- Draw the thickness of the lower eyelid.
Sketch out a smooth line along the lower contour of the eye.
- Sketch out the iris.
Draw a rounded line on the right side of the eye.
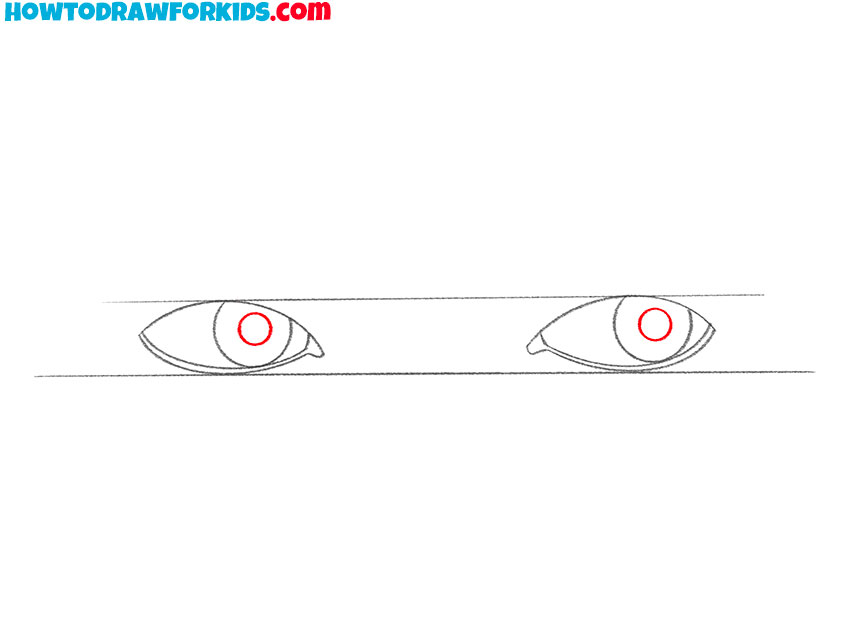
- Depict the pupils.
Draw two small circles in the center of the iris of each eye.
- Outline the lower and upper eyelids.
Depict two thin lines at the bottom and top, as shown in the example.
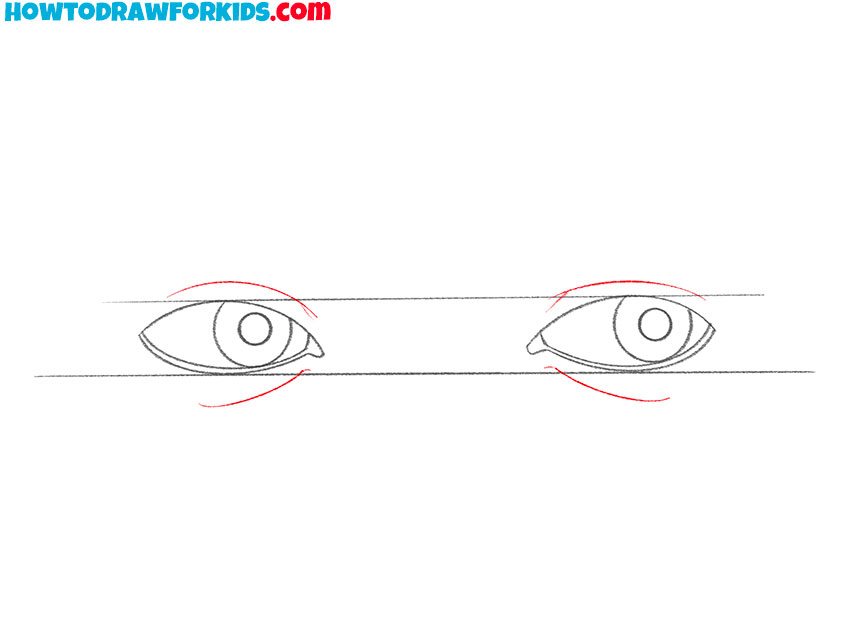
- Correct inaccuracies.
Carefully remove the auxiliary lines.
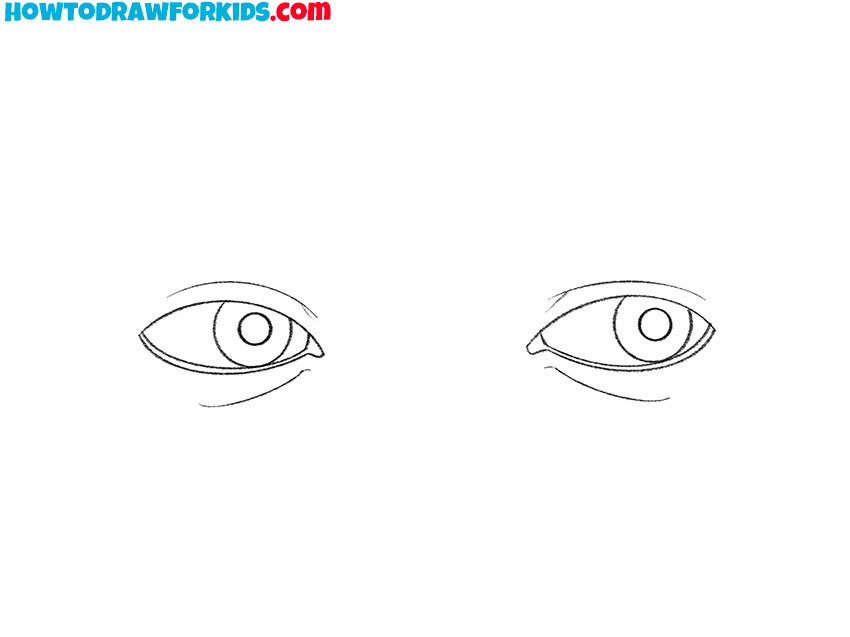
- Color the drawing.
Choose any colors for the skin and eyes. Add highlights to the eyes.

Especially for your convenience, I have prepared a PDF file with a short version of the lesson. Download the file so that you can return to this lesson at any time.


