How to Draw Finn from Star Wars
This lesson adds to our movie-themed collection and teaches you how to draw Finn from Star Wars in a very simple yet recognizable way.
How to Draw Finn from Star Wars: Introduction
Finn is one of the key characters introduced in the more recent Star Wars trilogy. Today we’re going to learn how to draw Finn in a simplified but recognizable way. While he may not wear a highly elaborate costume like some other characters in the franchise, Finn still has a distinctive appearance that can be replicated with just a few key details.
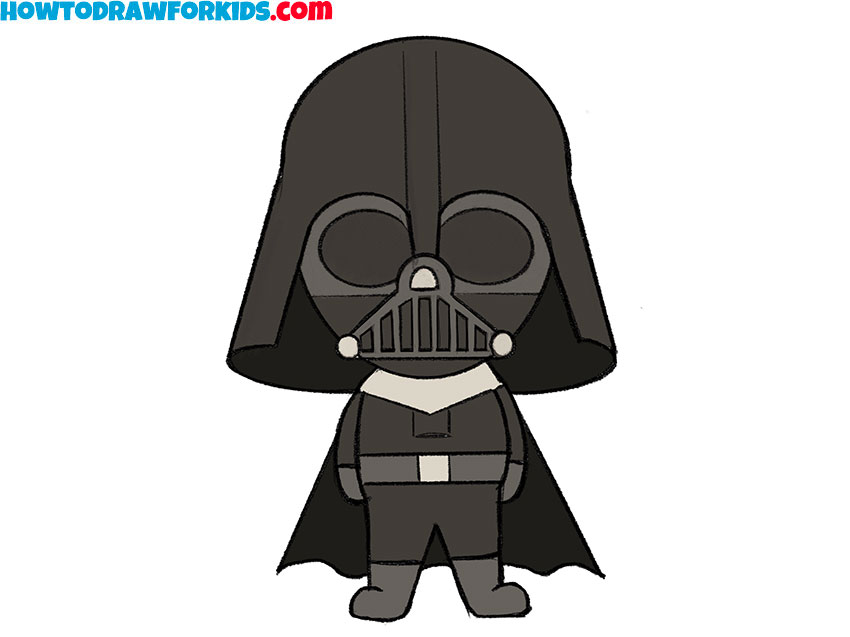
This lesson continues my series of movie-themed drawing tutorials. We’ve already practiced drawing Darth Vader and other characters from films, so now it’s time to add Finn to the collection. As always, we’ll be using simple shapes and clean lines to keep the process clear and accessible. You don’t need any advanced tools – just paper, a pencil, and optional coloring materials if you’d like to finish your artwork with color.
One of the challenges in drawing Finn is conveying his likeness with minimal details. Unlike armored characters or those with masks, Finn’s appearance relies more on facial features, hairstyle, and clothing. This makes the tutorial a useful exercise in recognizing and simplifying human features while still keeping the character identifiable.
If you’re already familiar with other tutorials on my website, such as how to draw baby Yoda or characters from other films, you’ll find this one fits right into your learning process. After completing this tutorial on how to draw Finn from Star Wars, be sure to check out the rest of the movie section for even more characters to practice with.
Finn from Star Wars Drawing Tutorial
Materials
- Pencil
- Paper
- Eraser
- Coloring supplies
Time needed: 40 minutes
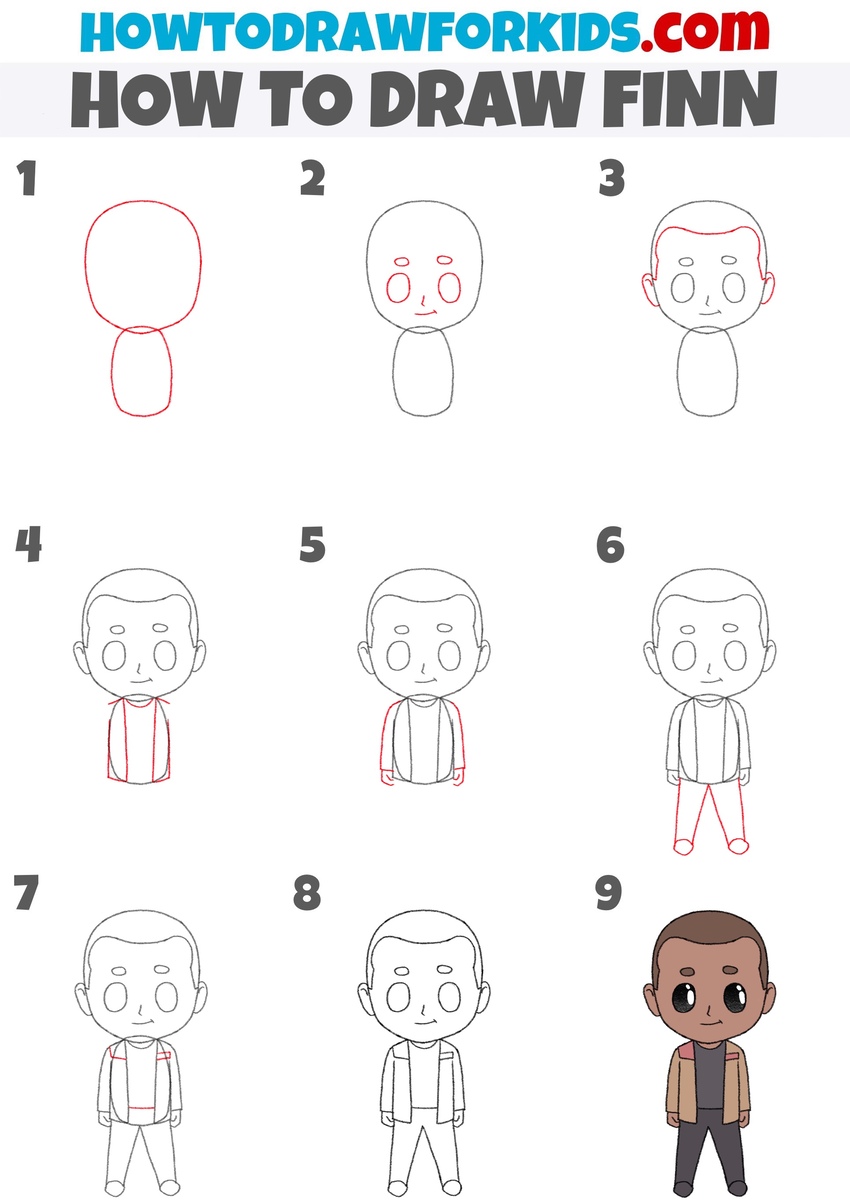
How to Draw Finn from Star Wars
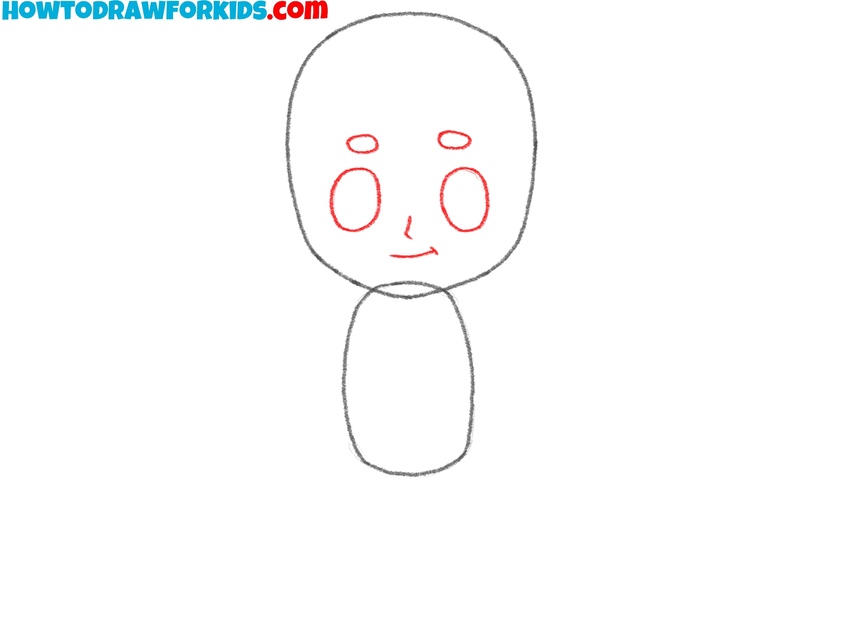
- Draw the base of Finn’s head and torso.
Draw two basic shapes to represent the structure of Finn’s body. The head is a large oval shape that takes up the upper part of the drawing space. Below it, draw a smaller, rounded rectangular shape for the torso. Use light pressure while sketching, as these are just the foundation lines and may be refined later.

- Draw the facial features of Finn.
Inside the head shape, draw the eyes as two small oval shapes. Above the eyes, draw small oval shapes for the eyebrows. Add a short vertical curve for the nose between the eyes. After that, draw the mouth below the nose, using a short curved line.
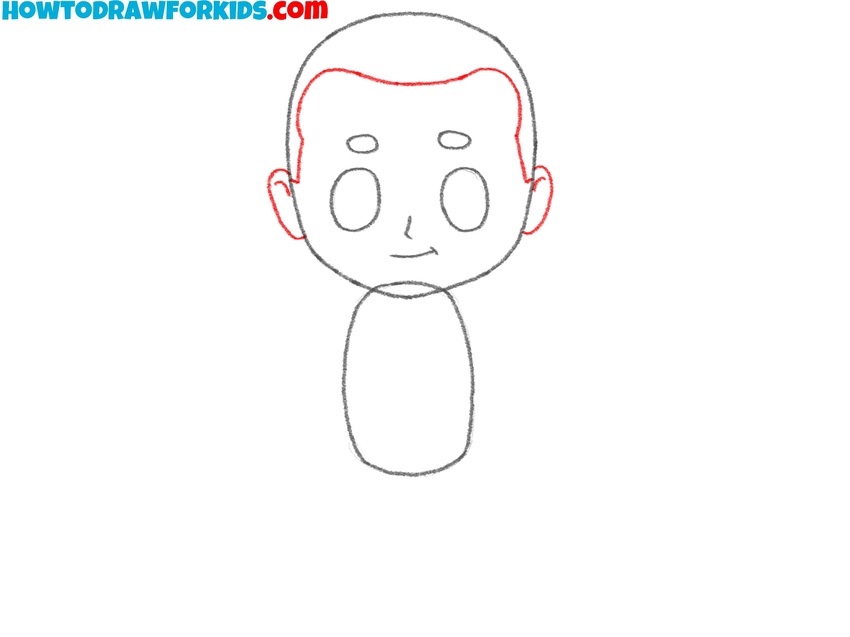
- Sketch the hairstyle and outline the ears.
On each side of the head, draw a curved line for the ears. You can add lines inside the ears to make them more detailed. Using the head shape as a guide, draw Finn’s hairline. Create a wavy line starting near one ear, curving up along the forehead, and ending at the other ear.
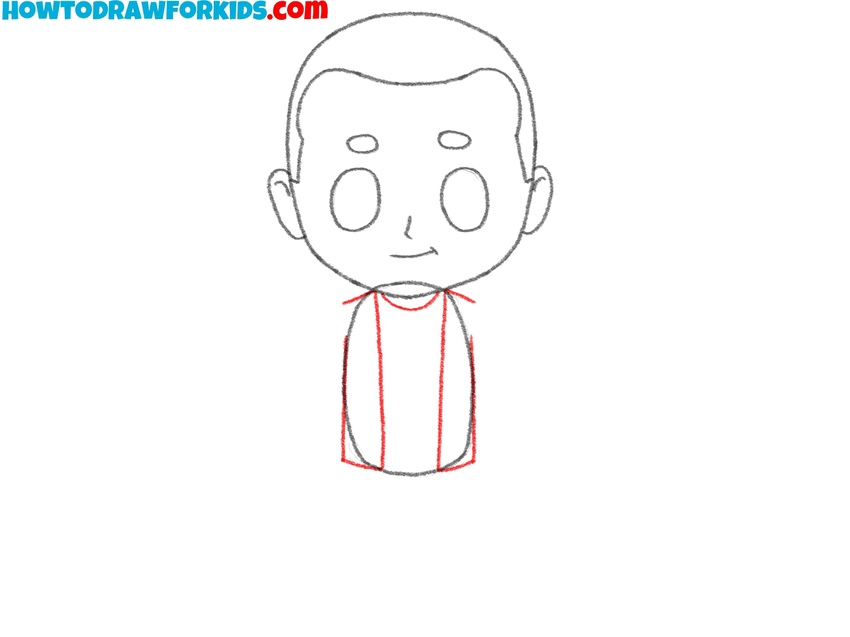
- Detail the top of the body.
Now start working on the clothing. From below the chin, draw two vertical lines downward to form the sides of the open jacket. Add short lines near the neckline to draw the inner shirt. The jacket should hang loosely around the torso base shape you drew earlier.
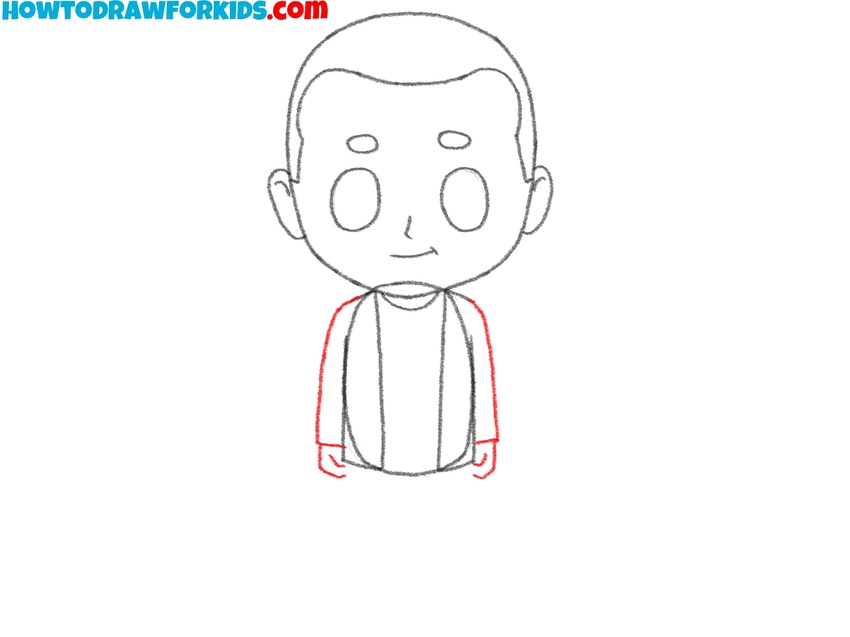
- Add the sleeves of the jacket and hands.
Start from each shoulder and use two simple shapes to draw the sleeves down to the sides of the torso. At the end of each sleeve, draw simple rounded shapes for the hands. You can indicate the fingers to make the hands look more detailed, but don’t overcomplicate things.
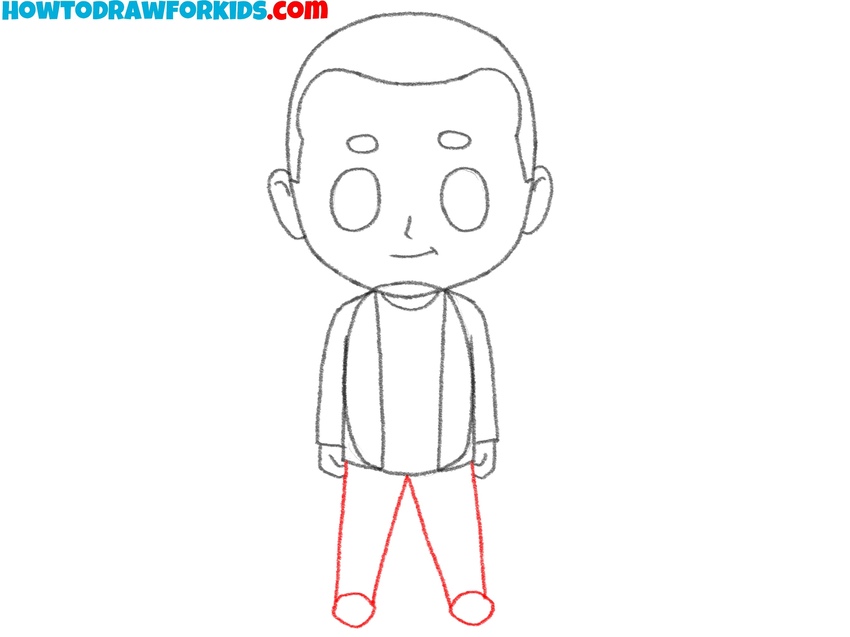
- Draw the pants and complete the legs.
Extend two slightly angled lines down from the bottom of the jacket for the pant legs. The legs should tapper slightly as they move to the bottom. To make the pants look more detailed, you can add folds. Finish each pant leg with a small shape at the bottom for the feet.
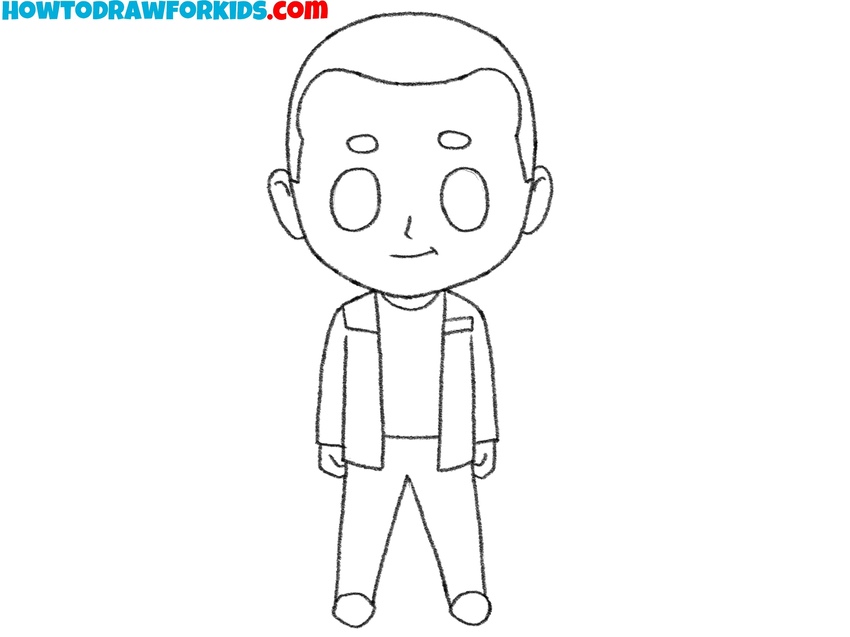
- Draw Finn’s costume details.
Now it’s time to add small but important costume elements. Draw lines on the jacket to illustrate pockets, and add a rectangular shape on the left side of Finn’s chest to indicate the red shoulder patch. Draw the boredom edge of the shirt below the jacket.

- Trace the entire outline with clean lines.
Using a darker pencil or pen, carefully trace over the entire Finn drawing, refining the lines and shapes. Smooth out the outline of the head, clothing, limbs, and facial features. Remove any rough sketches or construction lines that remain to prepare your drawing for coloring.
- Color your drawing of Finn.
To finish this tutorial on how to draw Finn, add colors. Use black for the shirt and pants, brown for the jacket, red for the shoulder detail, and light blue for the shoes. Use a medium skin tone and dark brown or black for the hair. Color the eyes of Finn in black, leaving white highlights inside them.

Conclusion
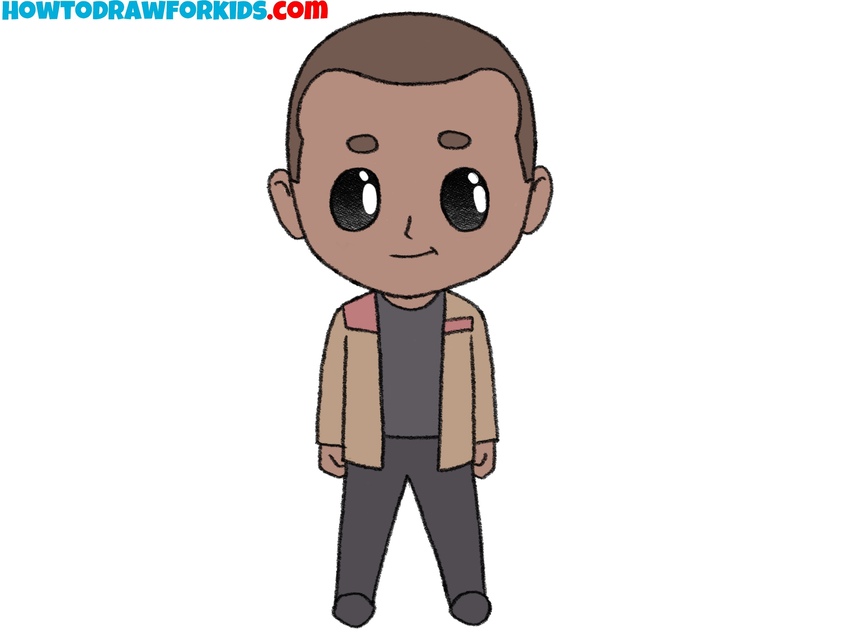
In this tutorial, you learned how to draw Finn using a simple step-by-step method. You used very simple shapes and details to make Finn recognizable. This approach helps young artists and beginners draw characters with confidence, even if they are new to drawing.
If you followed each step carefully, you now have a complete drawing of Finn that looks clean and accurate. You can leave your drawing as it is or personalize it by adjusting the colors, changing facial expressions, or experimenting with different poses.
This lesson also supports your skills in drawing person figures and clothing elements, which are useful for many types of characters. If you enjoyed this, check out other character drawing tutorials from movies, cartoons, and games to continue developing your drawing abilities.
Don’t forget to share your finished work and let me know how the process went for you. You can also leave a comment or suggest what characters you’d like to draw next. And if you’re looking for more Star Wars tutorials, take a look at other related lessons available in the movie section of the site.