How to Draw French Fries
In this step-by-step lesson, you’ll see how to draw French fries, an iconic food found in diners and restaurants worldwide.

How to Draw French Fries: Introduction
I have prepared a new and very useful drawing lesson for you in which you can learn how to draw french fries step by step. I think that food drawing lessons are very useful for you because you will be able to apply the new skills you have learned by doing such drawing guides more than once.
I’m sure you have eaten french fries and know that they are fried potatoes sliced into long strips. They are prepared by cutting the potato into even strips, then drying and frying it, usually in a deep fryer. This dish is popular all over the world and loved by many adults and children.
I think it’s time to start drawing french fries step by step!
French Fries Drawing Tutorial
Materials
- Pencil
- Paper
- Eraser
- Coloring supplies
Time needed: 20 minutes
How to Draw French Fries
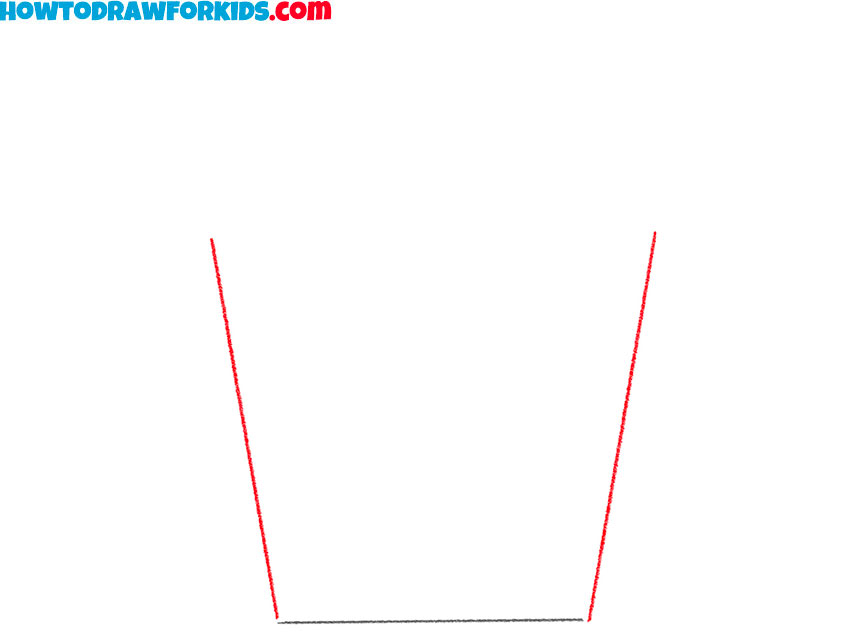
- Sketch the bottom edge.
At this stage, sketch a simple horizontal line that will serve as the bottom of the fries container. Try to keep it straight and simple. This small edge supports the rest of the shape, so if it will be turned to the side, the whole container will be tilted.

- Sketch the container side edge.
From each end of the bottom line, draw two slightly slanted vertical lines. These will form the side edges of the fries container. These lines should mirror each other. Check proportions by holding your paper at arm’s length and comparing both lines.
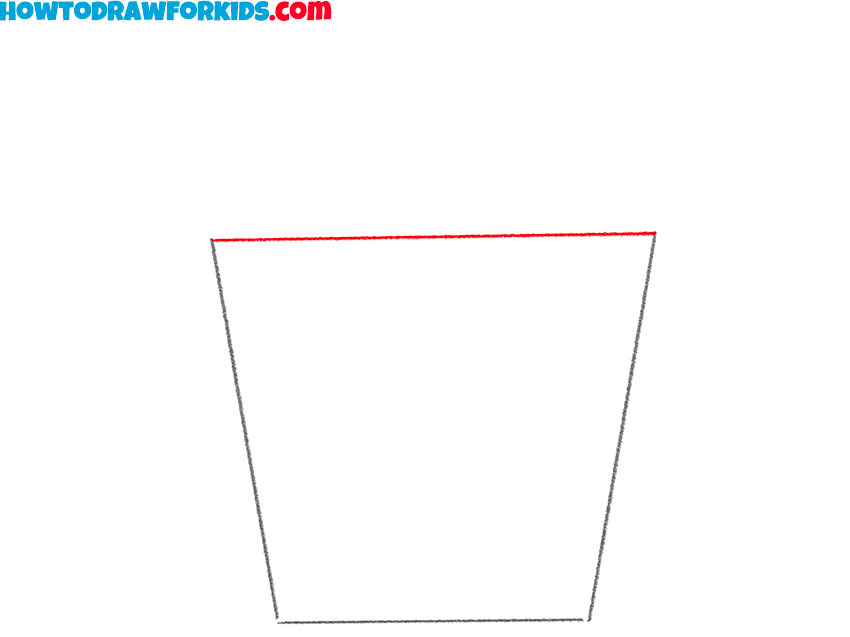
- Close the top of the box.
Connect the two slanted lines with a long horizontal line to form the top of the container. This should be wider than the base. To make this part more unique, you can use a curved line or even a shape similar to the letter M, as in some restaurants.
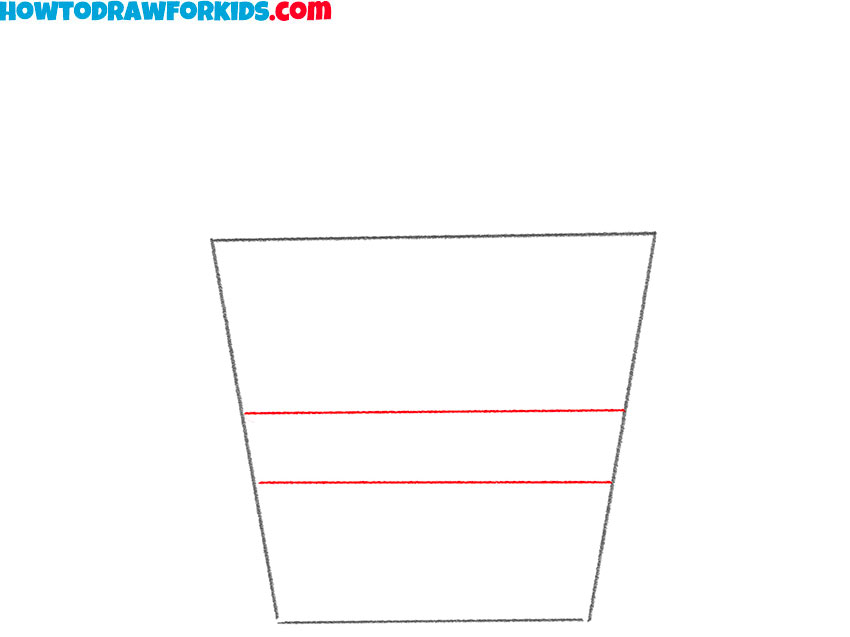
- Add stripes on the box.
Now illustrate two parallel horizontal lines inside the box to represent the decorative stripes often seen on fries containers. Place them closer to the middle, leaving enough space between them to add a logo if needed. These stripes should follow the lines of the top and bottom.
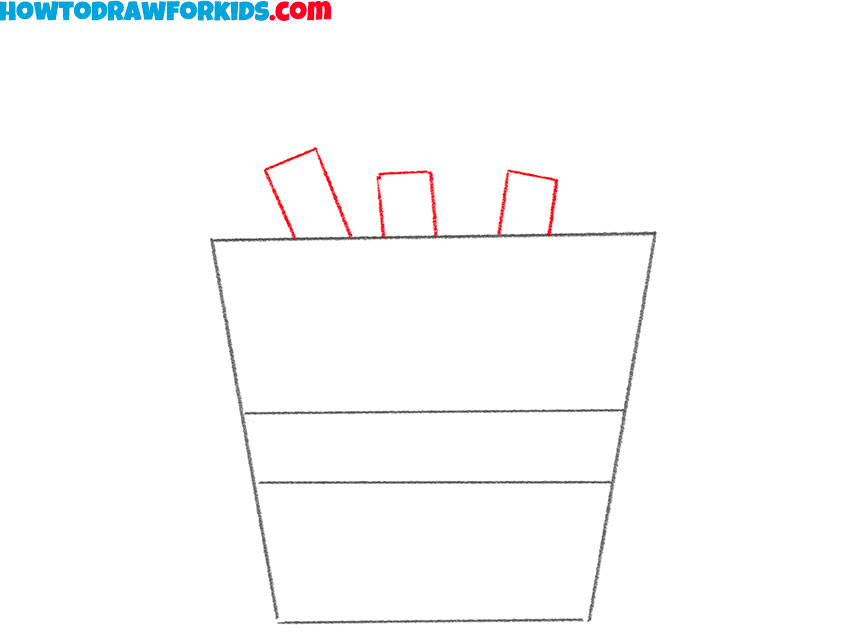
- Draw the first French fries.
Above the top of the container, sketch a few rectangular shapes sticking out. Keep them fairly straight but vary their height a little so they don’t all look identical. This variation makes the fries look more natural and less like simple blocks. Think of how fries actually appear in a box.
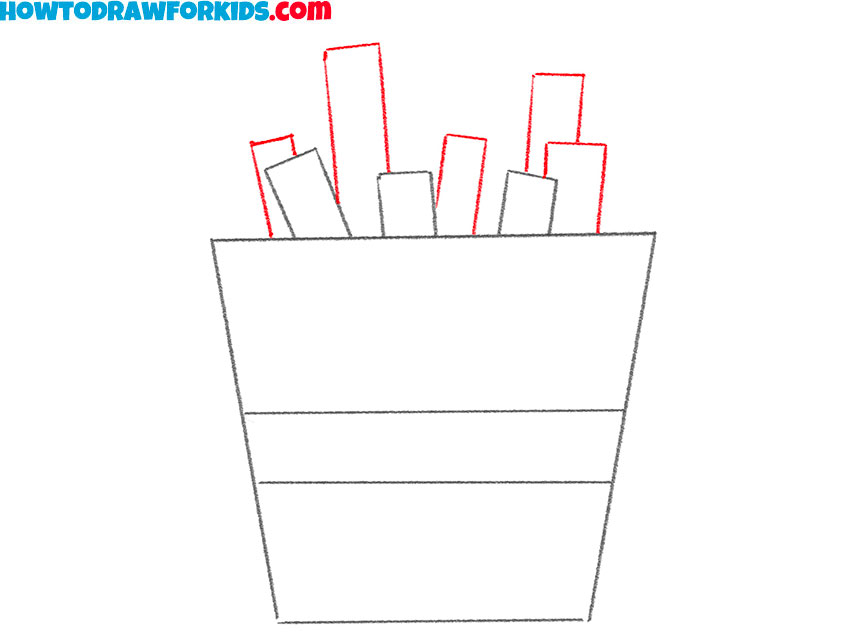
- Sketch the fries in the middle.
Continue building the fries by adding a few more rectangles next to and behind the first ones. Sketch them slightly taller to give the effect of volume and perspective. You can sketch the tops uneven so the fries don’t look like a row of fence posts.
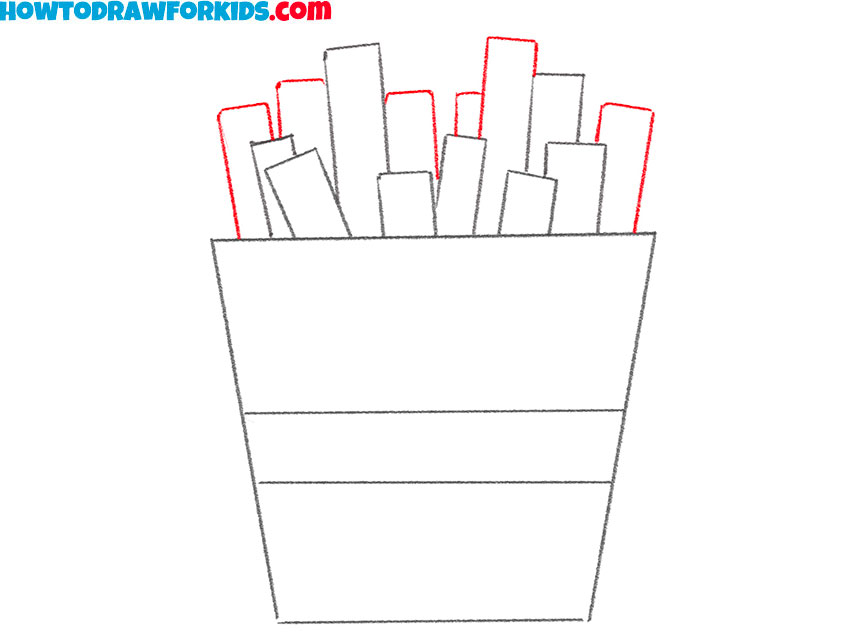
- Add fries on the sides.
To complete the look, add more fries sticking out from the left and right sides of the container. These side fries should overlap slightly with the middle ones. Vary the heights again, with some slightly shorter and others a bit taller.
- Sketch fries at the back.
Finish sketching the fries by filling in the remaining spaces across the top. These should be drawn behind the others, overlapping just enough to convey a crowded pack. Don’t try to make each fry perfectly unique. The fries at the back can be drawn a little taller.

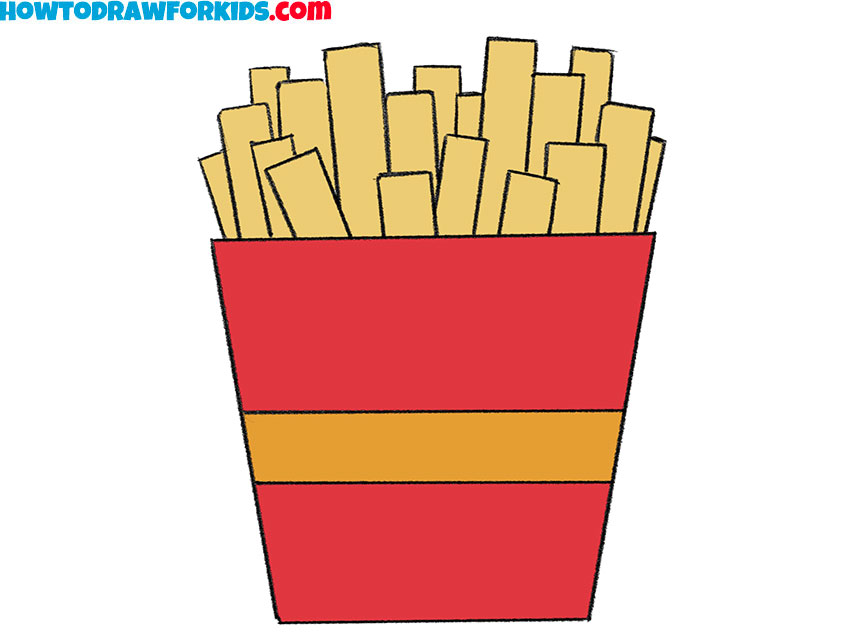
- Add red and yellow colors.
Now that the outline is complete, color the container in a bright red, adding the yellow-orange stripe in the middle to make it look more like a real pack. The fries themselves should be colored in a golden yellow. It’s better to color in one direction to avoid patchy marks, especially with crayons or colored pencils.

Additional Content
This concludes our lesson on drawing french fries. I hope this guide helped you achieve a clear result that you are satisfied with. You are welcome to follow us on social media and leave a comment about the lesson, as well as share your own suggestions for future tutorials. Don’t forget that you can also download and print the free PDF, which includes the short version of this tutorial along with some additional materials for practice.