How to Draw Garfield’s Face
For everyone who loves lasagna and isn’t a fan of Mondays, I’ve put together this simple lesson on how to draw Garfield’s head.
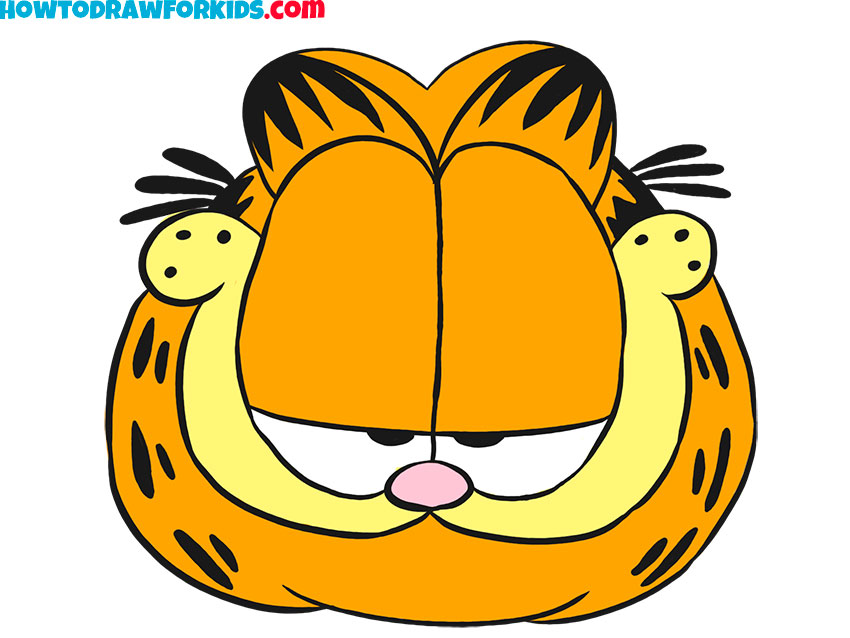
In this simple cartoon tutorial, you will learn how to draw Garfield’s face step by step. He is the protagonist of the film of the same name and a character in the comic book series. After the screening of the film, this handsome fluffy cat won the hearts of many viewers.
This cat is often lazy and slow, but sometimes very hot-tempered and active. More than anything Garfield loves lasagna. He has a large body, fluffy red hair, and a long tail. Also, this cat has large eyes that are close to each other. You must depict this feature in your drawing.
Garfield face drawing tutorial consists of a few simple steps. Here, you’ll learn how to draw a cat face in a recognizable cartoon style.
This lesson is designed in such a way that any aspiring artist can easily cope with this task and learn how to draw Garfield. You just need to show a little accuracy and the result will delight you. Garfield is a very bright character, so choose the brightest shades for coloring.
Garfield’s Face Drawing Tutorial
Materials
- Pencil
- Paper
- Eraser
- Coloring supplies
Time needed: 20 minutes
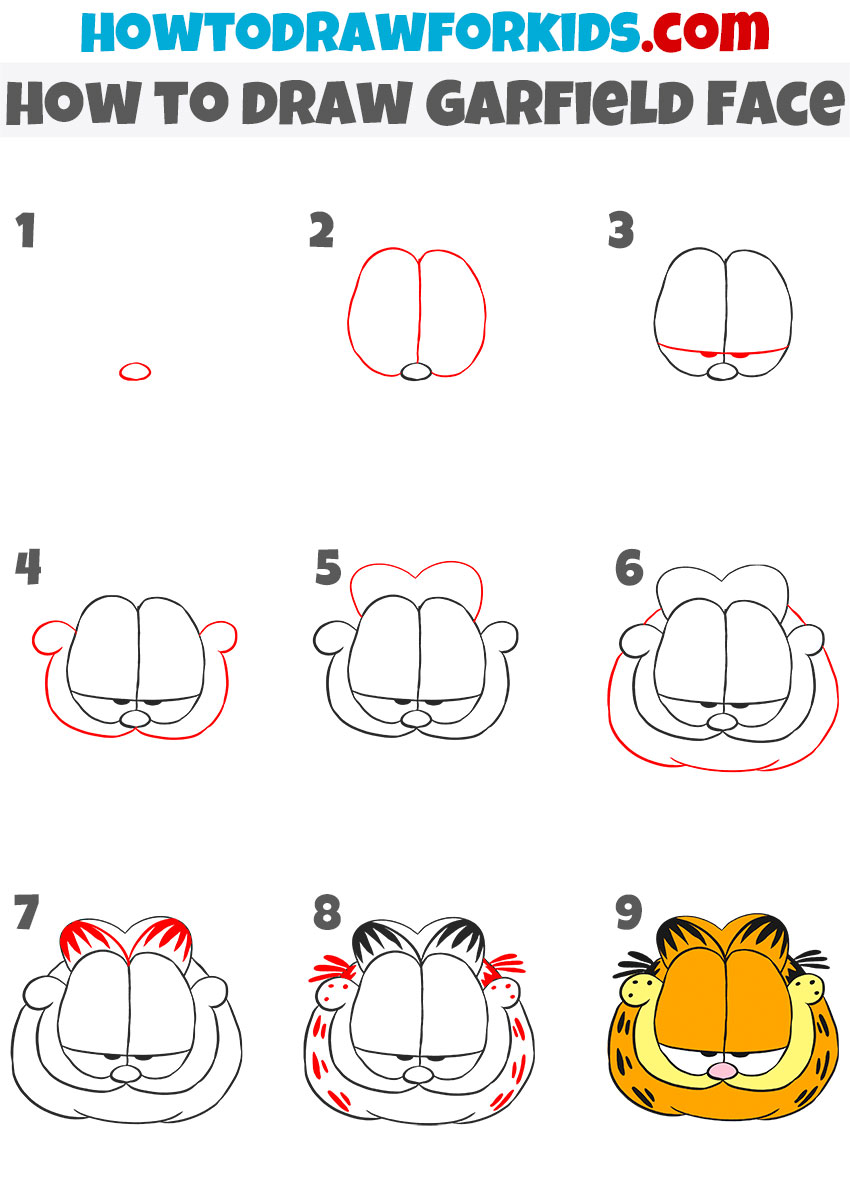
How to draw Garfield’s face step by step
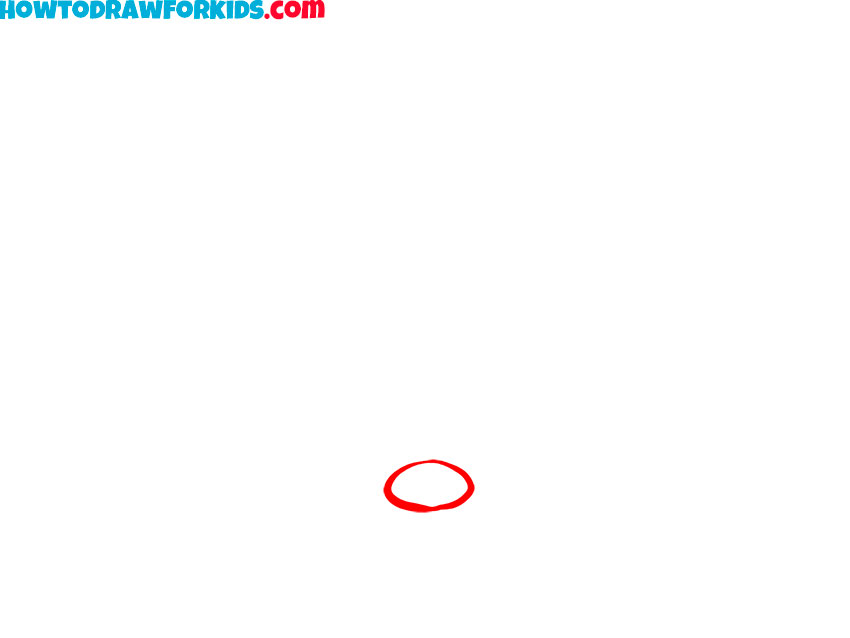
- Sketch a small cat nose.
Start with a small shape in the center and gradually place every other feature of the cartoon cat face around this spot. Begin by sketching a tiny oval that will serve as Garfield’s nose. Keep it simple, light, and centered and leave room for the eyes above and the mouth below.
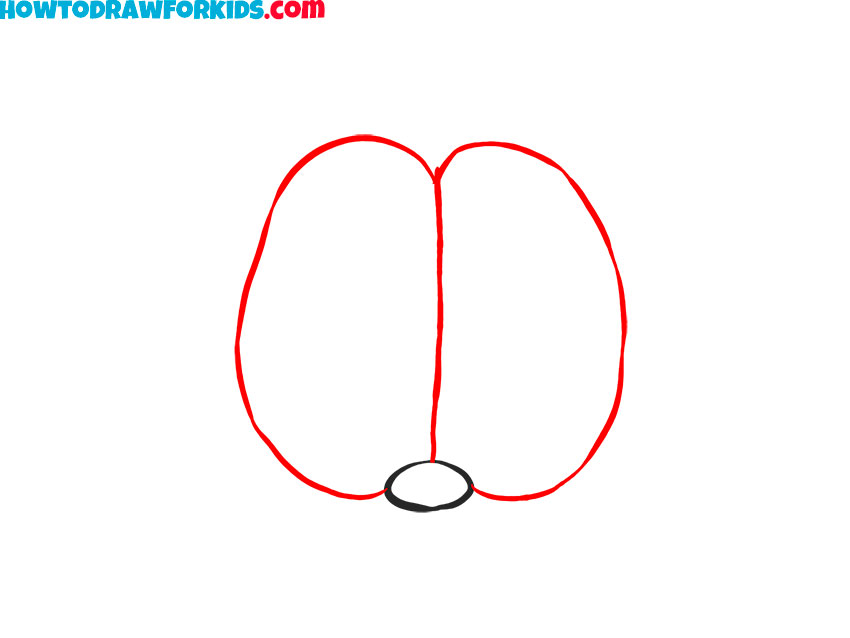
- Draw Garfield’s eye shapes.
Now, construct the large rounded forms to draw cartoon cat eyes. Start by sketching two tall oval-like shapes sitting side by side, touching at the center line above the nose. These shapes should be symmetrical in height and width.
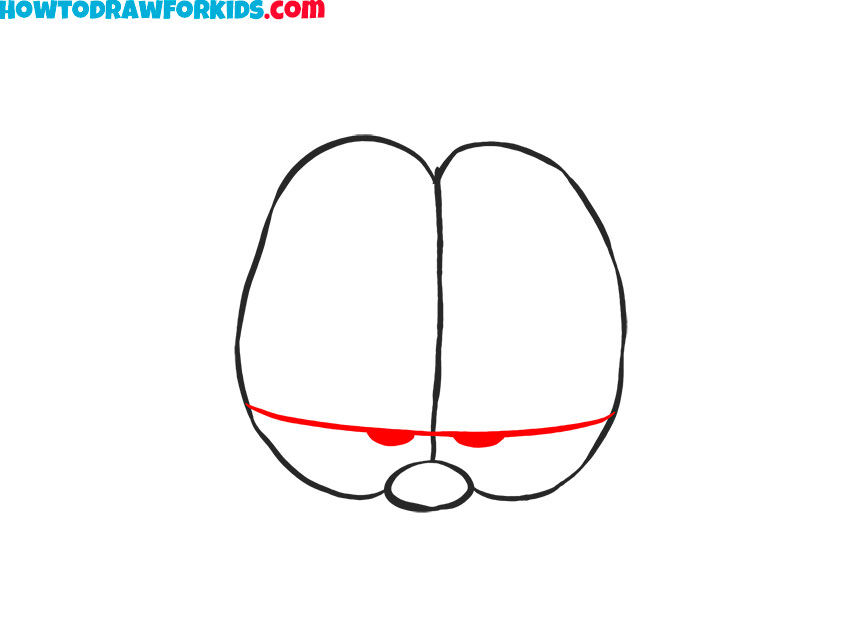
- Sketch the eyelids and pupils.
Before shaping the rest of the head, establish Garfield’s classic sleepy eyelids to give the drawing its recognizable mood. Draw two long and curved lines across the lower parts of the eye shapes. After that, draw the pupils just below these lines.
- Illustrate the mouth and cheeks.
Now you can begin forming Garfield’s face around the features you’ve already placed. Draw the cat mouth and rounded cheeks below the eyes, each curving outward in a puffy way. Garfield’s cheeks are large, symmetrical, and rounded.
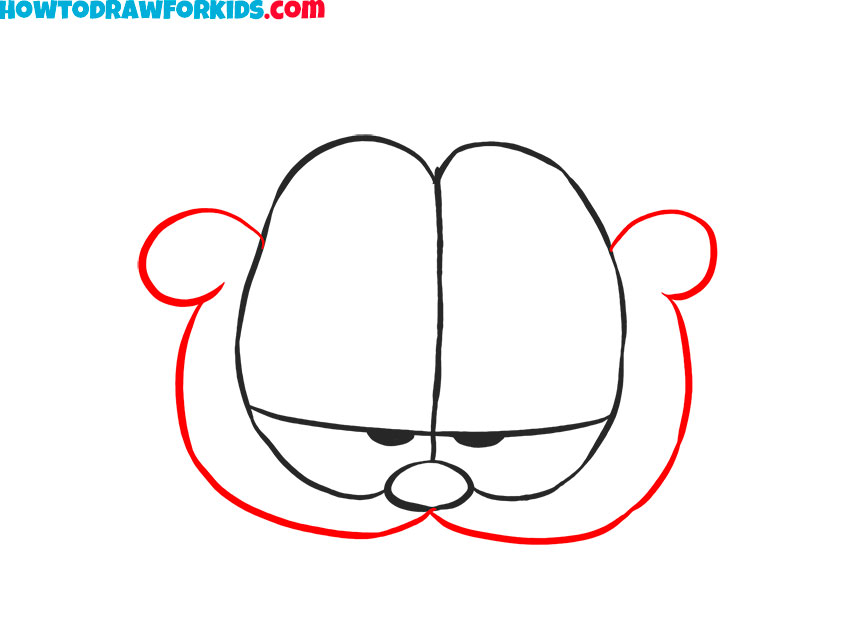
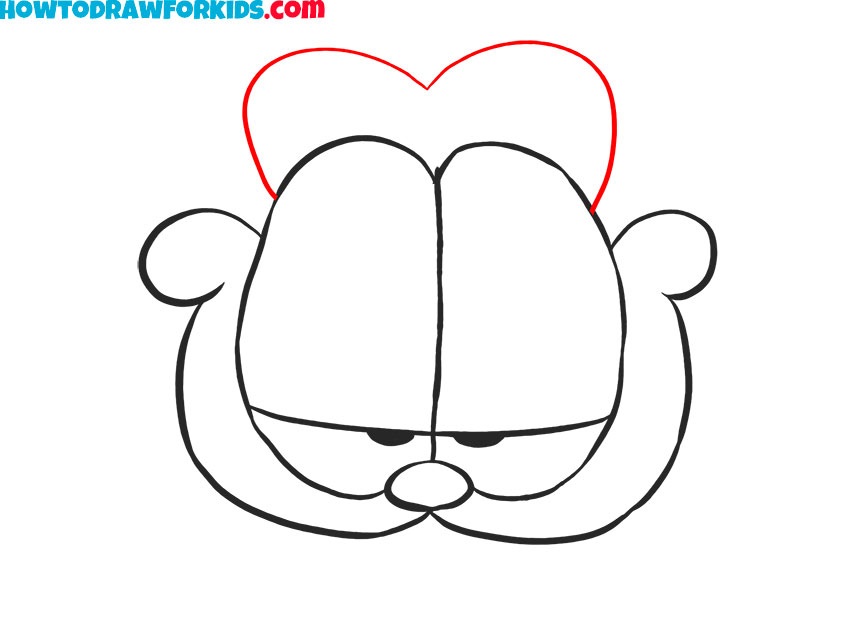
- Sketch the cat ears at the top.
With the lower face sketched, it’s time to outline the top area to give Garfield his full head shape. Draw the cat ears as two large, rounded bumps above the eyes. Try to make the lines of the cat ears smooth, rounded, and symmetrical.
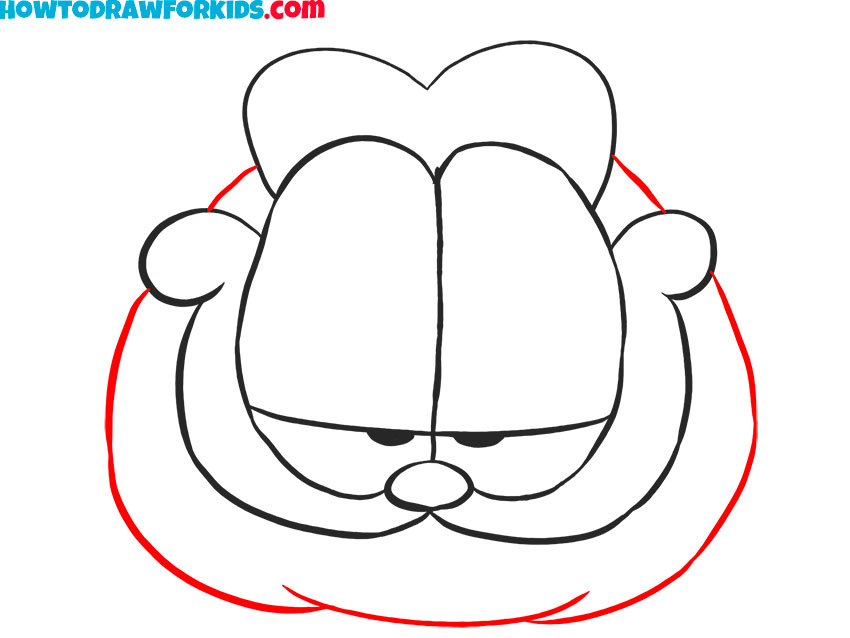
- Draw Garfield’s face outline.
To give Garfield his final head silhouette, draw a large rounded outline around everything you’ve created so far. This outline should curve widely around the cheeks.
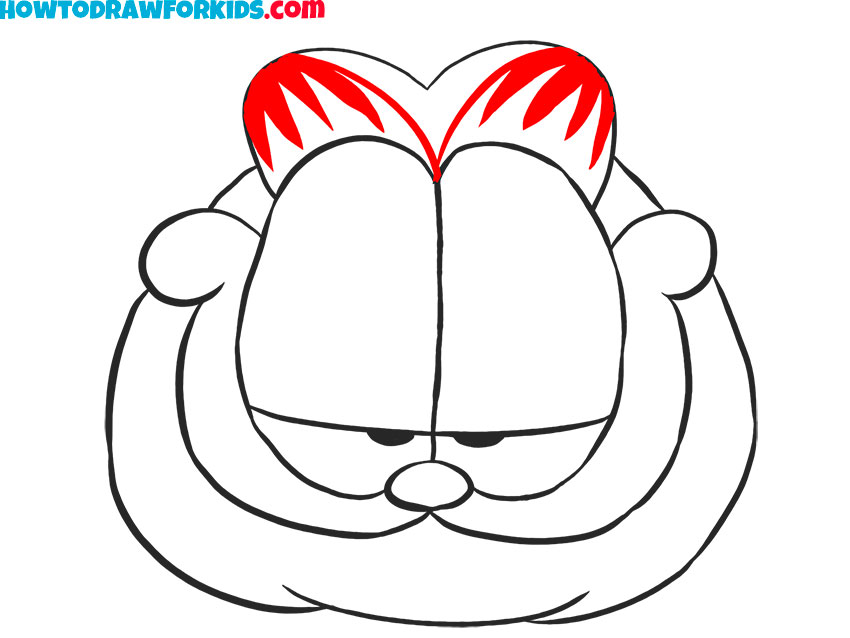
- Sketch Garfield’s ear stripes.
Garfield’s signature stripes help to make the drawing look more recognizable, so now you can add the first set of markings. Draw several short and thick lines along the ears on the head. These lines should taper slightly at the ends.
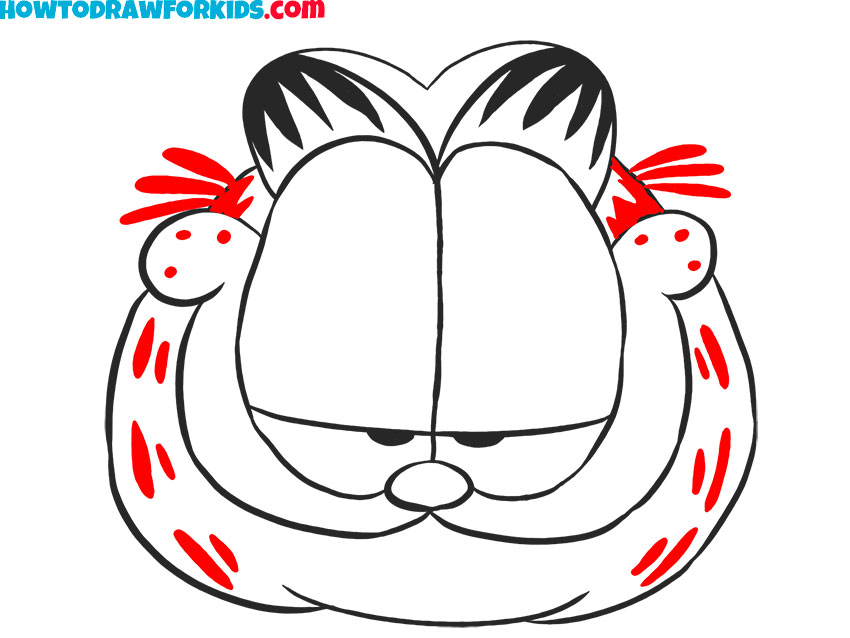
- Add cheek spots and stripes.
Now, draw the whisker spots as small circles near each cheek, then draw short stripe-like shapes along the sides of the face. Once the stripes and spots are placed, review your whole Garfield’s face drawing to make sure the proportions still look correct and no lines appear unnatural.
- Add orange tones to Garfield’s face.
To color the head of Garfield, use bright orange tones for the main areas of fur. The cheeks and muzzle should stay lighter, and the nose can be colored in a soft pink. Once complete, you’ll have a finished, cartoon-styled Garfield face drawing with all the recognizable features.

Congratulations! Now you have learned how to draw Garfield face. Hope this funny character looks very cute and you are happy with the result. Feel free to share your impressions of Garfield face drawing tutorial. I will wait for your comments.
For your convenience, I have prepared a PDF file. After downloading this file, you can return to the drawing lesson at any time, even if there is no Internet access.