How to Draw Garfield
In this lesson you will learn how to draw Garfield – a funny and legendary cat in just 9 steps. At the end you will find a PDF file. We will look at the main features of his appearance and learn how to draw him in the simplest way.
In this lesson you are asked to draw the character Garfield. To do this you need to follow my simple tips. Here you will train your attentiveness and ability to maintain proportions.
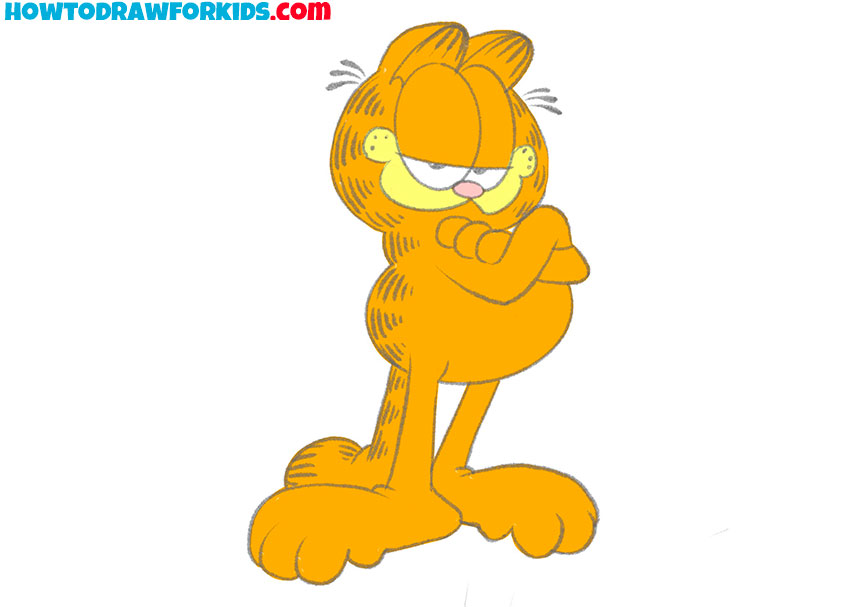

Table of Contents
Basic Information on How to Draw Garfield
A lesson on how to draw Garfield will be useful for any novice artist. Here you will train your attentiveness and ability to maintain proportions. Try to correctly depict Garfield’s body position.
Let me remind you that in order to correctly depict any object, you should prepare baselines. In this tutorial you will do exactly that. First you have to make a small sketch, and then you will give all parts of Garfield’s body the desired shape and add details.
Note that Garfield has short ears that sit high on the top of his head. The eyes are very large, oval-shaped and located close to each other. The feet are very large and point in different directions. Try to depict these features in your drawing.
Materials
- Pencil
- Paper
- Eraser
- Coloring supplies
Steps on How to Draw Garfield
Time needed: 30 minutes
How to Draw Garfield
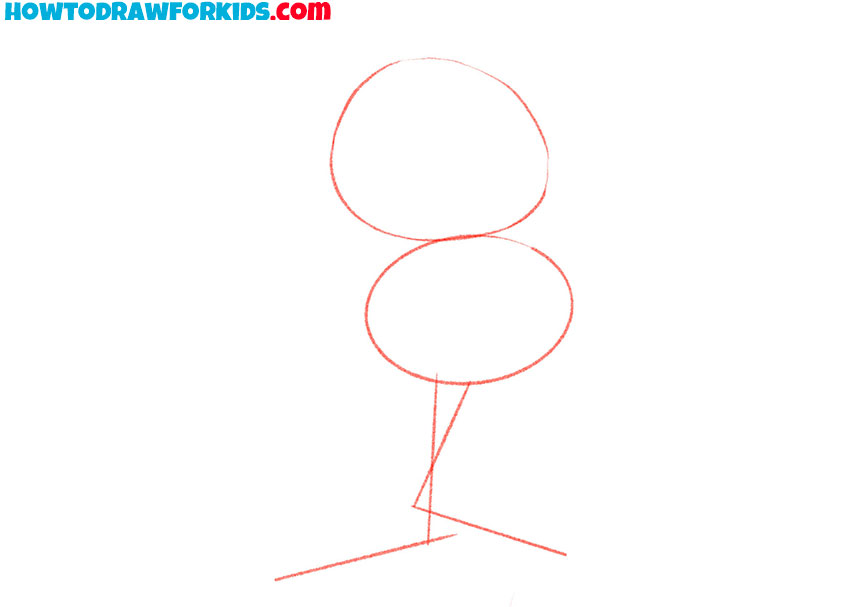
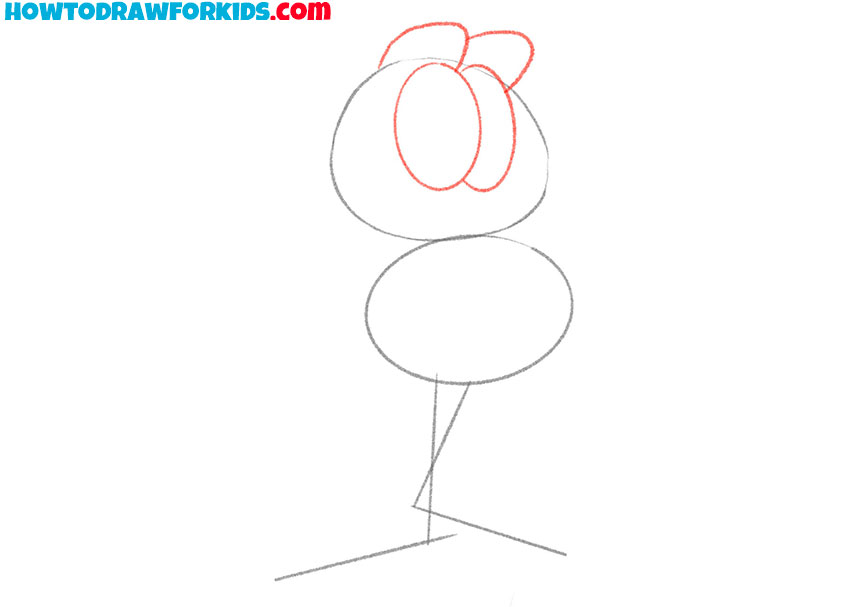
- Draw the outlines of the head, torso, and legs.
Start by drawing two overlapping circles representing Garfield’s head and body. These circles will serve as your foundation. Add two simple lines extending downward for the preliminary shape of his legs
- Sketch out the eyes.
Atop the upper circle, delicately sketch Garfield’s iconic round eyes, ensuring even spacing. These eyes are crucial to capturing his characteristic look.
- Add the ears, nose, and the inside of the eyes.
Inside the eyes, place his pupils ensuring they’re centered. Just below, draw a slight curved line representing his nose, a central feature of his expression.
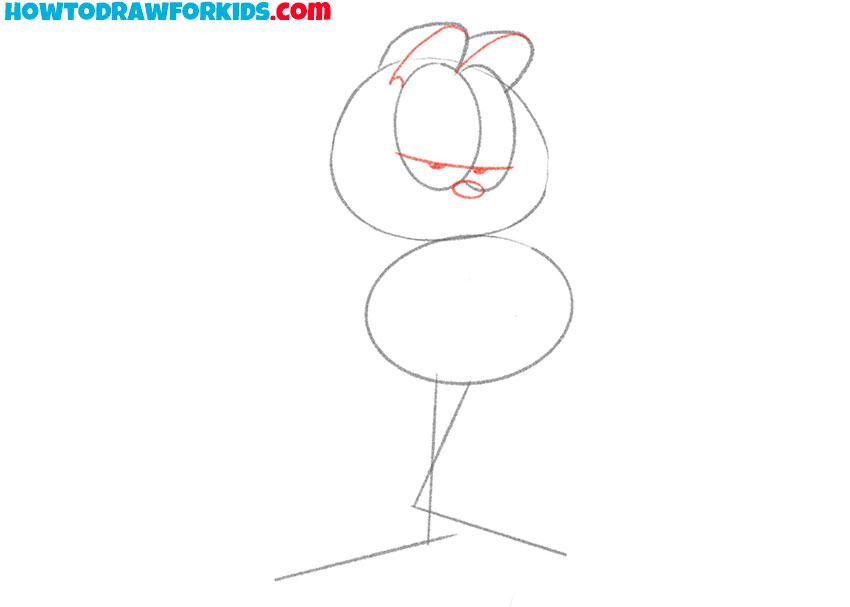
- Finish drawing Garfield’s facial features.
Emphasizing his mood, sketch his thick, bushy eyebrows giving them a slight curve. Also, outline his rounded ears and start defining the fluffy cheeks, typical of Garfield.
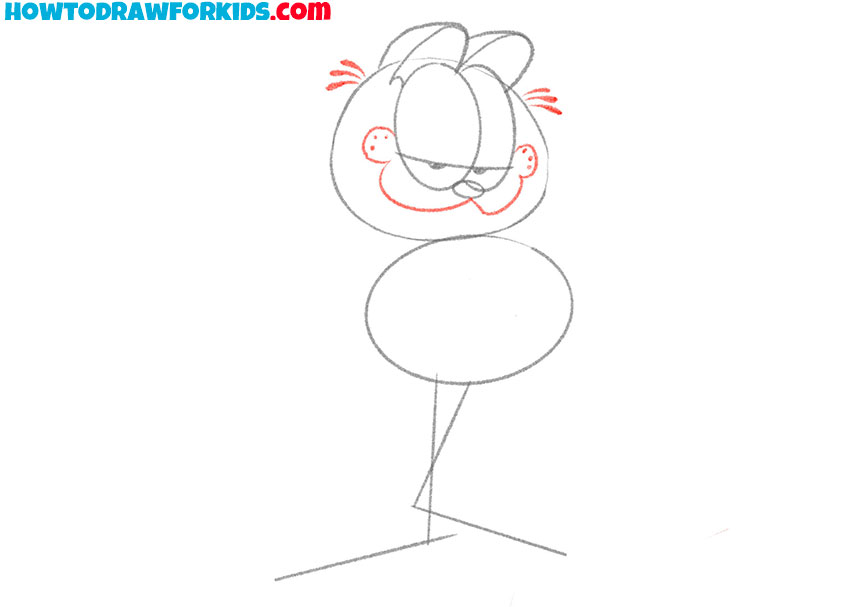
- Sketch out the Garfield’s arms and neck.
Craft Garfield’s unmistakable smirk, a half-closed crescent shape. Alongside, begin to portray his folded arms, ensuring they’re snug against his body.
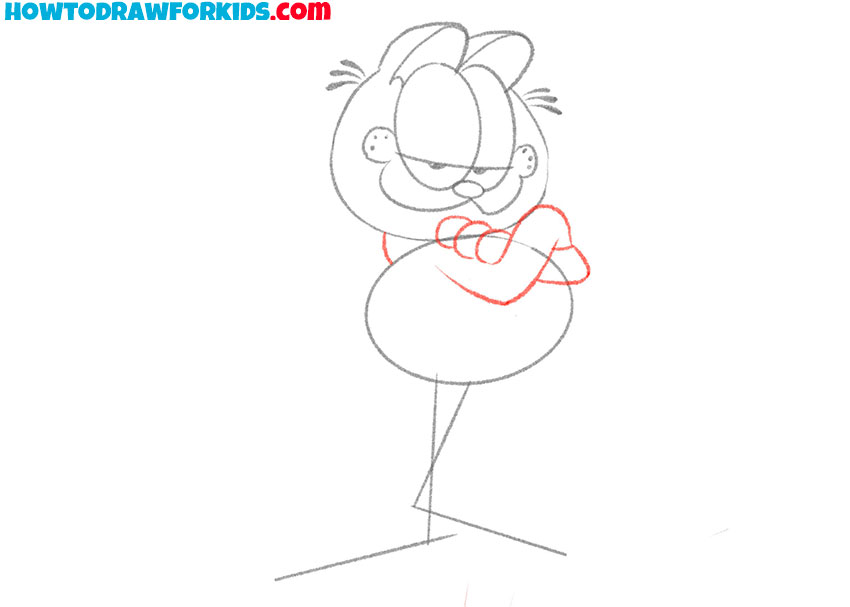
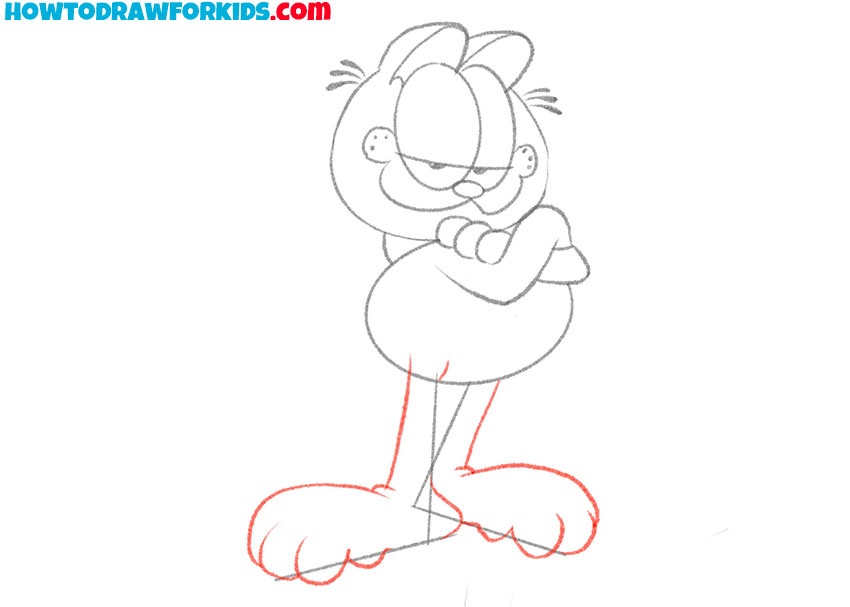
- Add the Garfield’s legs.
This guy has disproportionately large paws. This is, of course, a feature of the cartoon style. Pay attention to the size ratio in this step.
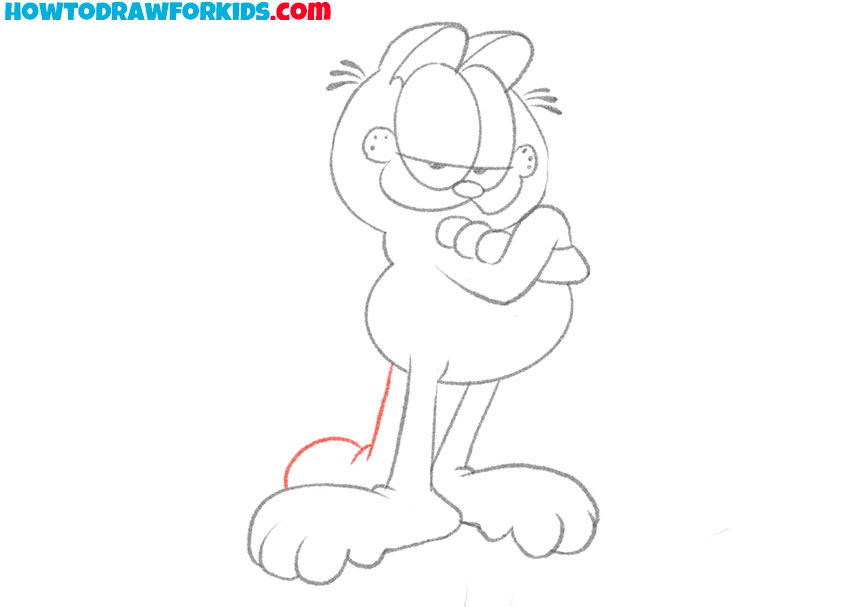
- Draw the cat’s tail.
Garfield has a very recognizable tail. When standing, the tail is usually positioned on the ground, as in our example. Draw this using a straight vertical line and some circular lines.
- Add details.
From his back, craft Garfield’s striped, bushy tail, ensuring it arches slightly. This tail is a signature feature, adding to his feline identity.

- Color the drawing.
Usually, here we write that you can choose any color. This is true, but the iconic appearance always makes your drawing recognizable. So, to color the Garfield, use orange, yellow, gray, and pink.
Additional Content
If you liked the instructions on how to draw Garfield, then share information about this lesson with your friends. For this purpose I have prepared a PDF
A file that contains all the useful materials needed to complete the lesson. In this file you will find:
- Drawing lesson
- Coloring book
- Trace Worksheet
- Grid drawing worksheet
Download the file right now and use it any time you want to get creative again and draw this cute character.
My Recommendations
You can improve your drawing if you follow my recommendations:
- Use different shades: Instead of using just one color for the entire design, try using different shades and shadows to create a deeper, more dimensional look. This will help give your drawing more realism.
- Add a background: To make your drawing look more complete, add a background or environment. This could be something as simple as a pillow or a sofa that Garfield is sitting on.
By following these tips, you can greatly improve your Garfield drawing lesson and create a more attractive drawing.
Conclusion
Don’t forget that the most important thing is to have fun and enjoy the process of drawing. And don’t be afraid to make mistakes, they are part of the creative process. Good luck I’m sure your Garfield drawing turned out beautiful and unique!