How to Draw Pinkie Pie
In this lesson I would like to tell you how to draw Pinkie Pie. This drawing lesson will be quite interesting and useful for each of you.
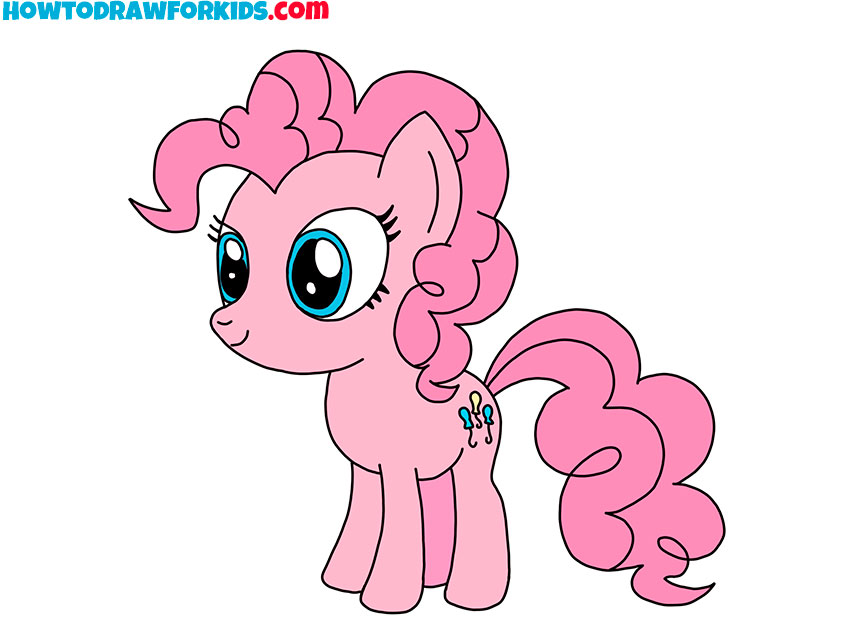
I suggest you complete a wonderful and very exciting drawing lesson with which you can learn how to draw Pinkie Pie step by step. If you are a fan of the cartoon “My Little Pony” or “Friendship is Magic”, and also want to learn how to draw various cute cartoon characters, then this lesson will definitely be very useful for you.
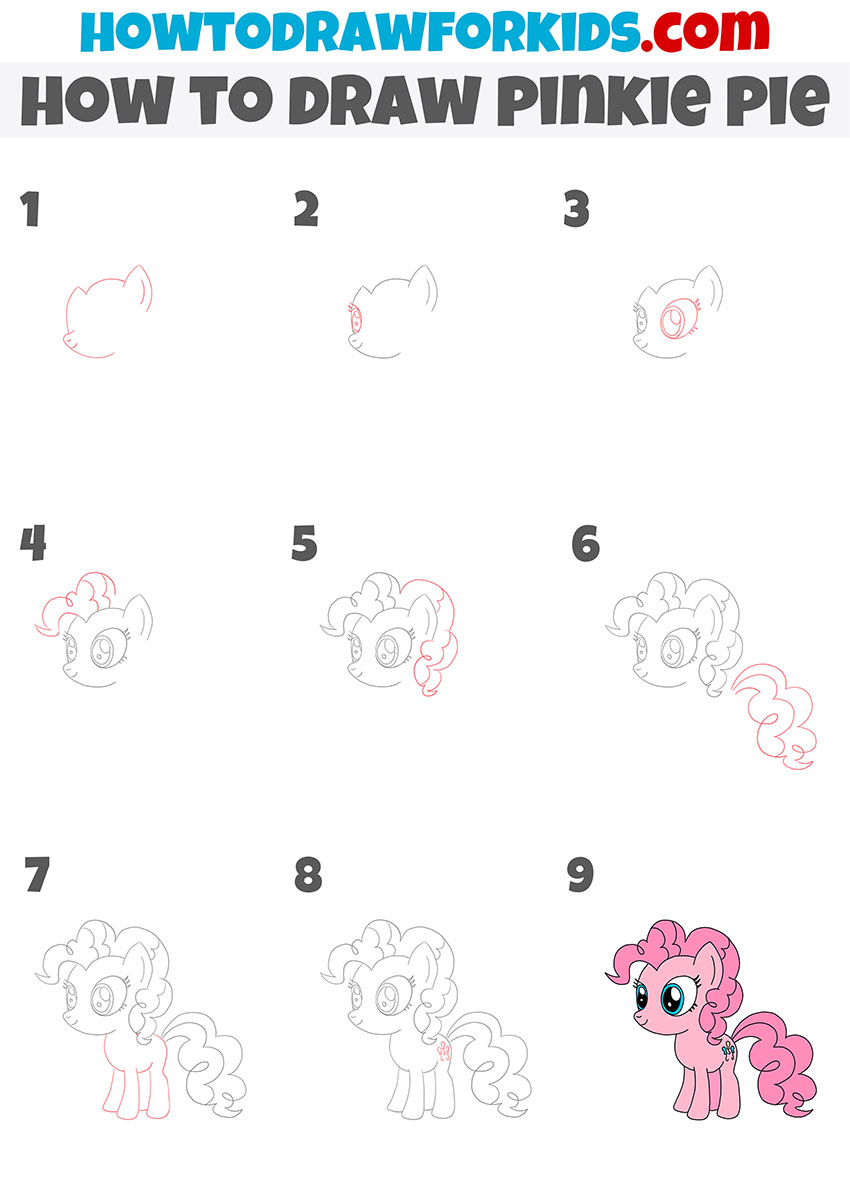
This instruction consists of only nine simple steps that each of you can easily follow. Having learned how to draw Pinkie Pie with the help of this simple step-by-step instruction, you can easily draw any episode of the cartoon in the future, draw this character as the main object of the drawing, and also supplement the drawing with the image of other characters of this cartoon.
I think that you already want to get started on this exciting drawing lesson. Then you can prepare art materials right now that you will use for drawing.
Pinkie Pie Drawing Tutorial
Materials
- Pencil
- Paper
- Eraser
- Coloring supplies
Time needed: 30 minutes
How to Draw Pinkie Pie
- Draw the outline of the Pinkie Pie’s head, ears, nose, and mouth.
To complete this step, you need to draw arcs and curved lines of various lengths.

- Depict one eye of the Pinkie Pie.
Inside the drawn outline of the head, draw the eyes using ovals, arcs, a circle, and short lines.
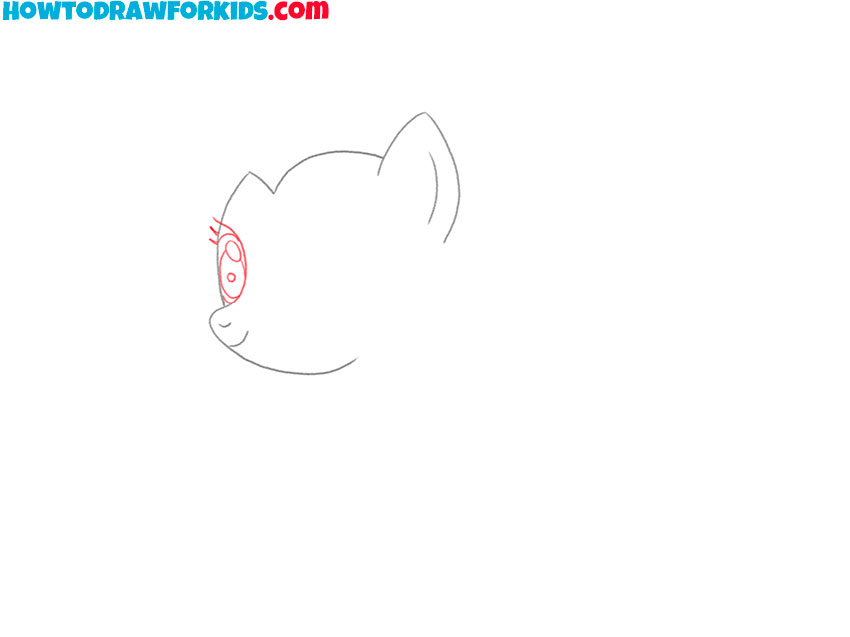
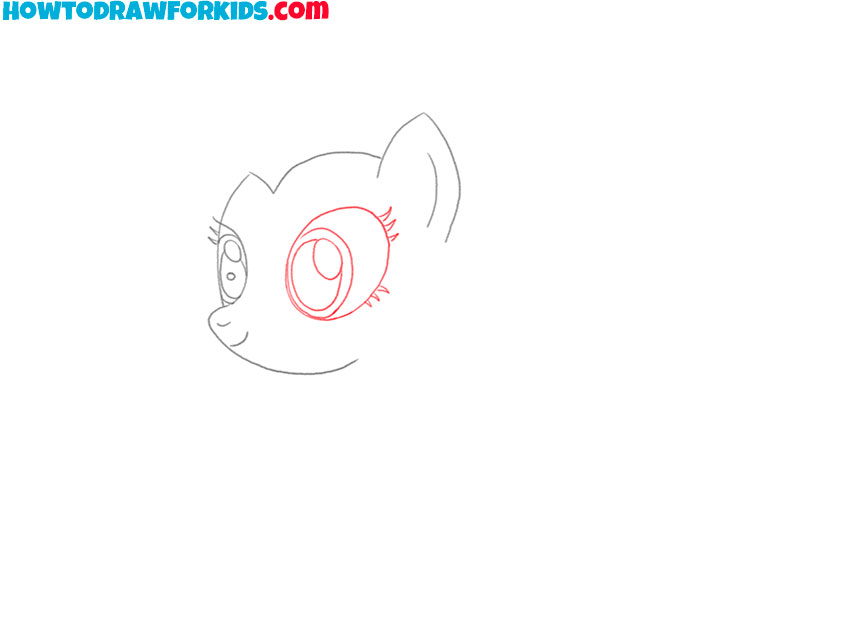
- Add another Pinkie Pie eye.
To draw this eye, you should use arcs of different sizes, an oval, as well as curved lines.
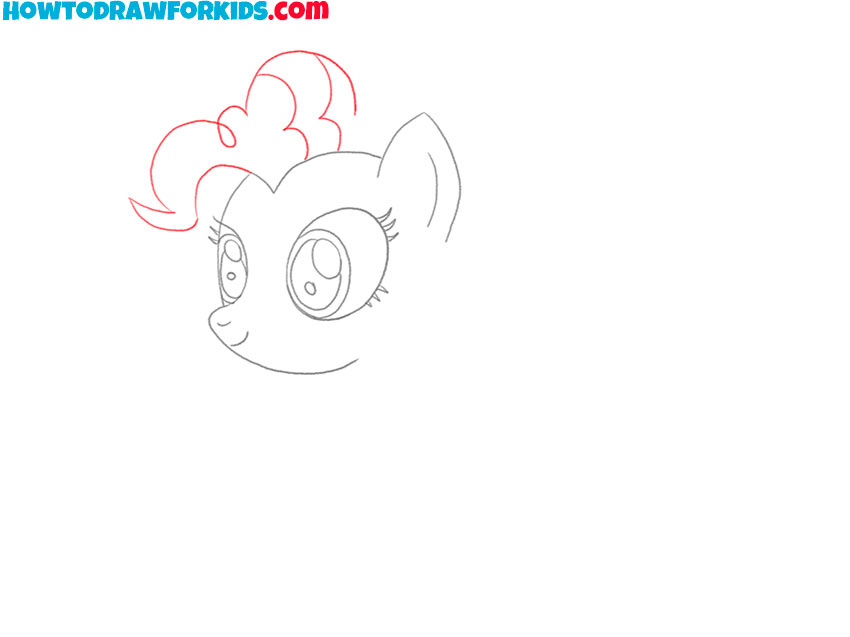
- Start drawing the Pinkie Pie’s mane.
At the top of the head, draw arcs and rounded lines, to represent the left side of the mane.
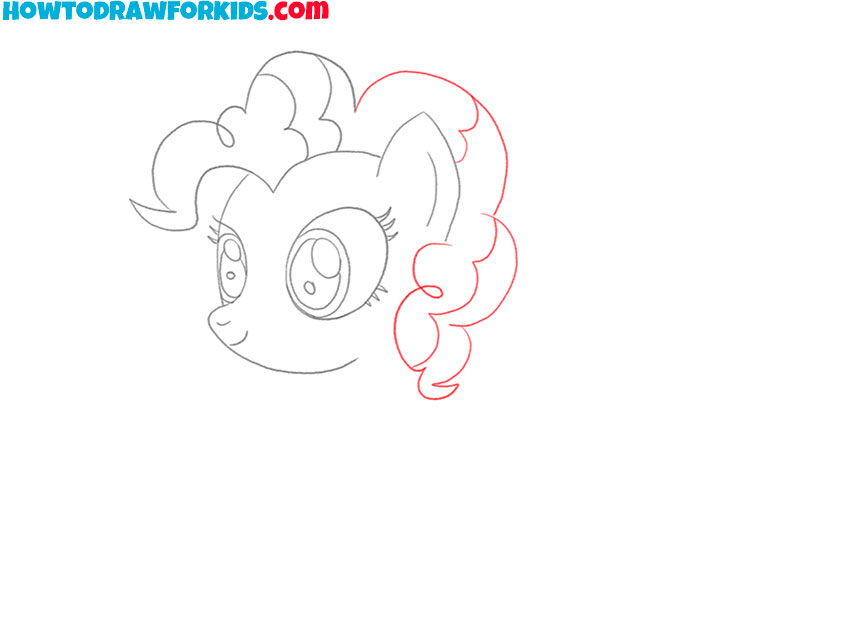
- Finish drawing the Pinkie Pie’s mane.
To add the part of the Pinkie Pie’s mane on the right side, you should use arcs and curved lines.
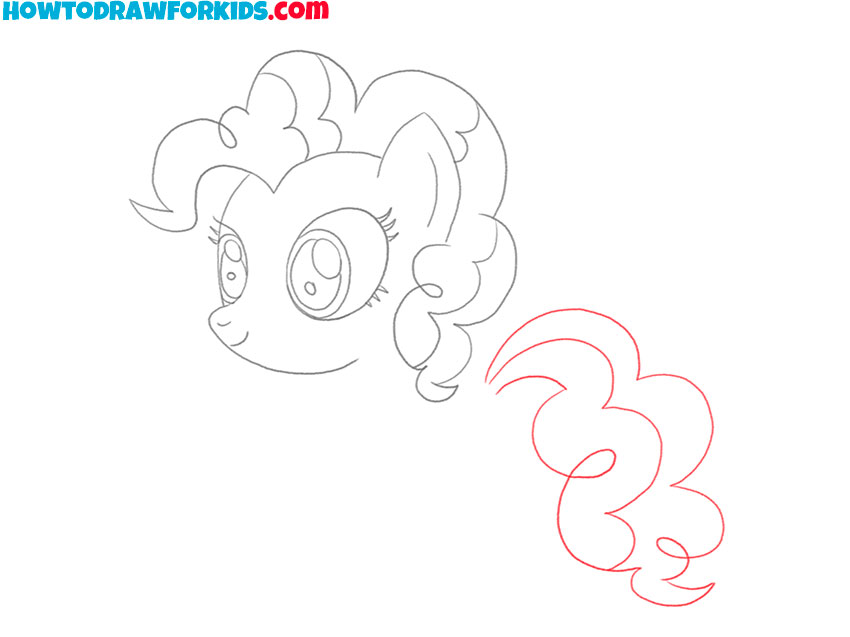
- Sketch out the Pinkie Pie’s tail.
Below the head on the right side of the drawing, add many rounded lines and arcs.
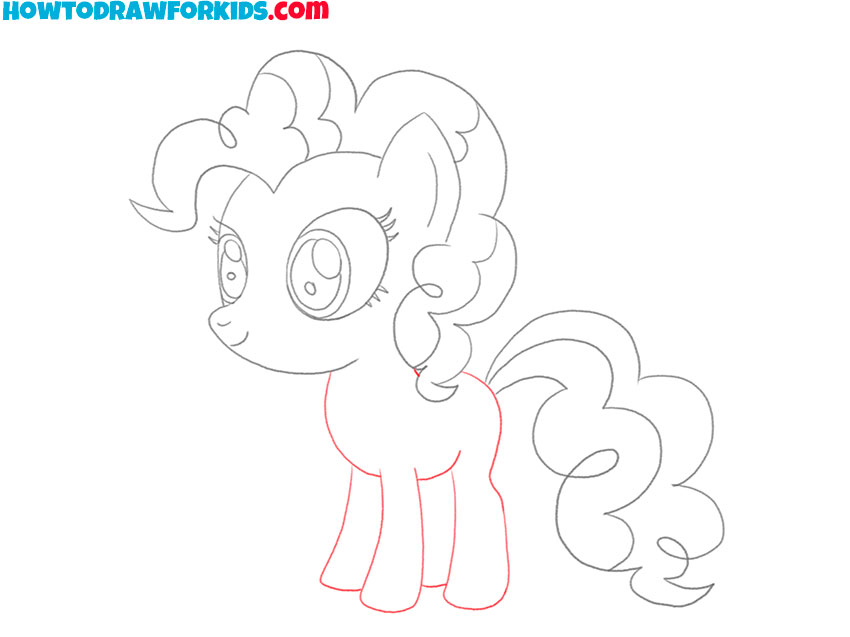
- Add the outlines of the Pinkie Pie’s torso and limbs.
Between the previously drawn head and tail, add the torso and legs using arcs and curved lines.
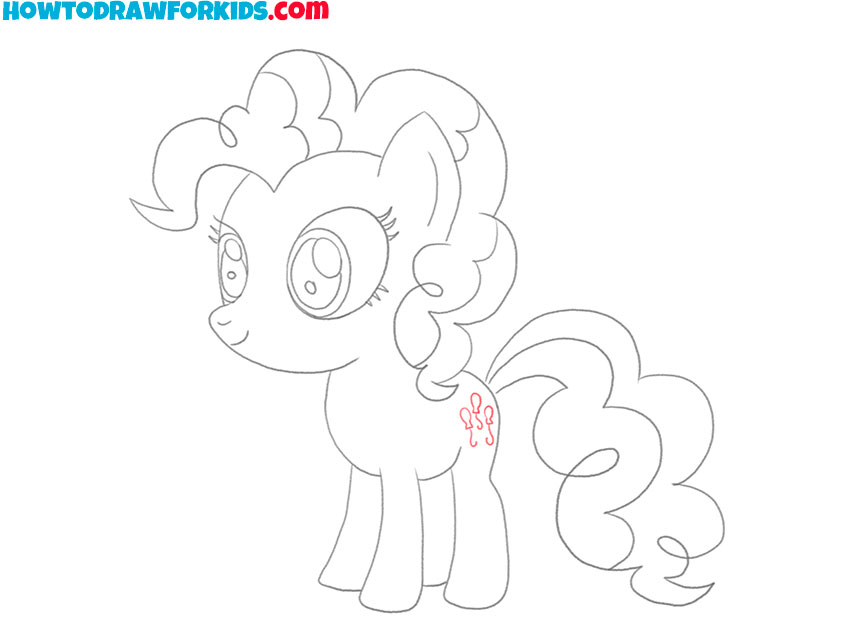
- Draw decorative elements.
On the Pinkie Pie’s body, add decorative elements in the form of three balloons.
- Color the drawing.
To color the Pinkie Pie, use shades of pink, blue, yellow, and also black.
I remind you that you can download the PDF file that I have prepared especially for your convenience. This file contains a short version of this lesson and has additional useful training materials. Download this file so as not to lose it and return to this lesson at any time convenient for you.