How to Draw My Little Pony
I suggest you complete this drawing lesson, in which you will learn how to draw my little pony step by step quickly and easily.

I have prepared a drawing lesson for you in which I will tell and show you how to draw my little pony step by step. I am sure that many of you are fans of this character. With this step-by-step instruction, both a novice artist and a child can easily complete a drawing.
My Little Pony is the common name for characters from Friendship Is Magic, an animated television series based on the My Little Pony toy series created by American toy manufacturer and multimedia company Hasbro.
Friendship is Magic focuses on six main pony characters known as the “Mane Six”, a group of friends who are brought together by the “Elements of Harmony”, a set of six mystical jewels used to protect Equestrian from powerful threats.
Prepare the art supplies that you will need to complete this drawing lesson, and then start the creative process. I also remind you that with the help of our lessons, you can learn how to draw other cartoon characters.
My Little Pony Drawing Tutorial
Materials
- Pencil
- Paper
- Eraser
- Coloring supplies
Time needed: 35 minutes
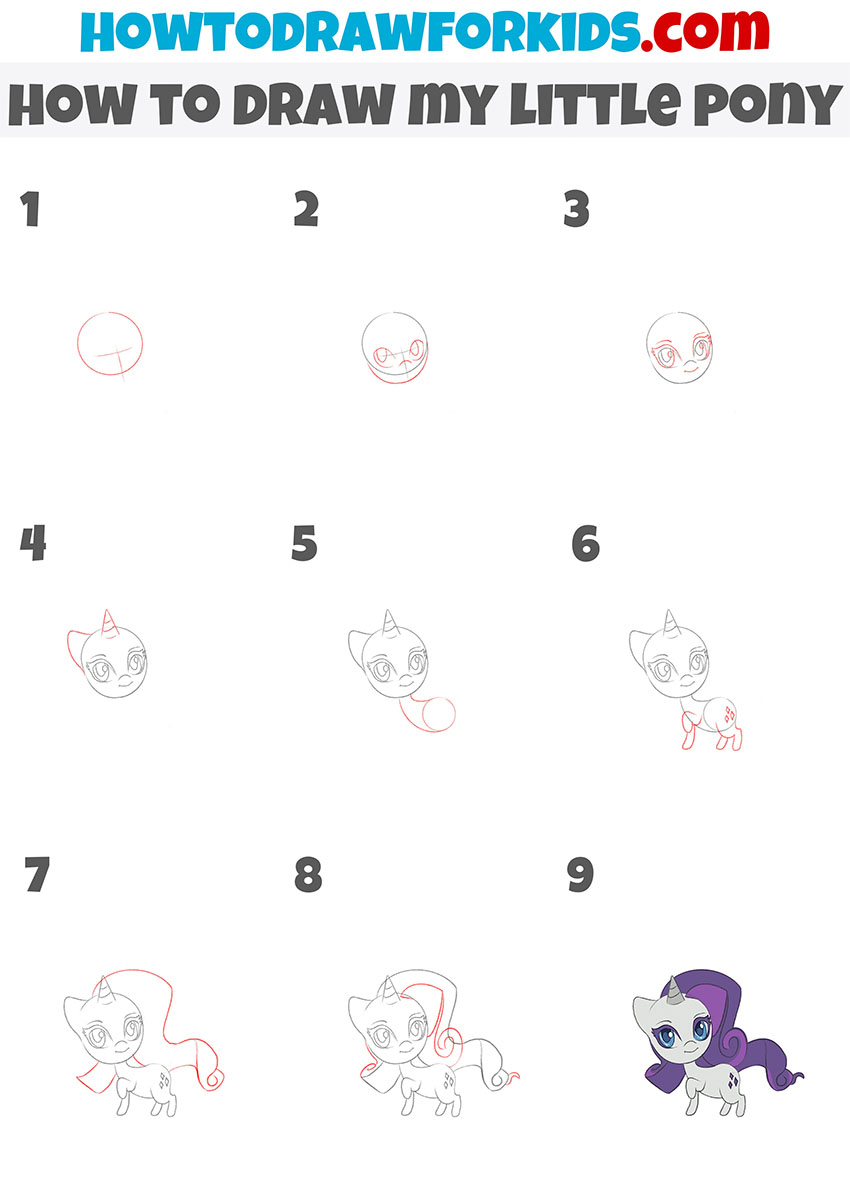
How to Draw My Little Pony
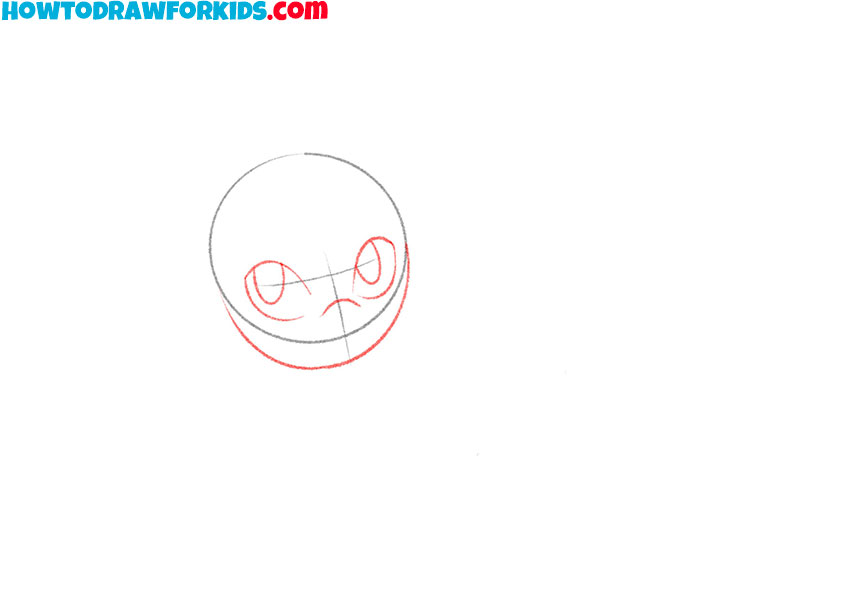
- Draw the outline of the head and markup.
Depict the character’s head as a circle, and also add two lines inside it.

- Add the lower part of the face and facial features.
Sketch out two large eyes using arcs, and add the nose and chin.
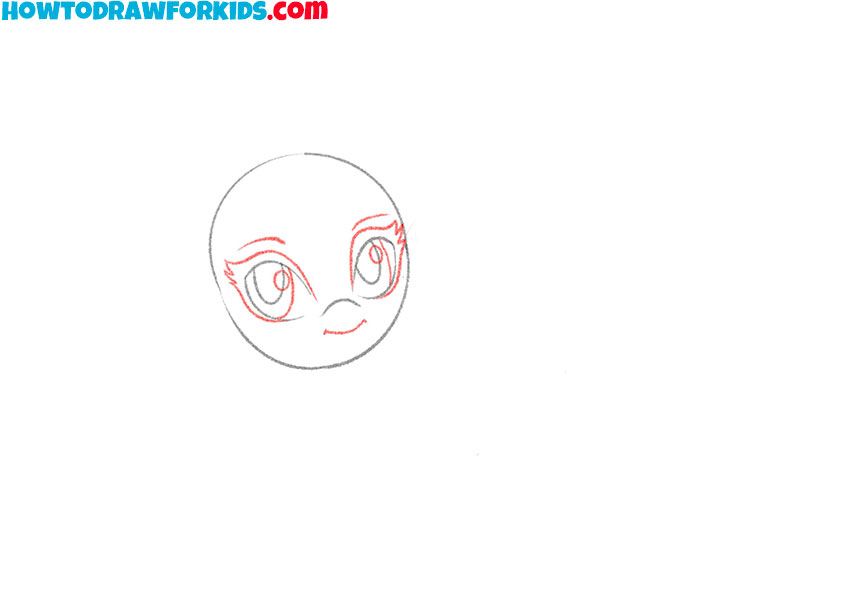
- Finish drawing the facial features.
Depict the eyebrows, mouth, and the inside and outside the eyes using curved lines and arcs.
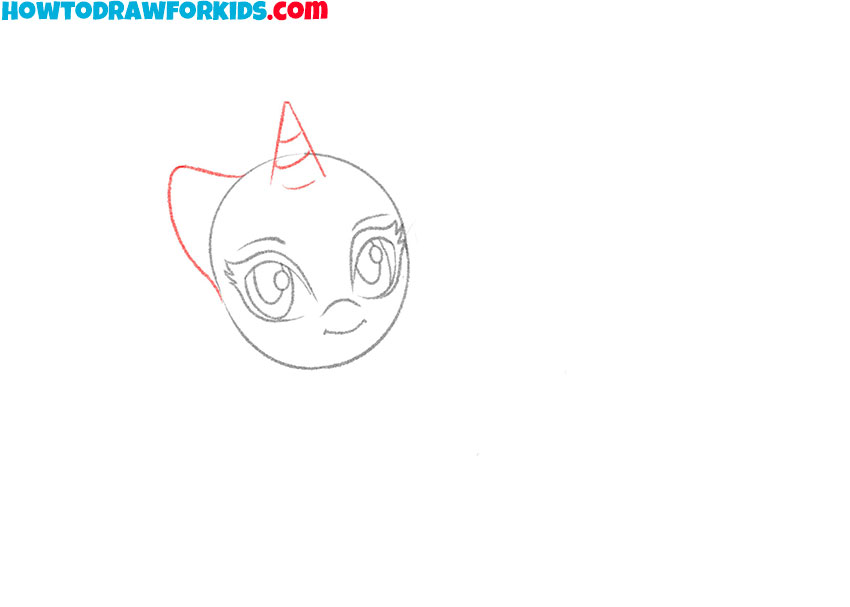
- Sketch out the ear and horn.
Draw the horn on the head in the form of a cone with curved lines, add the ear on the left side.
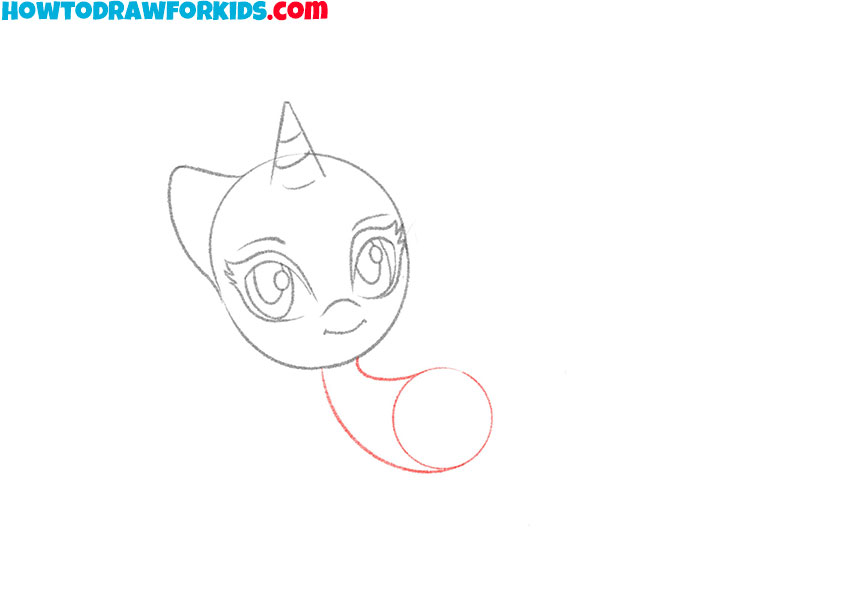
- Depict the outline of the character’s neck and torso.
Below the head, draw two curved lines, and also depict one circle between them.
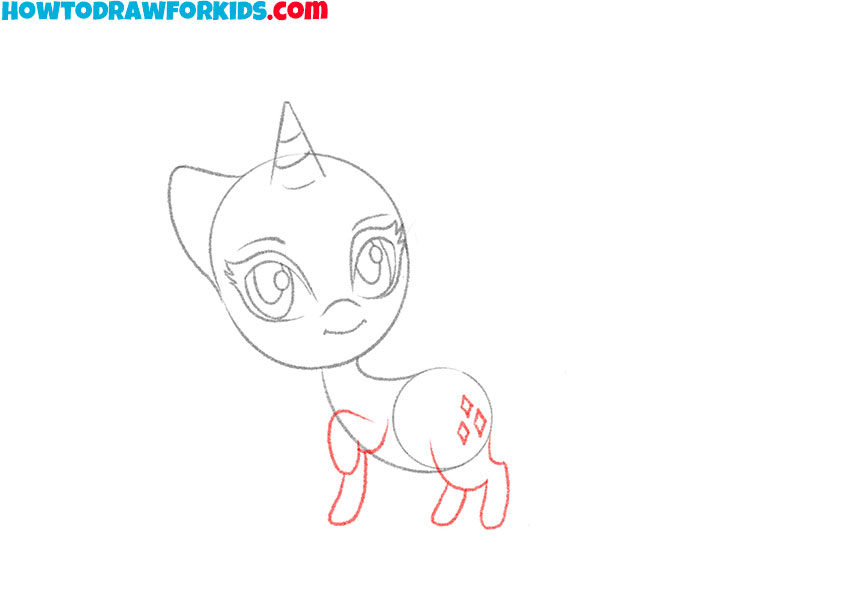
- Add the limbs and decorative elements.
Depict the front and hind legs of the pony using curved lines, add three rhombuses on the torso.
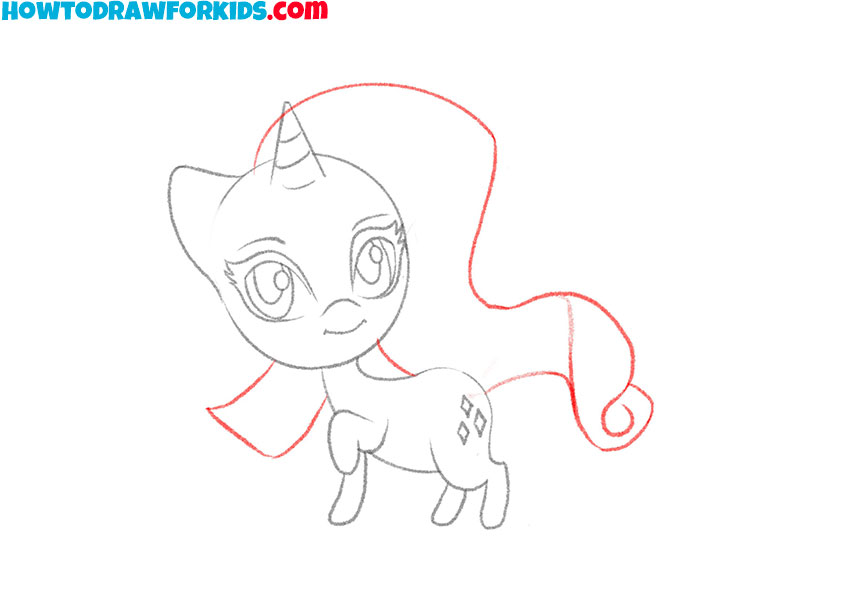
- Add part of my little pony’s mane.
To depict the character’s lush mane, use curved and wavy lines of varying lengths.
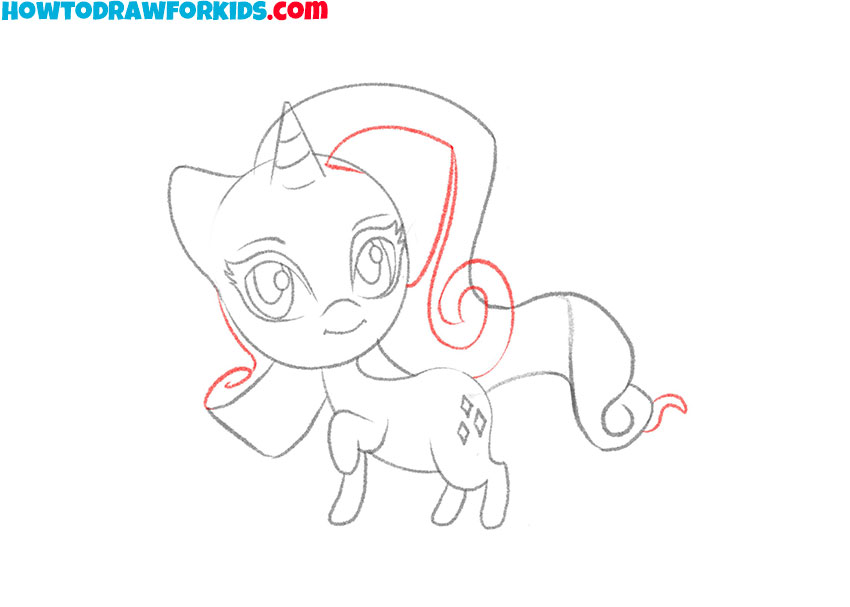
- Finish drawing the mane.
On the sides of the previously drawn mane, add some curved lines, as shown.
- Color the drawing.
To color my little pony, use shades of blue, purple, gray, and black.
For your convenience, I have prepared a PDF file that contains all the useful information from this lesson, as well as additional practice materials that will help you develop your artistic abilities. You can download this file right now, so you don’t lose it in the future, and return to this tutorial even without an internet connection.