How to Draw Predator
In this drawing lesson, you will learn how to draw Predator step by step. This is another lesson dedicated to the image of characters.
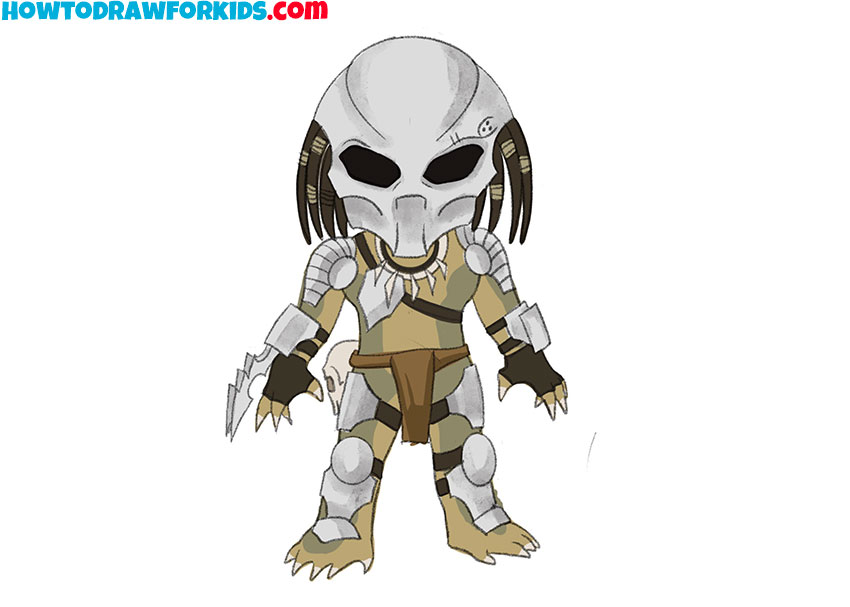
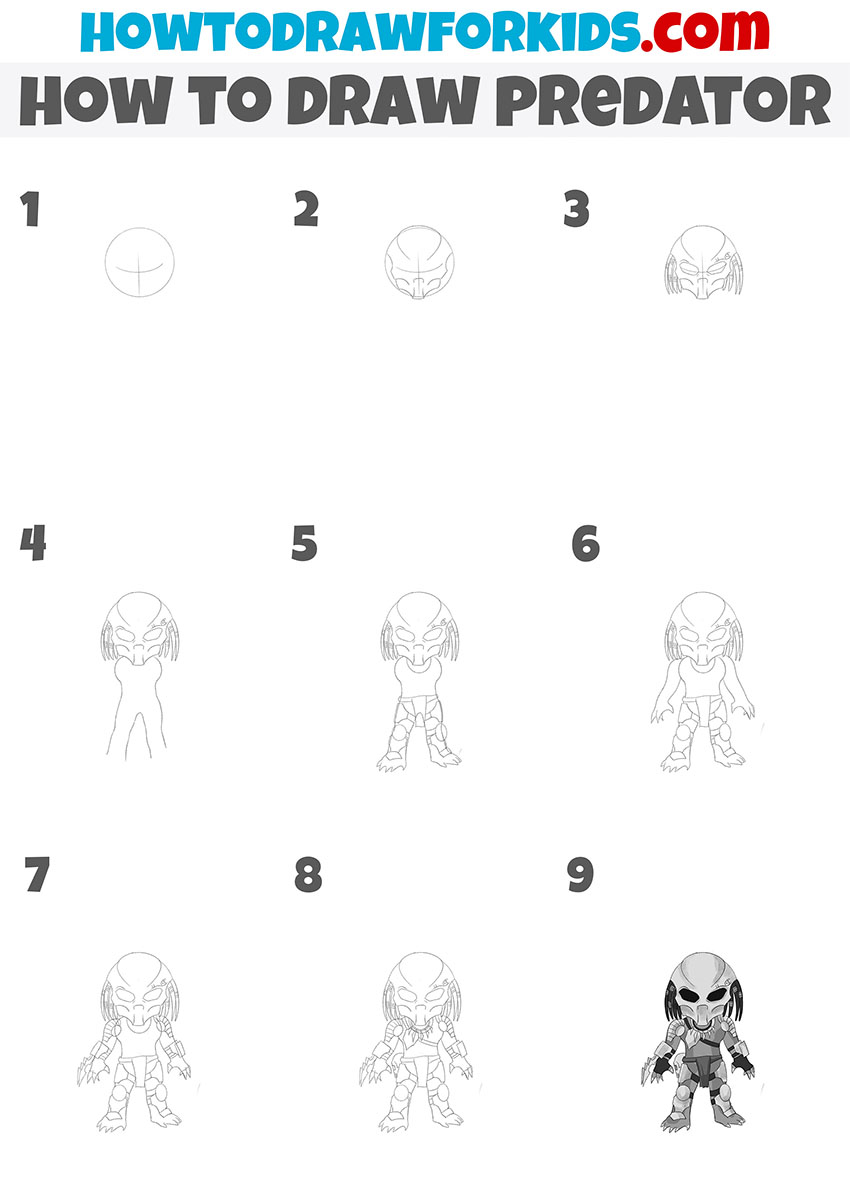
I suggest you complete a very unusual and exciting drawing lesson, in which I will tell and show you how to draw a predator step by step.
At first glance, the execution of this drawing may seem rather complicated to you, however, any novice artist or child can handle drawing according to these instructions.
“Predators” is a fictional alien race, whose representatives are the central characters of the science fiction film series “Predator” and “Alien vs. Predator”.
When making this drawing, the stage of coloring it will be an important step, since it is during coloring that you can make your drawing more realistic. To do this, you will need to correctly identify areas of light and shadow.
Predator Drawing Tutorial
Materials
- Pencil
- Paper
- Eraser
- Coloring supplies
Time needed: 40 minutes
How to Draw Predator
- Draw the outline of the head and markup.
Depict the character’s head as a circle, and then add a straight line and a curved line inside it.

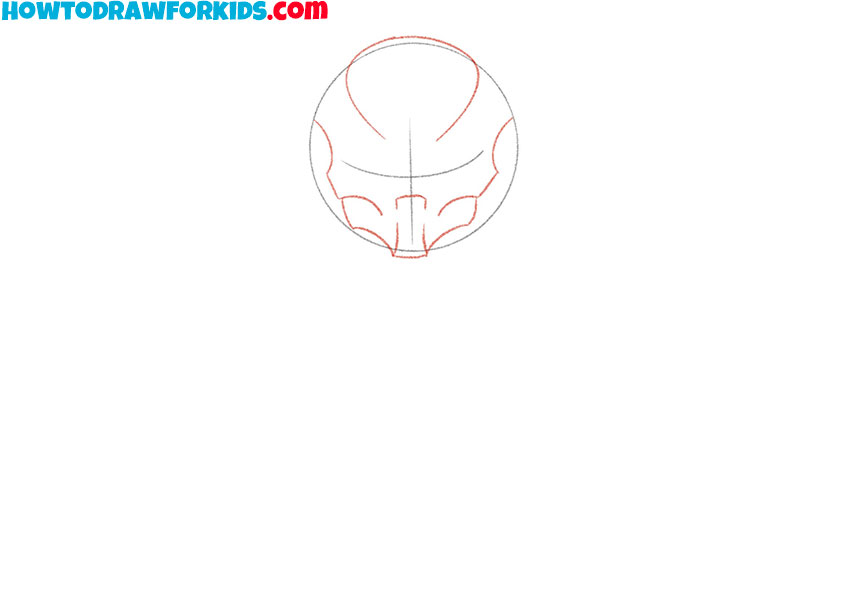
- Add a few elements on the head.
Inside and near the outline of the previously drawn head, add a lot of straight and curved lines.
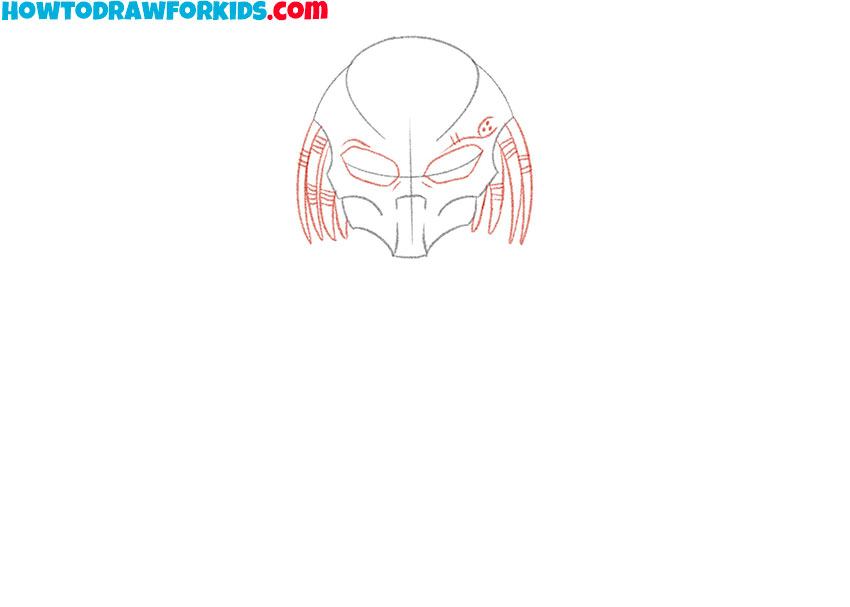
- Add elements of the face.
On the sides of the head, add elements using curved lines, and depict the eyes.
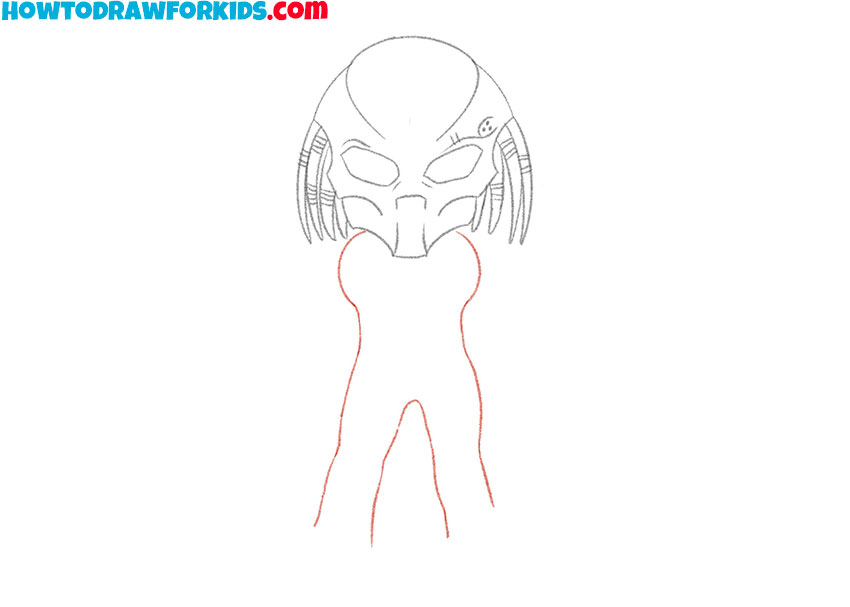
- Draw the outline of the predator’s torso.
Below the previously drawn head, depict the torso using curved lines of varying lengths.
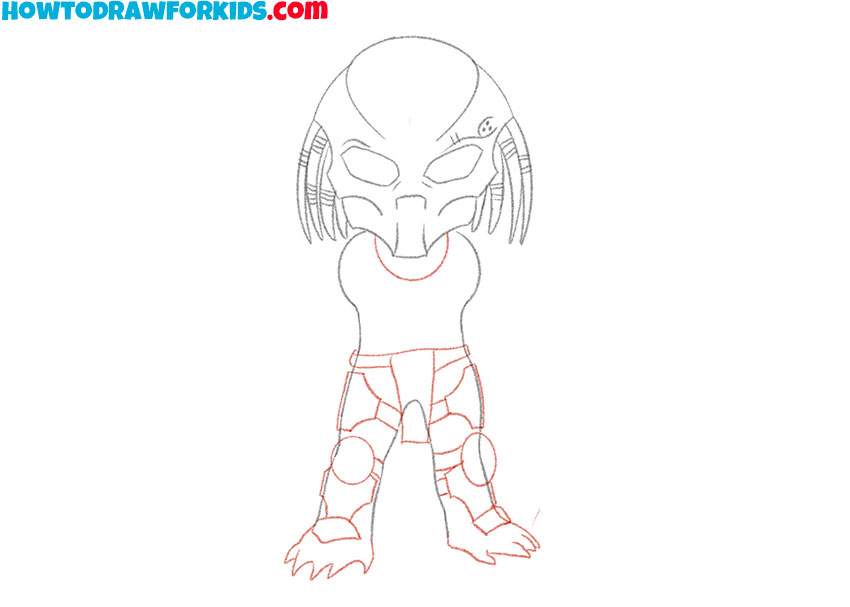
- Sketch out the costume elements.
Use ovals, arcs, and straight and curved lines to add the elements to the costume.
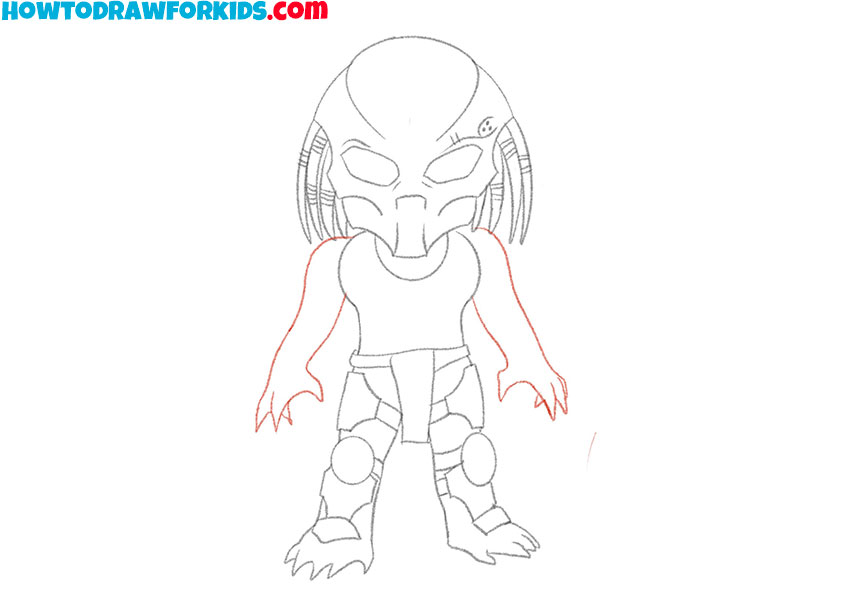
- Depict the character’s arms.
On the right and left sides of the torso, add symmetrical arms with the pointed fingers.
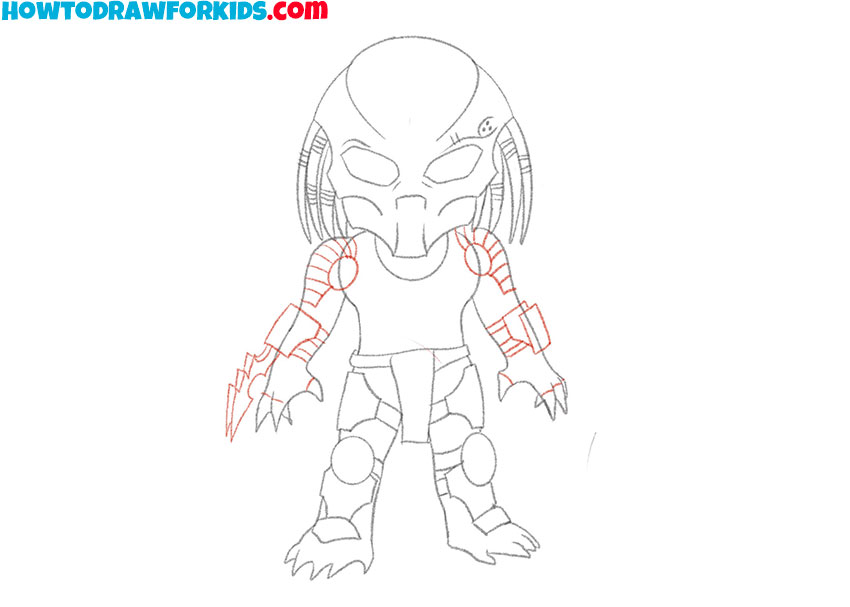
- Add some elements of the costume.
On the previously drawn arms, depict ovals, straight, curved and zigzag lines.
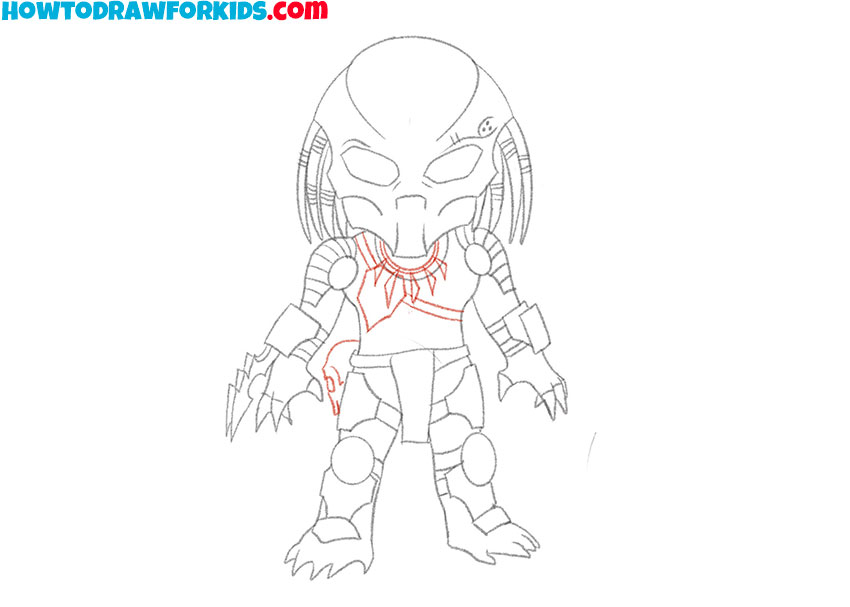
- Finish drawing the elements of the costume.
At the top of the torso and on the left side, add some straight and rounded lines.
- Color the drawing.
To color this character, use shades of gray, shades of brown and black.
For your convenience, I have prepared a PDF file in which you can find a short version of this tutorial and additional useful materials for completing it. Download this file to return to the lesson at any time.