How to Draw Seaweed
Follow this easy guide on how to draw seaweed and sketch a wavy underwater plant with curling leaves rising from an underwater base.

How to Draw Seaweed: Introduction
Seaweed is often included in underwater drawings, and its flowing, organic shapes help create interesting compositions. Seaweed is a useful subject when filling in the background of ocean-themed drawings. In this tutorial, we’ll draw a simple clump of seaweed growing from the seabed. The structure is based on long wavy strips that curve in different directions.
As you draw seaweed, make sure each blade of seaweed varies slightly in length and width. If they all look too similar, the drawing may come off as stiff. You don’t need to follow exact symmetry – just keep a natural flow and let the seaweed appear loose and unpredictable.
You can adjust the seaweed drawing by adding more blades, bending them more dramatically, or placing fish, bubbles, or rocks around the plant. It also works well as a background for other marine life like jellyfish, turtles, or submarines. The base can be a rock, mound, or soft seabed.
This seaweed can be colored in various green shades or even stylized into fantasy colors. You can also add bubbles or a sandy seafloor underneath.
Seaweed Drawing Tutorial
Materials
- Pencil
- Paper
- Eraser
- Coloring supplies
Time needed: 30 minutes
How to Draw Seaweed
- Create the rock or sand base.
Begin your seaweed drawing by sketching a small, wavy mound near the bottom center of your page. This represents the sandy or rocky surface that the seaweed will grow from. Keep the edges uneven and rounded to make it look natural – like a soft clump of sand or a worn underwater rock.

- Draw the first seaweed blades.
From the base, draw two or three long, flowing shapes extending upward. These are the first blades of seaweed. Try not to make them perfectly identical slight variations will help them look more natural. This shape doesn’t need to be symmetrical.

- Sketch additional flowing shapes.
Now add two additional blades of seaweed, one on each side of the existing group. These new blades should follow the same flowing style as the first three, with long, slightly curved shapes. Start them from the same base area, but angle them more outward to create a fan-like spread across the top of the drawing.

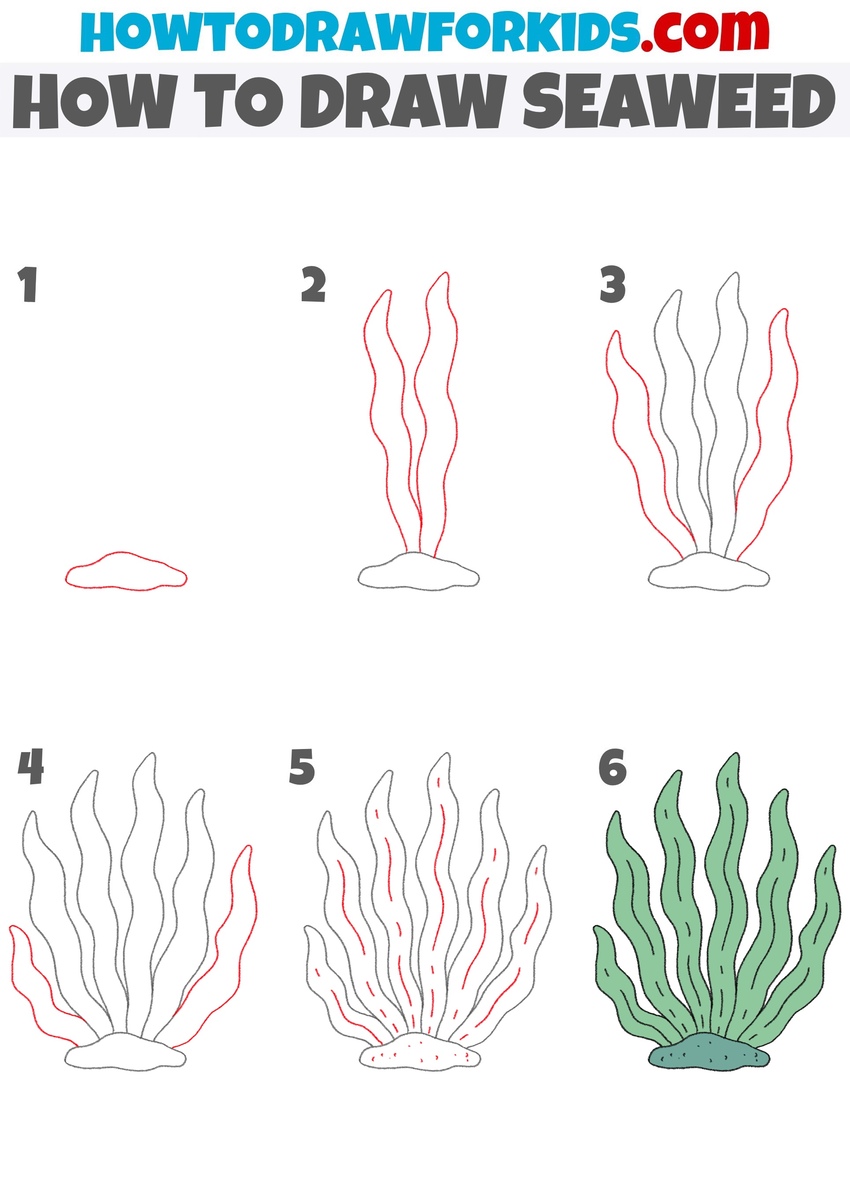
- Draw the last seaweed leaves.
To complete the seaweed structure, draw the final two blades – one on each side of the existing cluster. These should follow the same pattern as the others: tall, narrow, and slightly curved. Angle them even farther out to the left and right to complete the full arc of the seaweed shape.
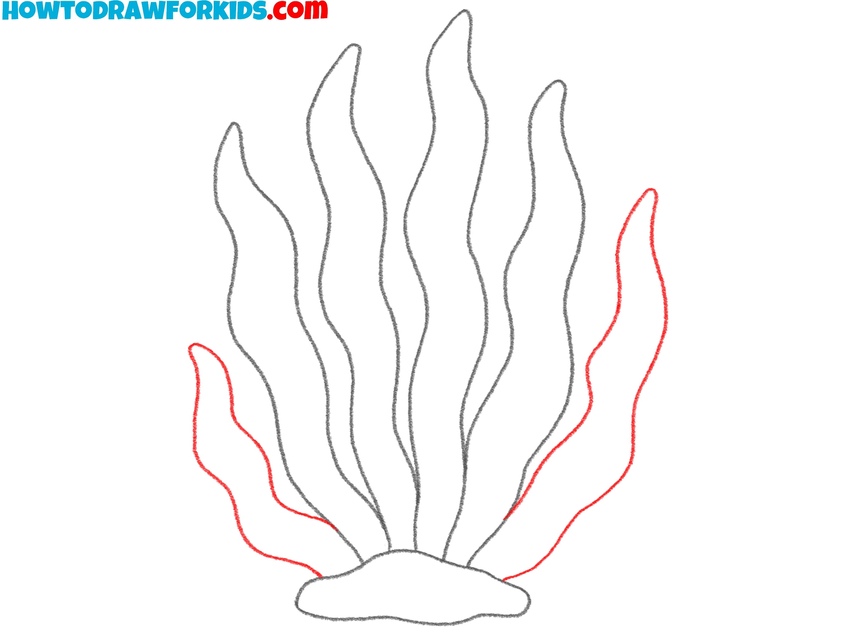
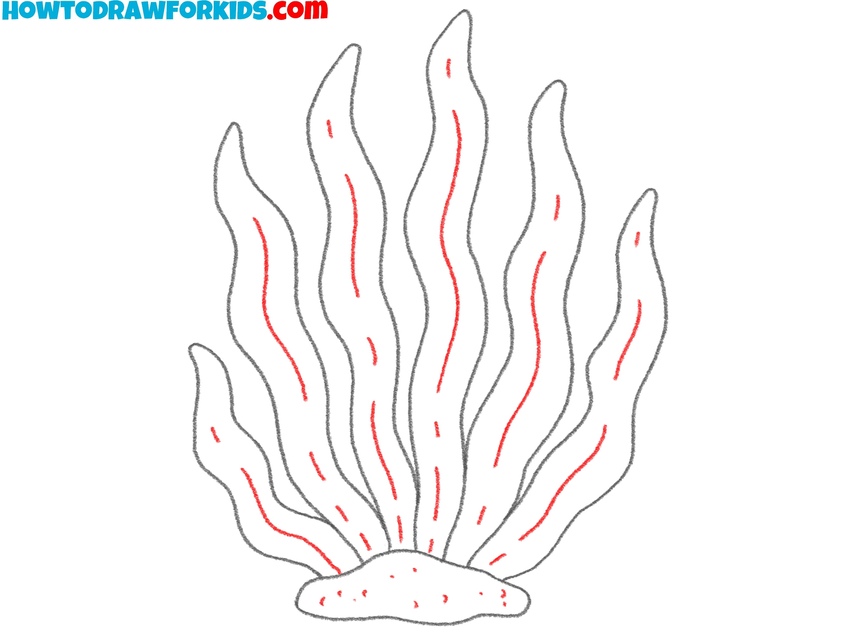
- Draw seaweed veins and base dots.
Now it’s time to add interior details to make the seaweed’s appearance more interesting. On each blade, draw one or two long vertical lines following the curve of the shape. These represent natural folds and veins in the seaweed. Next, draw a few small dots or pebbles on the base to give the ground texture.
- Fill in the blades and base.
Color the blades of seaweed in a green shade – something muted or sea-toned works well to represent underwater vegetation. You can vary the tones slightly between blades for a more visual look. For the sand or rock base, use a dark teal, brown, or beige color depending on the texture you want.

How to Draw Seaweed: Advanced Techniques
Once you’ve completed the basic seaweed drawing, there are several ways to make your artwork look more interesting using more advanced methods.
One easy improvement is to vary the length and thickness of the seaweed blades – some can be short and wide, while others can be long and thin. This helps create a more natural look and introduces variation that mimics real marine growth. You can also overlap some of the blades to show perspective, placing one in front of another with visible crossing points.
To make the scene more immersive, add small details like bubbles rising from the base or draw a fish swimming between the blades. You can also draw pebbles, shells, or small crabs resting on the sand.
If you’re building a larger underwater environment, consider combining this drawing with coral or sea animal tutorials. For coloring, try using different green shades from base to tip, or lightly adding a blue tint to parts of the blades.
Conclusion
If you enjoyed this tutorial on how to draw seaweed, feel free to share it with a friend or leave a comment letting me know which part you liked most.
To keep improving your underwater scene, try adding more marine details with the help of my shark drawing tutorial and jellyfish drawing tutorial. These lessons follow a similar step-by-step style and pair naturally with the seaweed.
You can stay updated on all future tutorials by following me on Pinterest, where I regularly post drawing guides and worksheet sets, or by subscribing to my YouTube channel for full video walkthroughs and new releases.