How to Draw Shoes from the Front
In this drawing lesson, I would like to tell you how to draw the shoes from the front. You will definitely love this easy tutorial!
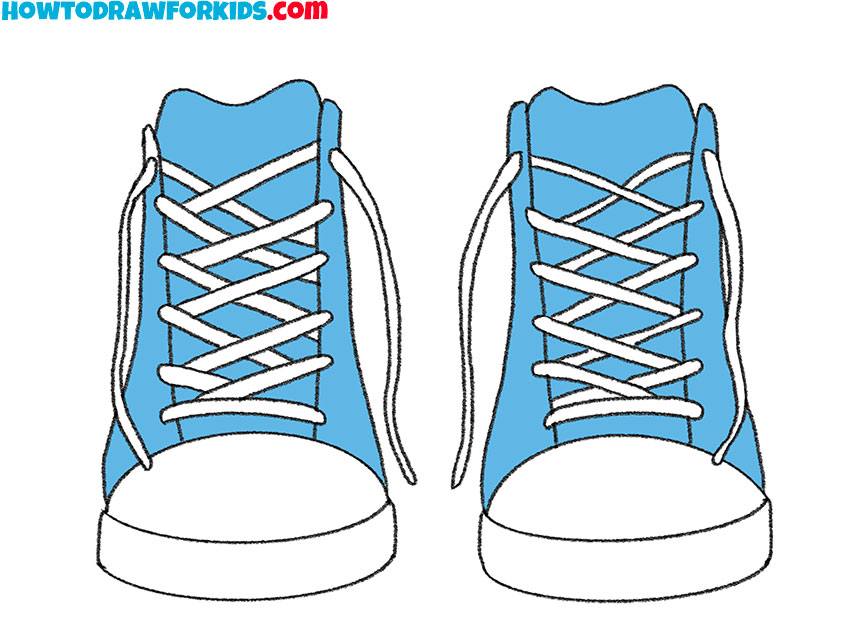
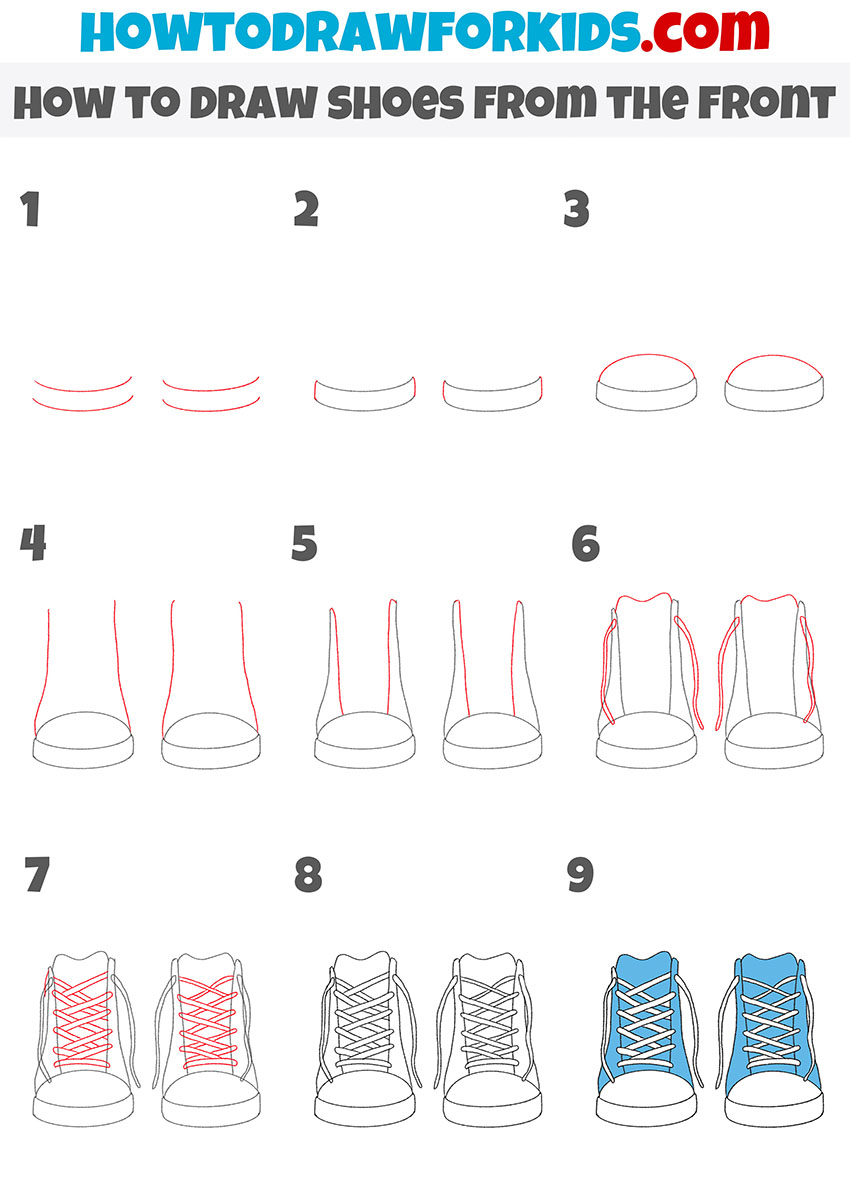
I suggest that you complete this wonderful and very useful drawing lesson, in which you will be able to learn how to draw shoes from the front. The ability to draw elements of clothes and shoes is very important for any artist, as this will help you depict the costume of a person or character in more detail.
You can draw someone wearing such shoes, and you can also draw the shoes from the front as the main subject of your drawing. This drawing lesson will be very simple, as I created it specifically for beginners and children.
So, now I would like to tell you a little more about this shoe. The shoes from the front that you will draw with these instructions are a type of sports shoe. This type of footwear began to gain worldwide popularity many decades ago.
These shoes are very comfortable and practical, suitable for many types of clothing, allows you to play sports and enter an active lifestyle. And also this shoes looks quite attractive and fashionable. In this lesson, you will first draw the outline of the shoes, then draw the lacing and color your drawing.
I think that you already want to start drawing the shoes from the front as soon as possible. Then I recommend that you prepare the art supplies you will need to complete this tutorial right now, and then you can follow my instructions carefully and enjoy the creative process.
Materials
- Pencil
- Paper
- Eraser
- Coloring supplies
Time needed: 30 minutes
How to Draw Shoes from the Front
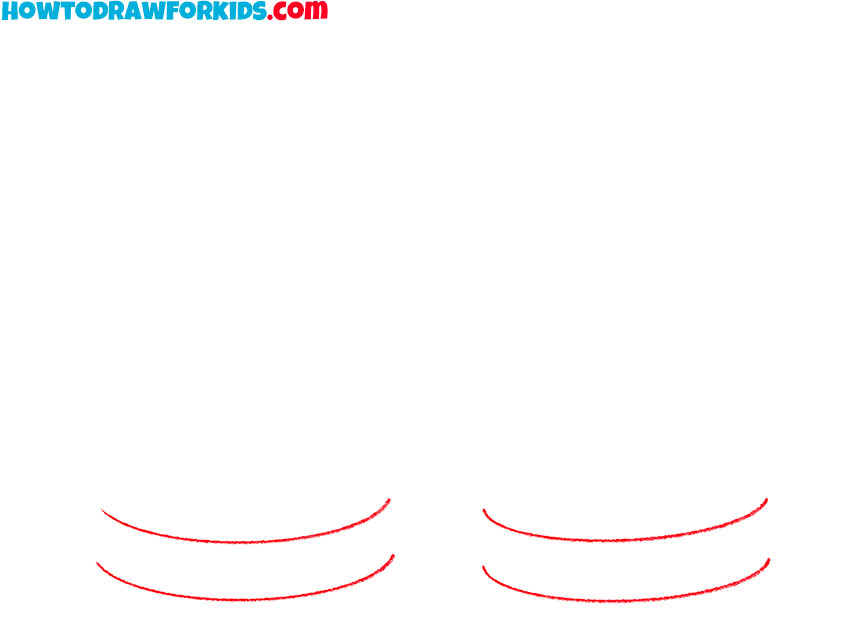
- Start drawing the sole of the shoe in front.
To complete this step, draw four arcs of the same size, as shown in the figure.
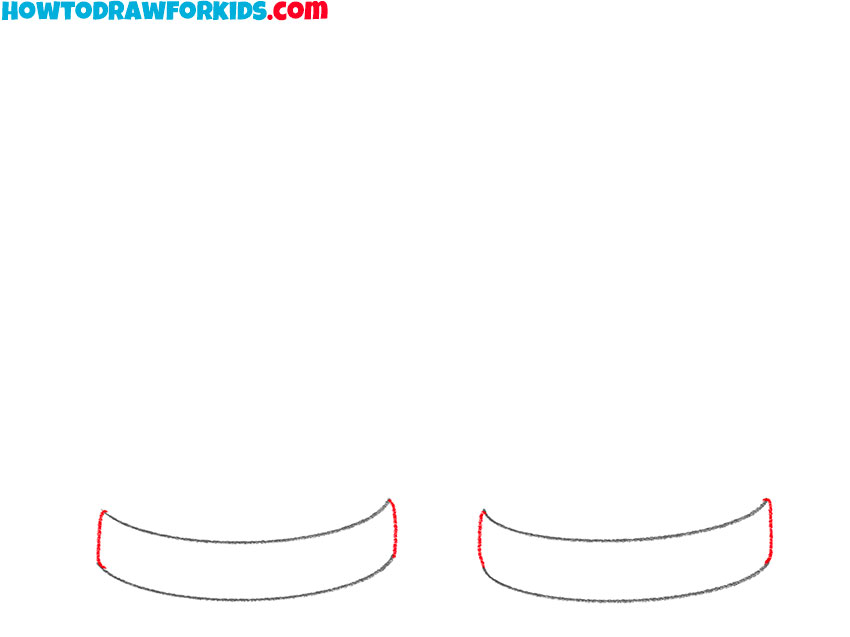
- Finish drawing the front of the sole of the shoe.
Now you need to connect the ends of the previously drawn arcs with curved lines.
- Continue drawing the front of the shoe.
Above the previously drawn shapes, draw two identical arcs to draw the toes of the shoes.
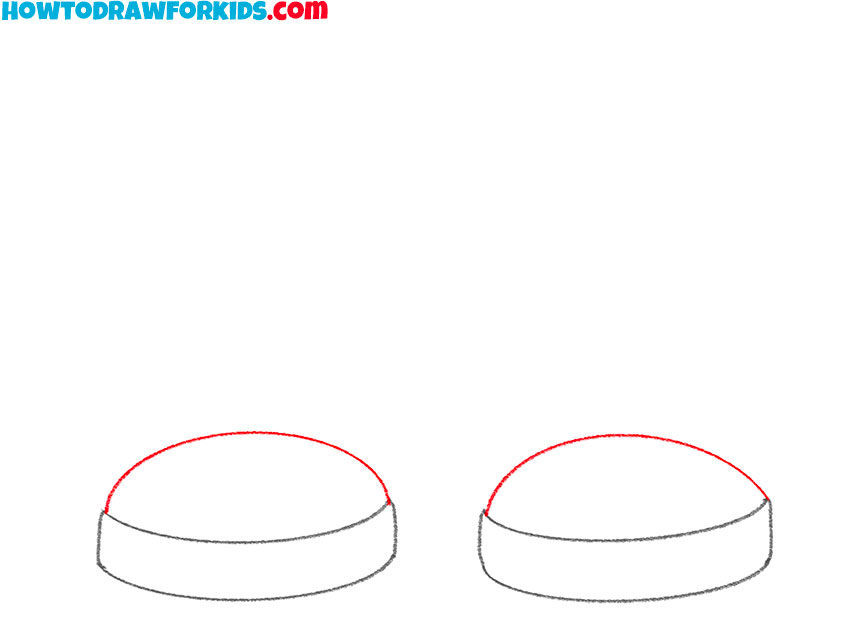
- Add the outlines of the main part of the shoe.
At the top of the previously drawn arcs, draw curved lines, as shown in the figure.
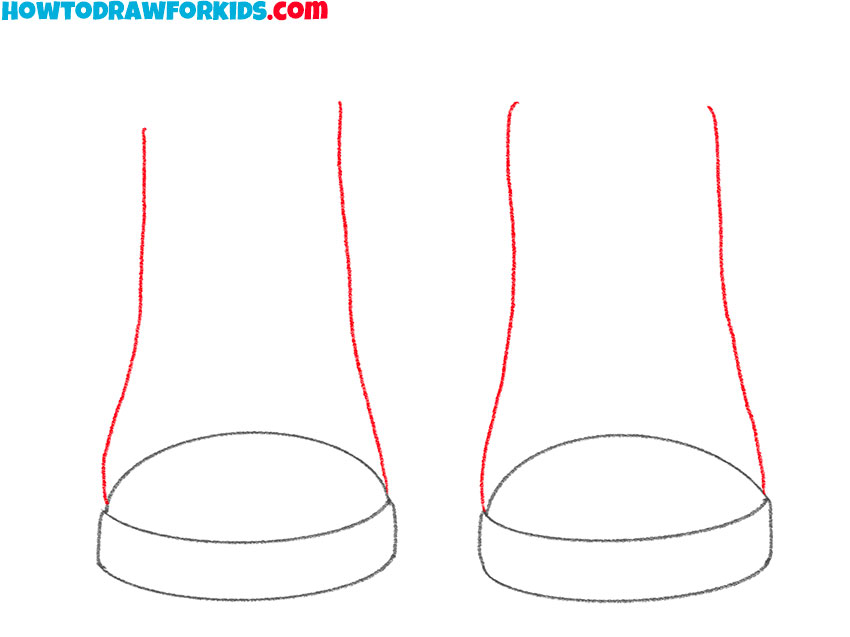
- Finish drawing the sides of the shoes from the front.
Near the previously drawn curved lines, draw a few more curved lines.
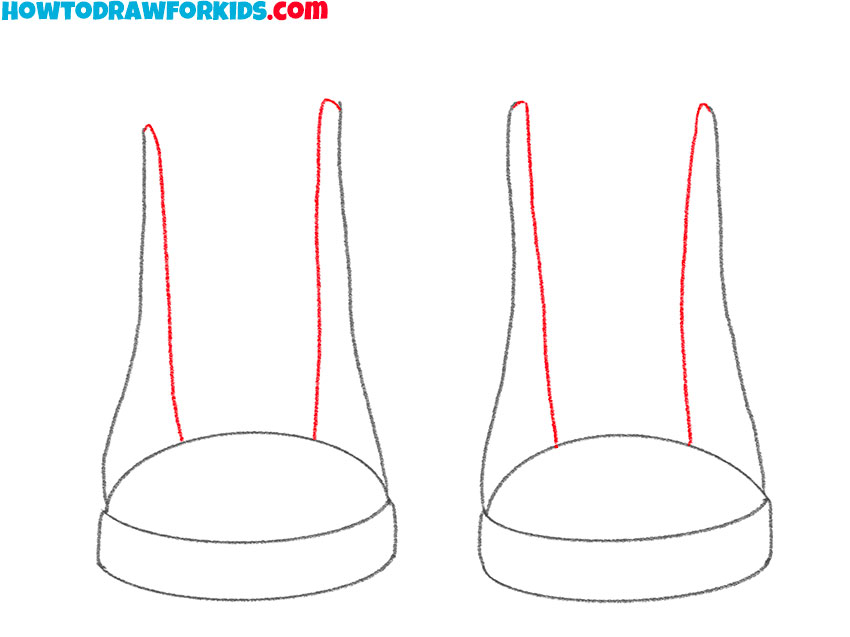
- Add the upper part of the shoe and the ends of the laces.
Draw wavy lines between the side parts, add laces using curved lines.
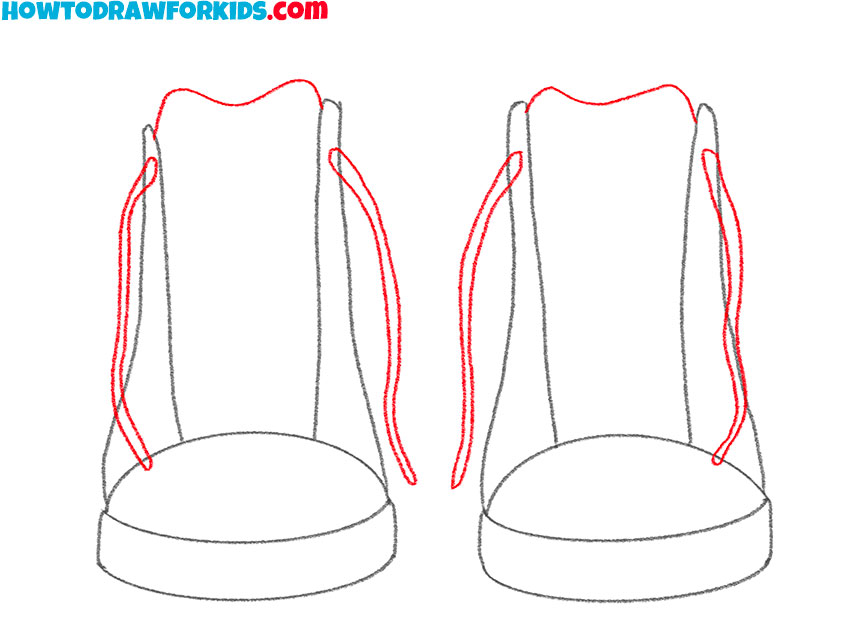
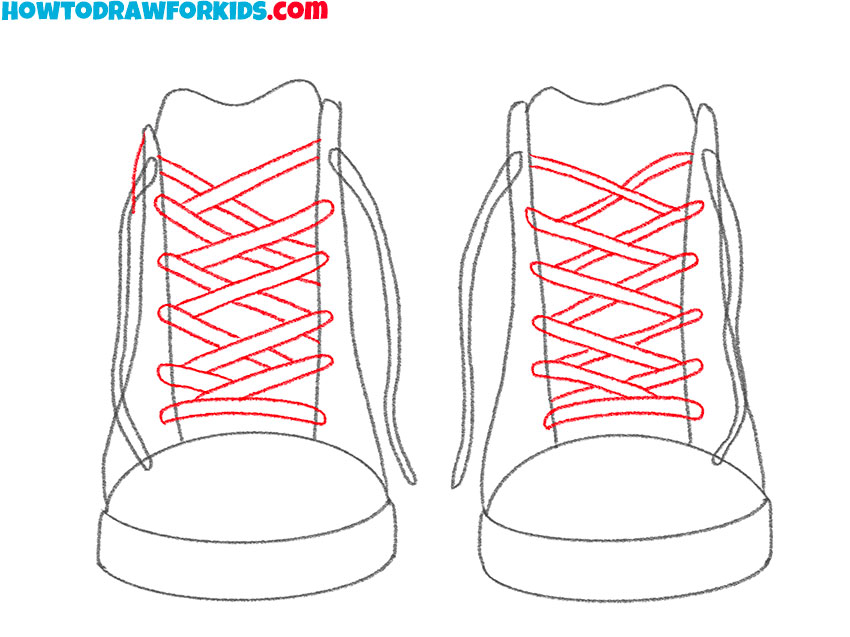
- Sketch out the lacing.
On the inside of the shoe, draw a lot of curved lines, as shown in the picture.
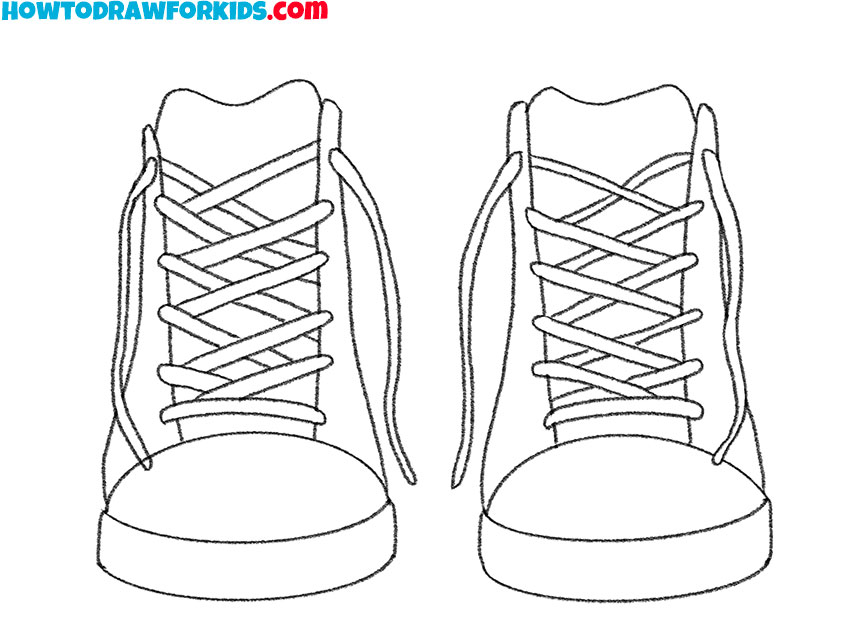
- Prepare the drawing for coloring.
The sketch is ready, and now you should use the eraser to remove unnecessary elements.
- Color the drawing.
To color the shoes from the front, you need to use blue.

Now you can download the PDF file that I have prepared for your convenience. This file contains all the necessary useful materials for this lesson so that you can not lose this lesson in the absence of an Internet connection, and also return to it at any time convenient for you.

