How to Draw Woody Woodpecker
Now you will learn how to draw Woody Woodpecker. With this simple tutorial, you are sure to improve your artistic skills.

So, this step-by-step guide I devoted to drawing a famous character, and here you can learn how to draw Woody Woodpecker. This lesson is very simple, and it is designed specifically for beginner artists and children. Each step in this tutorial has a detailed description.
After you learn how to draw Woody Woodpecker with the help of this instruction, you can easily depict it in the future as the main subject of your drawing or complement any of your paintings with this image.
Woody Woodpecker is a cartoon character that looks like an anthropomorphic woodpecker. You know this character for sure if you watched the cartoon “The Adventures of Woody and His Friends.”
Woody Woodpecker Drawing Tutorial
Materials
- Pencil
- Paper
- Eraser
- Coloring supplies
Time needed: 30 minutes
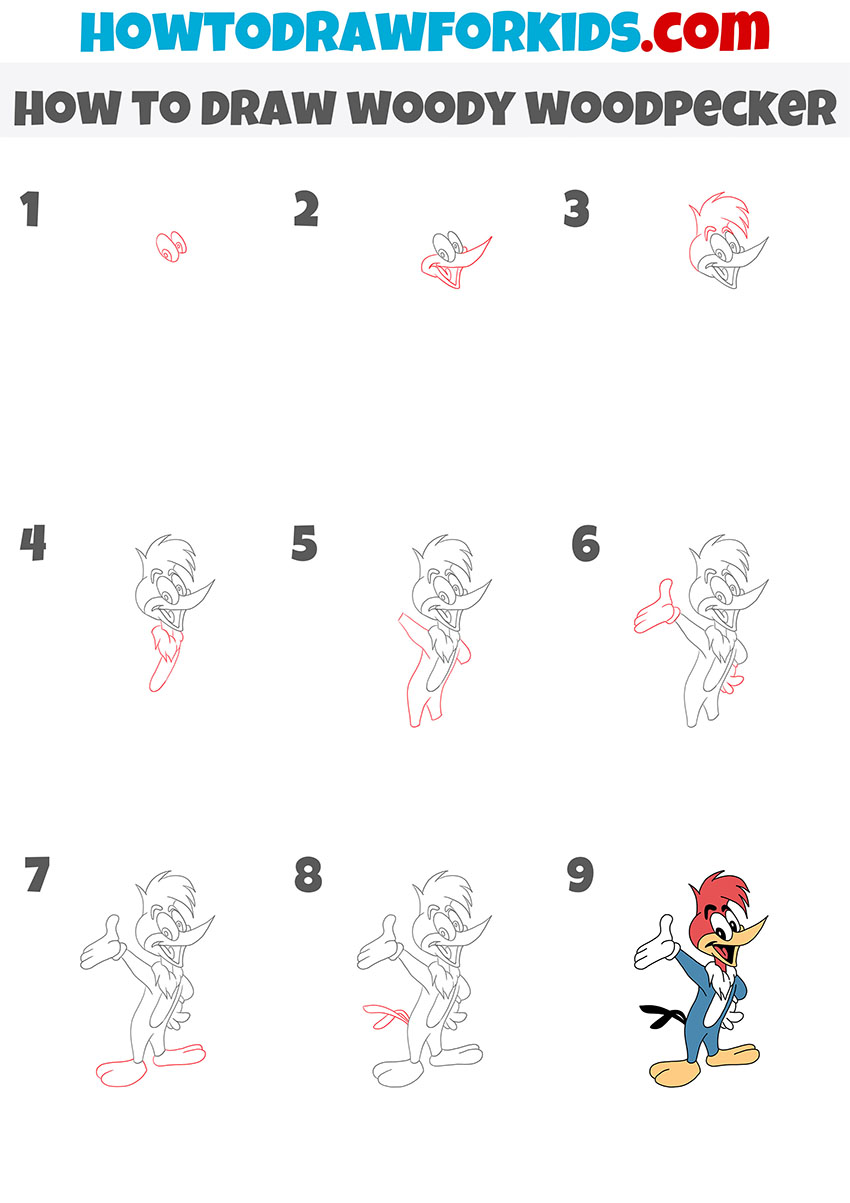
How to Draw Woody Woodpecker
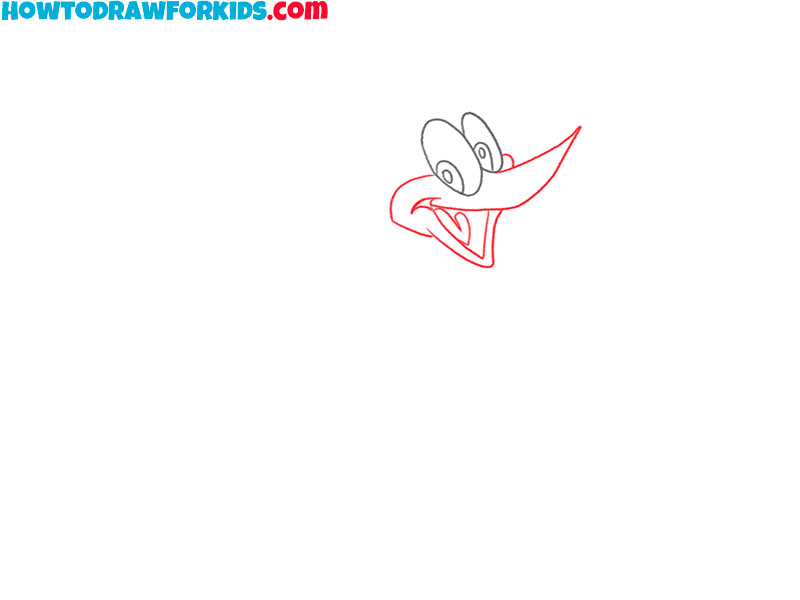
- Draw the eyes of the Woody Woodpecker.
Start your drawing with the eyes. To do this, add ovals of different sizes, as well as arcs.

- Depict the lower part of the character’s face.
Below the eyes draw the pointed beak and the wide open mouth with the tongue inside.
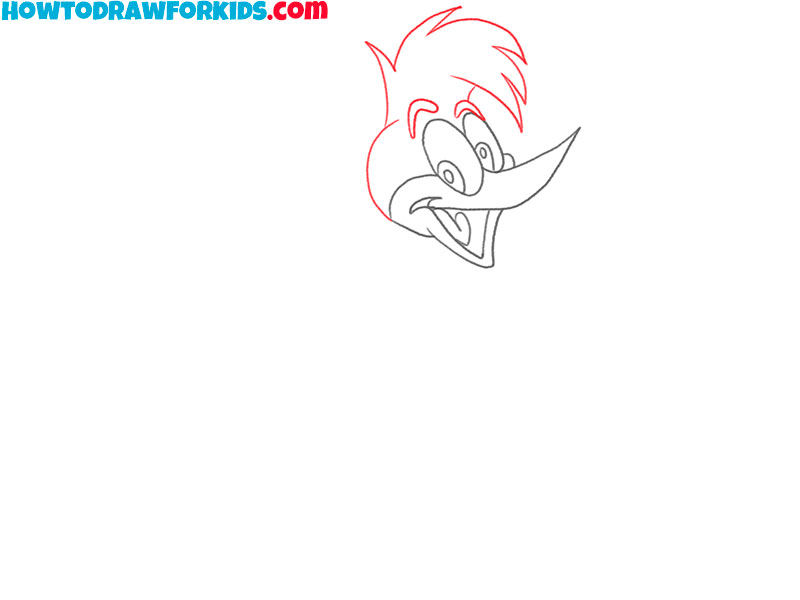
- Add the top of the character’s head.
Finish drawing the outline of the head with an arc, add the tuft on the head and eyebrows.
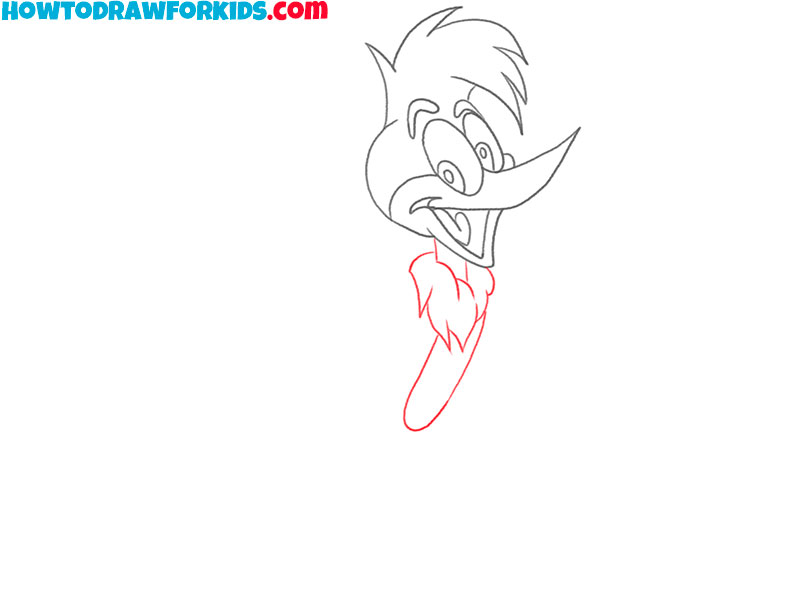
- Sketch out the neck, chest and upper body.
Below the drawn head, draw straight lines, as well as many curved lines of different lengths.
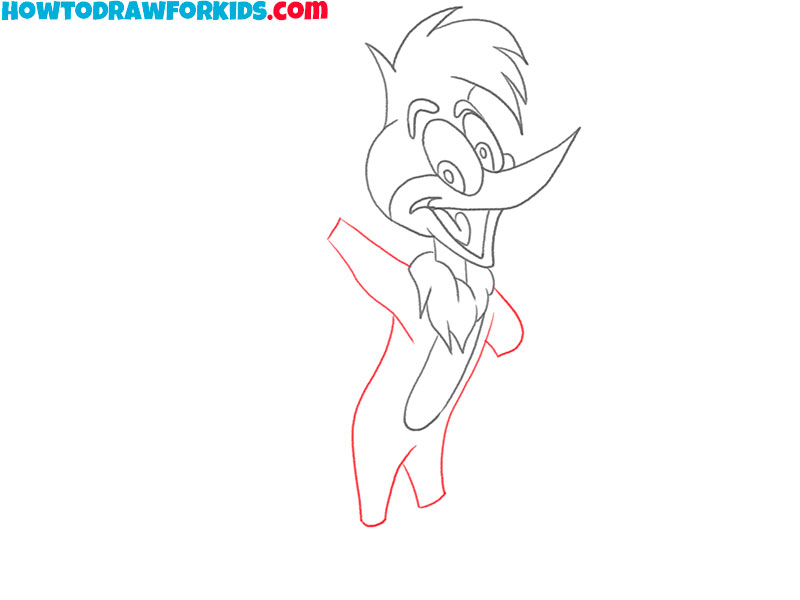
- Finish drawing the outline of the torso, add the outlines of the arms and legs.
On the sides of the chest and the curved line below it, add a few more curved lines as shown.
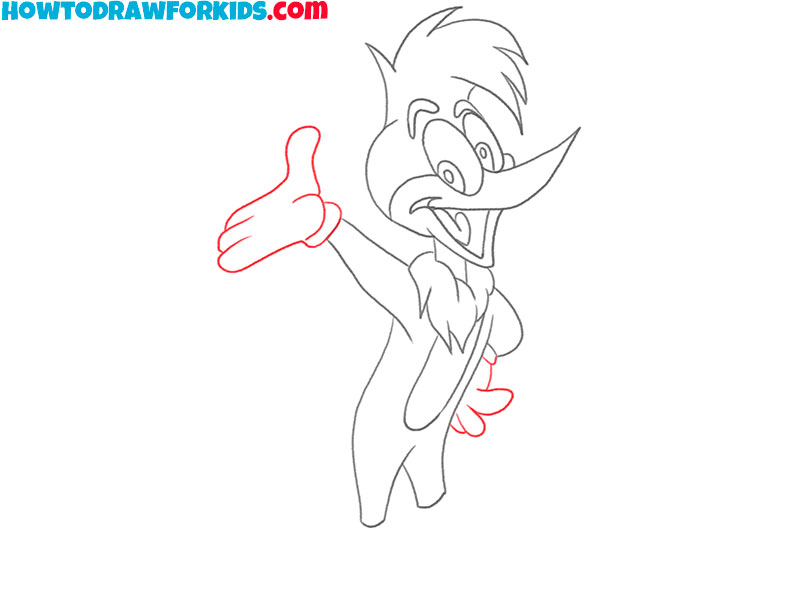
- Add the Woody Woodpecker’s hands.
At the ends of the previously drawn arms, depict large gloved hands using curved lines.
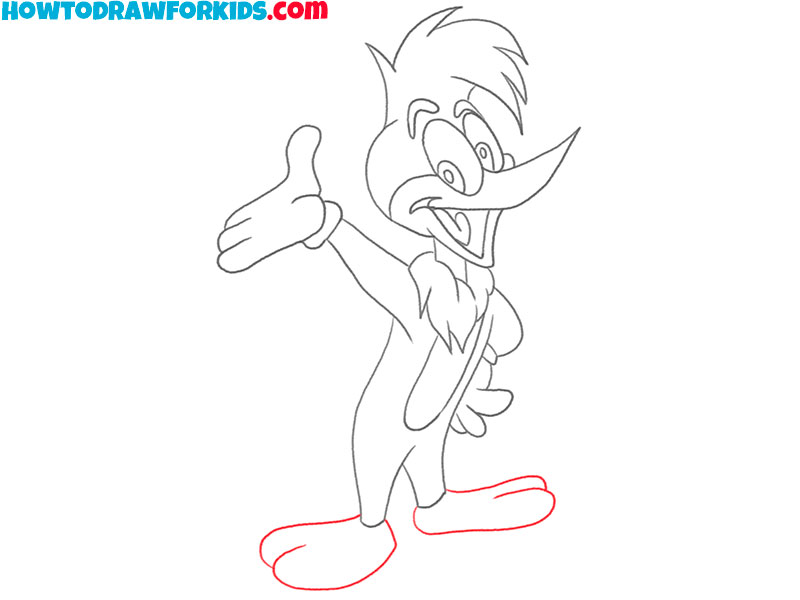
- Finish drawing the legs of the character.
To draw the legs, use rounded lines of different lengths as shown in the picture.
- Draw the Woody Woodpecker’s tail.
On the left side of the torso, add the tail in the form of two separate feathers using curved lines.

- Color the drawing.
To color the drawing, use red, yellow, blue, and also black.
This lesson has come to an end, and now you know how to draw Woody Woodpecker step by step. I also remind you that on our website you can find many other useful drawing lessons that are dedicated to depicting various characters. Follow us on social networks to follow our updates. For your convenience, I have prepared a PDF file where you can find a short version of this tutorial.