How to Draw a Sparrow
Hello there! If you’ve ever wanted to learn how to draw a sparrow, you’re in the right place. I take great joy in breaking down complex figures into simple, manageable steps, making art accessible for everyone. With just a pencil and enthusiasm, you’re ready to start this artistic endeavor to capture the humble elegance of the sparrow.
How to Draw a Sparrow: Basic Information
Welcome to this fun and easy drawing tutorial! Today, we’re going to learn how to draw a sparrow with a method perfect for kids and beginners. Starting with a basic shape that resembles a bean, we’ll gradually add details to capture the likeness of this cheerful bird.
As we move through each step, the focus is on adding elements that define the sparrow’s personality. For instance, a simple triangle transforms into a beak, and a few curved lines connect to form the wing. It’s about turning basic shapes into something special, which is great for developing young artists’ skills.
By the time we add the feet and the eye in the final steps, you’ll see how these simple components come together to draw a sparrow. It’s a magical process where basic outlines evolve into a recognizable and adorable little bird. Grab your pencils, and let’s create something delightful together!
Sparrow Drawing Tutorial
Materials
- Pencil
- Paper
- Eraser
- Coloring supplies
Time needed: 30 minutes
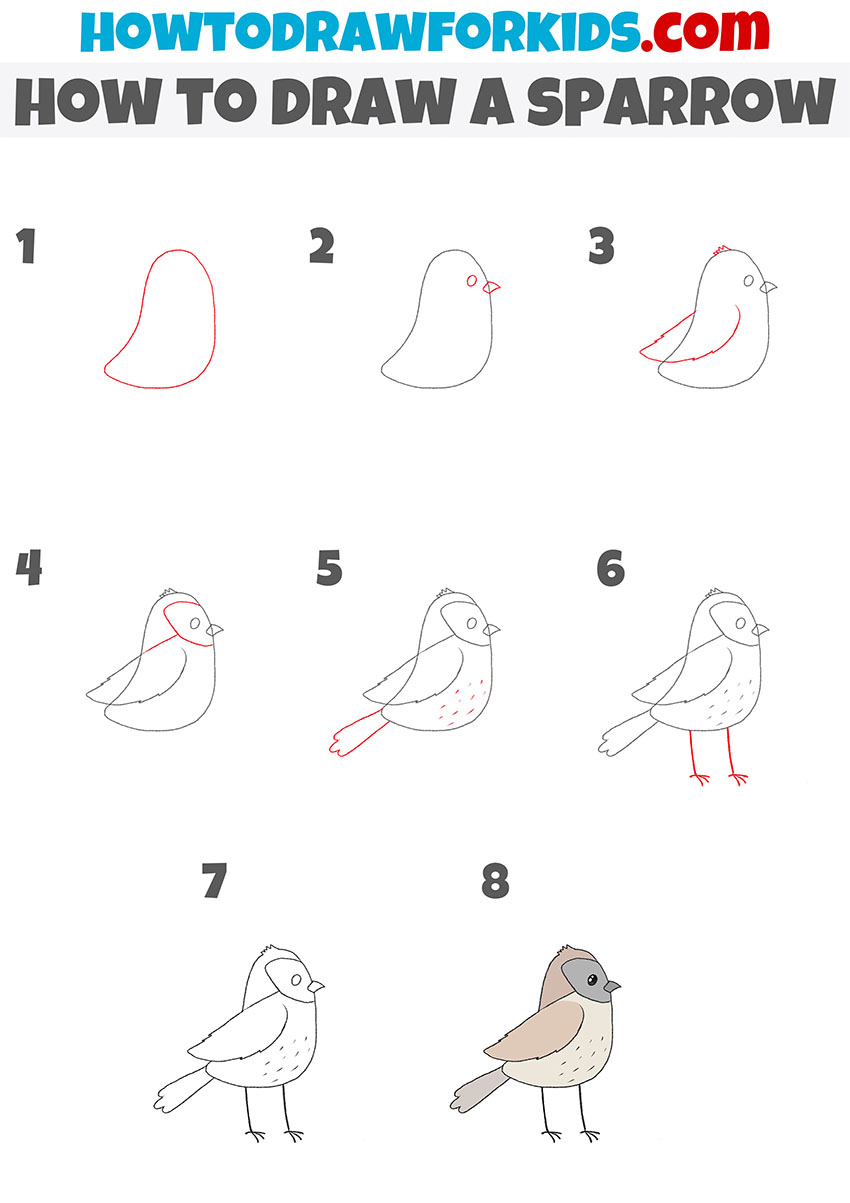
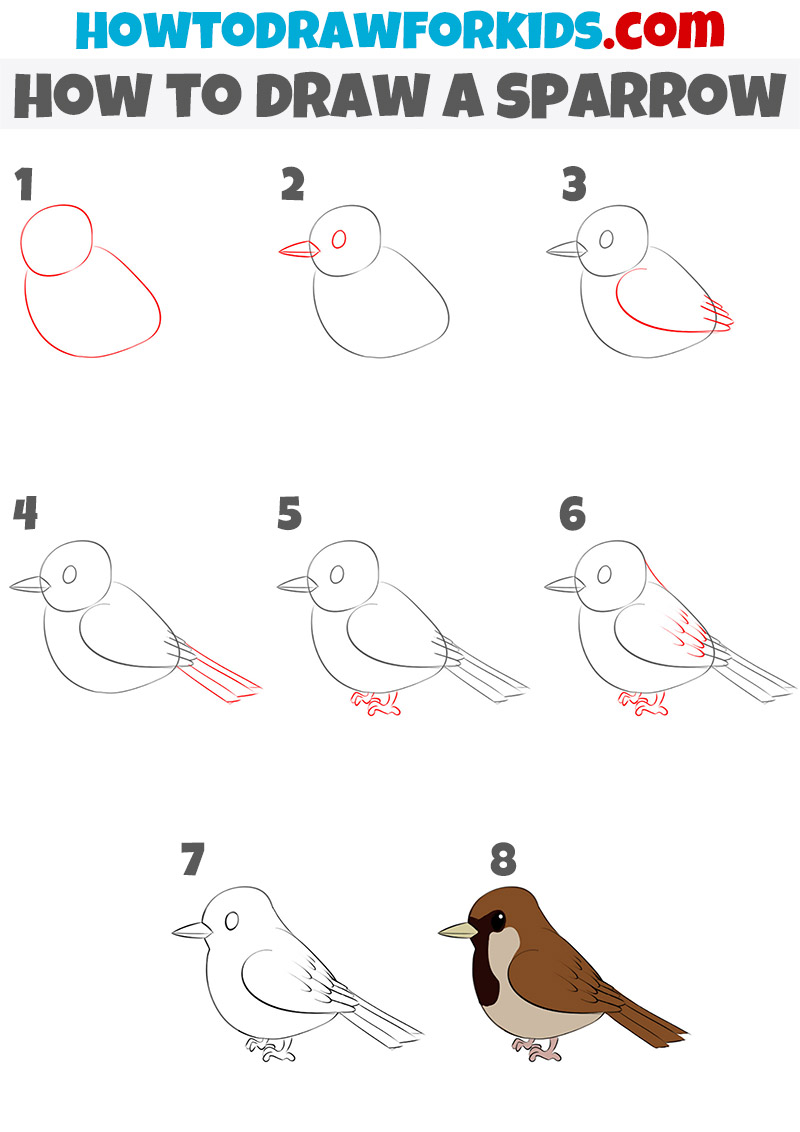
How to Draw a Sparrow
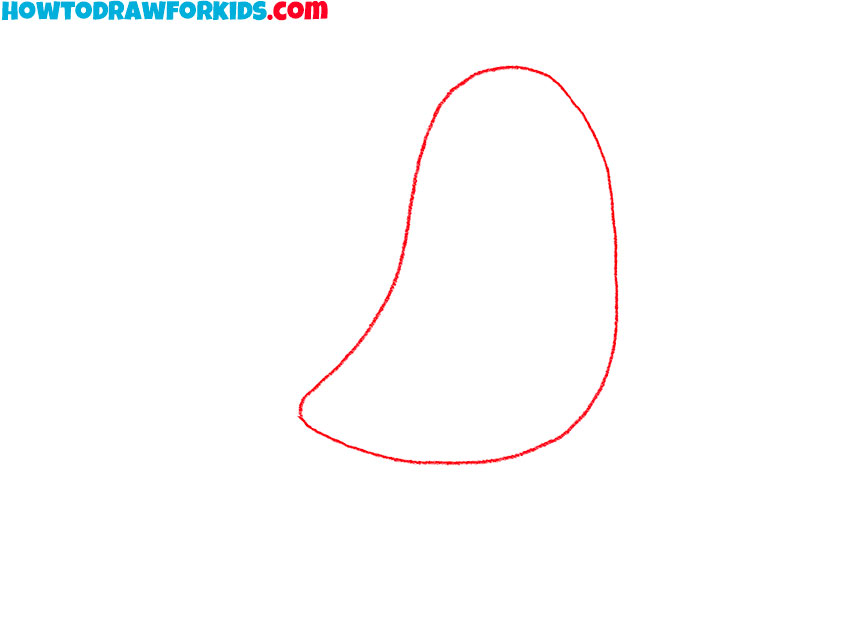
- Draw the outline of the torso.
To complete this step, draw a shape as shown in the image using a curved line.
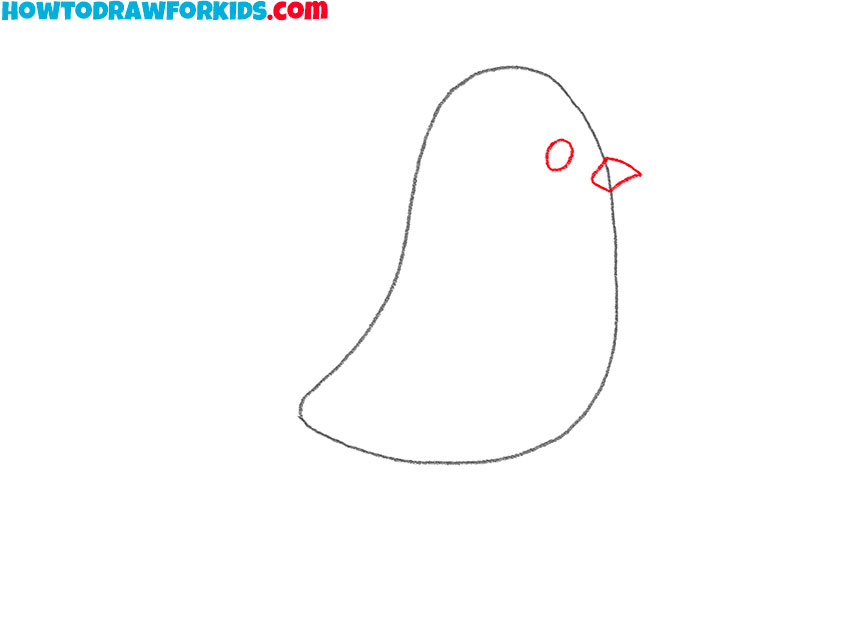
- Add the sparrow’s facial features.
At the top of the body, add the pointed beak and the eye using an oval and curved lines.
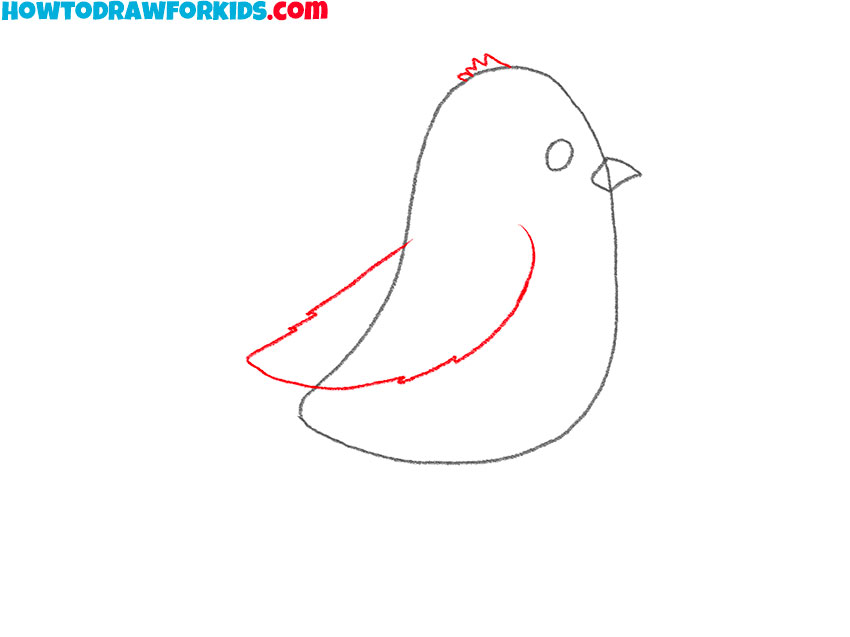
- Depict the crest and sparrow wing.
On the sparrow’s head, draw a zigzag line, add the wing using curved lines.
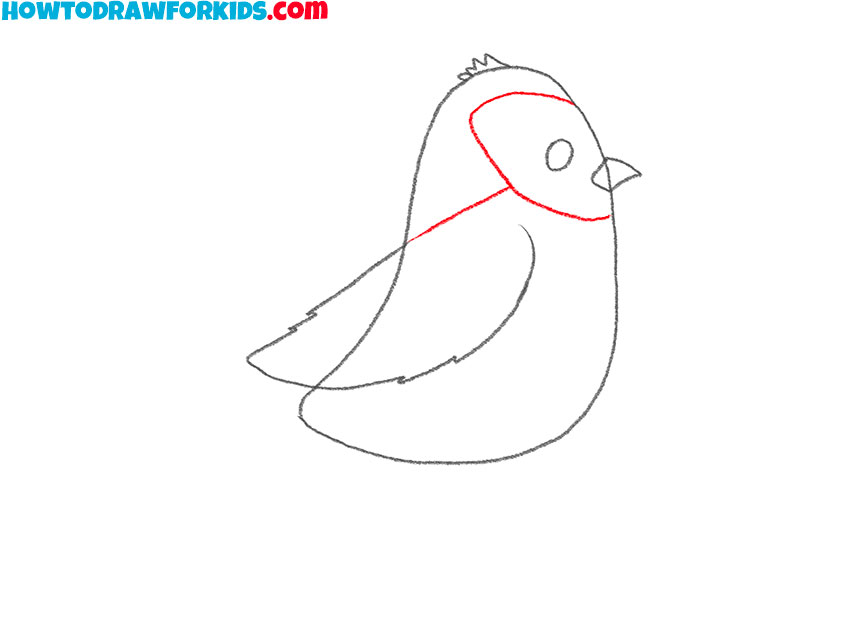
- Add details.
Draw straight and curved lines of different lengths on the sparrow’s head and neck.
- Sketch out the tail and plumage.
On the left of the torso draw the tail using rounded lines, add short lines on the sparrow’s belly.
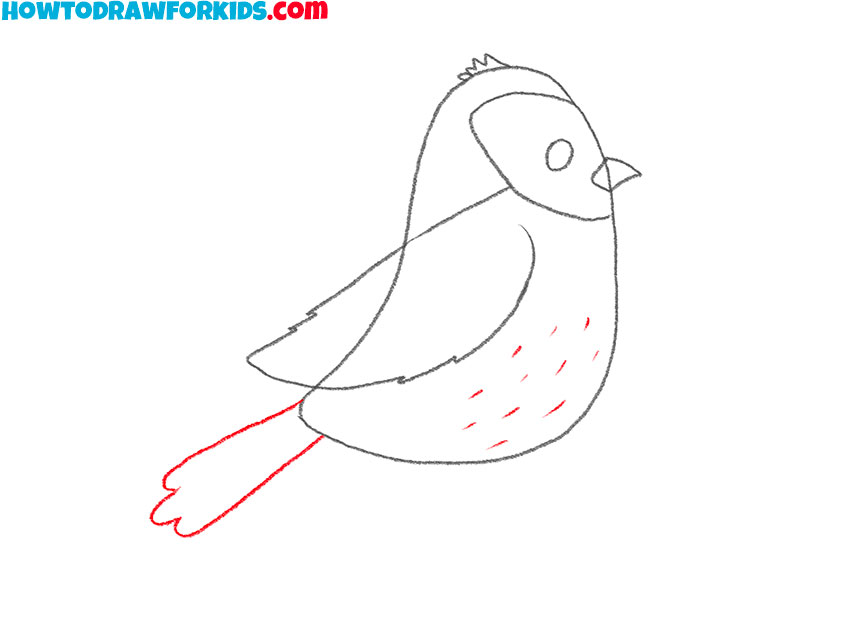
- Depict the legs of the sparrow.
At the bottom of the torso draw two identical legs using thick, slightly curved lines.
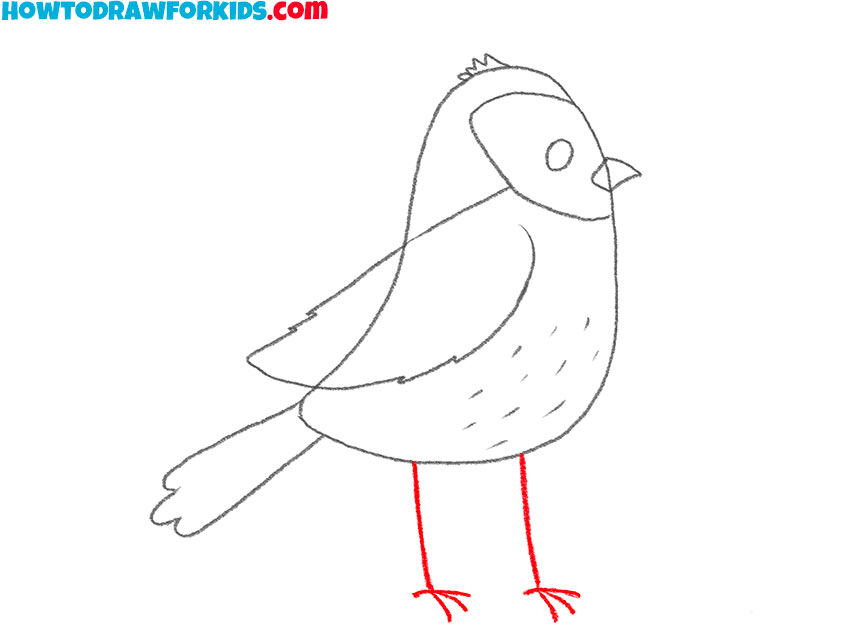
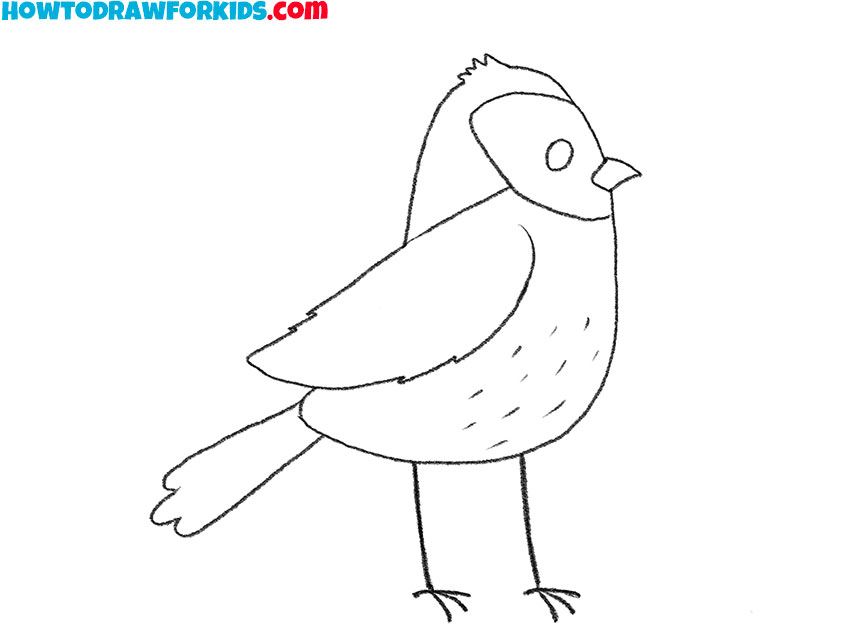
- Correct inaccuracies.
Use the eraser to remove unnecessary guidelines and prepare the drawing for coloring.
- Color the drawing.
To color the sparrow, use different shades of brown, beige, gray, and black.
Additional Content
To complement the drawing lesson, I’ve crafted a free PDF file, a concise version of the tutorial that you can download and use anytime, even offline. It’s designed to be a handy companion that you can print out or keep on your device, ensuring that the joy of drawing is always within reach, no matter where you are.
The PDF doesn’t include the step-by-step stages or tips; instead, it’s filled with additional materials aimed at enhancing your drawing skills after you’ve mastered the basic lesson. It serves as a follow-up practice kit, with exercises to refine the techniques you’ve learned, helping you continue your artistic development with confidence.
As you move beyond the initial stages of learning to draw a sparrow, this PDF becomes an invaluable resource. It offers creative challenges and activities that encourage you to experiment and use your newfound skills, strengthening your understanding and allowing your creativity to soar to new heights.
Alternative Way to Draw a Sparrow
Expanding on our foundational tutorial, I’ve crafted a supplementary technique to draw sparrows, tailored to build on the straightforward approach you’ve mastered. This new method incorporates a series of more elaborate steps, introducing nuanced details and a richer portrayal of the sparrow, ideal for advancing your artistic practice.
With this new method, you’ll engage with more detailed aspects of the sparrow’s anatomy, such as feather textures and the bird’s expressive eyes, enhancing the liveliness of your sketches. It is designed to encourage you to greater creative achievements in a fun and educational way.
As you explore this advanced technique, it becomes an exercise in precision and observation, pushing you to infuse your drawings with a new level of finesse. This approach will solidify the skills you’ve learned and foster a better appreciation for the subtleties of your avian subject.
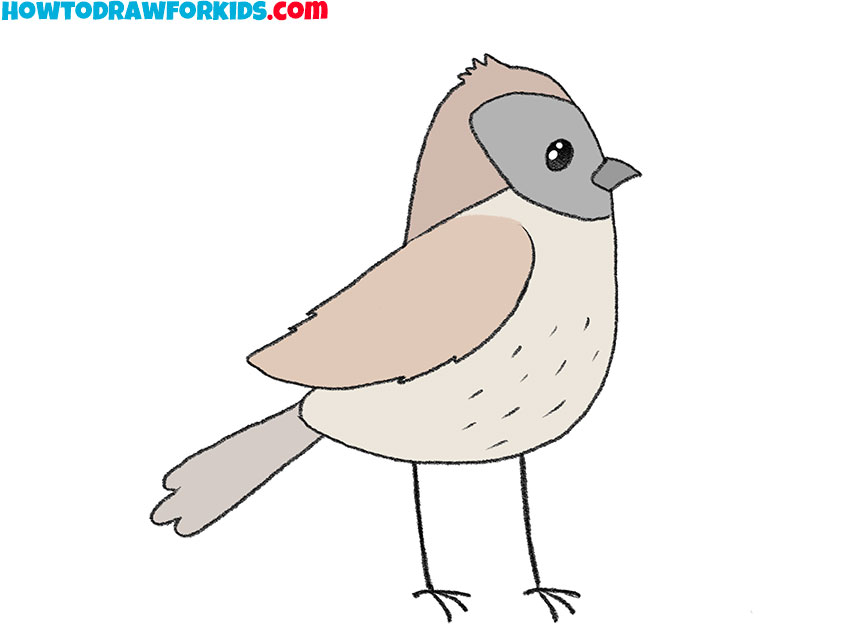
How to Draw a Sparrow: Advanced Level
In this sparrow drawing guide, we start with the essentials: a rounded form for the head and a fuller shape for the body, setting the stage for all the details to come. These initial shapes are key – they give structure to our sparrow and ensure everything that follows is in perfect harmony.
Moving forward, we etch in the finer points, beginning with the sparrow’s beak, alert and petite, and then sketching out the eye and wings. In drawing this sparrow, the outline serves as a starting point; it’s the flutter and flow of the feathers that infuse life into your work. We add these with swift, confident strokes, mimicking the natural layering and giving the impression of softness and movement.
The final touches include the sparrow’s feet, tiny yet strong, anchoring the bird to its perch. We sketch each feather with attention to its direction and length, giving our sparrow a texture that’s almost tangible. This methodical addition of features invites our bird to come to life on the page, each feather a small but significant step towards a lively drawing.
Detailed FAQ for Your Sparrow Drawing Process
When you start drawing, you often have a lot of questions as eager minds strive to perfect their craft. In the wake of our sparrow sketching tutorial, a tapestry of frequently asked questions has emerged. Below, you’ll find a curated selection of these inquiries, each accompanied by a thorough explanation to further aid your artistic endeavors.
- What kind of pencil should I use for this drawing? For the initial stages, a standard HB pencil will suffice, providing a balance between hardness and darkness for sketching outlines without leaving heavy marks.
- Can I use a pen for this tutorial? While pencils are recommended for their erasability, pens can be used by those who want to increase precision and consistency in their line work.
- Is this drawing method suitable for all ages? Absolutely, the step-by-step approach is tailored to be accessible for young learners while still offering depth for more seasoned artists.
- How do I fix mistakes if I can’t erase pen? Embrace them! Each ‘mistake’ is a step in learning. Alternatively, you can use white gel pens or correction fluid to cover up small areas.
- Why start with shapes like circles and ovals? These fundamental shapes help establish proportions and form a guide, making it easier to add details later on.
- How can I make my sparrow look more realistic? Observe real sparrows if possible, and pay close attention to the nuances of their feathers and movements to inform your sketch.
- What if my sparrow doesn’t look like the one in the tutorial? Each drawing will have its own character; celebrate your unique interpretation and continue to practice.
- Do I have to draw the feathers in detail? Detail adds realism, but even implied texture with simple lines can be effective for beginners.
- How do I draw the feathers without making them look too uniform? Vary the length and curve of your strokes, and observe the way real feathers lay on a bird’s wing.
- What’s the best way to practice drawing sparrows? Repetition is key – draw from the tutorial multiple times, and try sketching from photographs or real life.
- How long should I spend on each step? Spend as much time as you need to feel confident before moving on to the next step – there’s no rush.
In the wake of these detailed insights, may your path to mastering the art of drawing be illuminated with newfound clarity and confidence. Let these answers be your guiding stars as you continue to refine your technique and breathe life into your sketches. Remember, the path of artistry is infinite, and each stroke on the page is a footprint on the path to greatness.
Conclusion
As we put down our pencils, our sparrow now complete, the adventure doesn’t end here. Your artistic path is rich with possibilities; why not explore the russet fur of a fox or the dynamic figure of Goku in my other lessons? Each one is a doorway to further skill and enjoyment, ready to be opened with just a click on my site.
If you’re curious about new content, consider following my social media to stay updated on upcoming tutorials. I encourage you to leave comments and requests under the lesson; your feedback helps shape future tutorials and improves our learning community.