How to Draw a Bucket Hat
In this really simple drawing lesson consisting of seven elementary steps, I will show you how to draw a bucket hat quickly and easily.
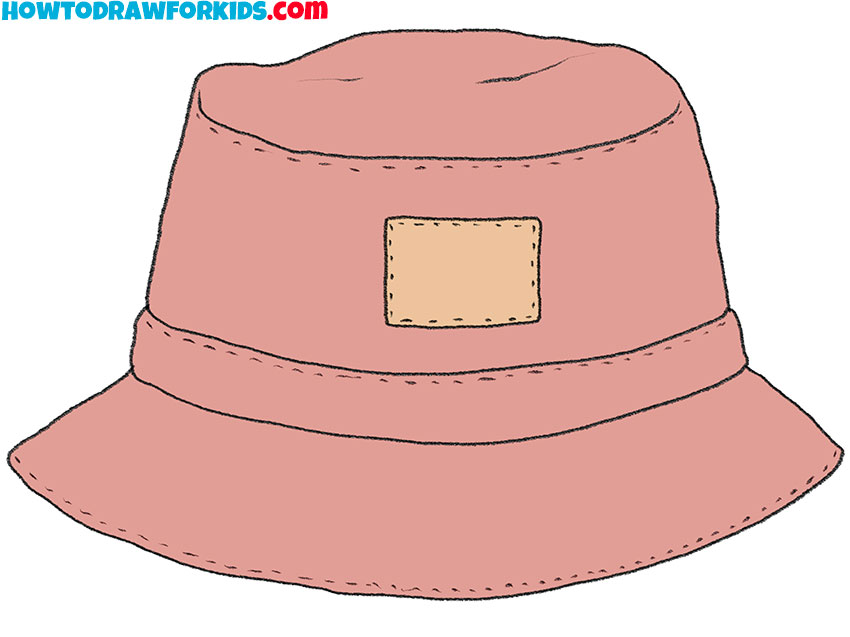
How to Draw a Bucket Hat: Basic Information
Typically, a bucket hat is made from natural dense fabrics. This material allows air to pass through well and reliably protects your head from the sun. You can use the skills learned in this lesson on how to draw a bucket hat hat in the future when you want to draw any person wearing such a hat.
One of the basic abilities of an artist is to create volume and perspective even on simple things. Here we will try to draw a bucket hat in such a way that it does not appear flat and unconvincing.
In addition, this tutorial on how to draw a bucket hat will help you learn how to illustrate seams and small details, as well as give the object you draw the shape of a slightly rumpled fabric.
I am sure that you will easily complete all the drawing steps, because they are very simple. You only need to be attentive and accurate at every stage. So, prepare everything you need, sit in the most comfortable way for you and let’s get started with the guide on how to draw a bucket hat.
Bucket Hat Drawing Tutorial
Materials
- Pencil
- Paper
- Eraser
- Coloring supplies
Time needed: 30 minutes
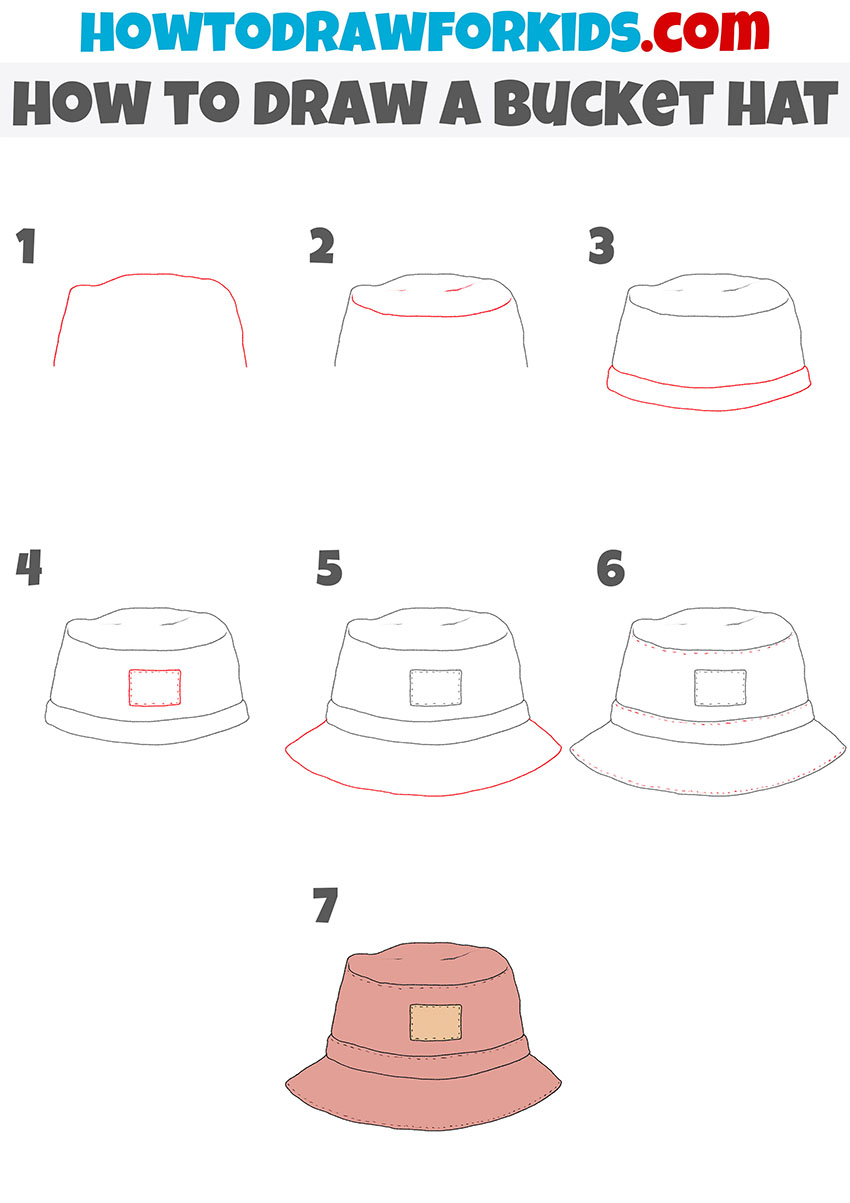
How to Draw a Bucket Hat
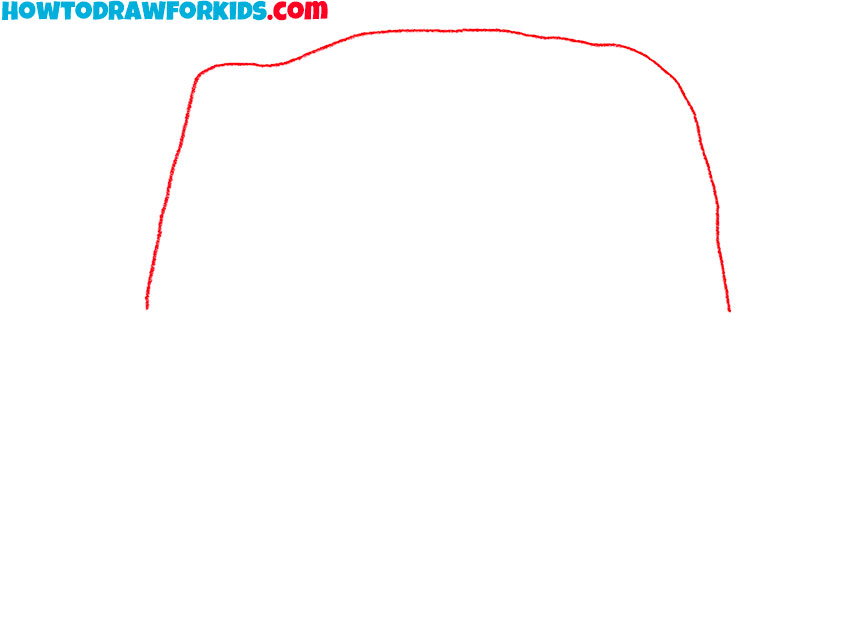
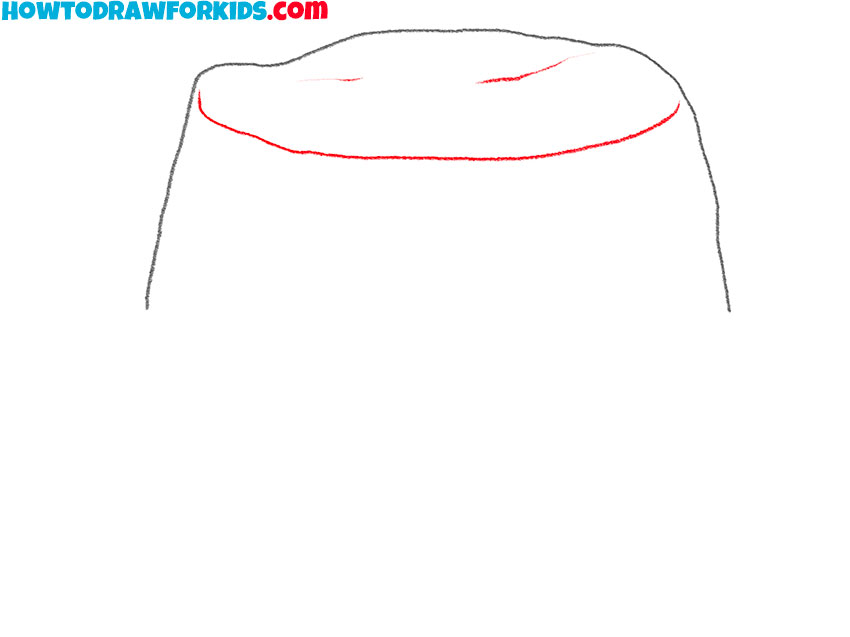
- Draw the basic shape of the hat.
Start with a curved line for the top edge of the hat. From the ends of this line, draw two slightly curved lines extending downwards to create the sides of the hat. This forms a simple, rounded trapezoid shape which will serve as the foundation for your bucket hat drawing.
- Illustrate the top edge of the bucket hat.
Draw a slightly curved horizontal line just below the initial top edge. This line represents the top surface of the hat. This part gives the hat a three-dimensional appearance. To give the bucket hat drawing a more realistic look, add some folds.
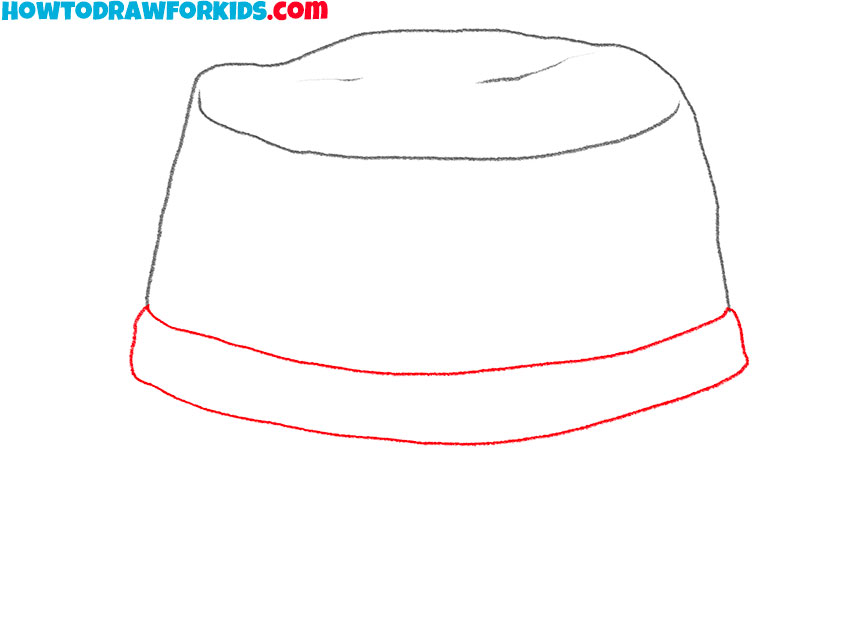
- Add the middle part of the bucket hat.
Draw two curved horizontal lines near the bottom of the hat, following the curve of the top edge. Connect these lines on the sides with a pair of short lines. This band represents the base of the brim, where the hat’s crown transitions into the wider brim.
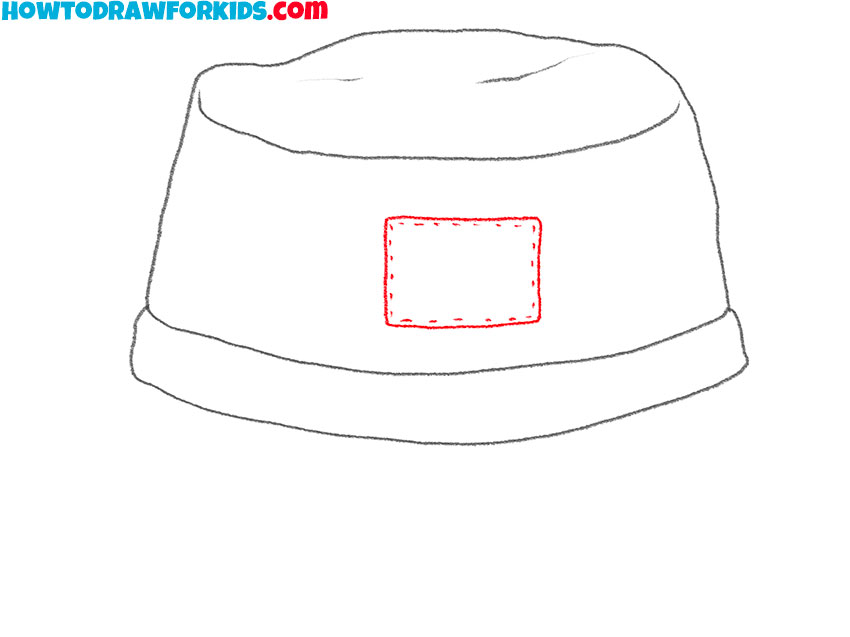
- Illustrate the patch.
Draw a small rectangle in the center of the front surface of the hat. This patch can be used for logos, brand names, or decorative elements. To make it look more realistic, you can slightly curve the top and bottom lines of the rectangle to follow the curvature of the hat’s surface and add seams.
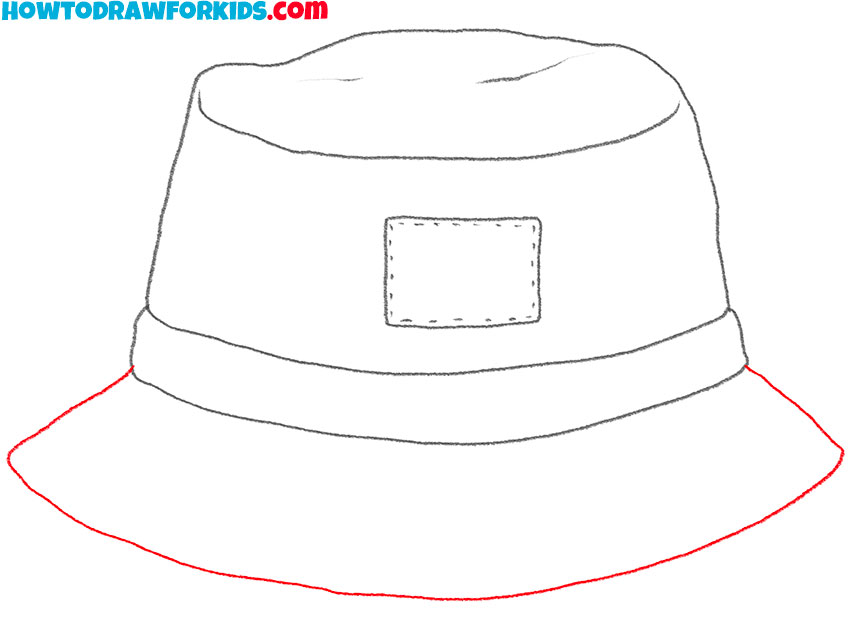
- Draw the brim of the bucket hat.
Draw a broader, slightly curved line below the base of the brim, following its shape but extending outwards. This new line should flare out more than the base, giving the brim its distinct outward curve. To give the lines a more natural look, do not make them too smooth.
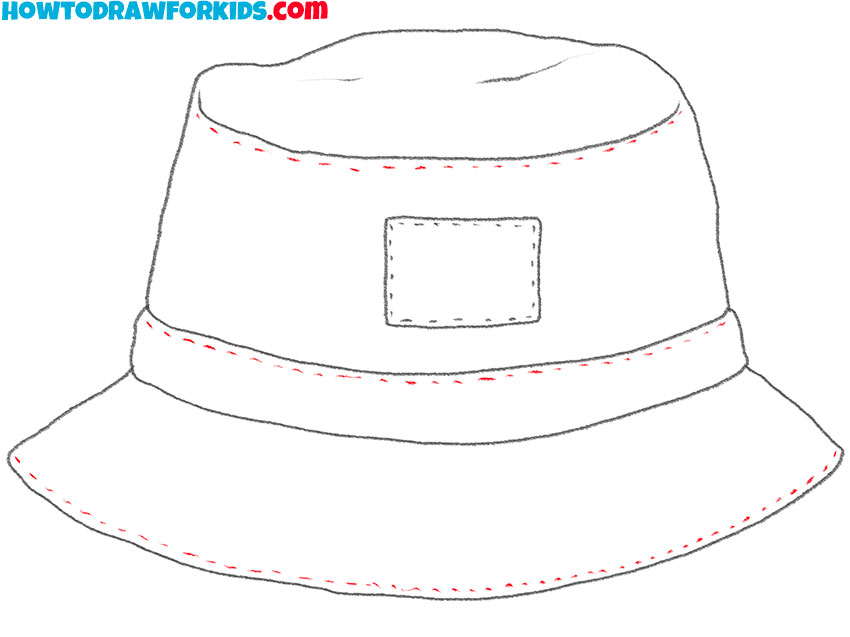
- Detail the bucket hat.
To add realism and texture to your bucket hat drawing, incorporate stitching details along the edges of the hat. Start by adding short, evenly spaced lines along the top edge, the base of the brim, and the outer edge of the brim. These lines represent the stitches that hold the hat together.
- Add some colors to the bucket hat drawing.
Choose a colors that you like and fill in the entire hat, including the crown, brim, and patch. You can use a single color for a simple, classic look, or experiment with different shades. For example, you might use a slightly darker shade for the shadowed areas under the brim.

Additional Content
Share your impressions about this bucket hat drawing lesson in the comments and suggest ideas for the next drawing guides. I will definitely take your wishes into account. You can now download a free PDF file that contains a simplified version of this step-by-step guide. This way the lesson will be available to you at any time.
How to Draw a Bucket Hat: Tips and Tricks
So, the bucket hat drawing lesson has come to an end. Hope you had a nice time. And at the end of the lesson on drawing a bucket hat, let me remind you that I try not just to give you basic instructions on how to create a sketch, but also further tips on how to raise your skills to a higher level.
Don’t forget that drawings of things like a hat should convey their shape and texture. To do this, try to make the outline lines slightly wavy. This will make the drawing more convincing.
Pay close attention to the curve of the brim. The brim should flare out smoothly from the base. Use light, curved lines to outline this flare before darkening the final lines. Shade under the brim to create a sense of depth and shadow.
Bucket hats are usually made from cotton, denim, or similar fabrics. To depict this, use short, light strokes to mimic the texture of the fabric. Cross-hatching can also help to add some texture.
Ensure the stitching lines are evenly spaced and follow the hat’s contours. Use dashed or dotted lines to represent stitches. Pay special attention to areas like the brim and patch where stitching is more prominent.
Use real-life bucket hats or photos as references. Observing how light interacts with different fabrics and shapes will improve your understanding and accuracy. Like any skill, drawing improves with practice. Draw bucket hats from various angles and in different styles to train your technique and confidence.
In addition, remember that any object consists of simple geometric shapes. For example, a bucket hat is essentially a cylinder. If you keep this in mind as you draw the bucket hat, you will be able to convey its volume more easily.
And of course, the next stage of training should be drawing this object on a person. Try to draw a head with such a hat on it.
Conclusion
Drawing a bucket hat may seem too simple at first, but it hides several subtle challenges. Initially, you need to illustrate the volume accurately, followed by conveying the shape and texture effectively.
I hope this step-by-step tutorial has clarified these aspects for you, making it easier to depict this popular piece of clothing with confidence.
If you enjoyed this tutorial, don’t forget to subscribe to my social media for more drawing guides! Share this tutorial with your friends who love to draw, and visit my other tutorials from my website for more exciting instructions on a variety of subjects. I love hearing from you, so please leave a comment with your suggestions for future tutorials.