How to Draw a Balloon
This lesson will show you how to draw a balloon and explain how to depict this already simple object in the easiest way possible.

How to Draw a Balloon: Introduction
A balloon is one of the simplest objects, consisting of truly basic shapes. Objects like this are essential for young artists as they help develop fundamental skills in symmetry, form, and the ability to create three-dimensional shapes using simple techniques. This lesson on how to draw a balloon will teach you these foundational skills and more.
Before starting this lesson, keep in mind that simple objects like a balloon can serve as both the main subject of your drawing and as part of a more complex composition. For example, you could draw a person holding a balloon or illustrate multiple balloons with celebratory messages on them.
Since this is a basic lesson on drawing a balloon, I’ll be demonstrating a very simple coloring method, without any shading or highlights. However, you are welcome to make your balloon look more three-dimensional by adding shadows and reflections.
To reinforce what you’ve learned, I will also include an additional balloon drawing tutorial at the end of this lesson.
Balloon Drawing Tutorial
Materials
- Pencil
- Paper
- Eraser
- Coloring supplies
Time needed: 15 minutes
How to Draw a Balloon
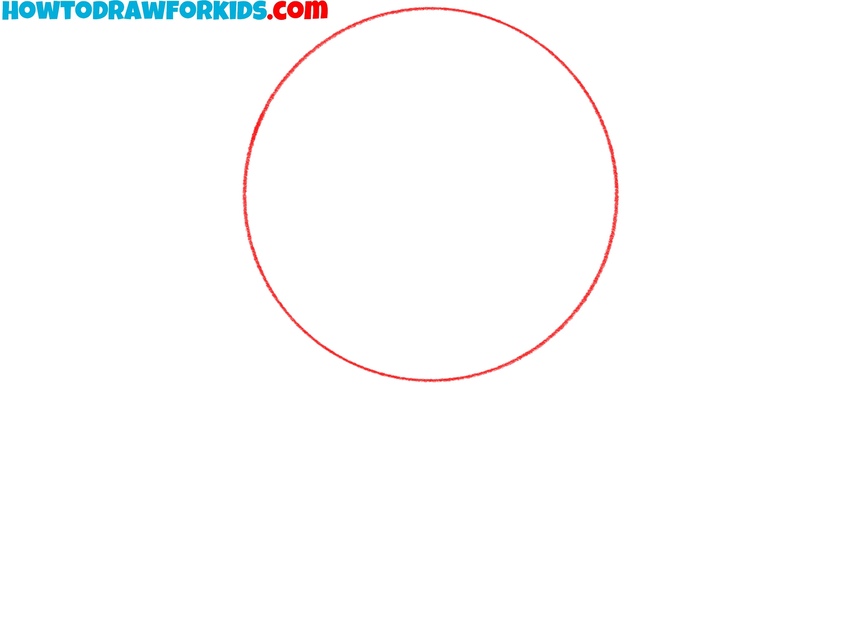
- Sketch the basic shape.
Let’s start this tutorial on how to draw a balloon by sketching a large circle to form the main part of the object. Try to make the shape as smooth and round as possible. You can use a pencil and draw lightly so that any mistakes are easy to erase. Or you can use a round object, such as a cup or a circular lid.
- Draw the ballon’s bottom curve.
Next, add a curved line along the lower part of the balloon to define its bottom edge. The curve of this line should be more pronounced than the curve of the previous shape. Keep the curve smooth and symmetrical. You can adjust the shape of the balloon by changing the look of this line.

- Draw the tied knot.
Now, sketch the tied knot at the bottom of the balloon. This part is small but important, as it shows where the balloon has been sealed after being inflated. Draw the balloon’s knot as a tiny circle or oval. You can also add tiny folds or lines to make it look more natural.

- Sketch the nozzle.
Below the knot, draw the nozzle – the small section where air would have been blown into the balloon before being tied. This part should be short and slightly flared at the end. You can adjust the size and shape of this tiny part of the ballon.

- Draw the balloon’s string.
To draw this part, start from the bottom of the nozzle and sketch a curved, slightly wavy line downward. You can make the string as long or short as you like. If you want to give this part a different look, you can make the string curl at the bottom or even loop in a simple swirl.

- Finalize the line work.
Erase the guidelines and check that the balloon’s shape is smooth and that all the details, such as the nozzle, knot, and string, are clear and look finished. If you see any uneven lines or parts that look off, now is the time to adjust them. You can also add any extra details if desired, like small wrinkles near the knot.

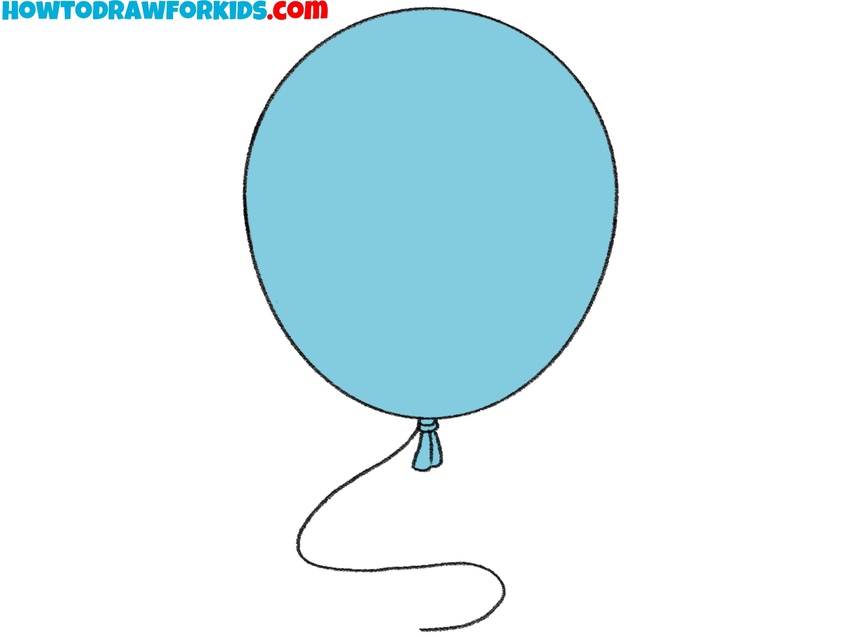
- Color the balloon.
You can choose a bright, vibrant color for the balloon itself, as balloons are usually very colorful. A solid color is fine for a simple look, but if you want a more realistic effect, you can leave a small white area at the top to represent light glare and add some shading to one side of the balloon.

How to Draw a Balloon: Advanced Tips
To create a realistic highlight on the balloon drawing, first, decide where your light source is coming from. Typically, the light will hit the upper left or right side of the balloon. Instead of simply leaving a blank spot, sketch a soft, curved shape near the top where the light would naturally reflect. This shape should follow the contour of the balloon and taper off gradually. When coloring, use a lighter shade around this area and blend it smoothly into the main color. If using digital tools, a soft airbrush effect can make the highlight appear even more natural.
If you want to incorporate transparency effects when drawing multiple balloons, first outline each balloon with a light pencil before darkening any lines. Where the balloons overlap, lightly erase part of the lower balloon’s outline and redraw it with a softer, thinner line. When practicing how to draw a balloon, use a slightly lighter tone in the overlapping area. This will create the illusion that one balloon is slightly see-through without making it look too faded. A slight shadow where the balloons overlap can also help differentiate them.
To add soft shadows, start by imagining where the light source is coming from. If the balloon is floating, the shadow will be directly below the knot, slightly elongated and diffused. Use a soft pencil or light shading to create a faint, oval-shaped shadow. If the balloon is resting on a surface, make the shadow darker and more concentrated where it touches the ground, then fade it outward. When following a guide on how to draw a balloon, remember that a slightly darker version of the balloon’s color works better than plain gray for a natural shadow effect.
Balloons come in different shapes, so instead of drawing a perfect circle, try slightly adjusting the shape to make it more natural. A common variation is a teardrop-shaped balloon, which can be done by slightly narrowing the top and widening the lower half. Another option is an oval balloon, where the sides are more elongated instead of fully round.
Conclusion
So, these were the seven steps that taught you how to draw a balloon. We used just a few simple lines and the most basic details to depict this straightforward object. Be sure to share your thoughts on this lesson and don’t forget to share it with your friends and family.
Also, make sure to check out other drawing lessons and categories to further improve your skills. I have drawing tutorials on a wide range of topics, along with a huge collection of coloring pages and other fun and engaging materials.